Hyperlapse Camera Slider
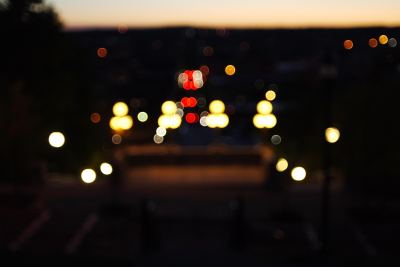
Around December 2012, as I was expanding my searches in cinematography, I came across a growing bubble of interest in the use of camera sliders to shoot footage of night-time timelapses and other moving timelapses. I came across a few videos by Philip bloom using Kessler Crane products to do such shots, and a cinematographer whose work in the Midwest landed him a editors pick on Vimeo. These sources served as my inspirational motivation to create my own camera slider - around the same time that I needed to create a project idea for my Sophomore Intro To Engineering Design class - IED.
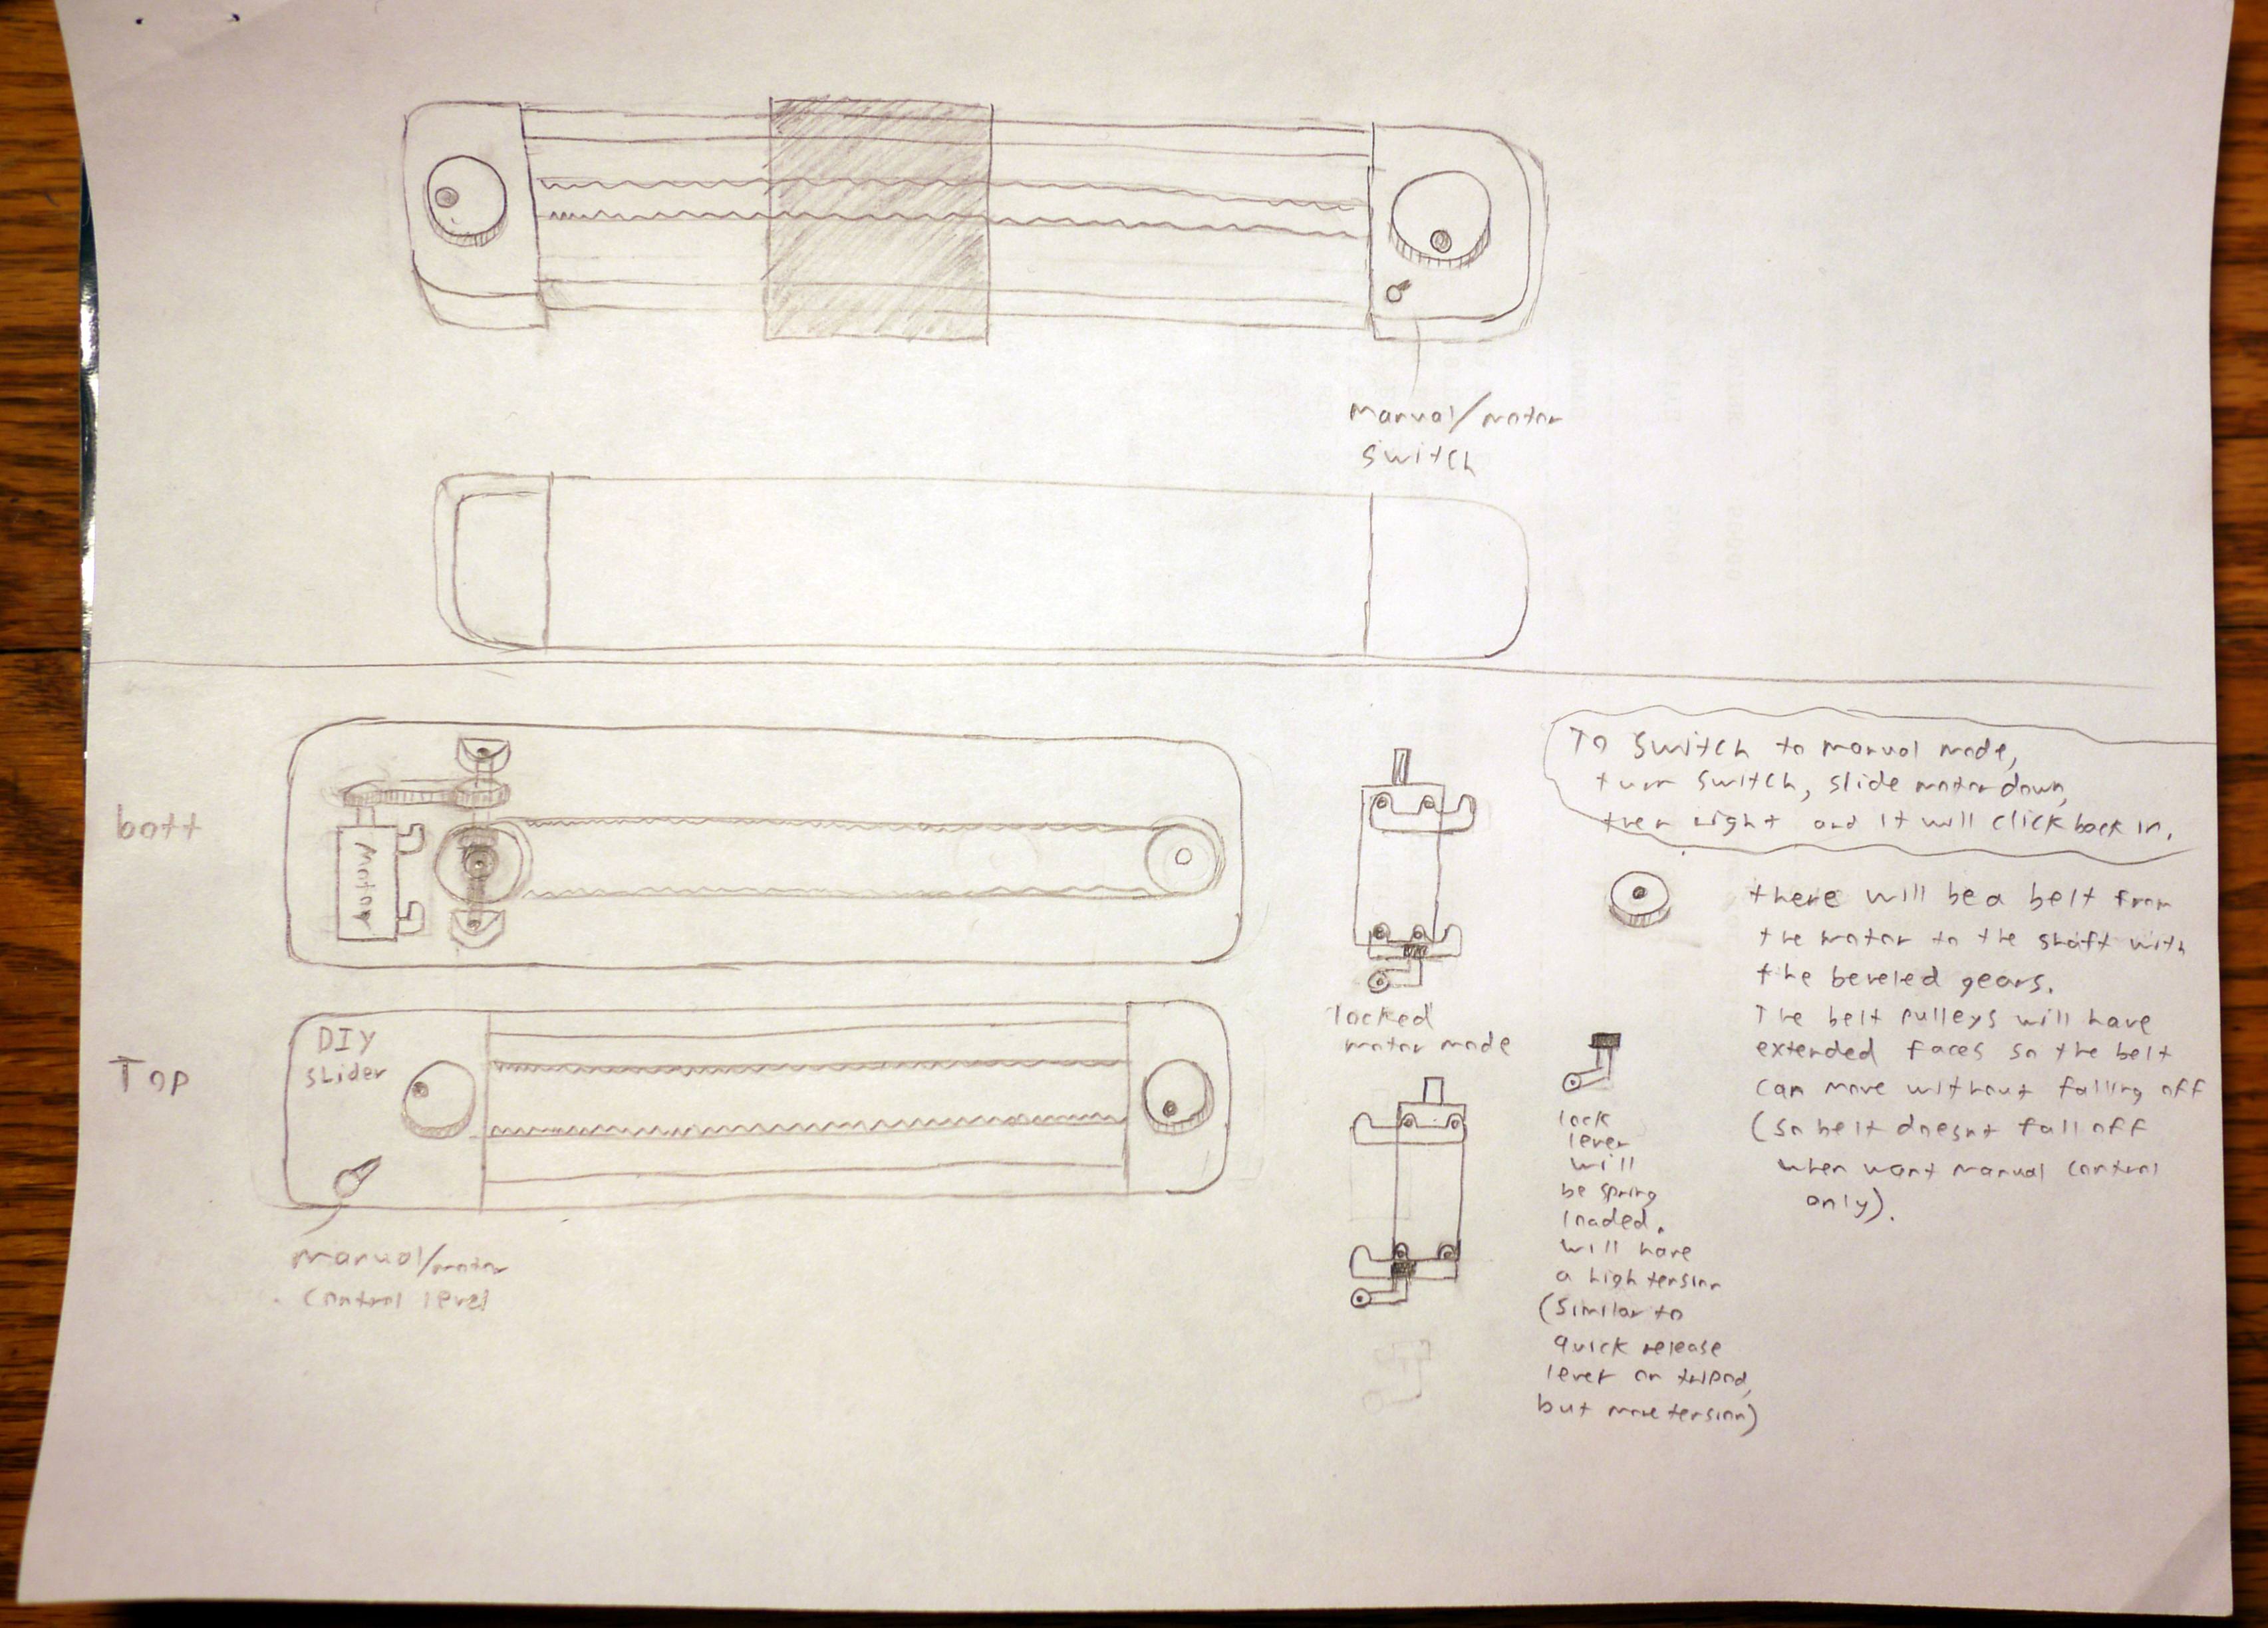
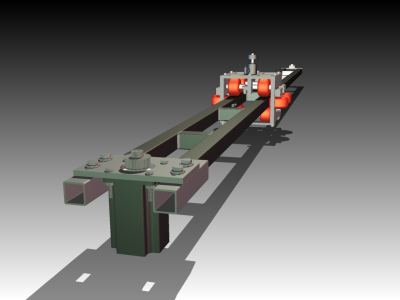
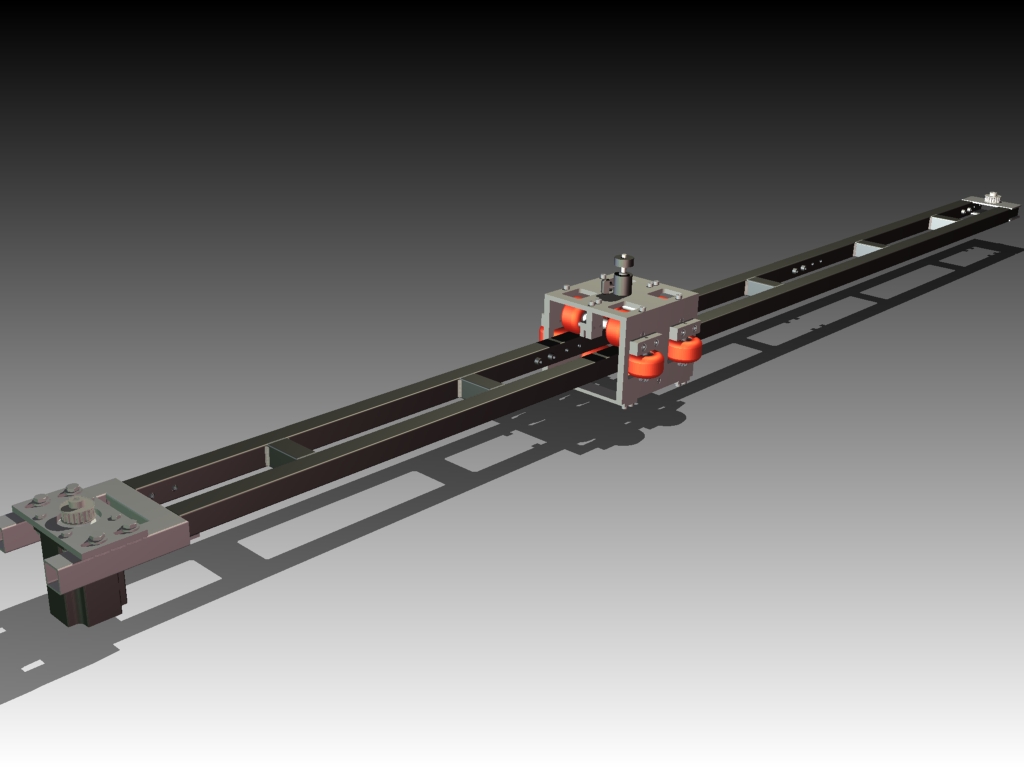
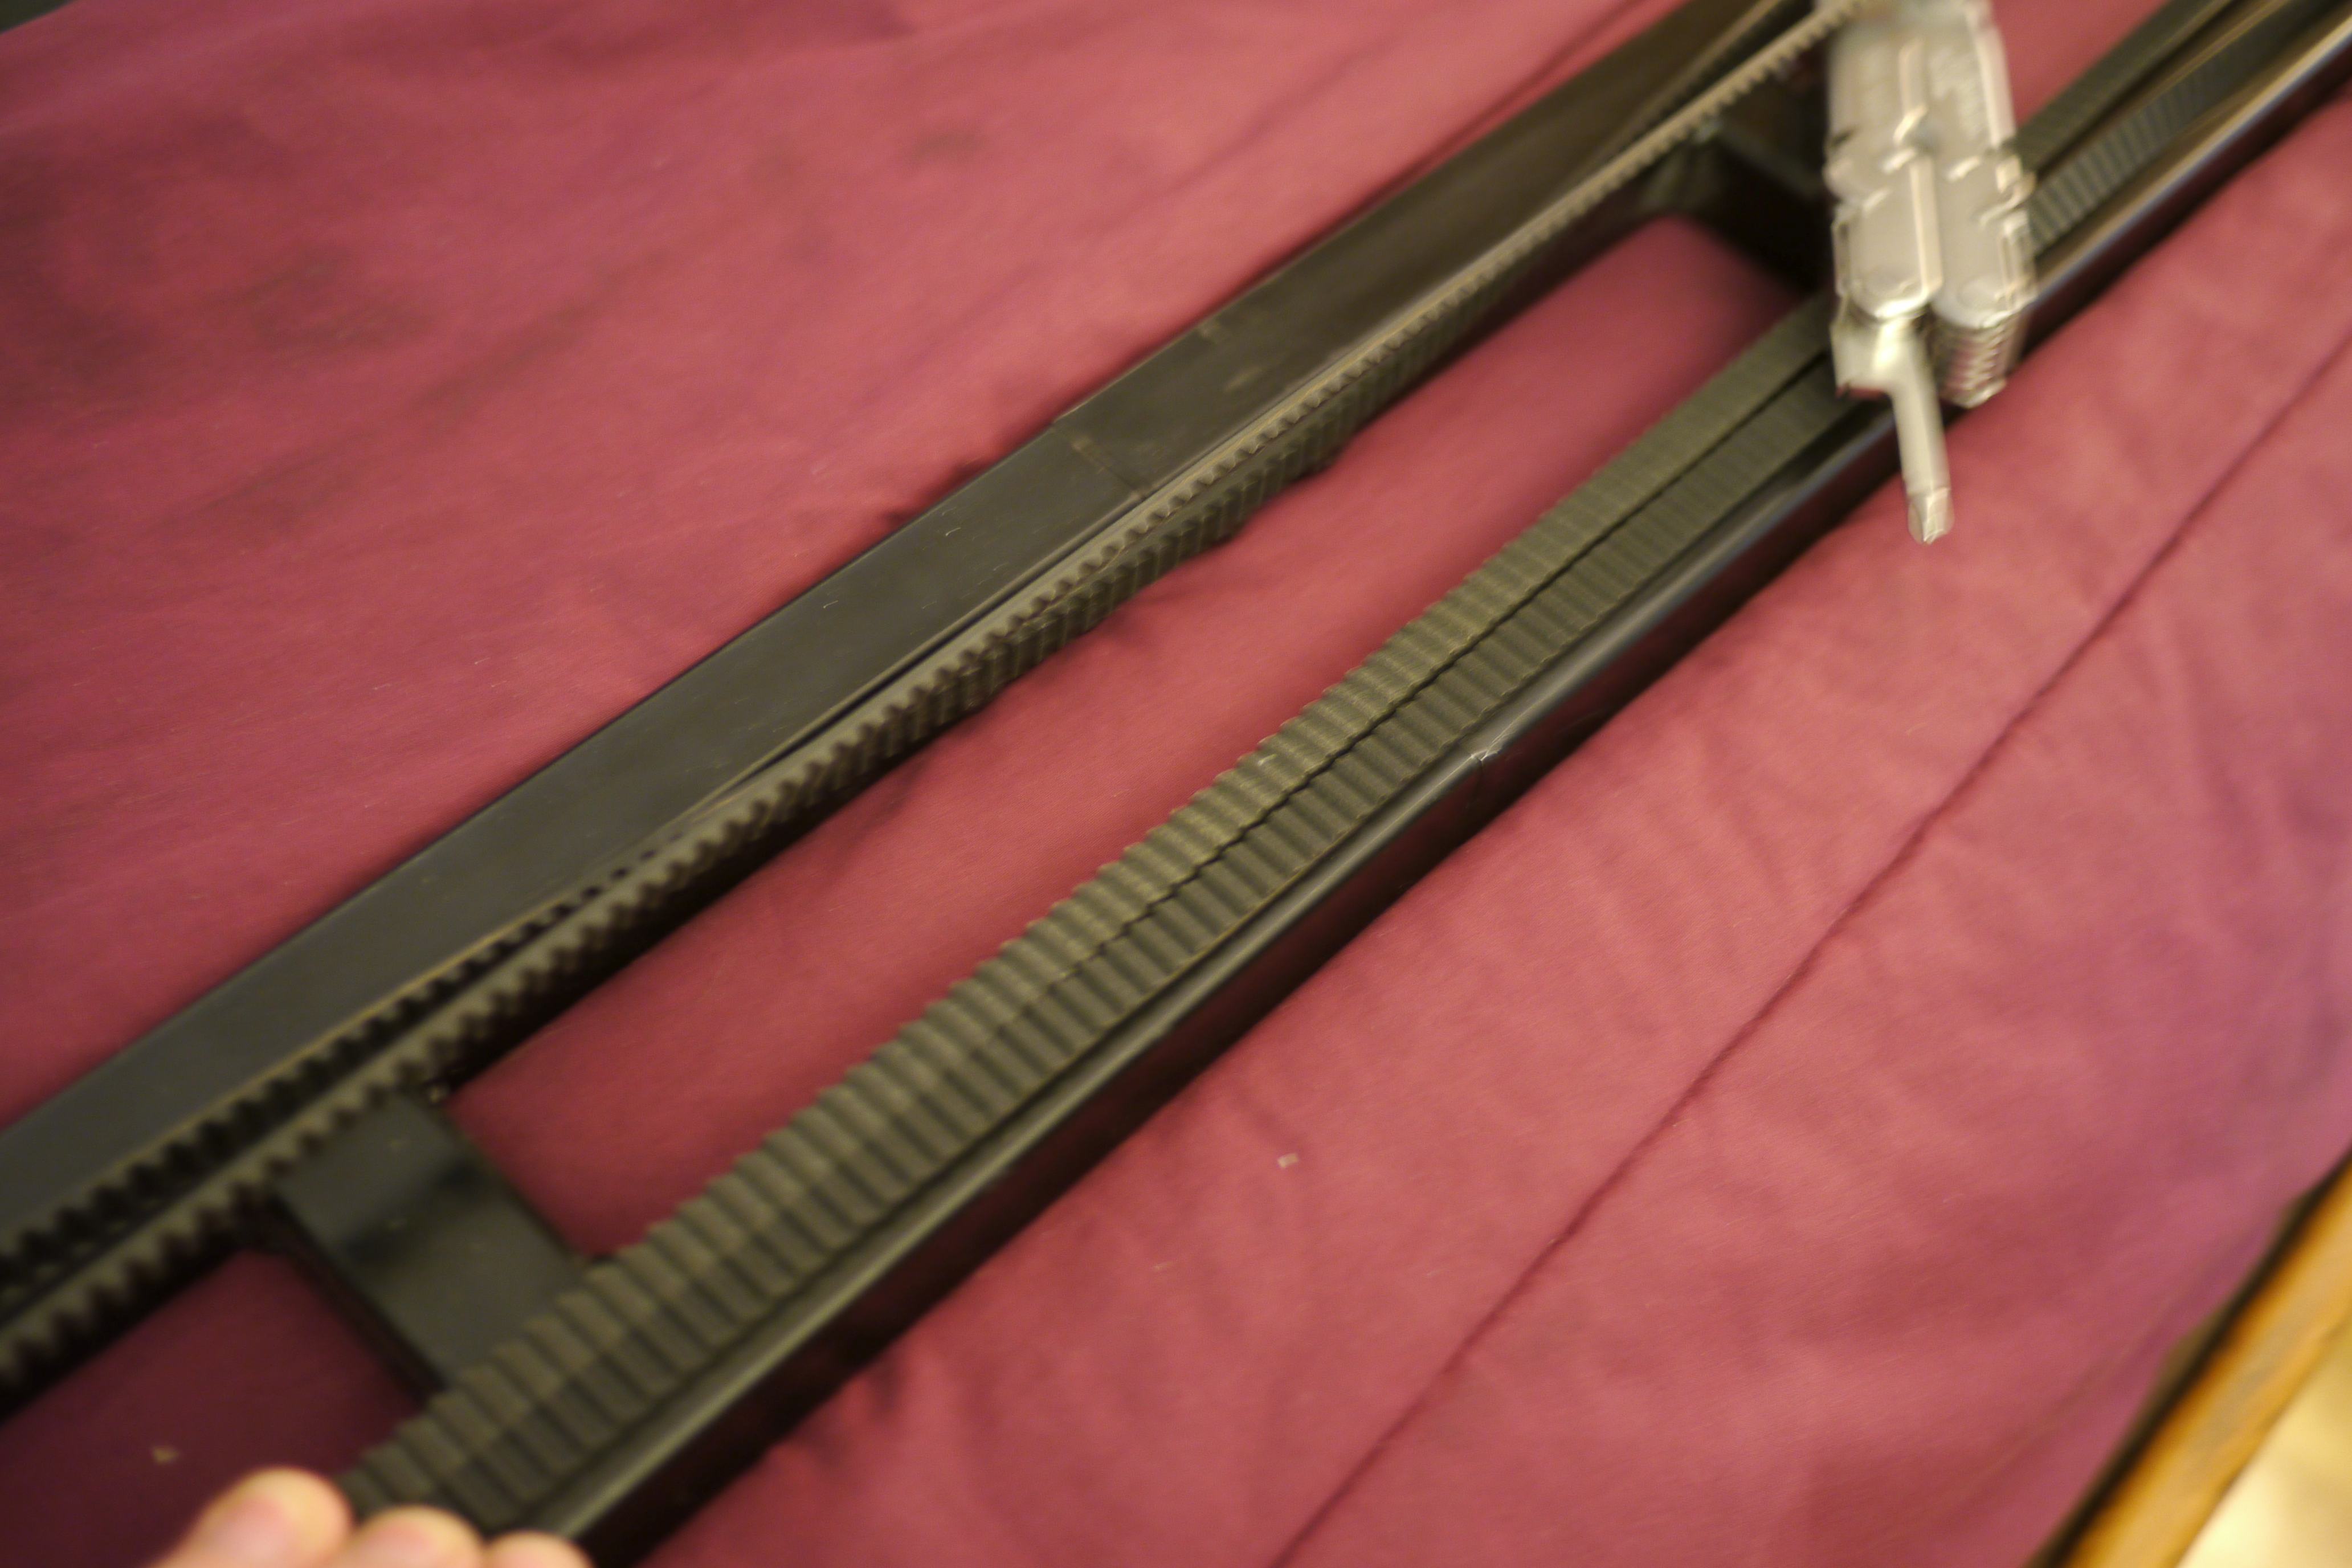
I began laying out my slider idea over Christmas vacation, which started on paper like most of my project designs at the time. After several iterations, I came up with a rugged design that I was sure would satisfy my high design standards, and of course the course requirement. My original design involved a fully enclosed 6ft aluminum track, a stepper motor, controls, timing pulleys and a timing belt. This seemed like the best balance of weight, speed and simplicity. I also implemented a clever motor-clutch mechanism where the motor can be easily disengaged and the entire unit can be used as a manual slider, if the user wanted to get hands on with the track. User controls and ergonomics were also considered and the interface took a lot of cues from game controllers of the time. A joystick, LCD and buttons were all a necessity. Cross camera compatibility was also a paramount feature, and several adapters and breakout boxes were designed.
My team, which was randomly chosen by my professors, all agreed to my initial design idea after several design concessions. It really is amazing how my highly detailed camera slider changed so much from it's initial design to the final product. In reality, the final product was not so much a result of how much we could cut out and simplify, but rather a battle of compromise, and how much we could accomplish in the remaining time of the 2013 spring semester. Overall, I do regard this project as one of the greatest building experiences in college, and I would have not changed a single thing on our final design. To this day, I am still amazed how much we were able to get accomplished within the short design window and how great the final result truly was. This project actually served as the role model project for the RPI IED classes for the next 3 years (and possibly longer). Enough chit chat, let's get into the build.
Once my team was on board with the project, we split into subgroups and attached the challenge at hand. Being a team of 7, we created a software group, a hardware group and a mechanical group. Even though we were apart of separate divisions of the same team, we were all familiar enough with the subsections that we could collaborate together on design choices / changes without stepping on each other's toes. This made working with my team an awesome experience and rather painless.
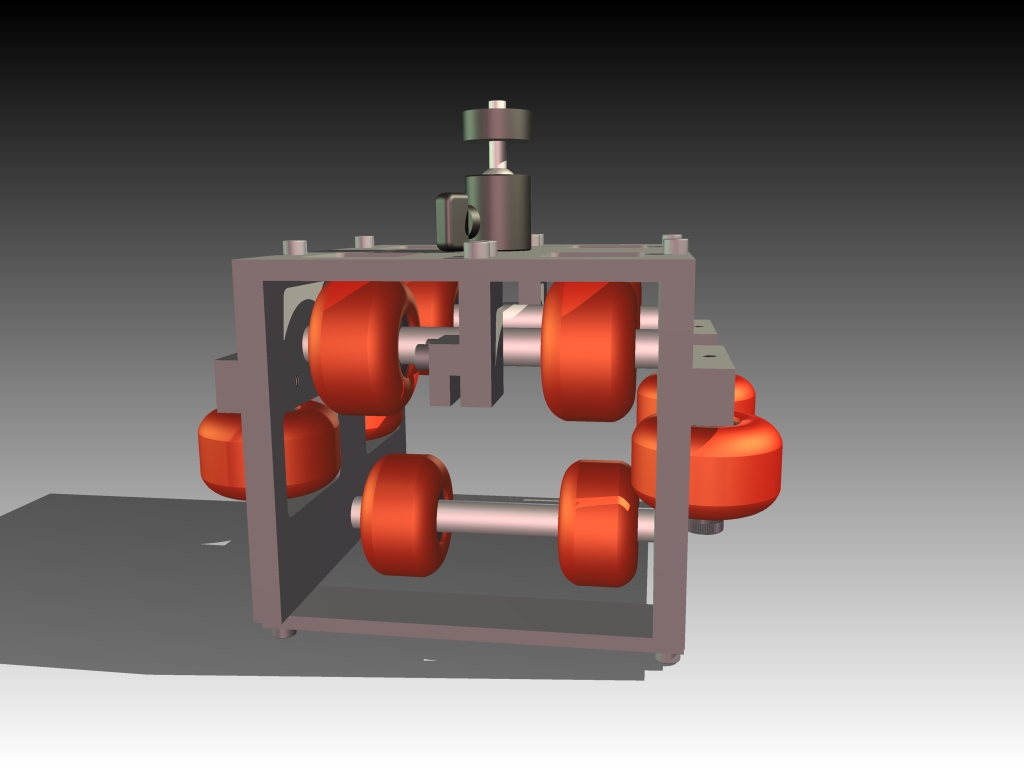
The hardest part for me was to let go of my original design and let the team iterate on what they deemed to be more realistic goals. The all-aluminum, sleek enclosed body was shelved in favor of a more affordable approach. The recirculating linear ball bearing style carriage was dropped in favor of something less precise but far less expensive to implement. The motor clutch mechanism did not make the final cut either. Originally, I was pretty bent about losing so many features from the original design, but at the end of the day I wanted to see the slider come to fruition, so I compromised and came up with other solutions.
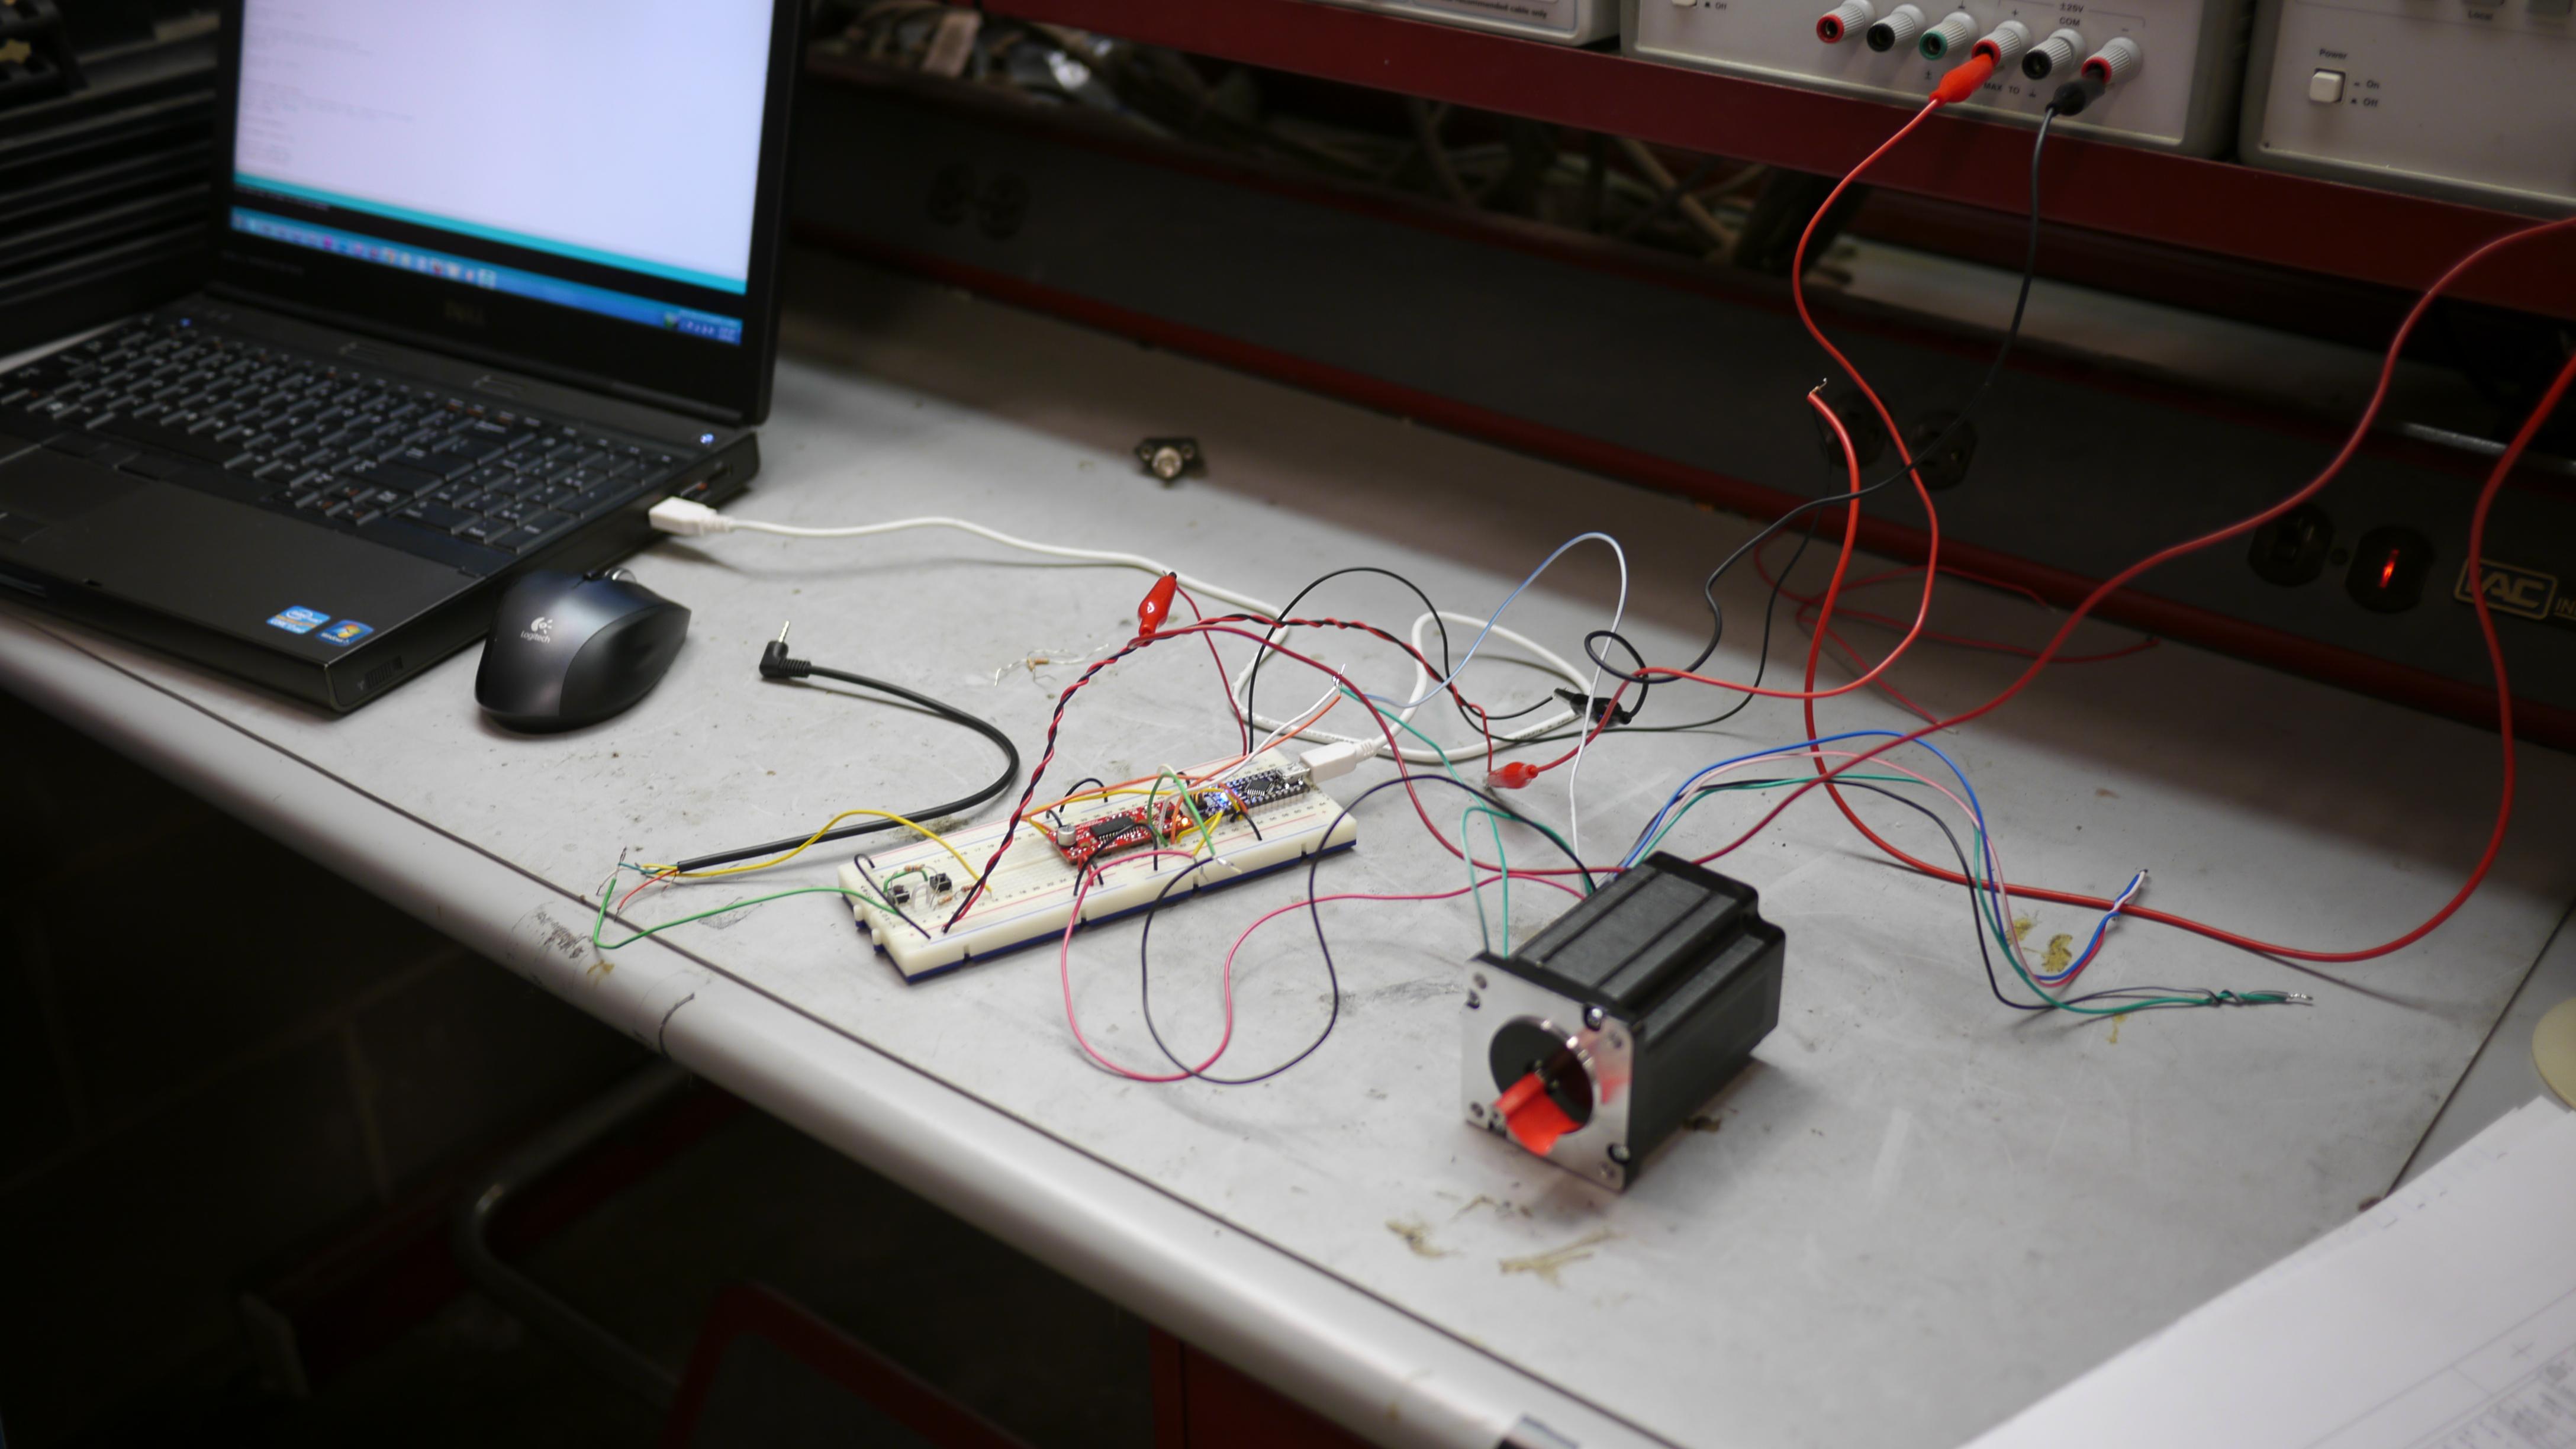
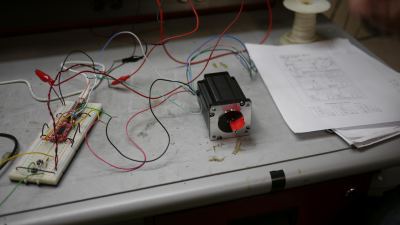
The software team decided to stick with the Arduino platform, as that would have the largest amount of software library support and example code, and not be too hard to develop. My teammates also had the most experience in C++, so it made the most sense to stick with the Arduino platform. For the electrical side of the project, there was no better option then to go with a full stepper motor control approach, as this is a timelapse machine and it would spend most of it's time moving very slowly and precisely. I spec'd out a sizable stepper off ebay, an Arduino nano and a easy driver mini.
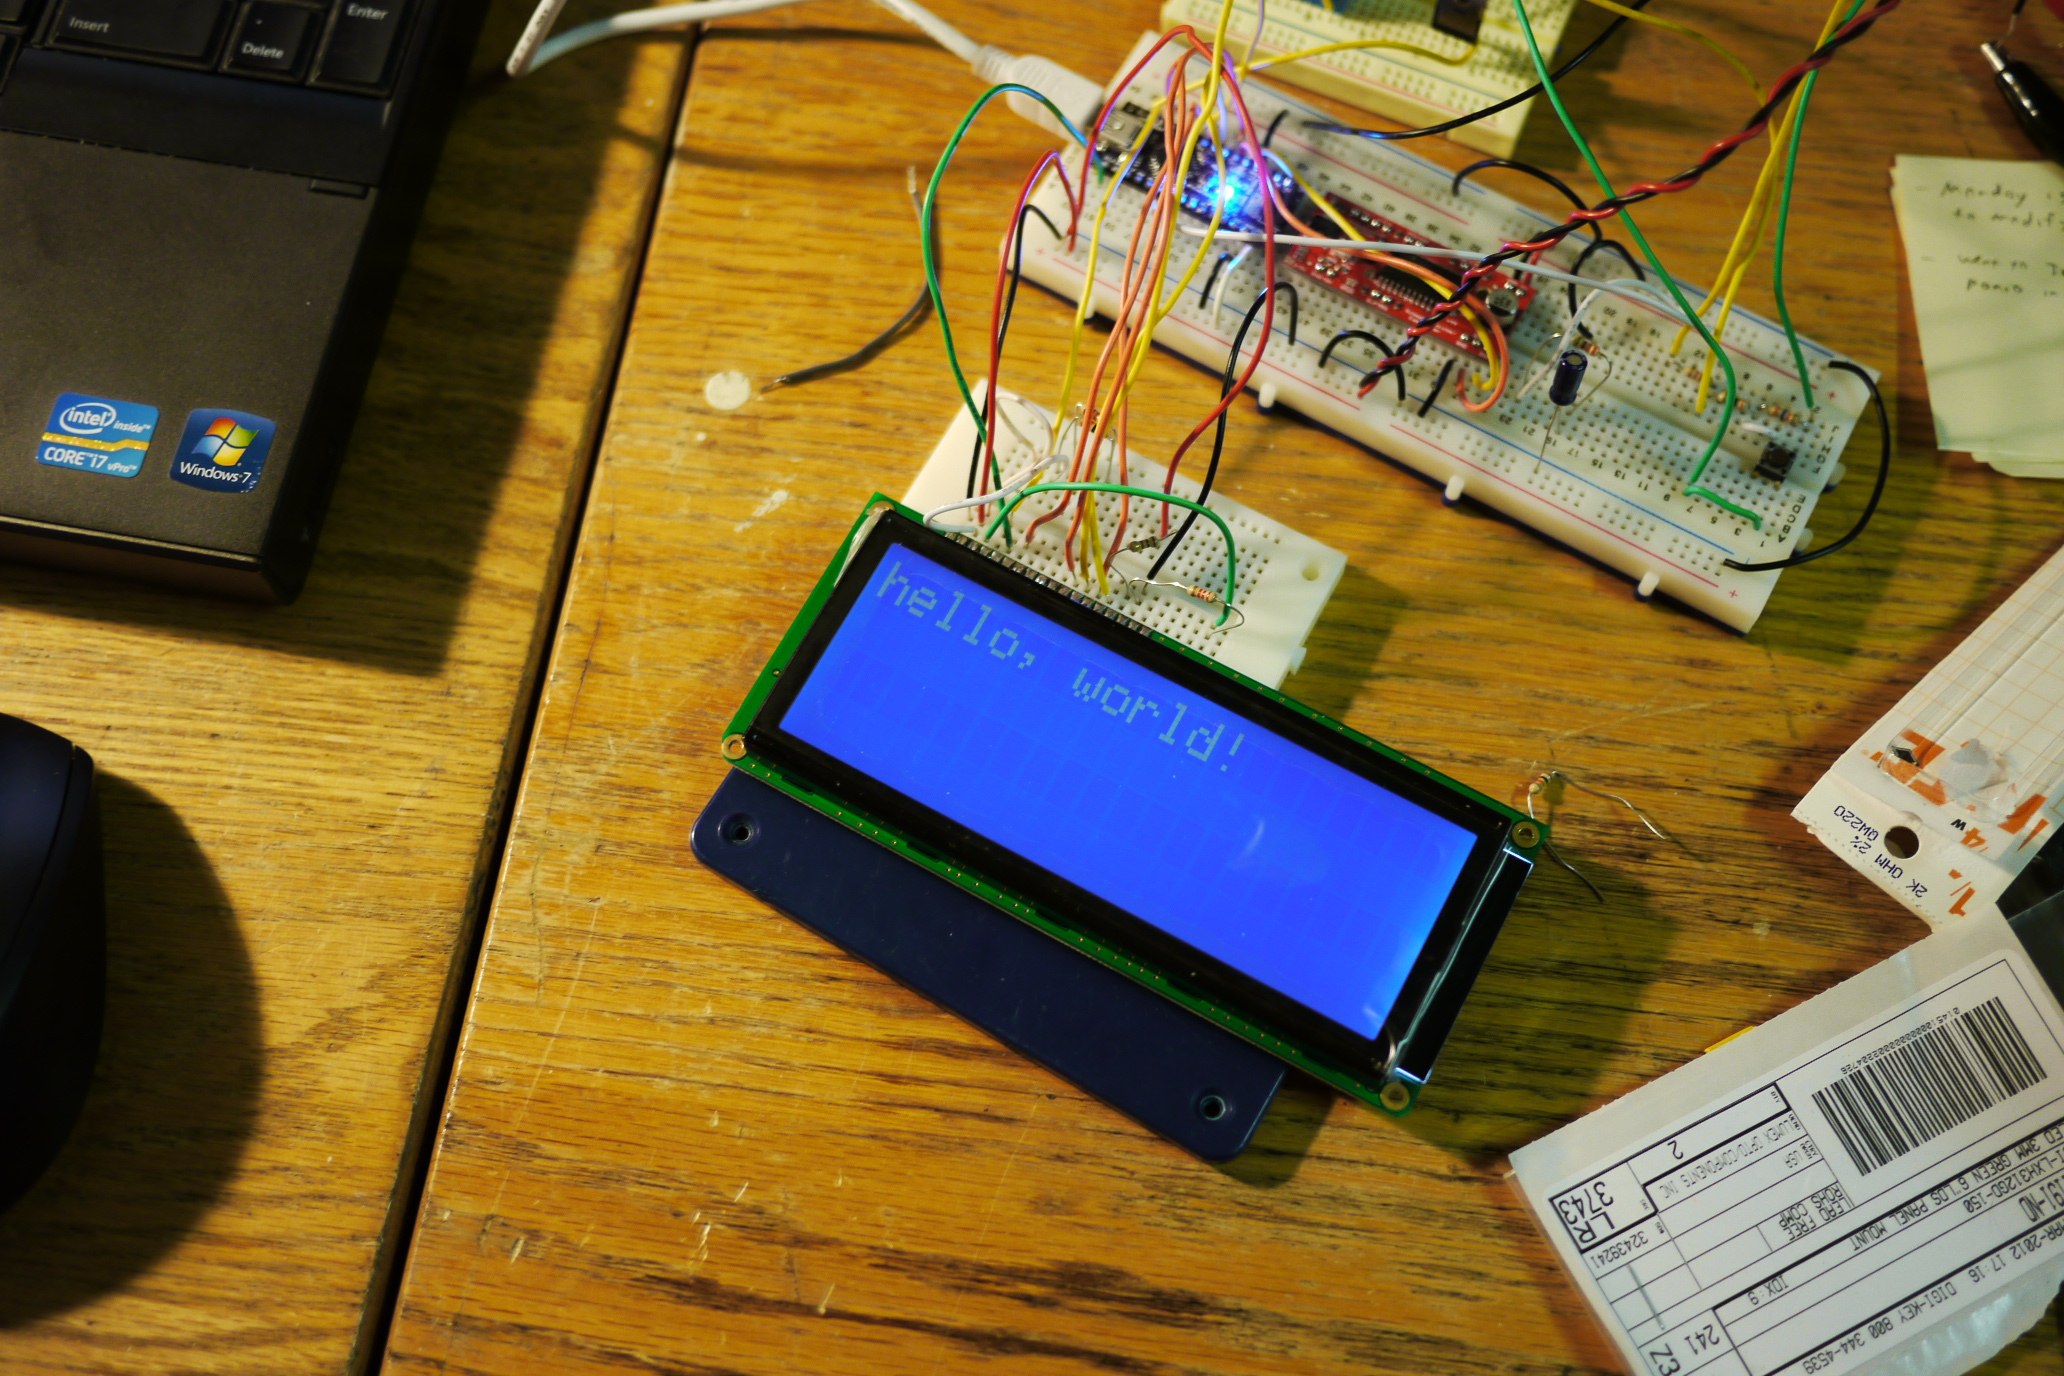
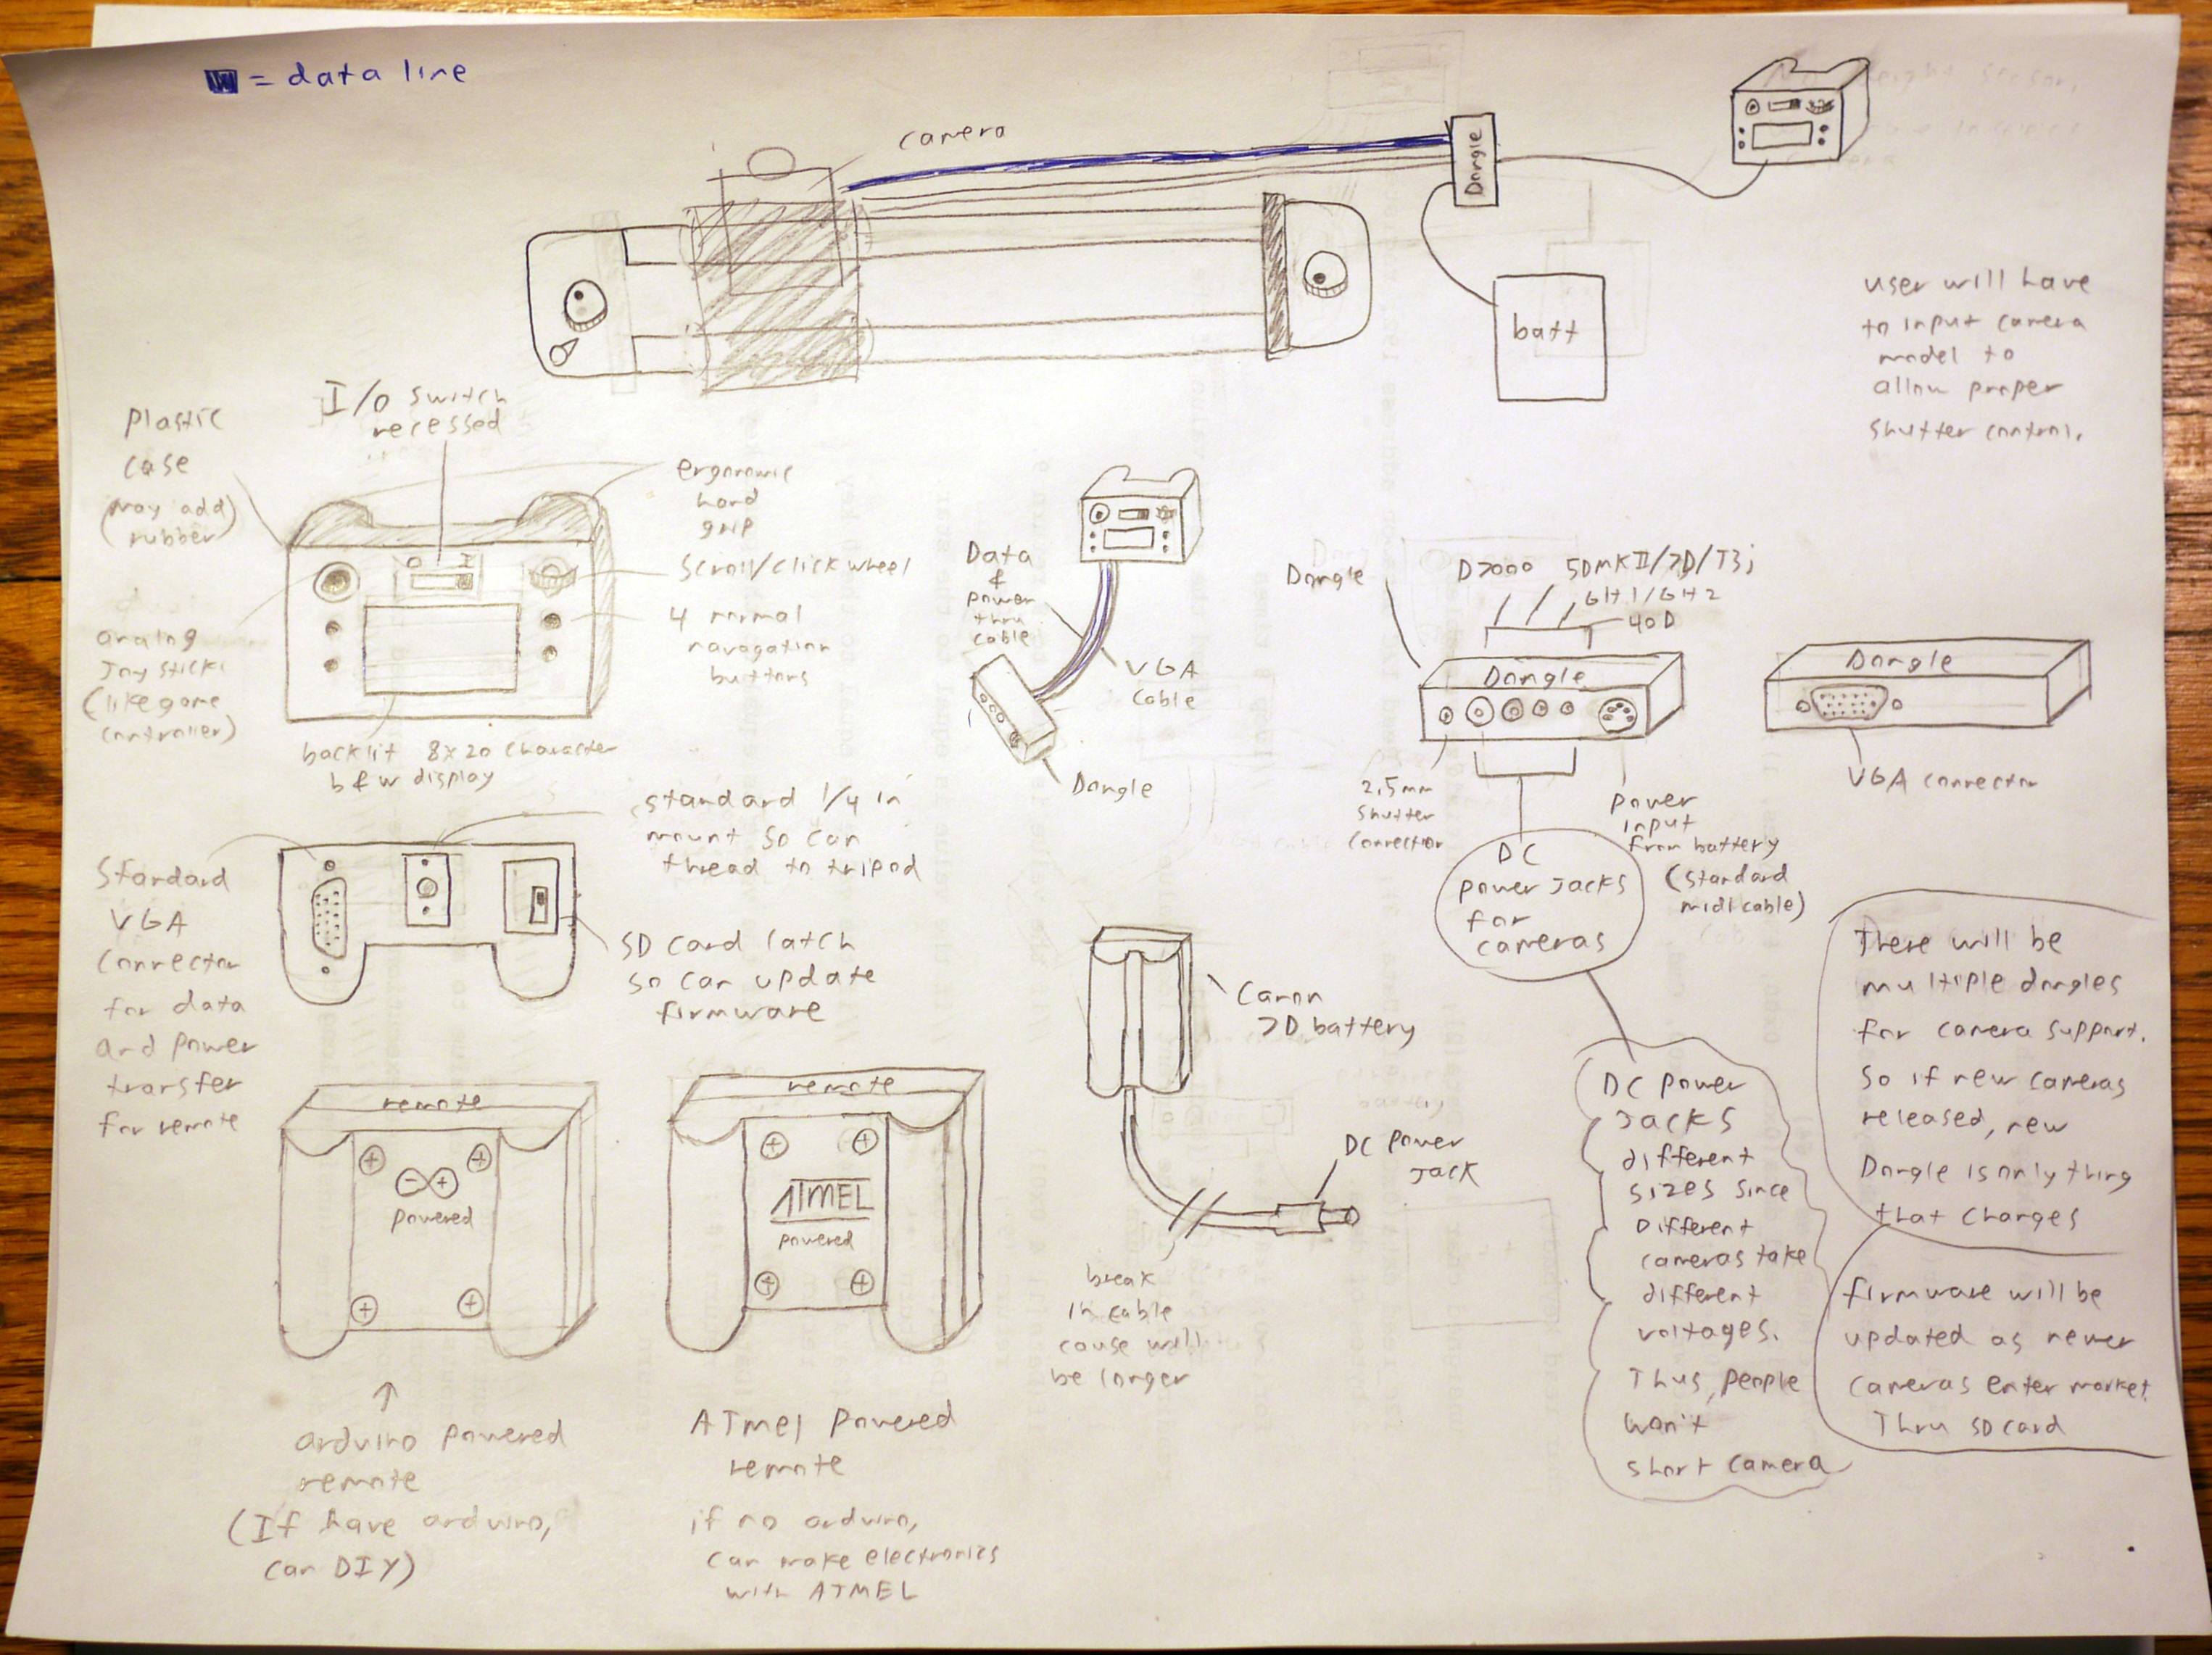
For the interface control unit, I spec'd out a 20x4 character LCD, a 8 way thumb joystick and 2 simple push buttons. The mechanical team decided that steel tubing would be the most appropriate material to use for the timelapse machine, as it was the cheapest option and easiest to acquire. Aluminum could have been the next best option, but it was within our best interests to keep the cost of manufacture down, as we were all college students with no income :D. Besides this, our final design requirements did not specify lightweight, the unit just needed to fit into an average-sized car with the seats folded.
The IED Course projects at Rensselaer depended on the budget of the students, and the students entirely, so cost really did play a major factor in the development of this project, as well as a majority of all the other students projects. Because I was one of the most notorious dumpster divers on campus, I scored quite a few major components that allowed us to keep design costs down and project quality high. One of these components was the battery box.
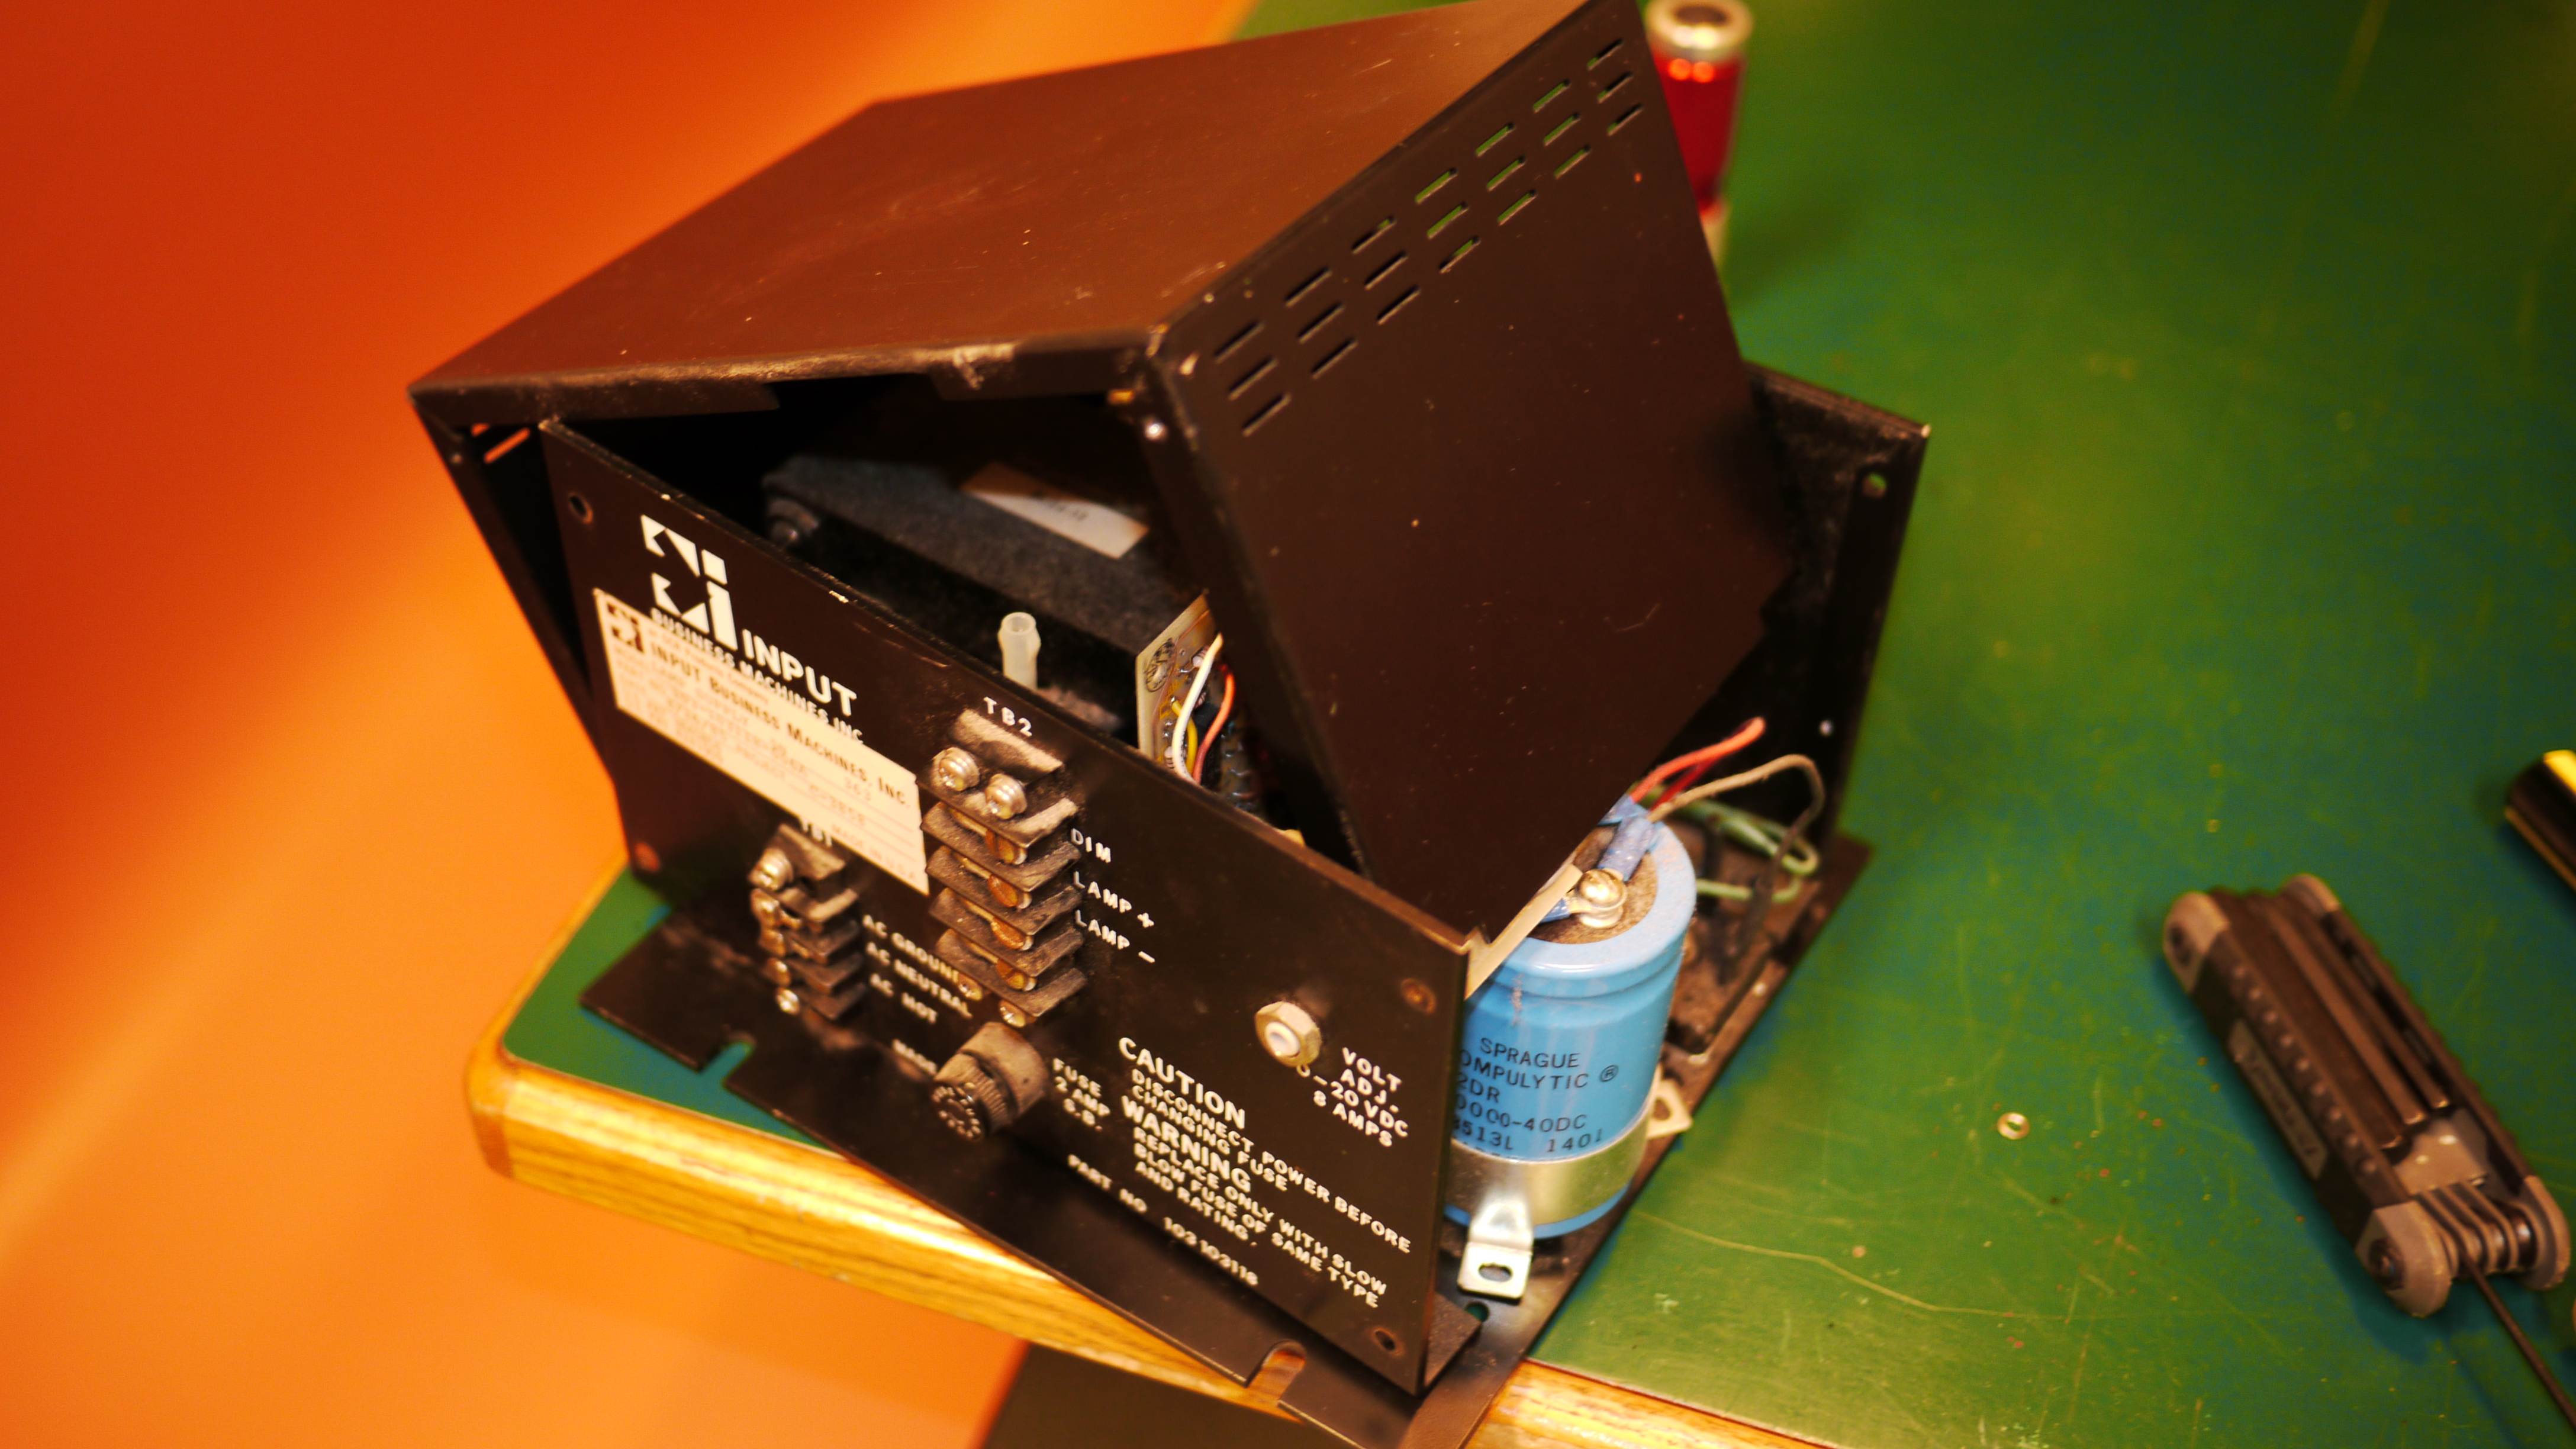
The battery box was home to a lamp transformer in a past life that I repurposed to house the 12v, 8v and 5v power source for the camera slider. The case was a rigid folded aluminum box with threaded inserts - a perfect enclosure for the power source. The cavity was large enough to fit the entire battery bank and the dc-dc converters necessary to drive the camera, stepper motor and control electronics.
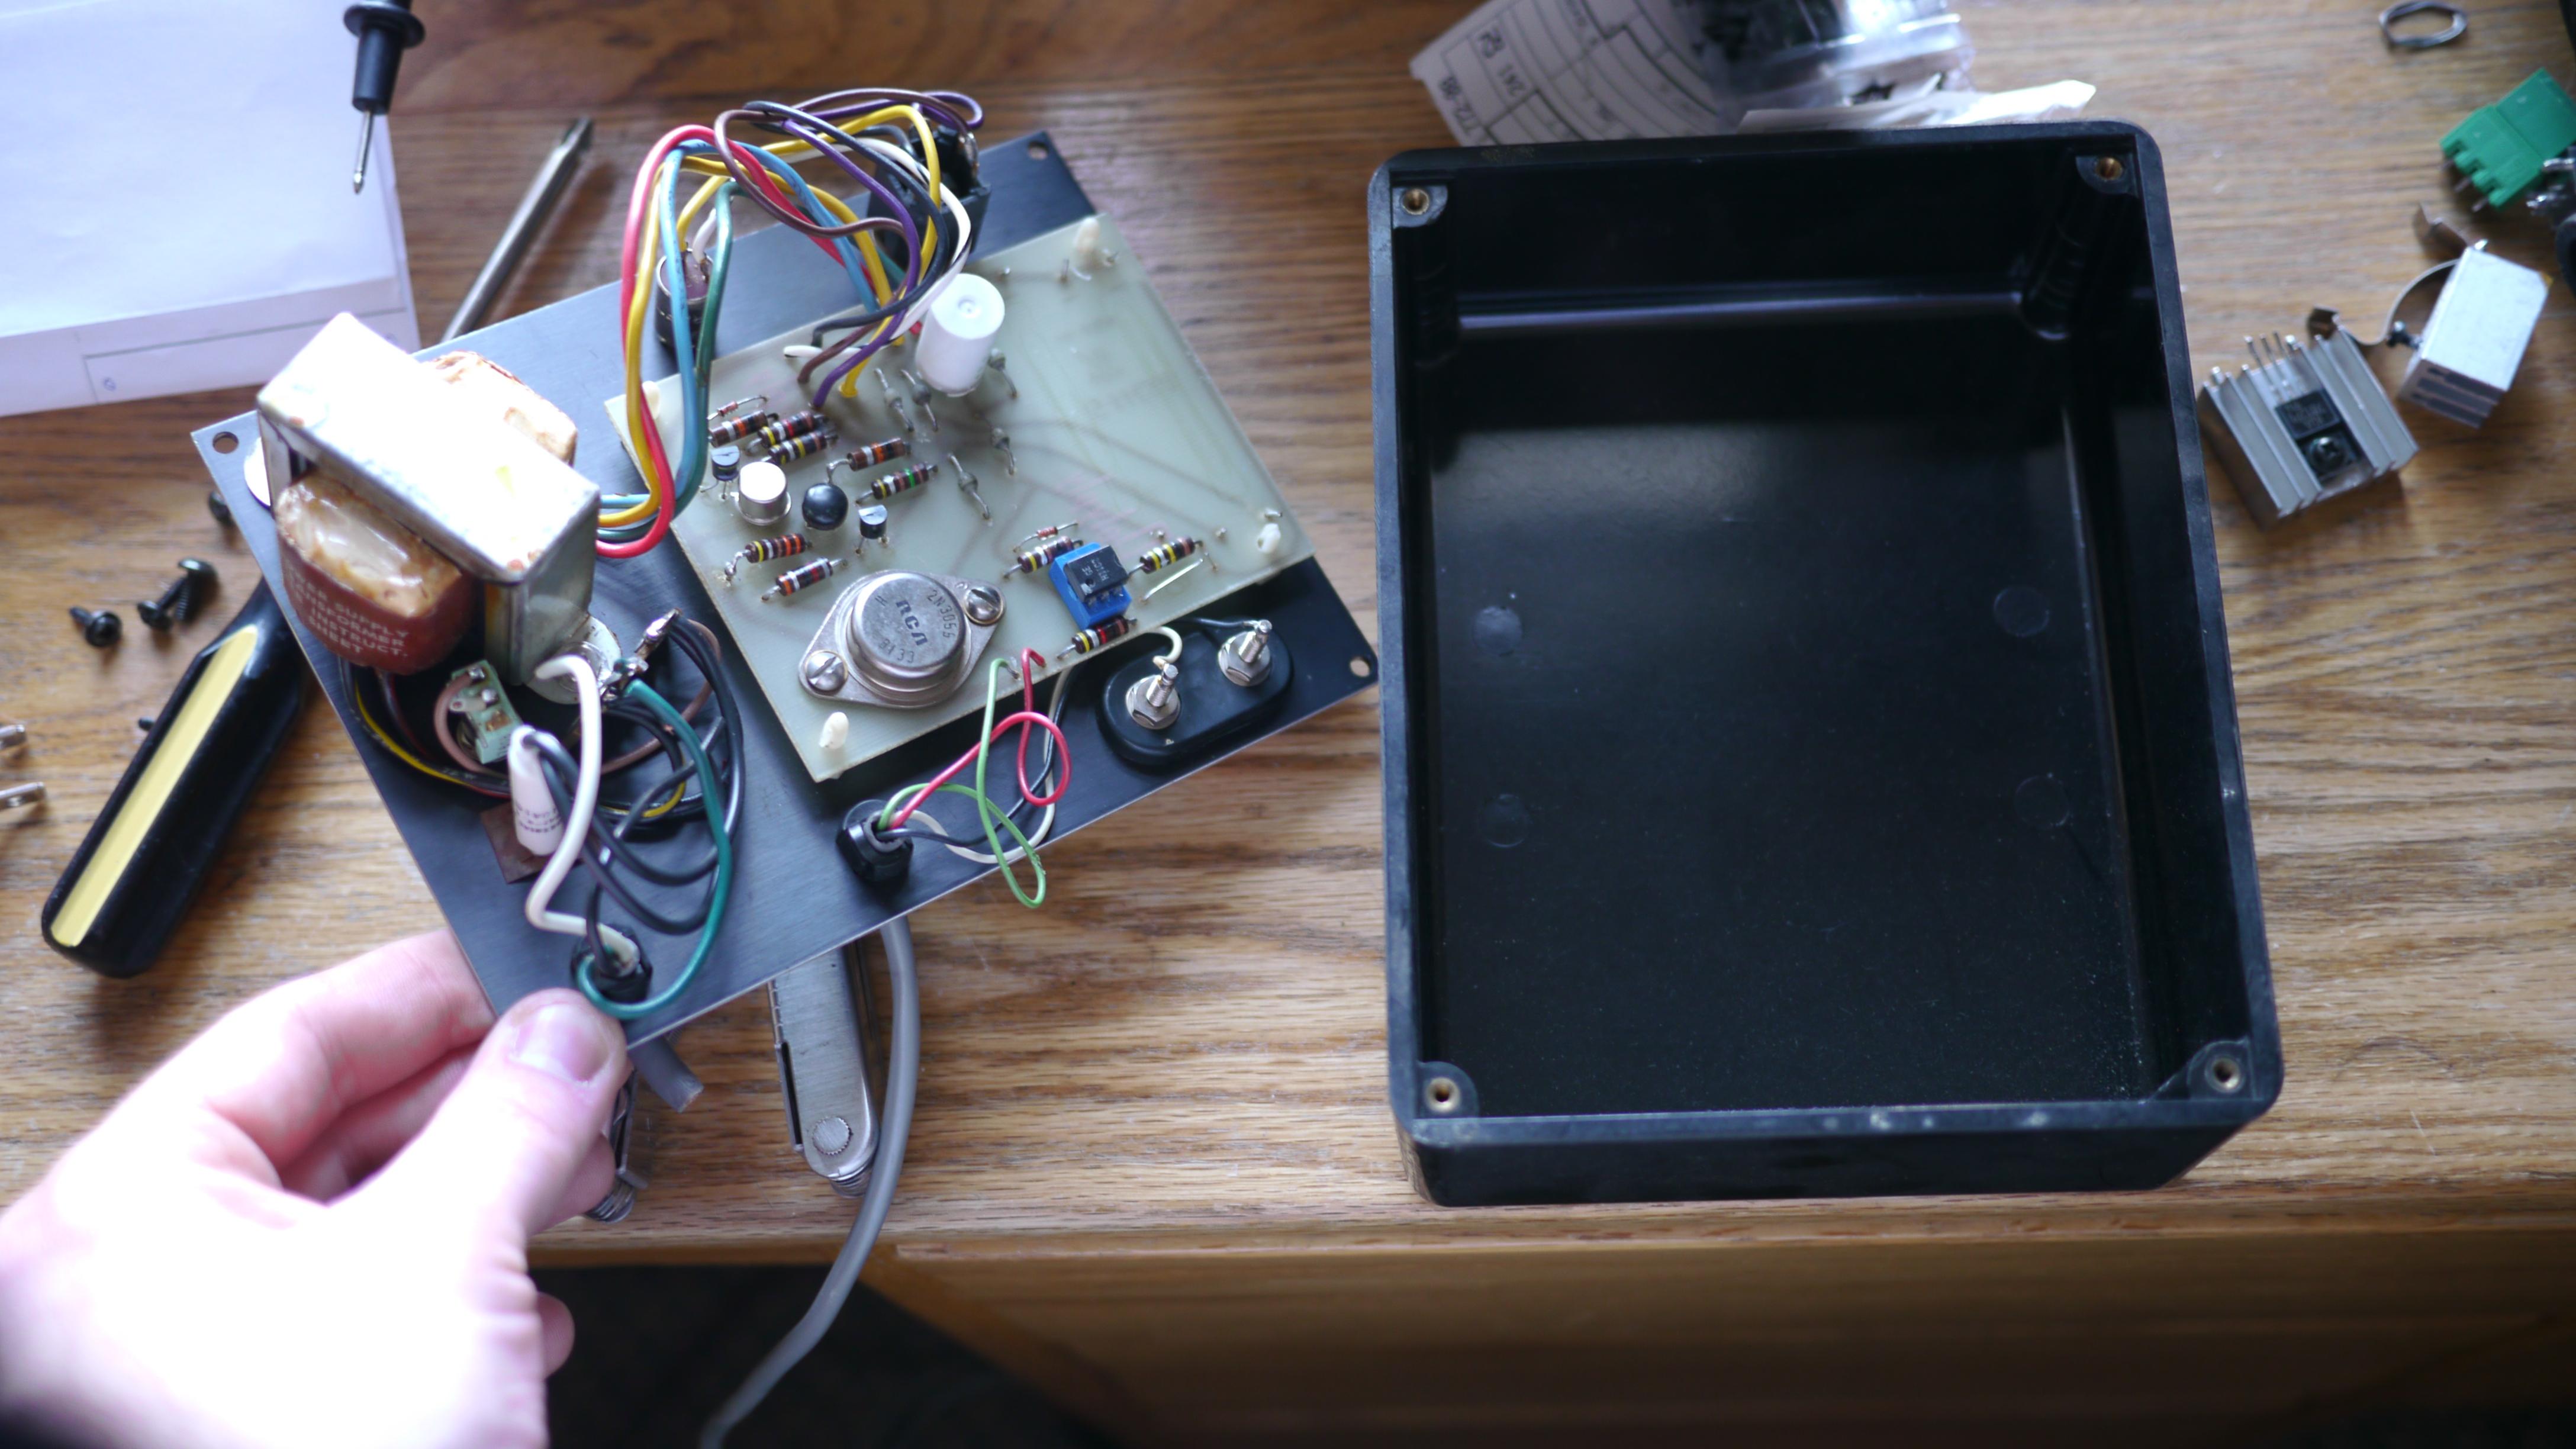
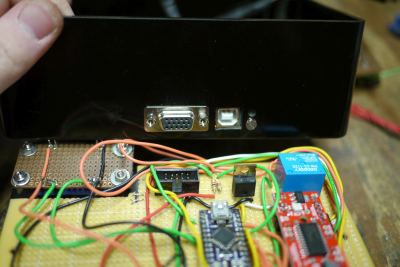
The interface control unit used a Bakelite project box that I salvaged from a lab test jig control box. The solid core wires were borrowed from the electronics lab. The multi-core wires were salvaged from old computer power supplies, printers, PS/2 keyboard cables, S-Video, VGA, and DVI cables. The internal electrical connectors were trimmed down PC molex connectors.
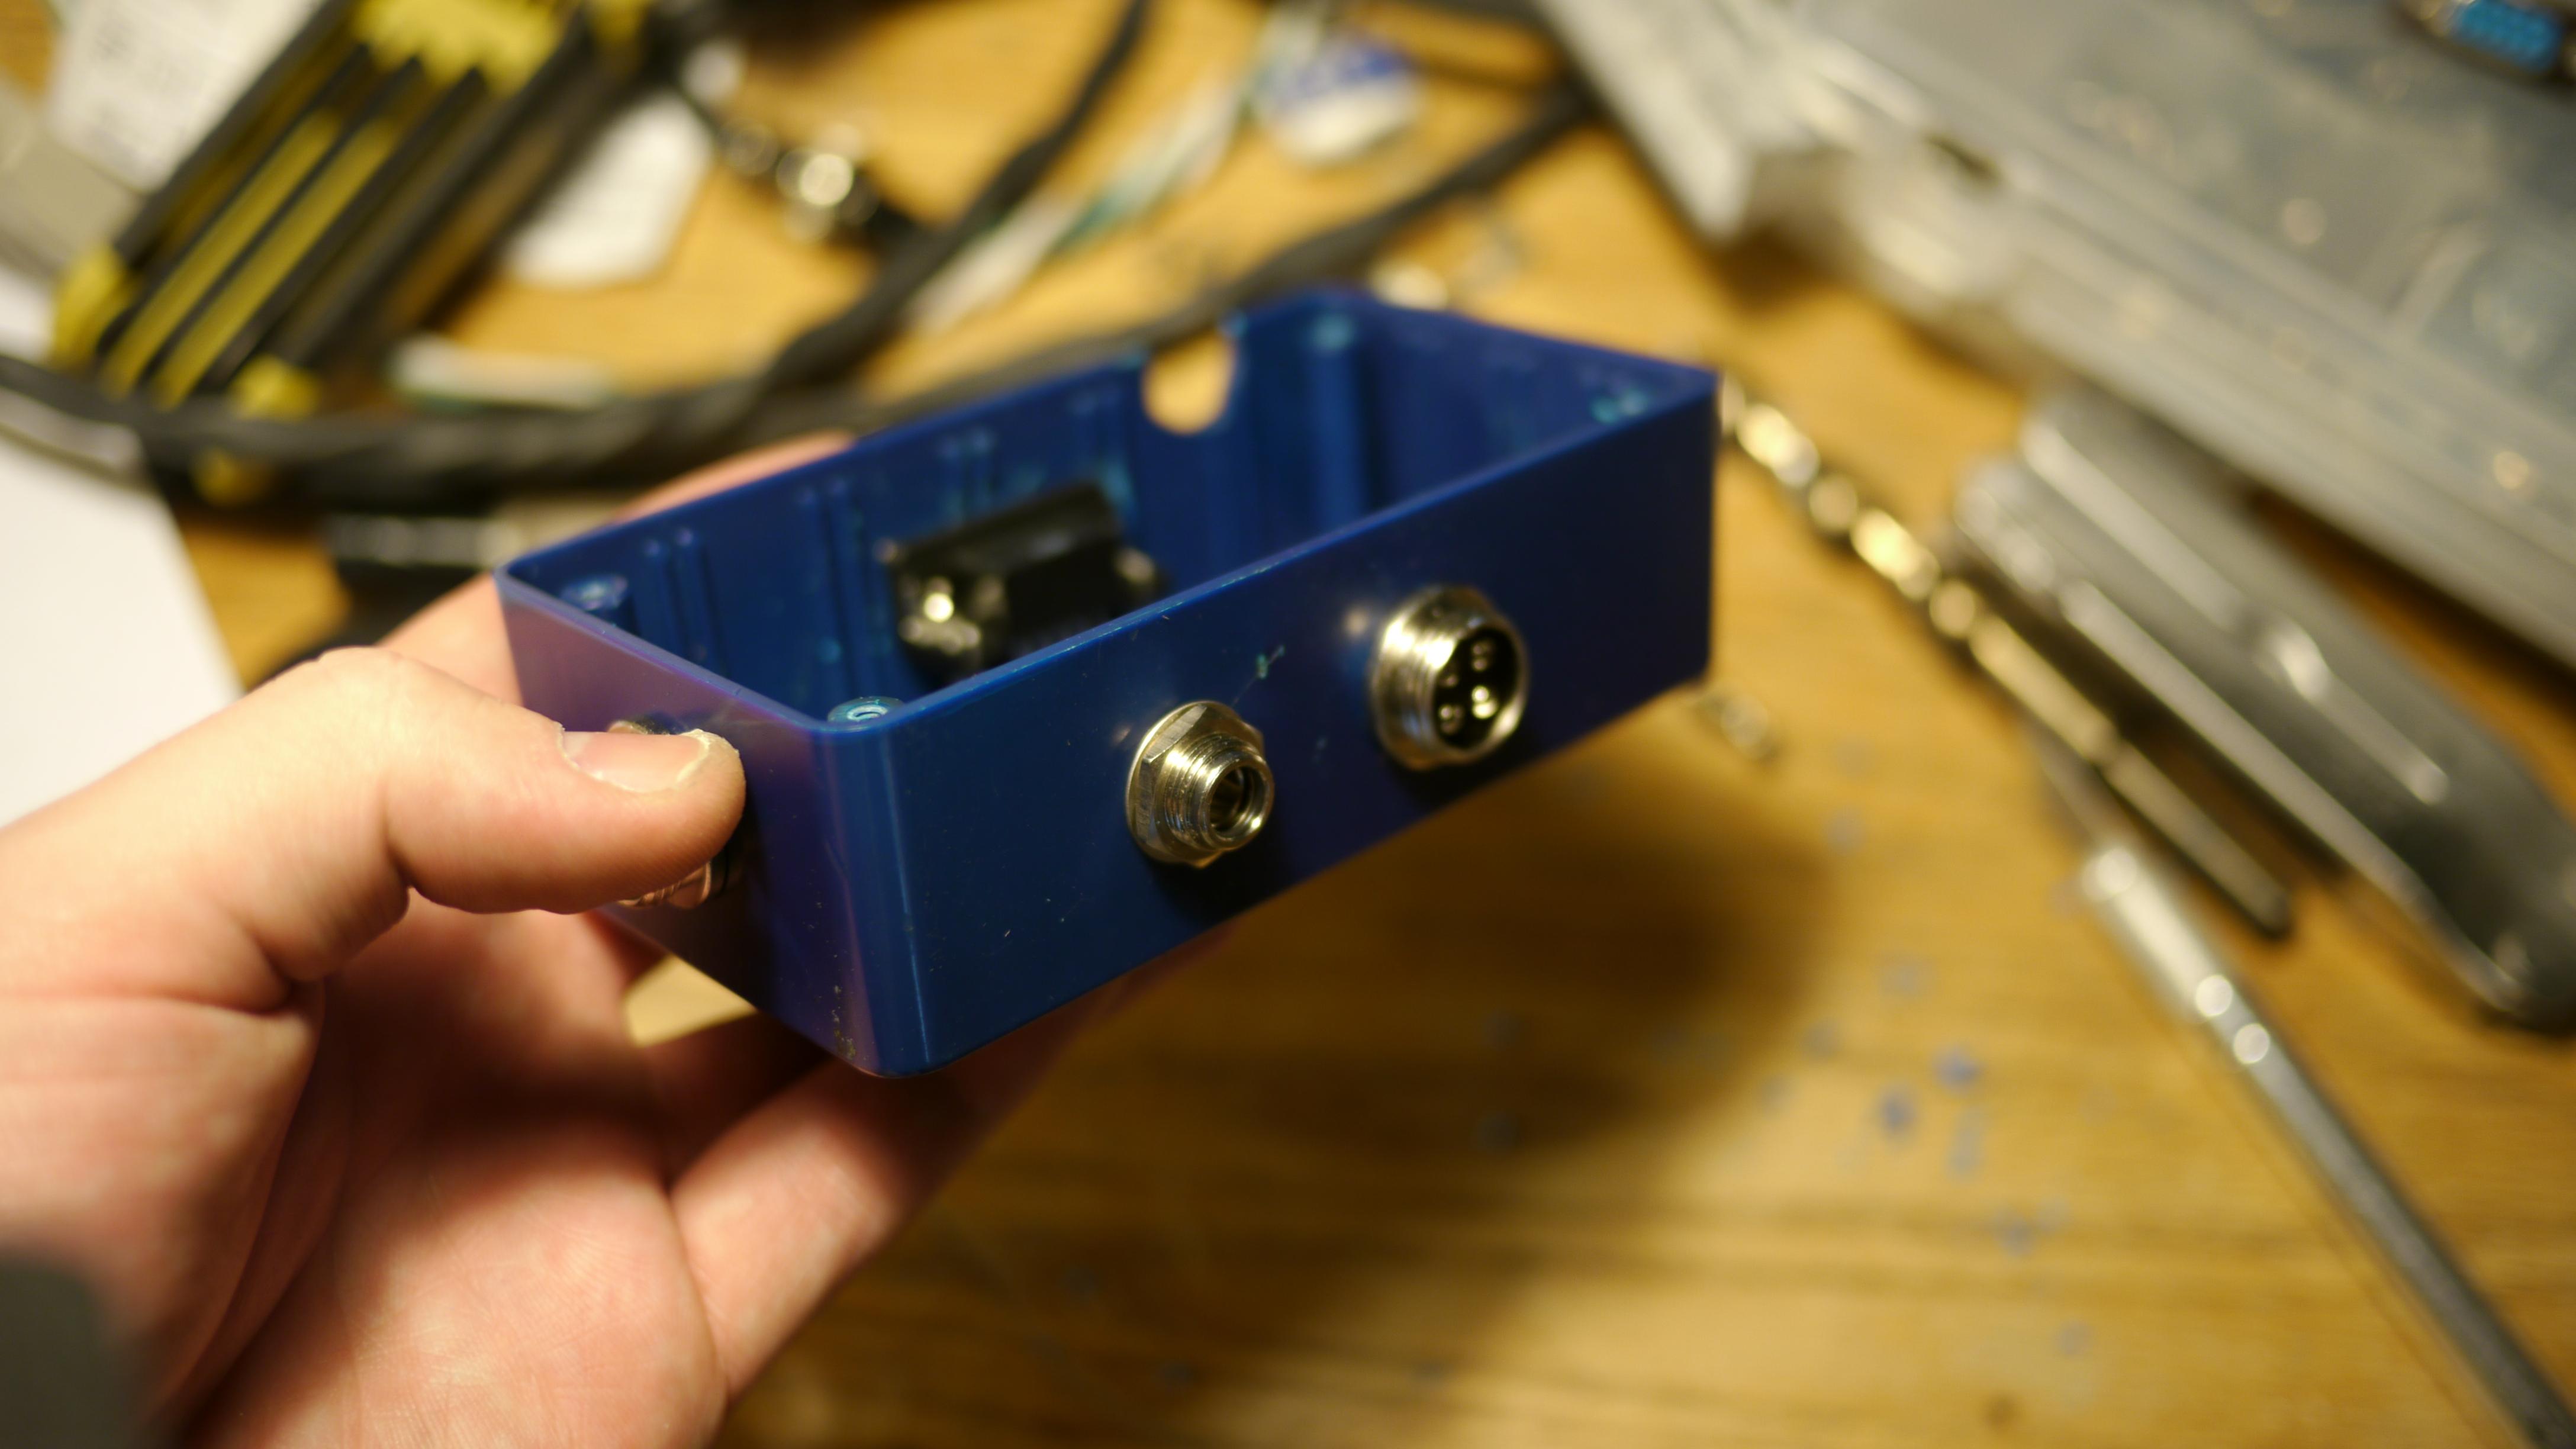
The original dongle was a project box saved from the ewaste bins. The fastening hardware was used out of my personal collection - most of which was salvaged from other discarded devices. The timing belt and pulleys were left over components from a team mates high school robotics team. There were of course expenditures, but we kept them to an all time minimum. All we really purchased was the steel, perfboards, LCD, joystick, the Arduino an h-bridge chip and a few panel mount connectors. That's it.
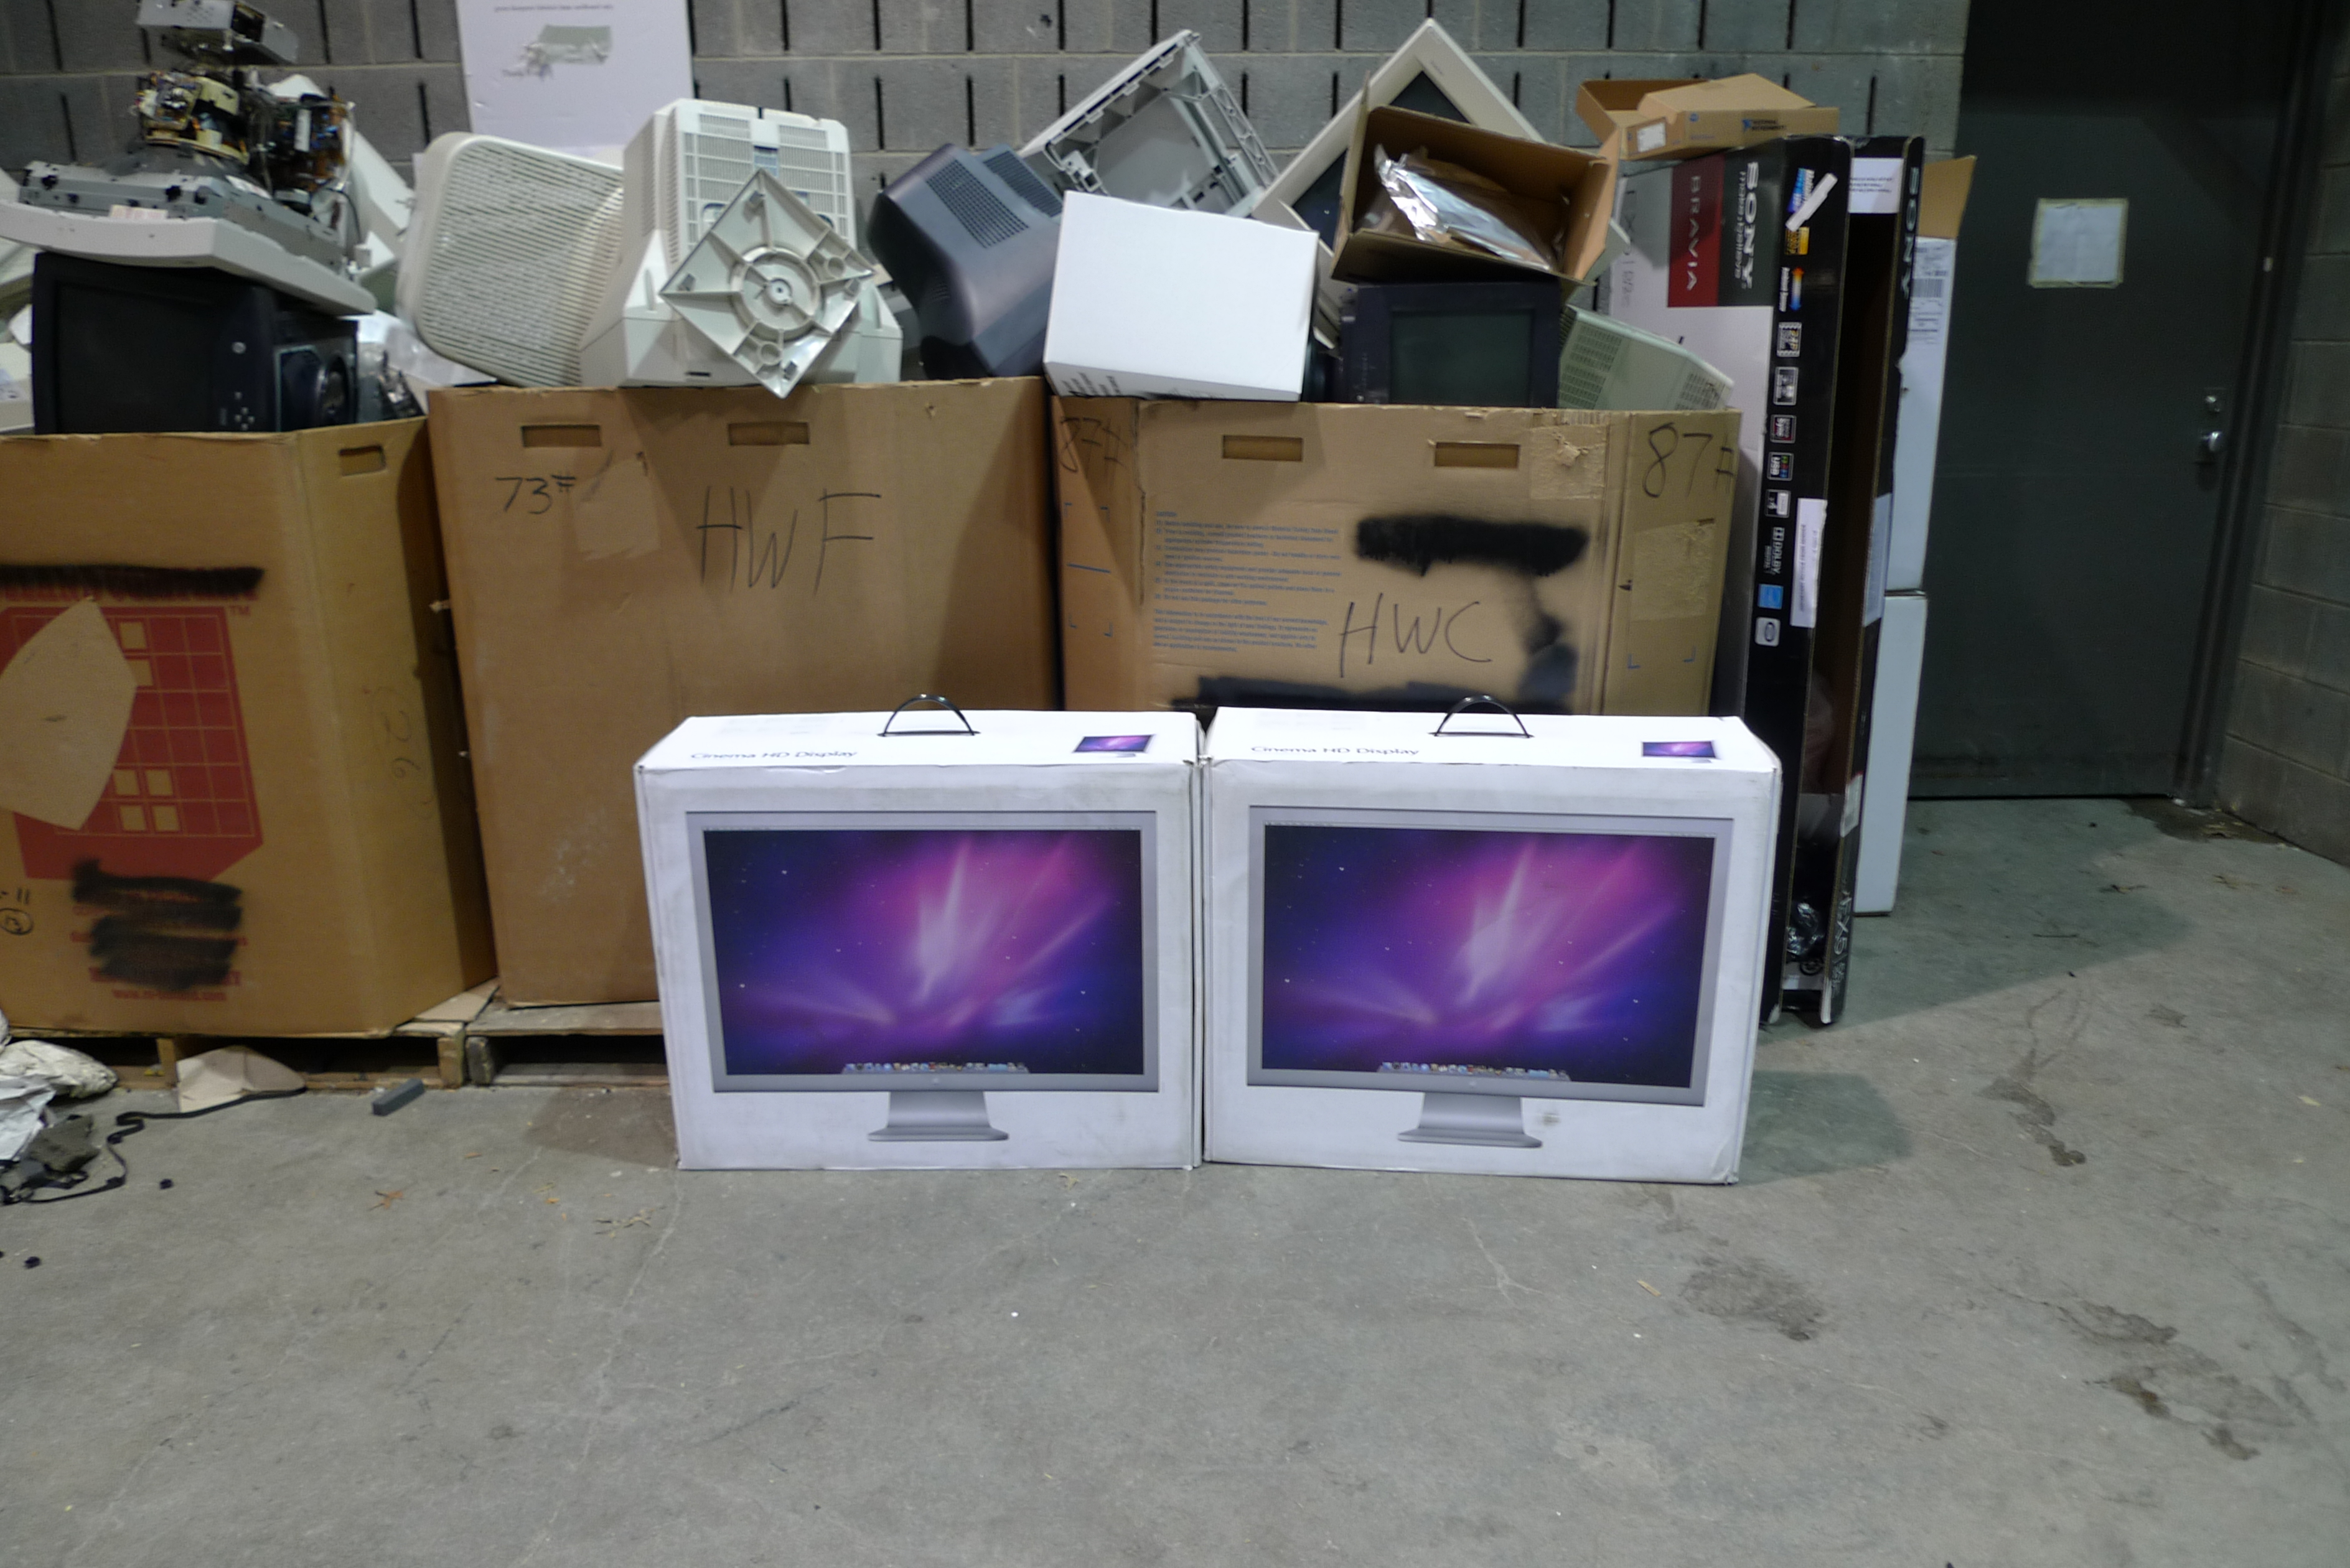
One of the shining benefits of Rensselaer was the golden ewaste bins lined in unwanted electronics. Legend has it, on a particular night in March you can still hear the faint sighs from the JEC vents of glassy-eyed EE grad students as they break their last pencil on the 11th hour of their thesis deadline. Some say it's the Shangri-La of test equipment's past. All this and more you will find waiting for you in the ewaste bins of RPI. The rigid cardboard bins are not labeled, they are simply present and waiting to be found. Seek them out and they will embrace you.
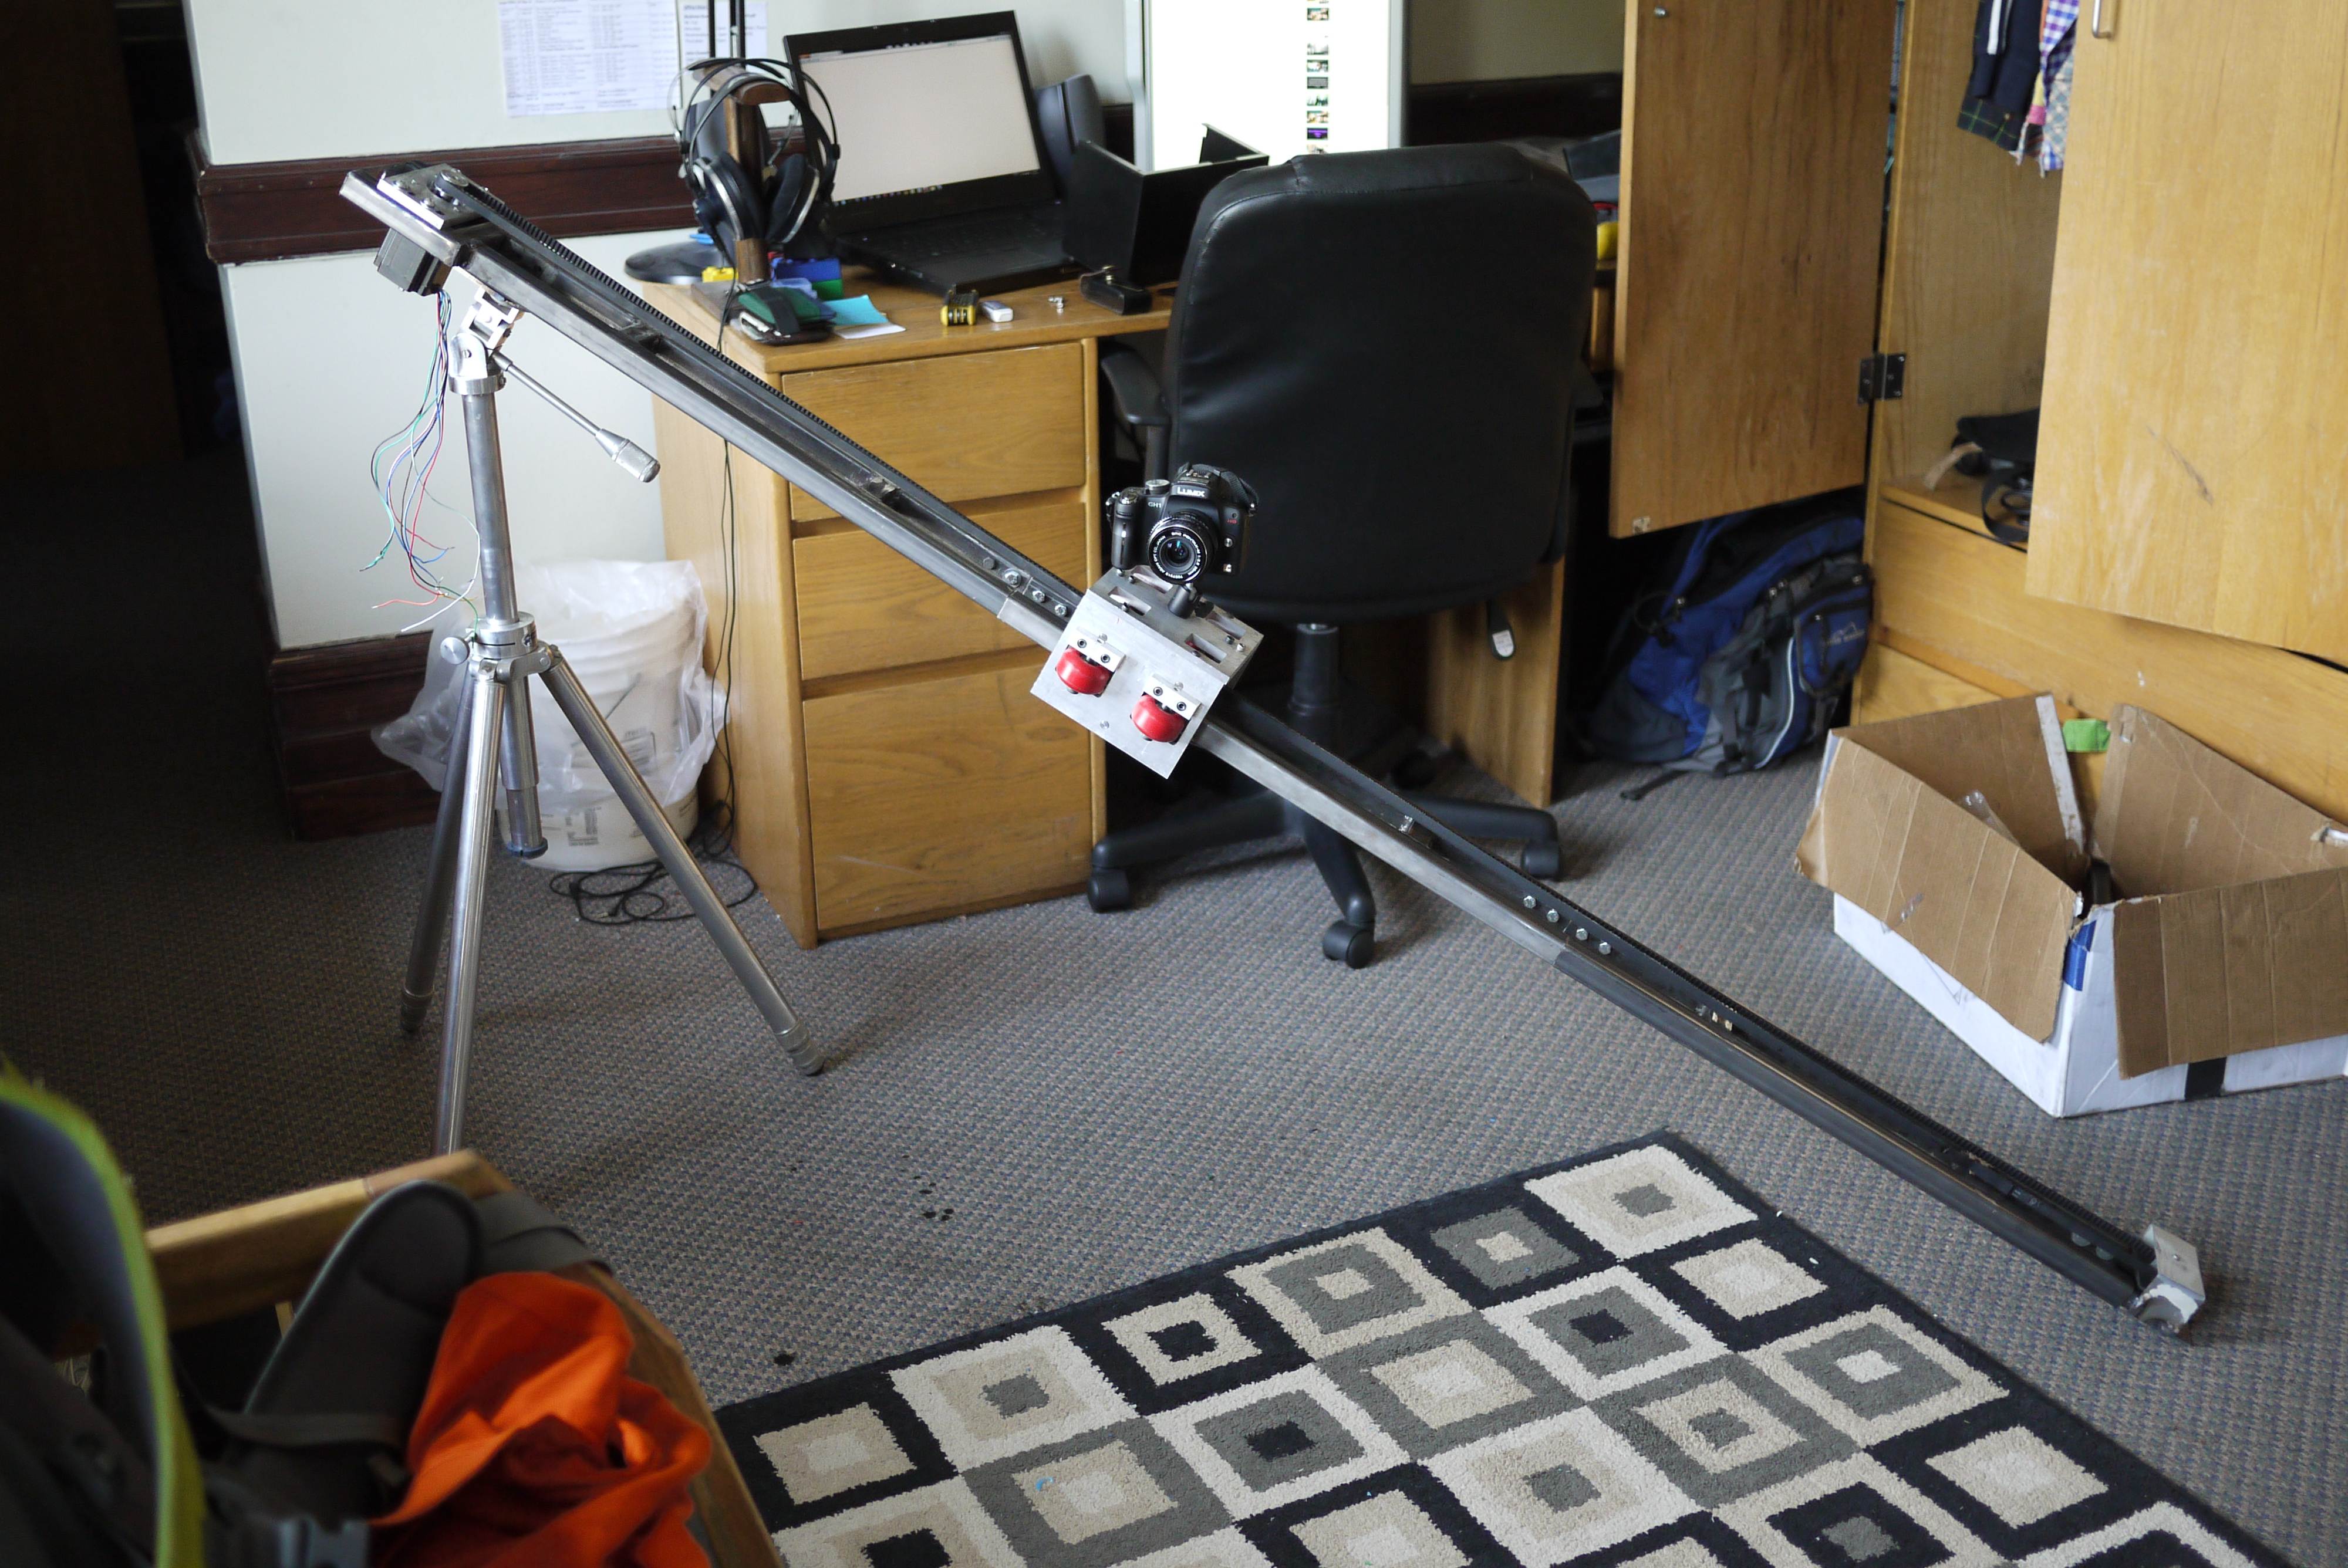
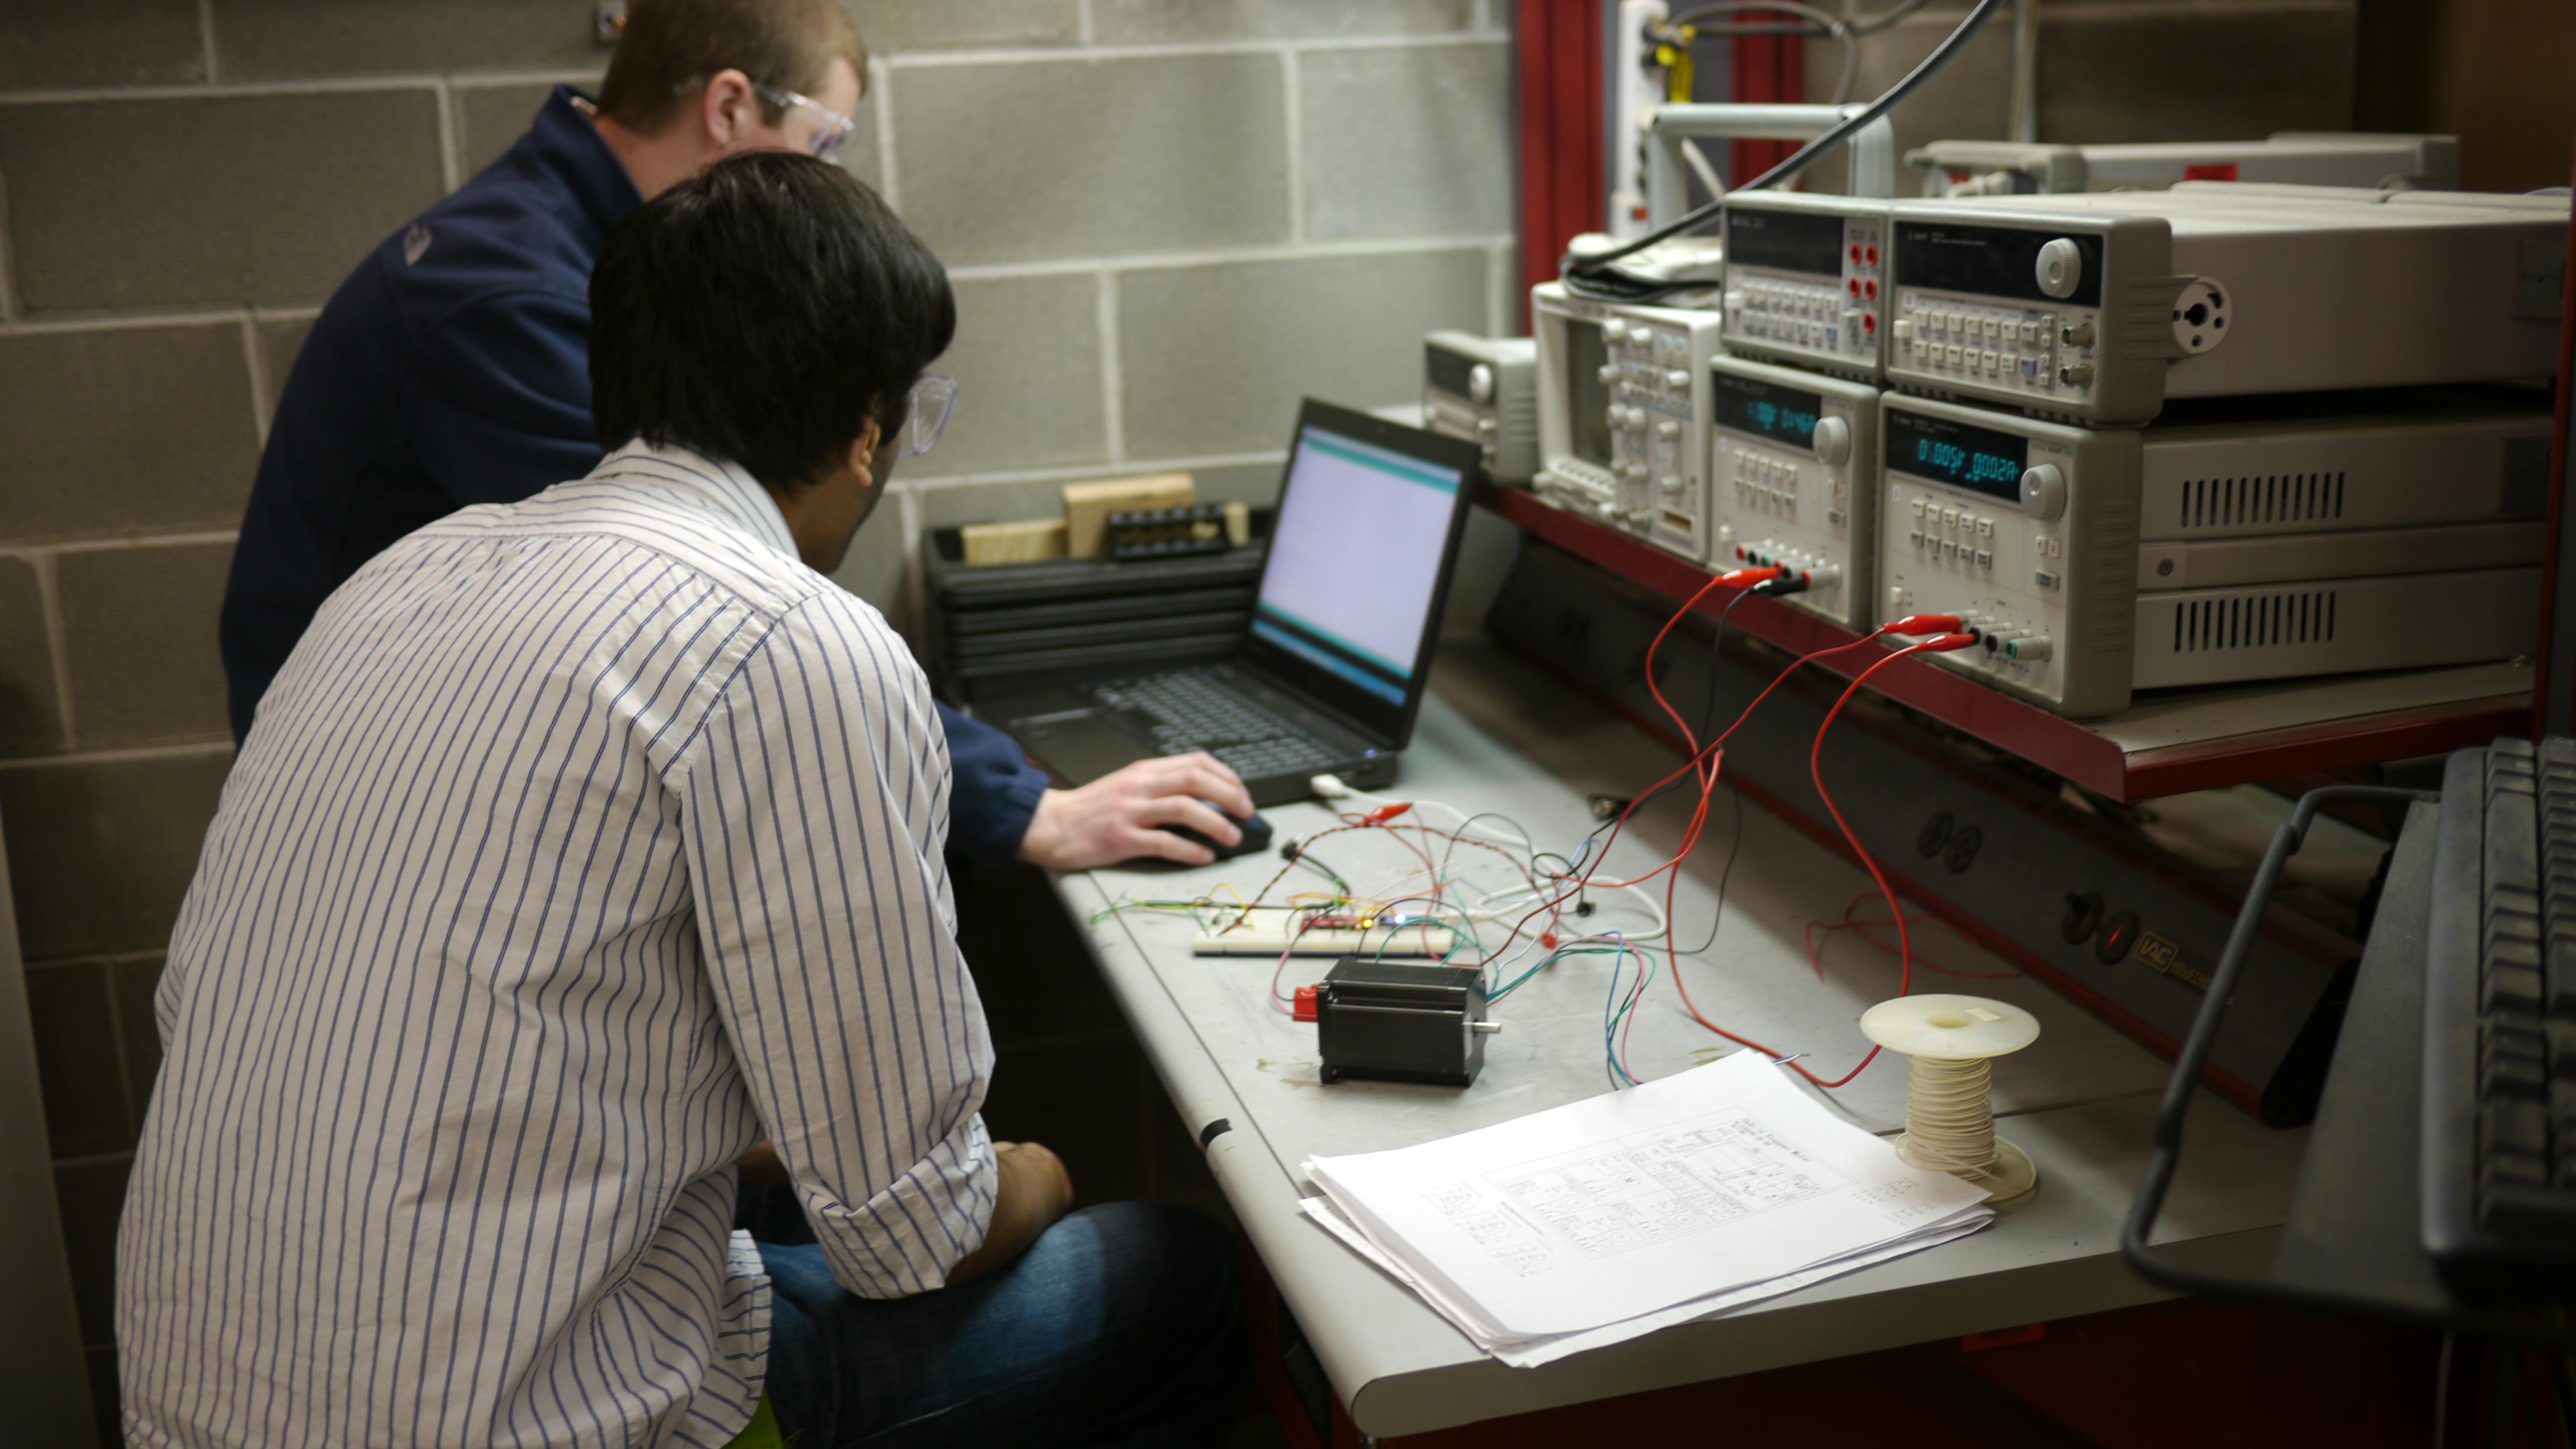
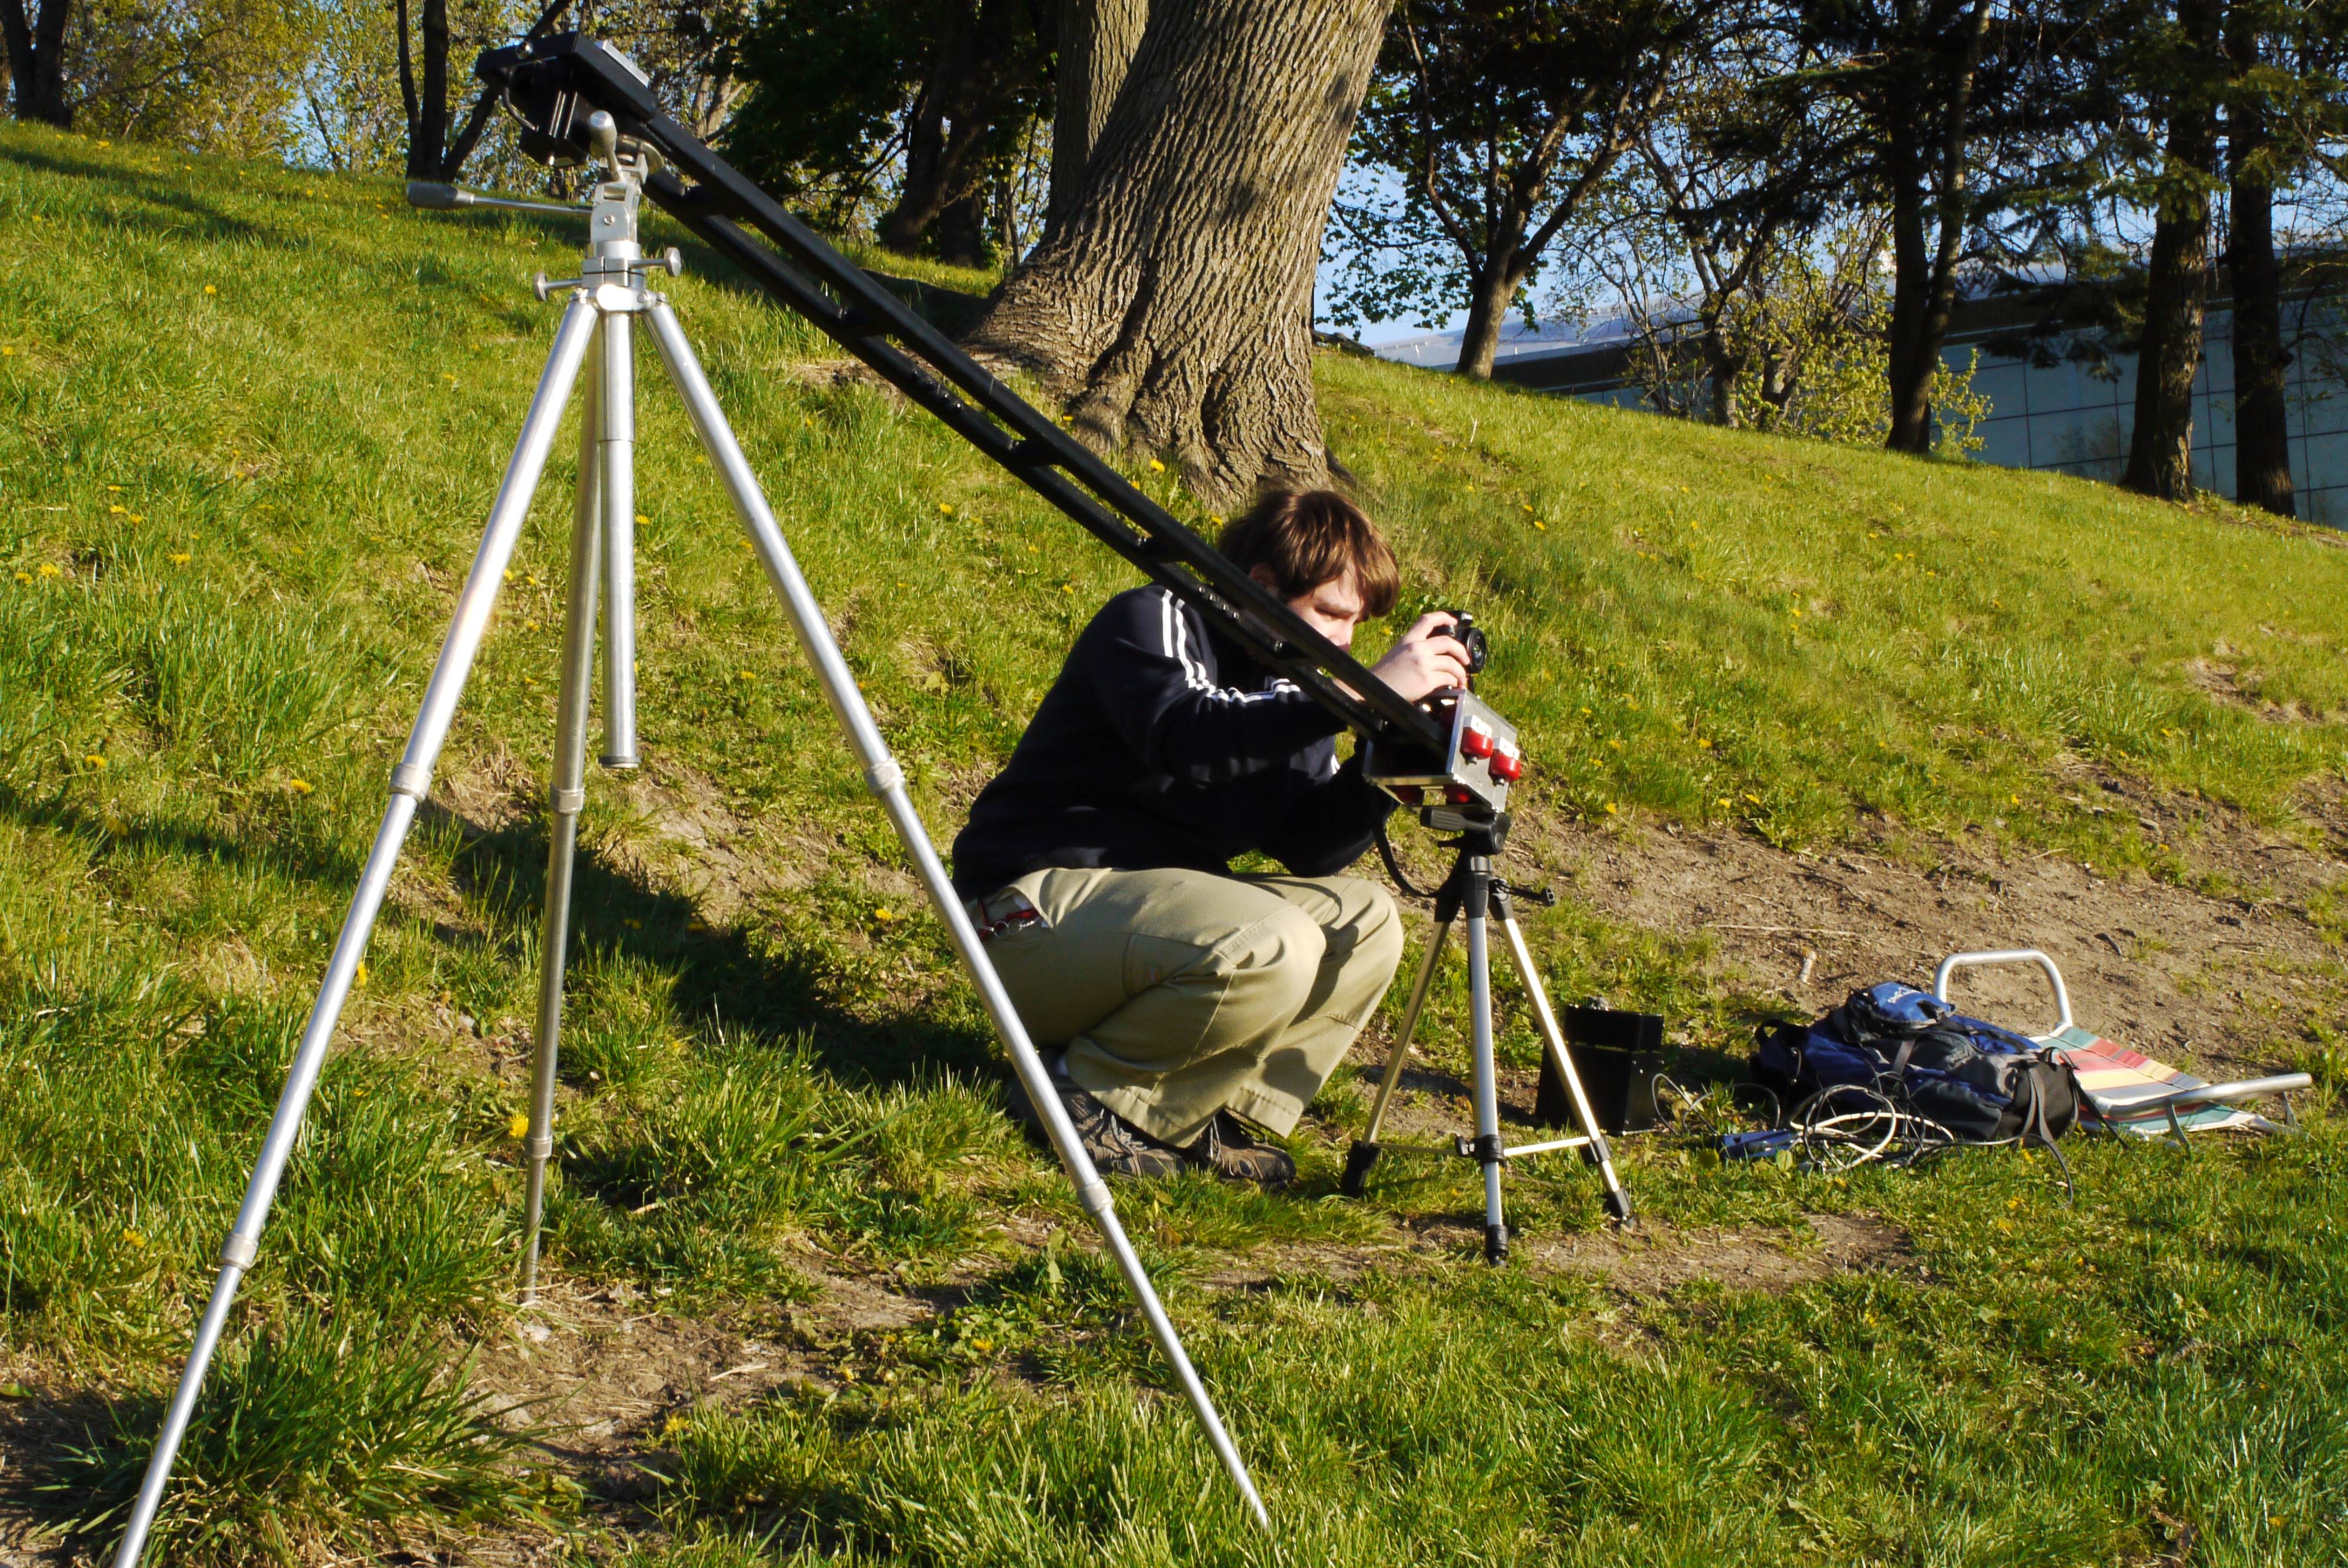
In a matter of a few weeks, we had a working prototype. The original prototype was very finicky, but the carriage moved, stopped, triggered a camera shutter and continued, just as intended. At the time, I had entire setup stored in my dorm room, as transporting it and the tripods back and forth to IED lab was a chore.
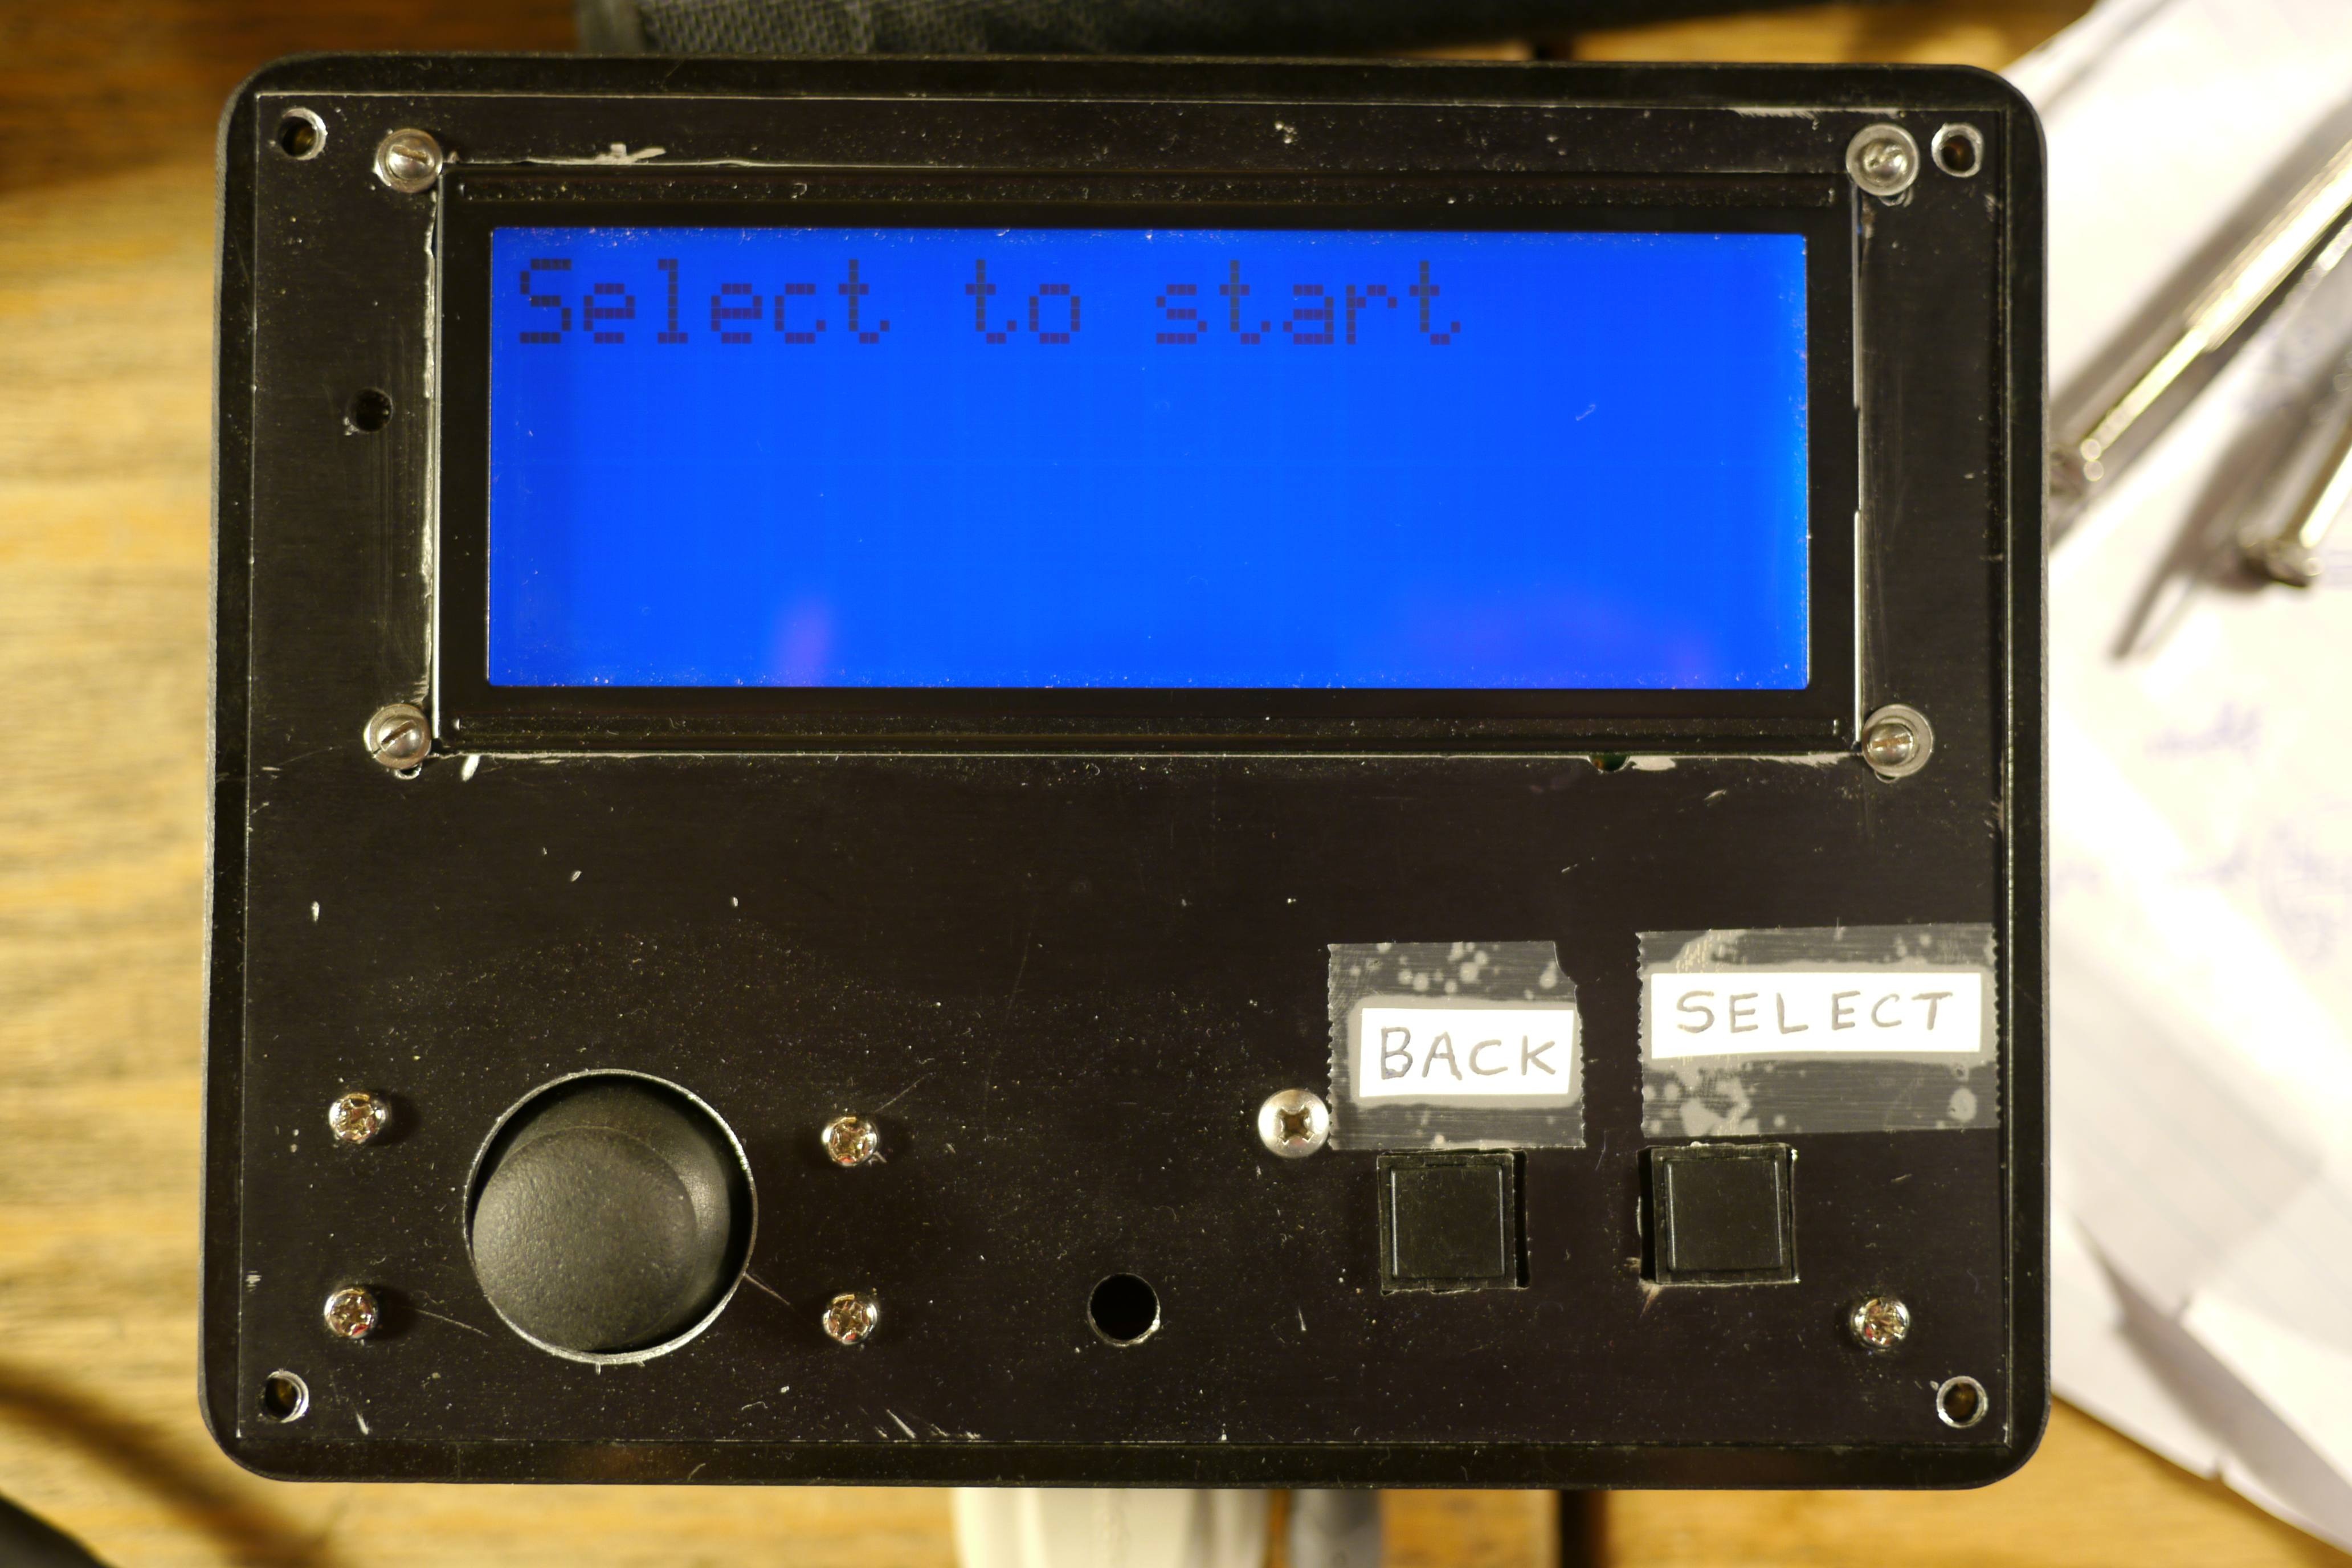
The controller was hard-coded and relied on one button press to begin timelapse operations since designing an entire interface with menus and graphical characters proved to be too time consuming. Having a functional device before semester's end became more important than having a fluid and easy to use interface.

The next step was to improve reliability and wire everything up in a tidy manner. Transporting a rats nest of wires was not going to cut it for the first maiden sail of the timelapse machine. Point to point wiring is a bit of a chore, but solid core wire and a perfboard is still one the quickest ways to prototype without having to wait on a PCB to be manufactured.
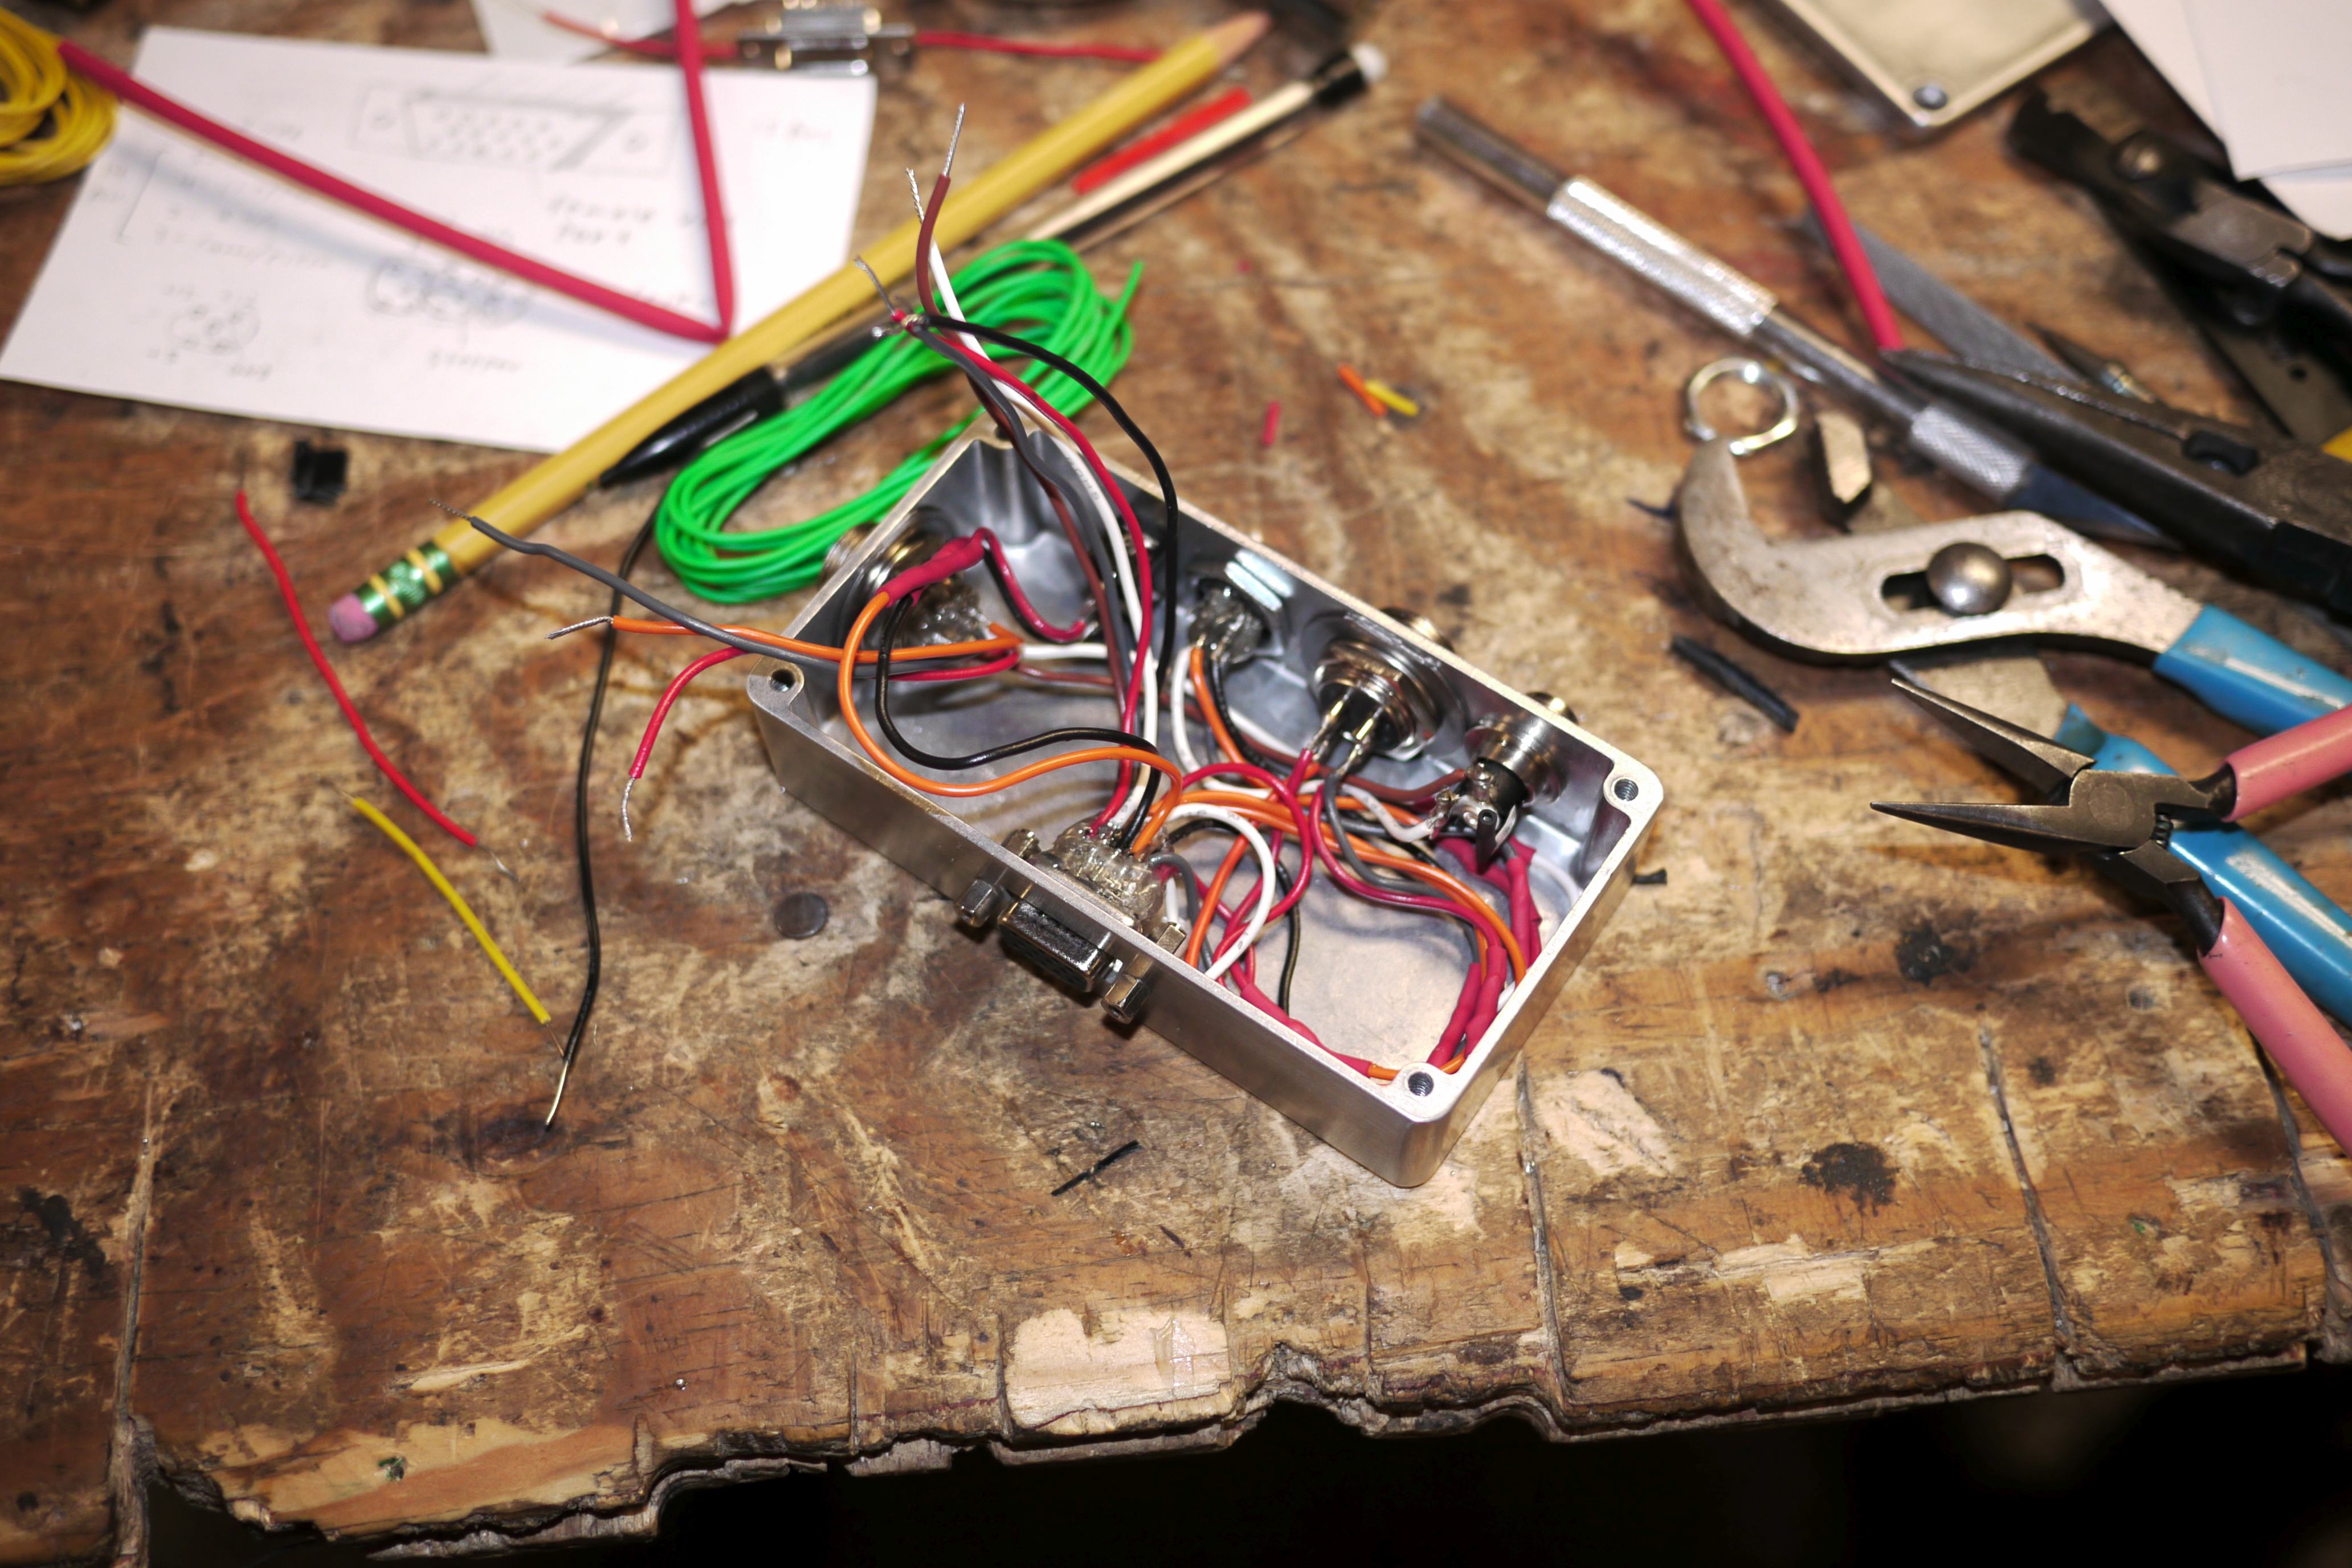
This is where the standardization of cables came in handy. All I had to do was make a connector pinout diagram, use commonly manufactured front panel connectors, plug everything in and bingo start shooting. No custom cables necessary! Using standard connectors was a win-win: it kept costs down and allowed for for ease of availability. The reason I choose VGA and a 5 pin DIN connector is simple: they are both standard, readily available connectors which are easy to come by and relatively cheap. Anyone could go to an electronics or audio store, and be able to get replacement cables for their slider. VGA cables are still widely available to drive monitors and projectors in business applications and MIDI cables are still widely used to drive keyboards and mixers in the music industry. Standardizing connectivity just makes everything easier.

A simple amazon search will reveal various midi and VGA cables for <$10. Very affordable. Besides this, I wanted people to be able to reuse these cables to connect other devices, so they are not proprietary in any manner. Proprietary cables serve as a negative externality in the market of electronic goods. Copper is copper and a cable is a cable, so why not use one cable to connect multiple devices and not have more singular use devices? With this project, someone could easily reuse the VGA cable to drive a monitor from their laptop and the midi cable to connect a musical keyboard in the case that they were not using the slider. Here's a good primer on MIDI.
Just because the slider was made from scraps, doesn't mean it performed poorly. This timelapse machine was designed to move anything from basic point & shoot cameras to the heaviest DSLR's on the market at the time, such as the Canon 1D Mark X and the Nikon D4. The control unit was written with older cameras in mind. Whereas new cameras feature timelapse functionality built in, the control unit was pre-programmed to accept any time increment and adjust camera shutter during servo motor down time. The built in intervalometer works with most cameras that trigger high on a 2.5mm remote shutter cable.
The camera slider was designed to be a stand alone device. It was intended to be a set-it-and-forget-it approach to film making. Part of the reasoning for this is because the best timelapse shots are those that sit undisturbed for days on end. Camera equipment is costly and adds up quickly, so having an inexpensive yet capable slider and an inexpensive legacy digital camera is the intended market. Not everyone has the time to watch their brane new multi thousand dollar full frame equipment 24/7, they just want an awesome timelapse.

Of course, there's no ignoring the support equipment required to run the timelapse machine. Ensuring consistent power for a servo motor and camera for multiple days is a desirable trait for timelapse rigs. The lamp box served as a cavernous region to store 594 watt hours of battery power and the dc-dc converters required for camera power. While this does not seem like a tremendous amount of energy density, the cell chemistry was chosen largely due to the high current output of LiFePO4 cells and the low chance of runaway fire risk. At the time, most traditional sources of Li-ion cells were used laptop battery packs or the infamous clonezone very appropriately named "UltraFire" cells. LiFePO4 was a better all around choice.

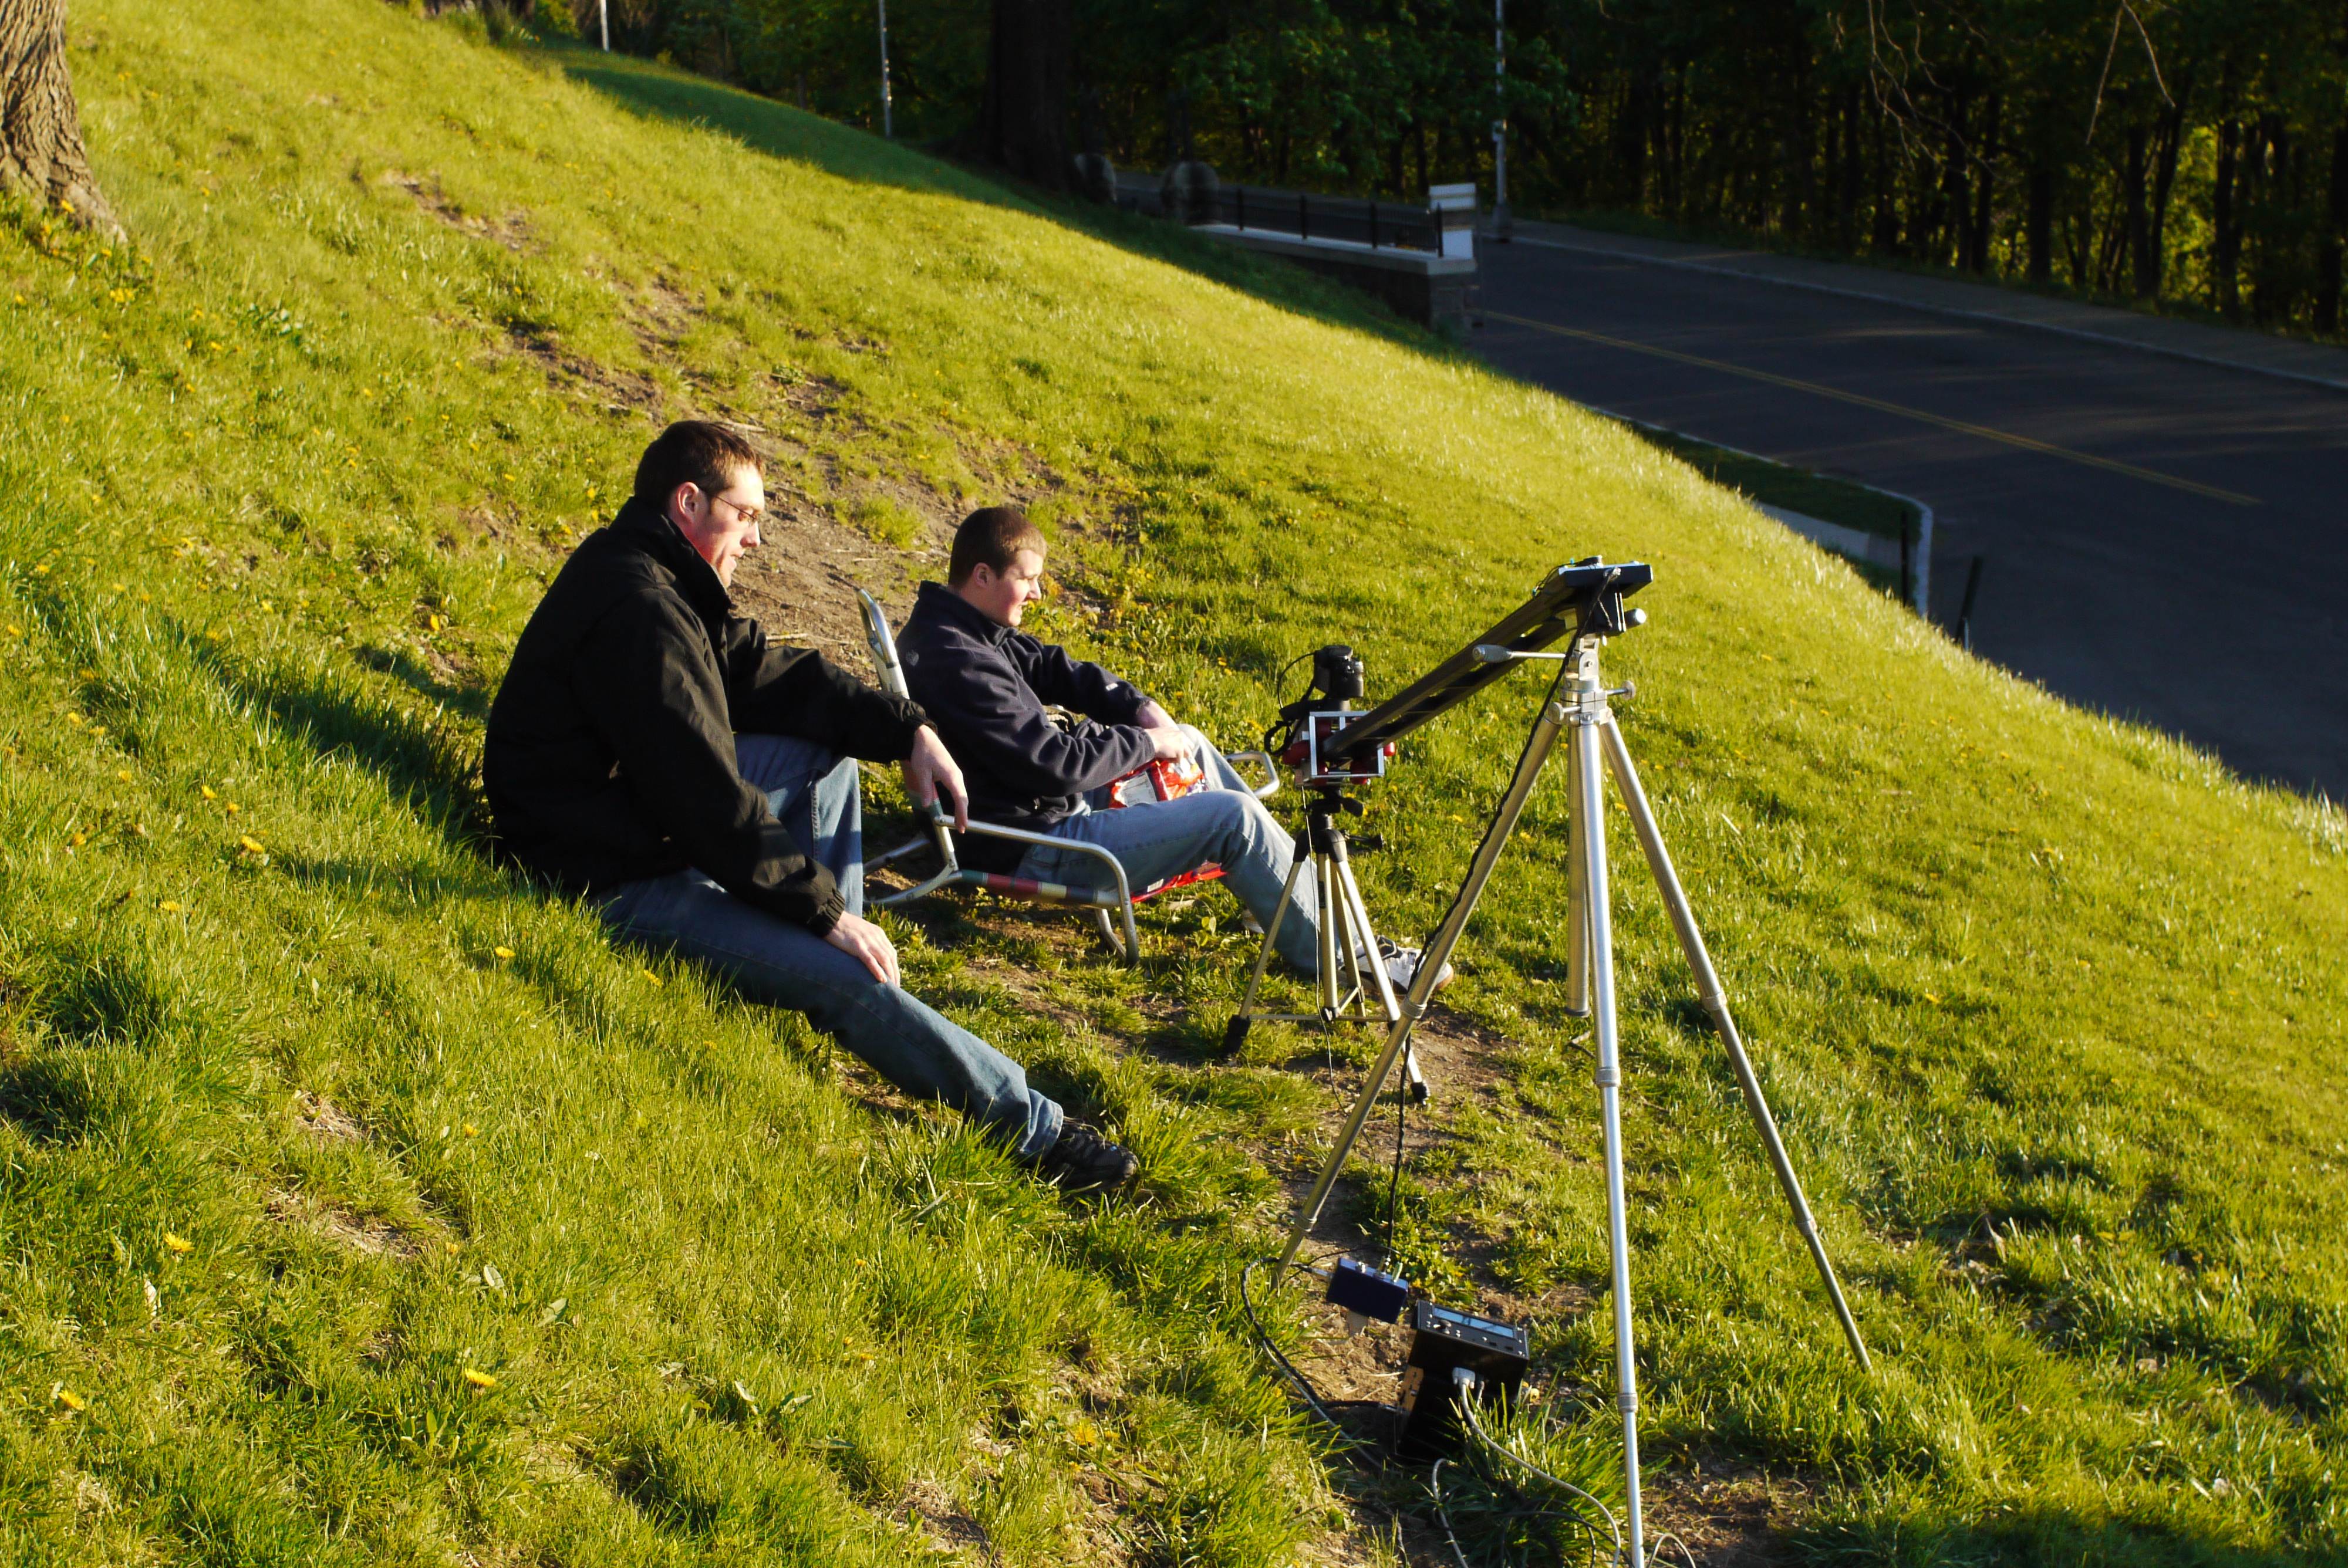
Overall, this timelapse machine was a nifty bit of kit and produced some very usable moving timelapses as shown here:
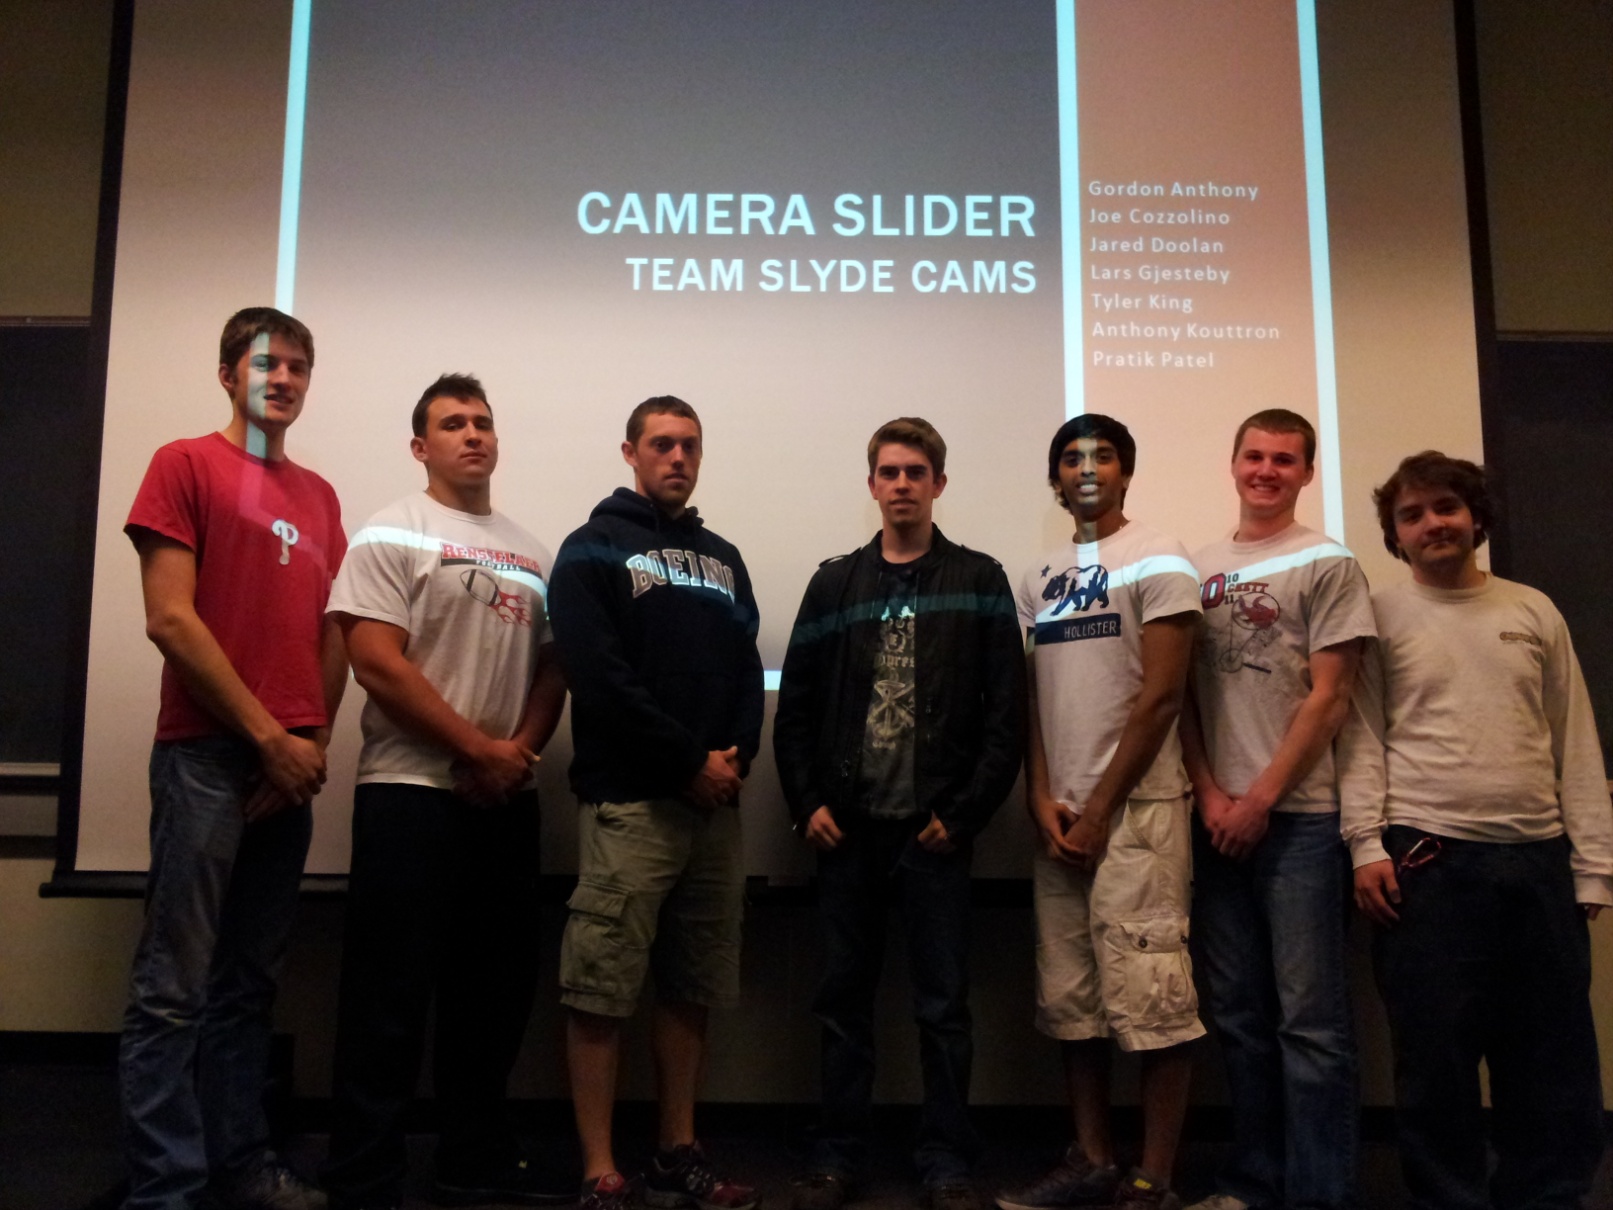
To top it off, our final presentation for the camera slider project actually involved the timelapse machine. Our most excellent professors, John LaGraff and Graham Knowles, were very forgiving in letting us set up the colossal timelapse rig in the back of the class. It sat there unobstructed, happily chugging away throughout the entire class final presentations. This is the final result:
Today, the camera slider continues to be upgraded in my arsenal of camera gear and works great for photography techniques such as light painting and foreground astronomy sequences. A huge shout out to Gordon Anthony, Jared Doolan, Joe Cozzolino, Lars Gjesteby, Pratik Patel and Tyler King, my awesome IED team. I could not be happier with the team that I was a part of and the results that we achieved. Not only did we create a working and worthwhile product, but we made lasting friendships that will extend well into the future. Thanks again to John LaGraff and Graham Knowles for pushing an amazing IED curriculum and allowing students to really expand their horizons.
Want more? Here's a behind the scenes look at my workspace and some of the images that did not make the cut to be included in the write-up: