Scooter One: My Daily Driver
This scooter project starts out with a Craigslist adventure, a crazy idea, and an awesome energy-packed weekend at MITERS. Always one up for crazy projects, my brother ran into a group of broken electric scooters on Craigslist going for cheap with the intentions of re-purposing them for use as a treaded snowmobile machine. With a friend and a spare hammer, he picked up the lot of 6 scooters in grave need of repair and threw them in his Jeep. A quick glance into the trunk and he realized the scooters were nowhere near built for snowmobiling shenanigans, so the scooters were parted out to friends, MITERS folks and luckily, me!
Crazy enough, I began my senior year of college within a few days of my brother's Craigslist adventures. Taking advantage of Labor Day weekend, I took a bus up to MITERS to check out the scooters and try to repair a few. When I first saw the pile of scooters I thought my brother was pulling my leg. It was such an amalgamated pile of spray painted toddler-like bike parts that I honestly thought it was a late-birthday gag gift. I gave it a shot and pulled out a few of the more intact scooters to see if I could salvage anything. Let's just say I was very happy there was a box of additional spare parts and accessories included with the Craigslist sale.
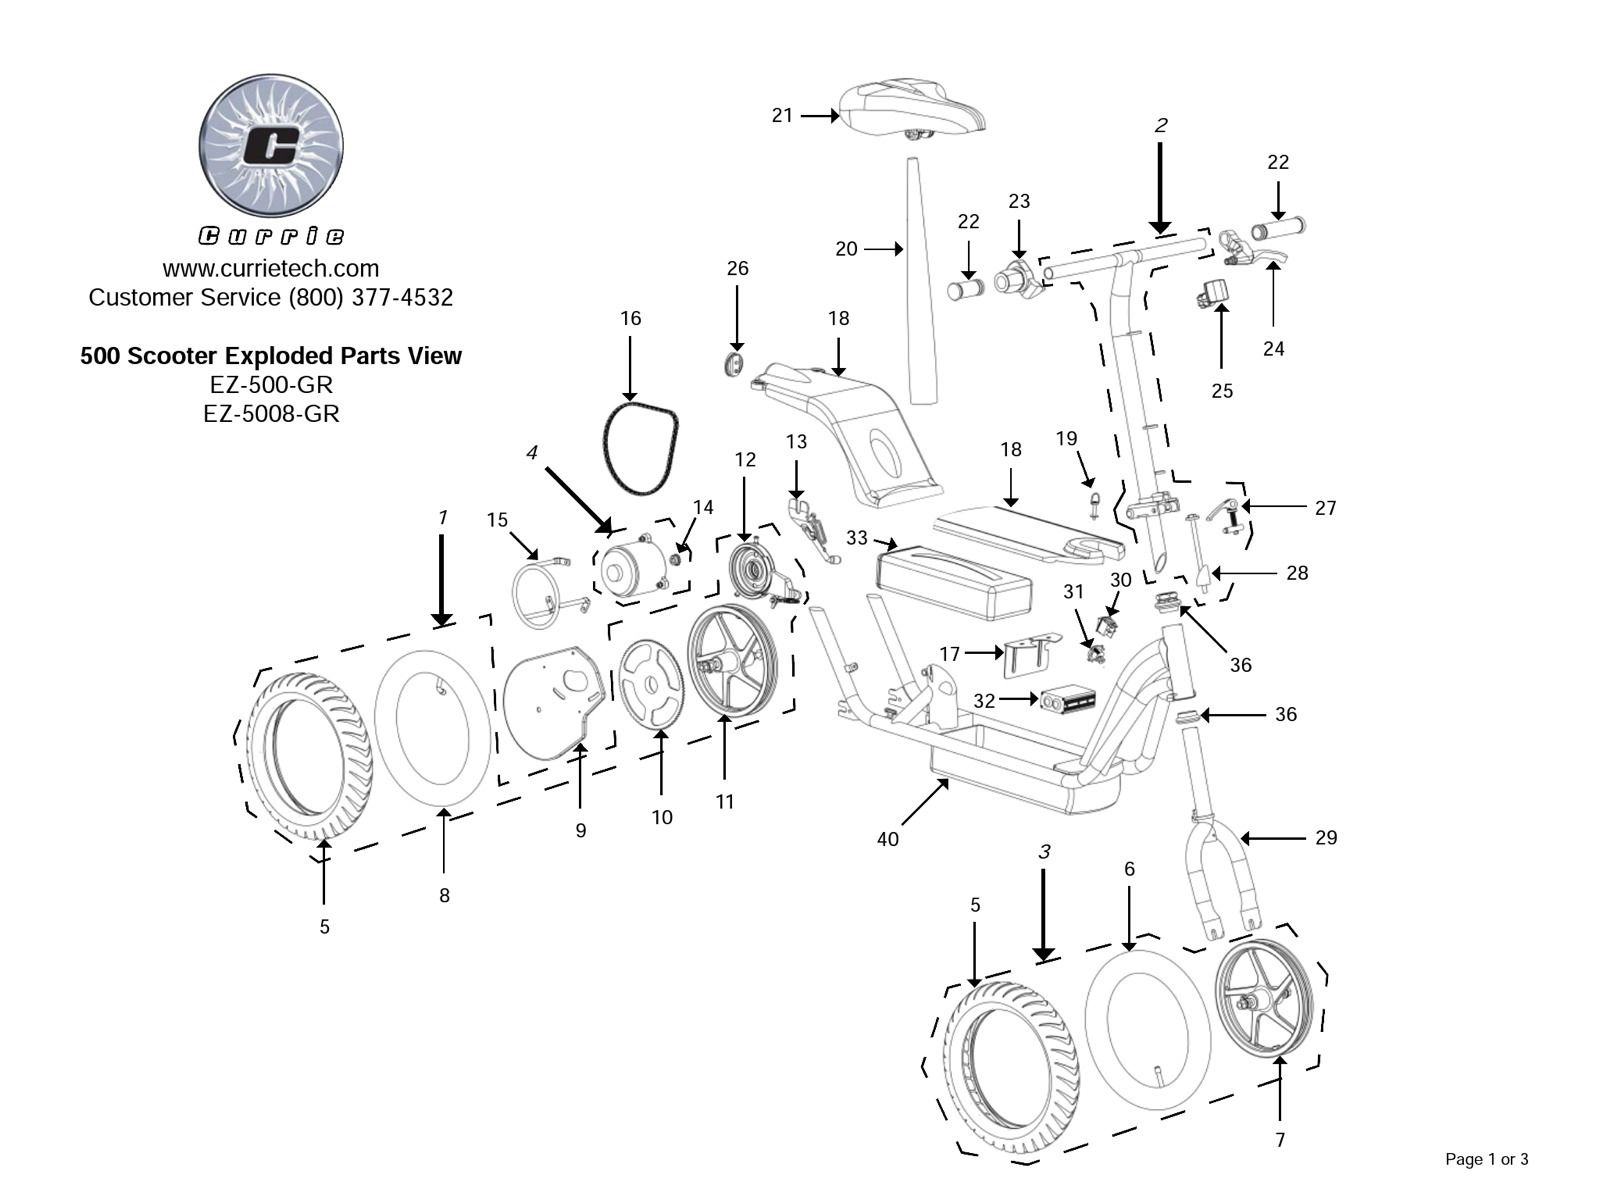
Some background on the scooters: All the scooters were minor variations of the Currie Tsunami. Currie Technologies is an electric mobility company who makes electric scooters and e-bikes and serves as an ODM for other brands, such as GT, Schwinn, iZIP, eZIP and Mongoose. Their products can be found at most major retailers in the US such as Kmart, Sears, Costco and Sam's Club. Currie has been in business since 1997 and has produced quite a number of electric scooters since then. It seems that Currie Technologies was purchased in 2012 and subsequently pivoted to focus purely on e-bikes. There is not one mention of scooters on their 2017 website, which is rather sad. Fortunately, Electricscooterparts.com has a rather comprehensive list of scooters by manufacturer, and it's one of the only ways I was able to differentiate my scooter from the dozens of others produced by Currie. Kudos to them for maintaining information on legacy scooters.
Being of 2004 vintage, there was simply no way the scooter would be powered by anything other than SLA batteries. Sure enough, removing the battery tray cover revealed a 24v system, with dual 12V 18AH SLA batteries in series. They made for a pretty tight fit in the tray and weighed quite a bit. According to the Tsunami specifications, these 2 packs gave the scooter a 15mi range. That must have been a painful 15mi, as the 40a motor controller struggled on even slight inclines and the scooter had a peak of just 15MPH. Sure the lead-acid's in my scooter were old but the videos on youtube pretty much cement my findings: These things sucked on hills.
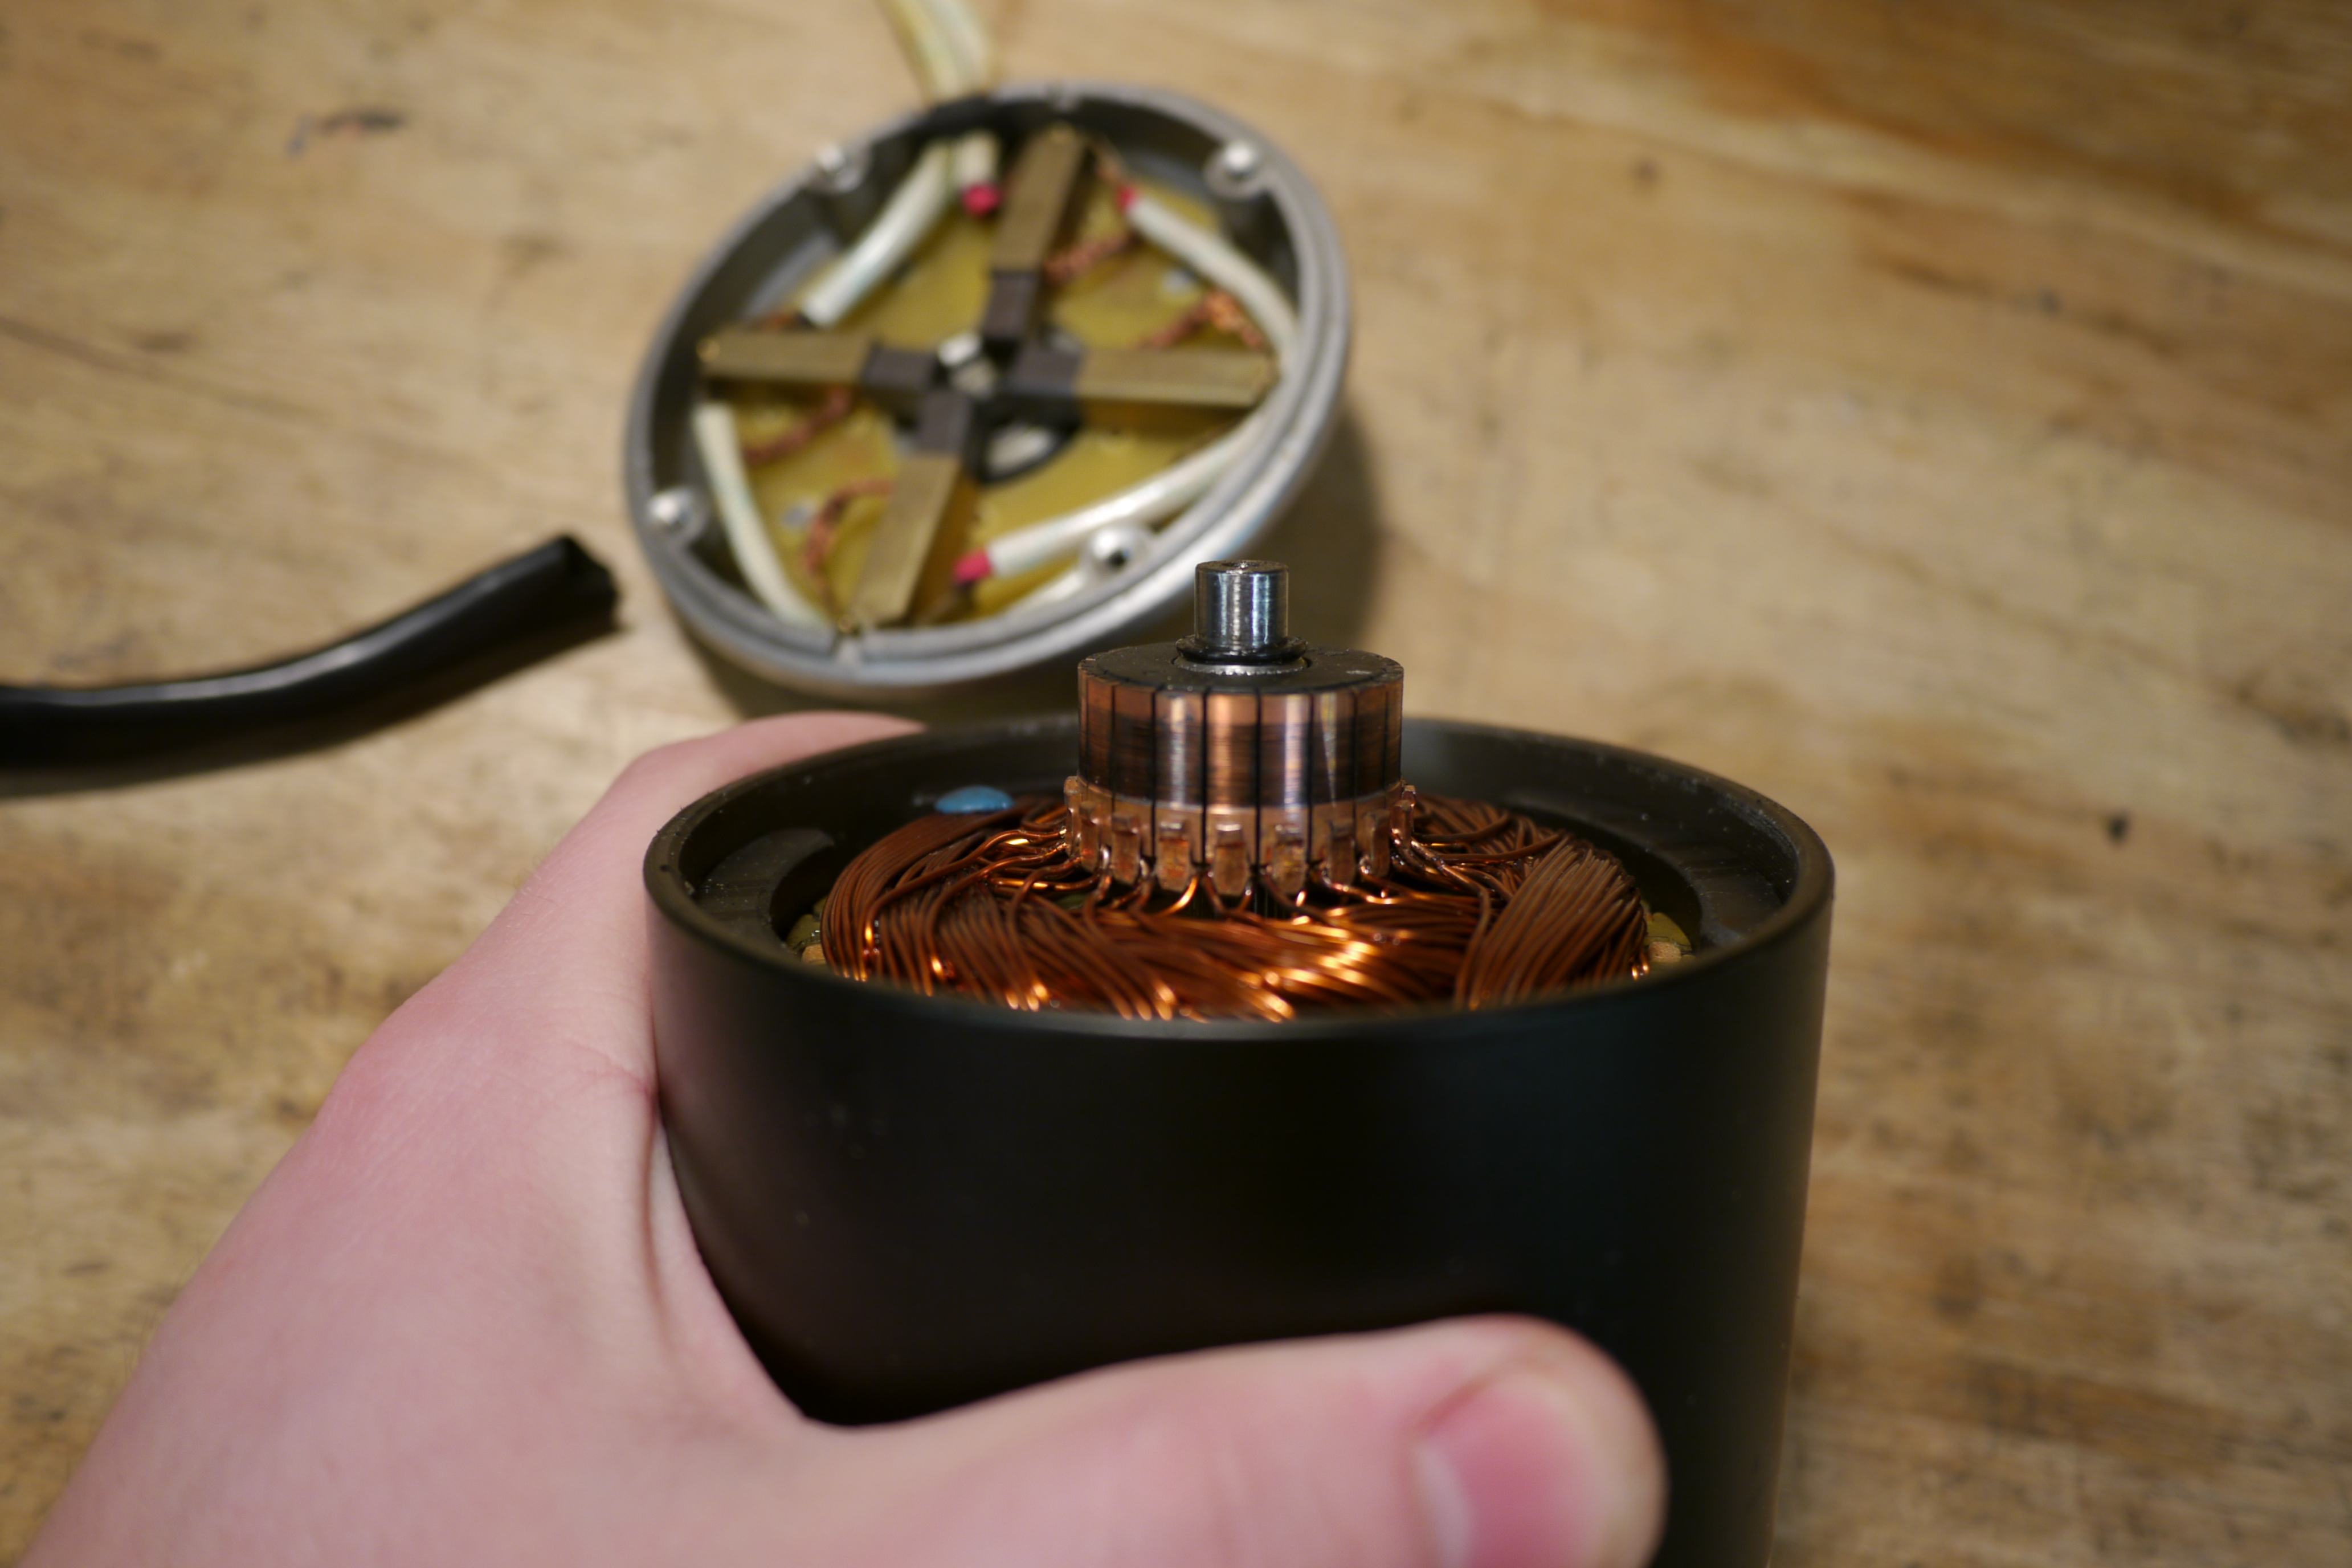
While most of the Craigslist scooters were Currie Tsunami's, their motors were not identical; The rated motor power ranged from 350w to 840w. It is possible the previous owner tampered with the scooters and switched around motors or did other questionable repairs, but you wouldn't know it unless you look closely at the motor label. Even the motor size is the same.

Interestingly enough, the the designated voltage and current rating on each motor did not match the marketed power rating labeled on each motor. Clearly since P=I*V, (24)*(22) != 350w. There was definitely something strange with the motors as they were all the same size, shared the same shell geometry and as I later found out, all had the same rotors and stators.
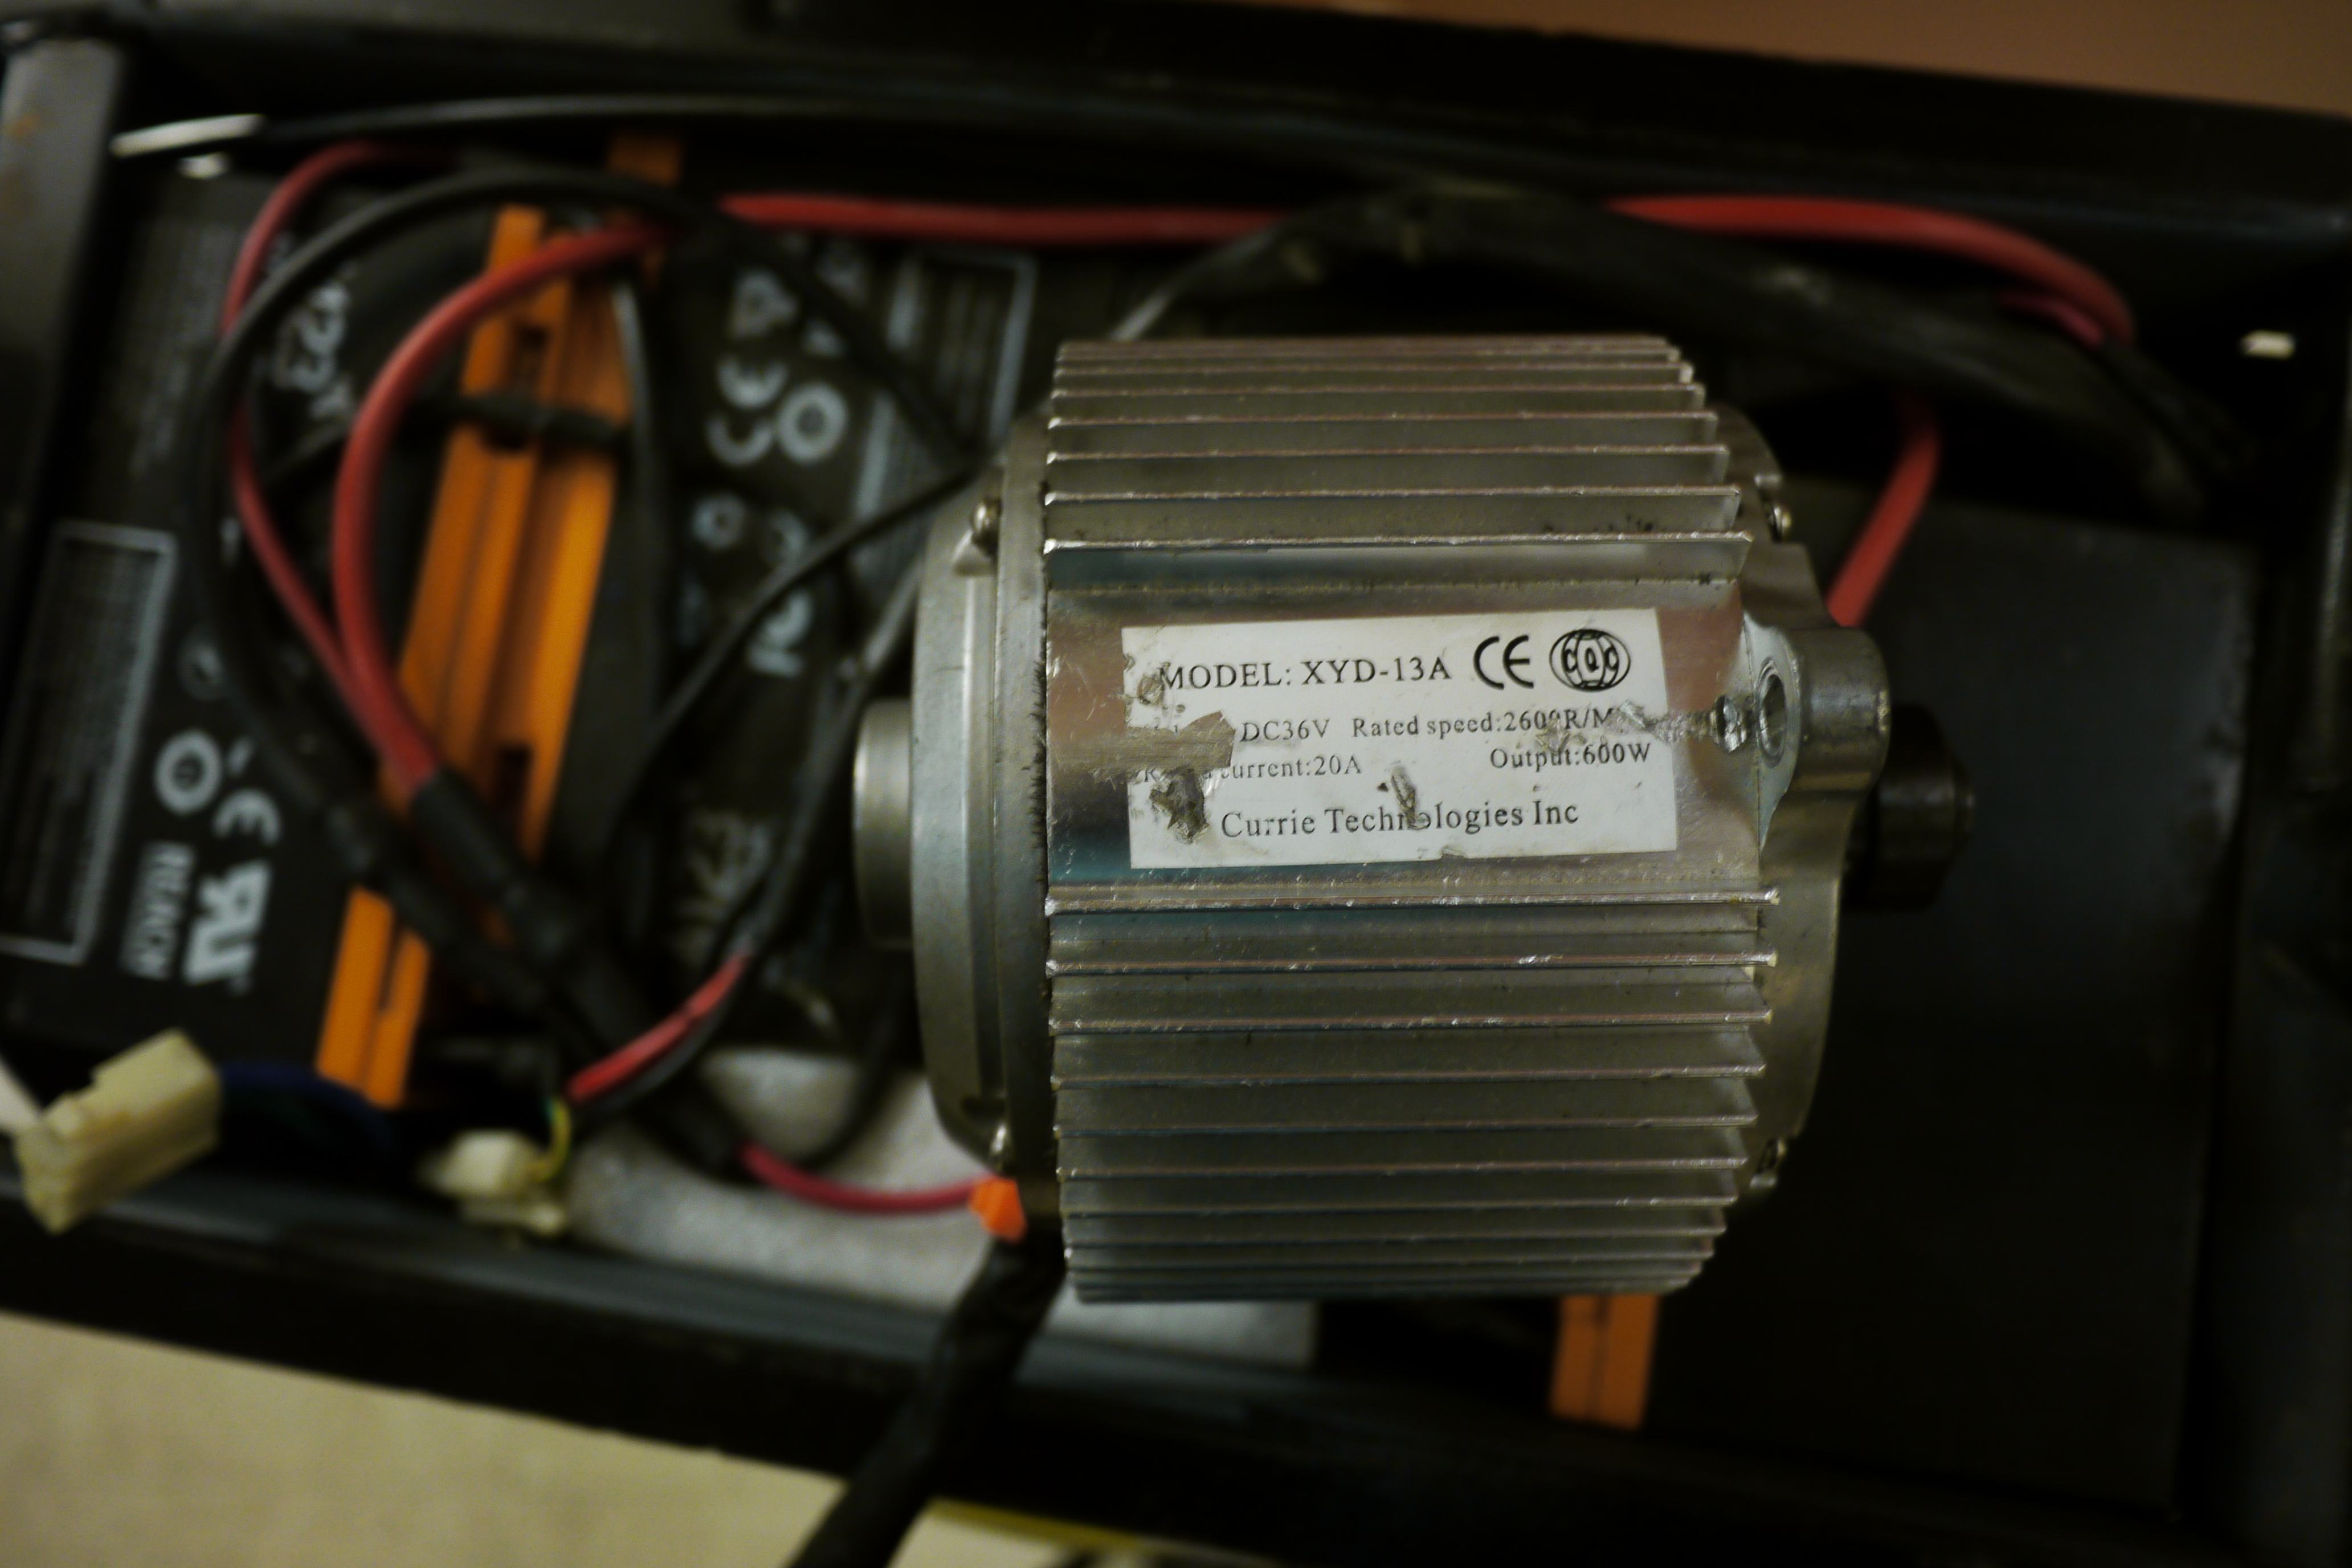
Another one: 36*20 = 720w, not 600w. The aluminum finned motor was indeed different, as it used neodymium magnets instead of the traditional ferrite magnets and featured a slightly longer rotor, but all of the remaining motors were identical. With brushless 3 phase motors your rated power output will vary depending on whether the reactive, active and apparent power is measured. However, with simple brushed DC motors there is no sinusoidal component, so the (rated current) * (rated voltage) should match the rated output power of the motor.

The controllers were also not equivalent. Some scooters had 20a rated controllers, some 30a, some 40a. The controllers shared the same extruded aluminum housing too, but they likely had varying innards. I have a feeling Currie recycled the same motors on a wide range of scooters and just used a selection of weak controllers for product differentiation. At the time, I was rushing to get one scooter to work and did not further investigate the insides of the controllers. I grabbed the highest rated one (40a) and hoped for the best.
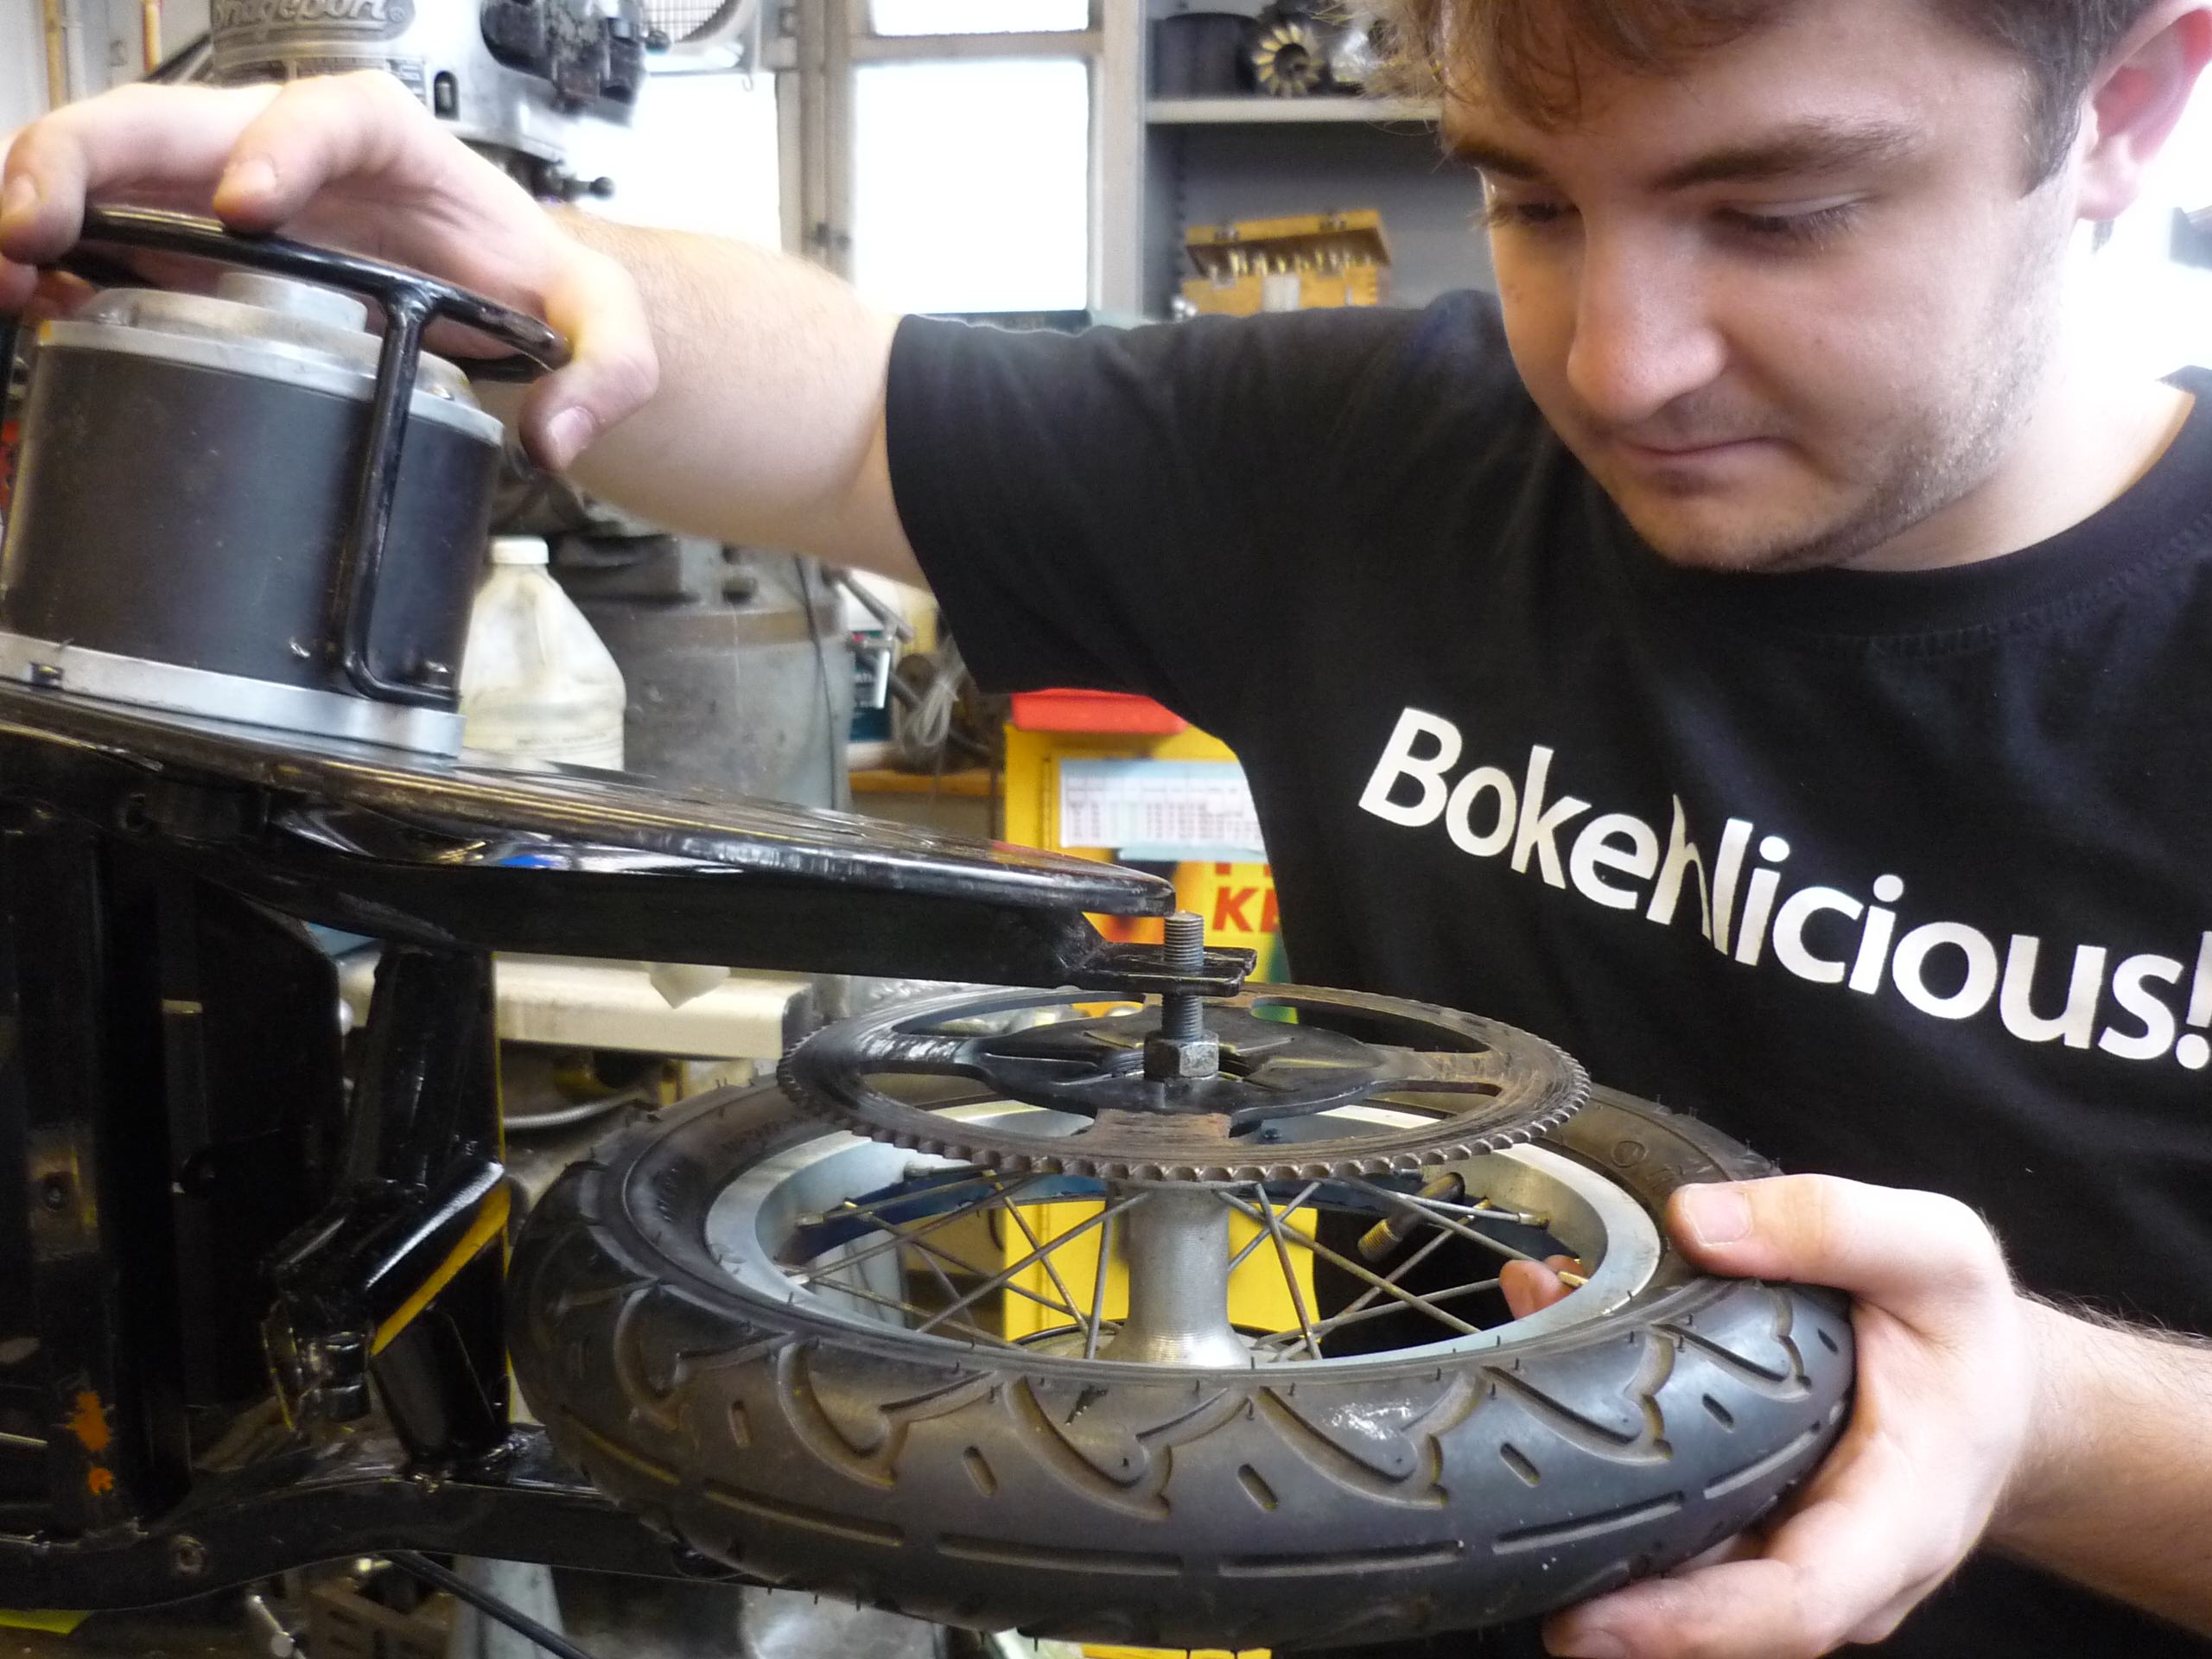
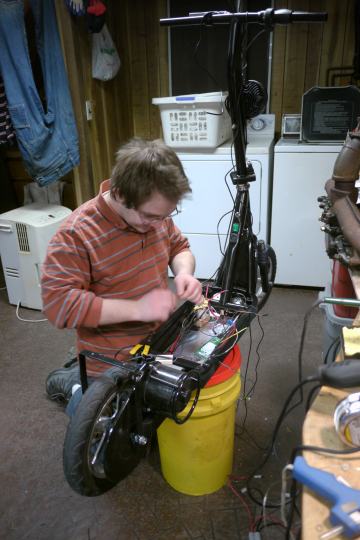
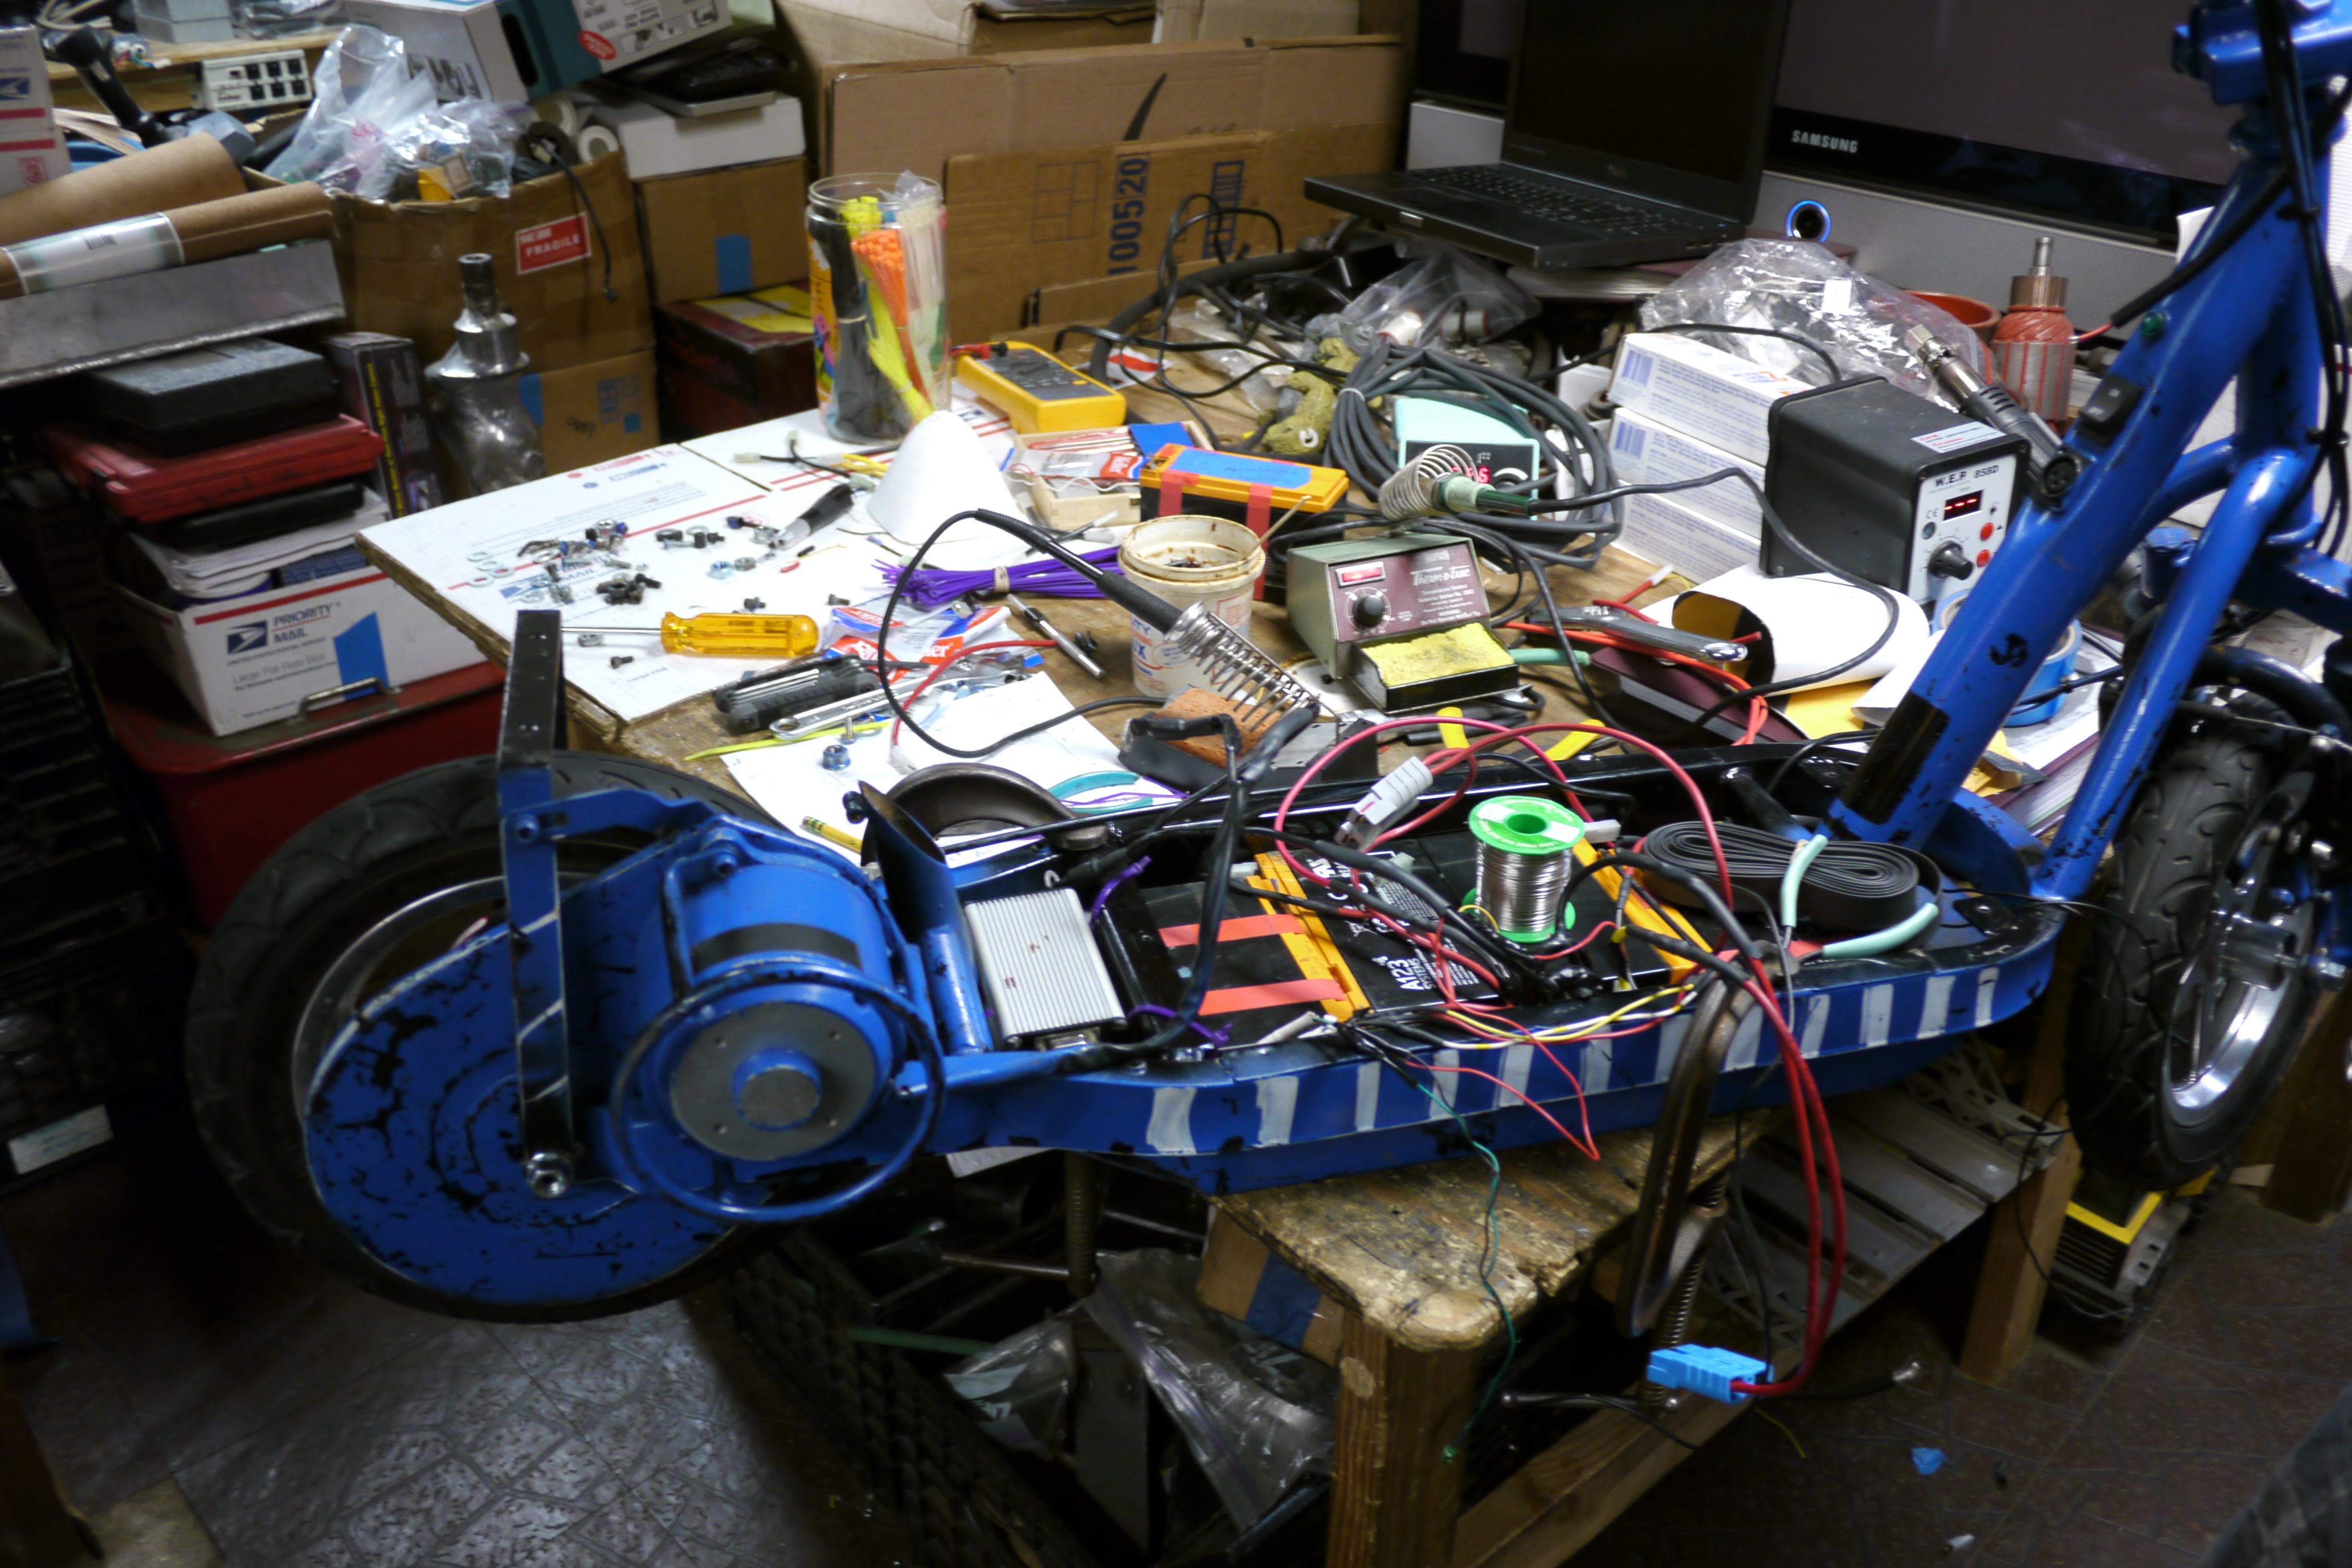
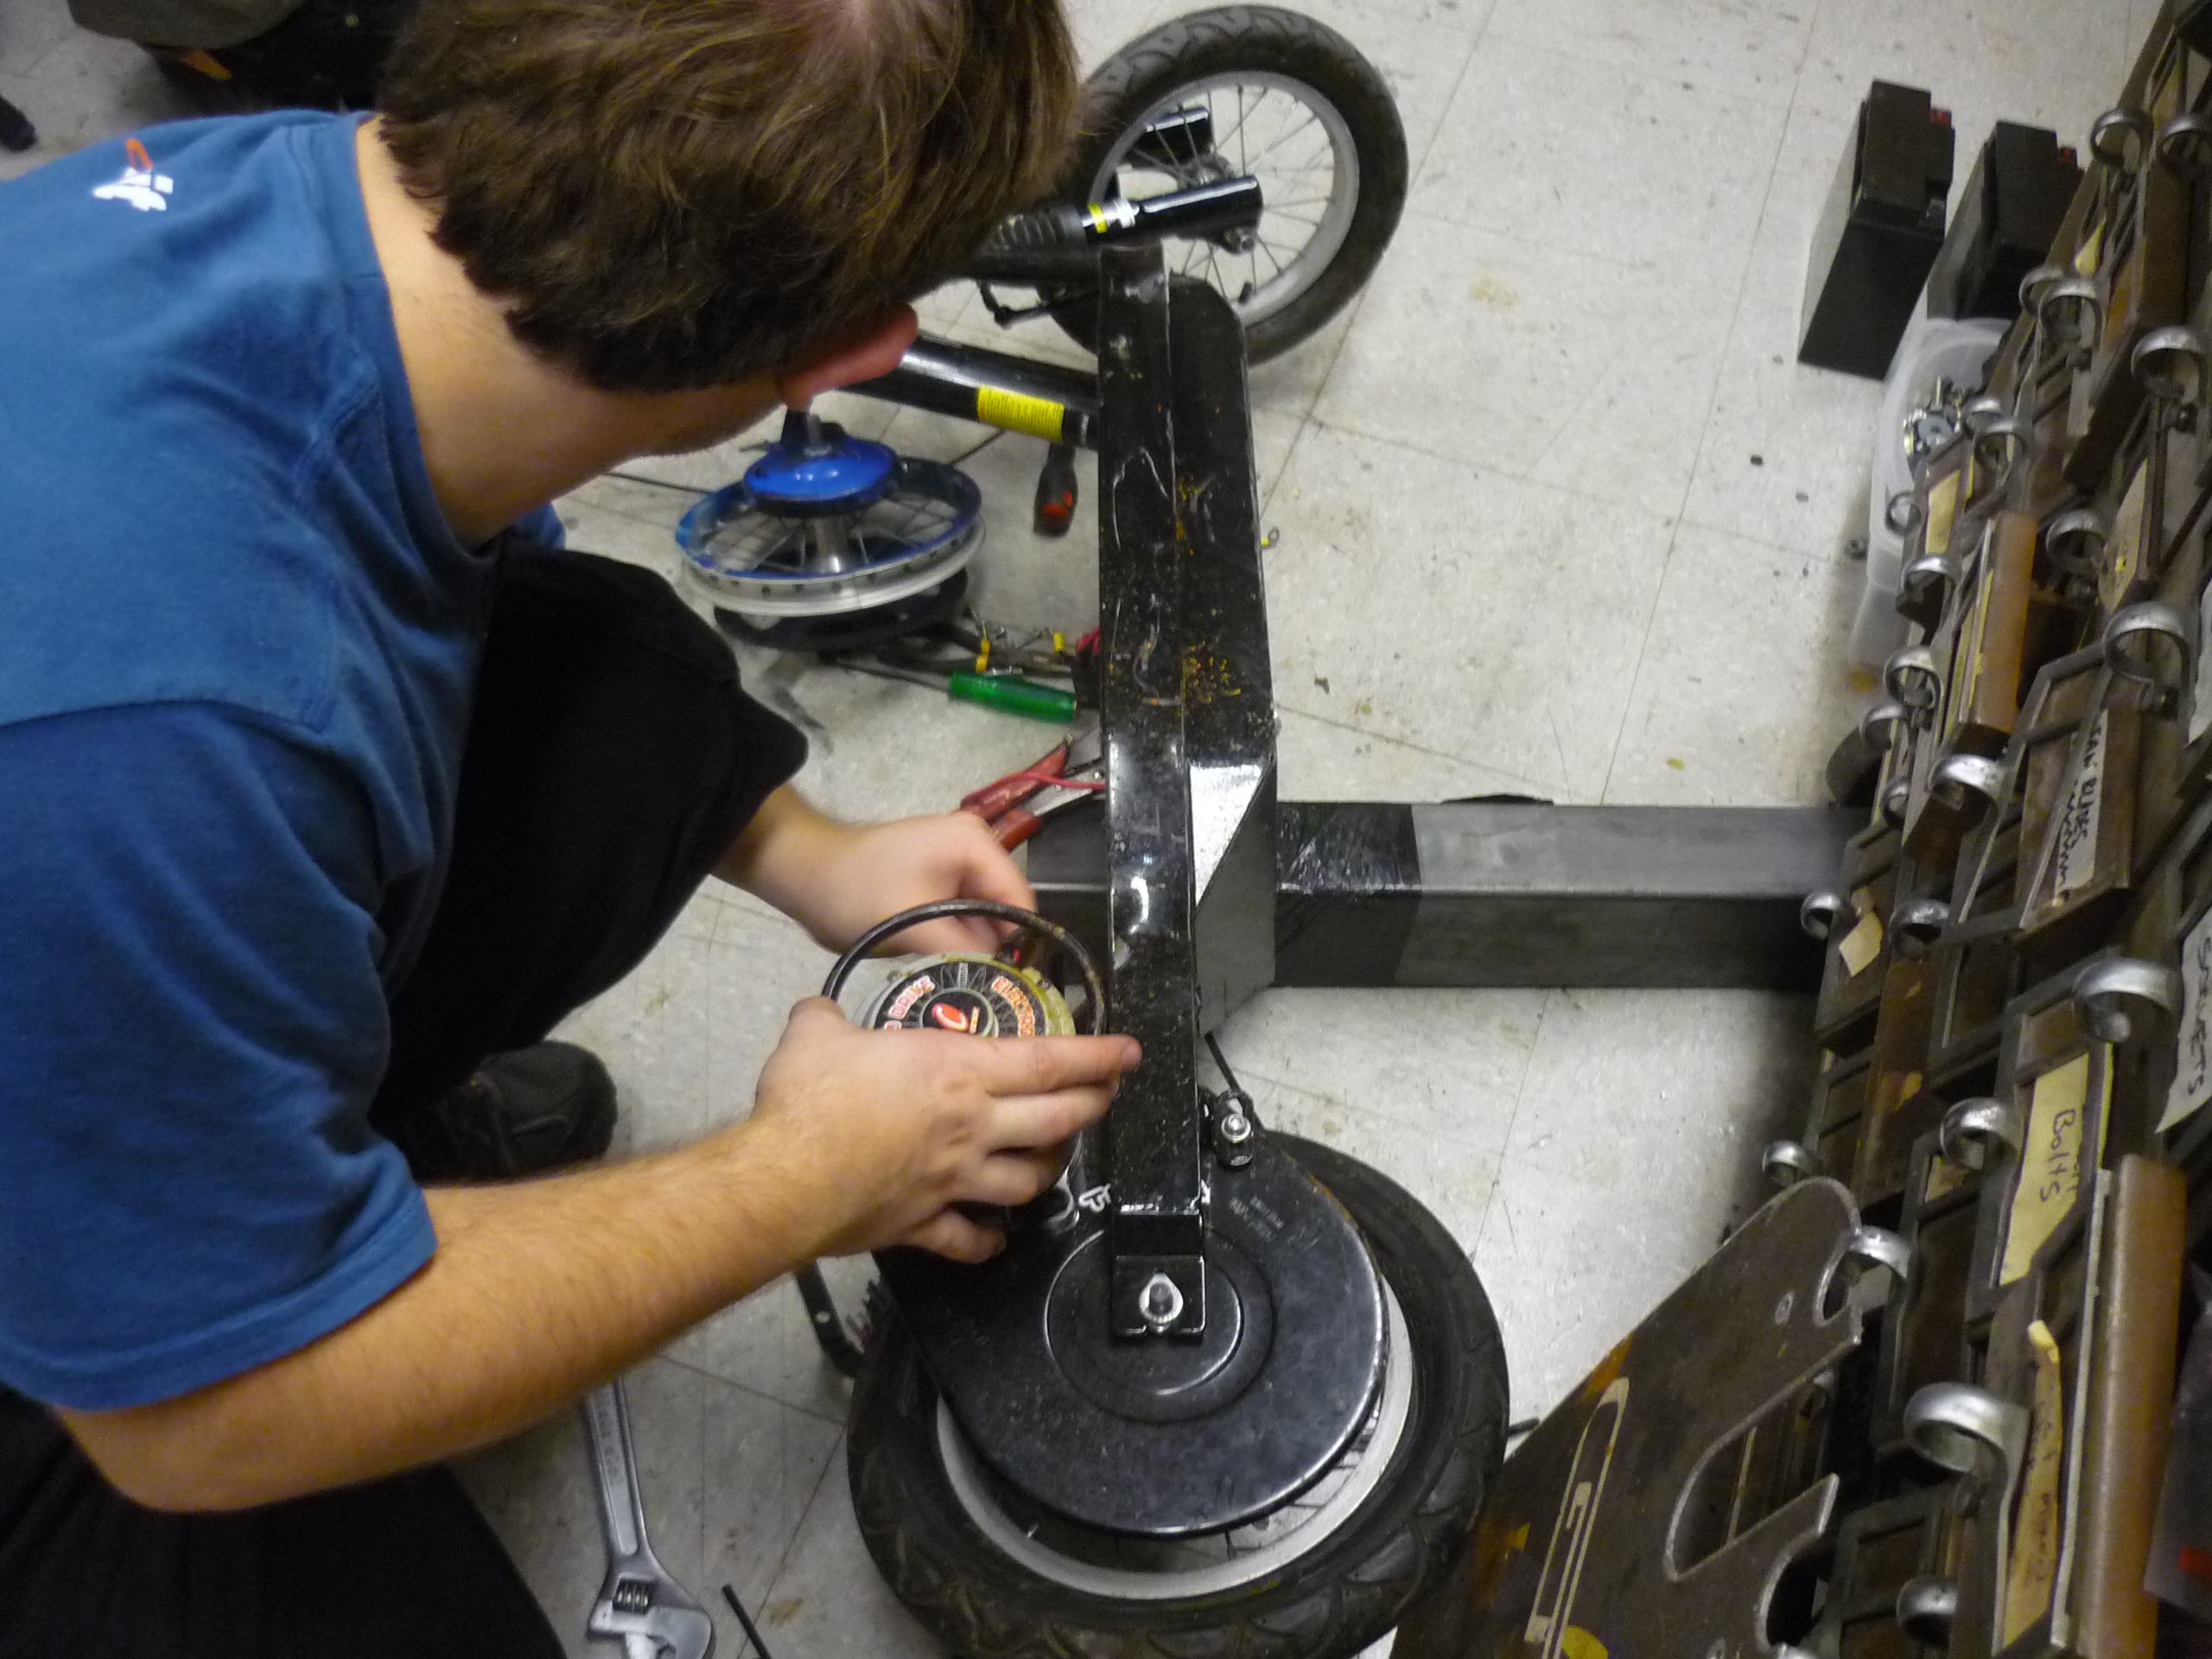
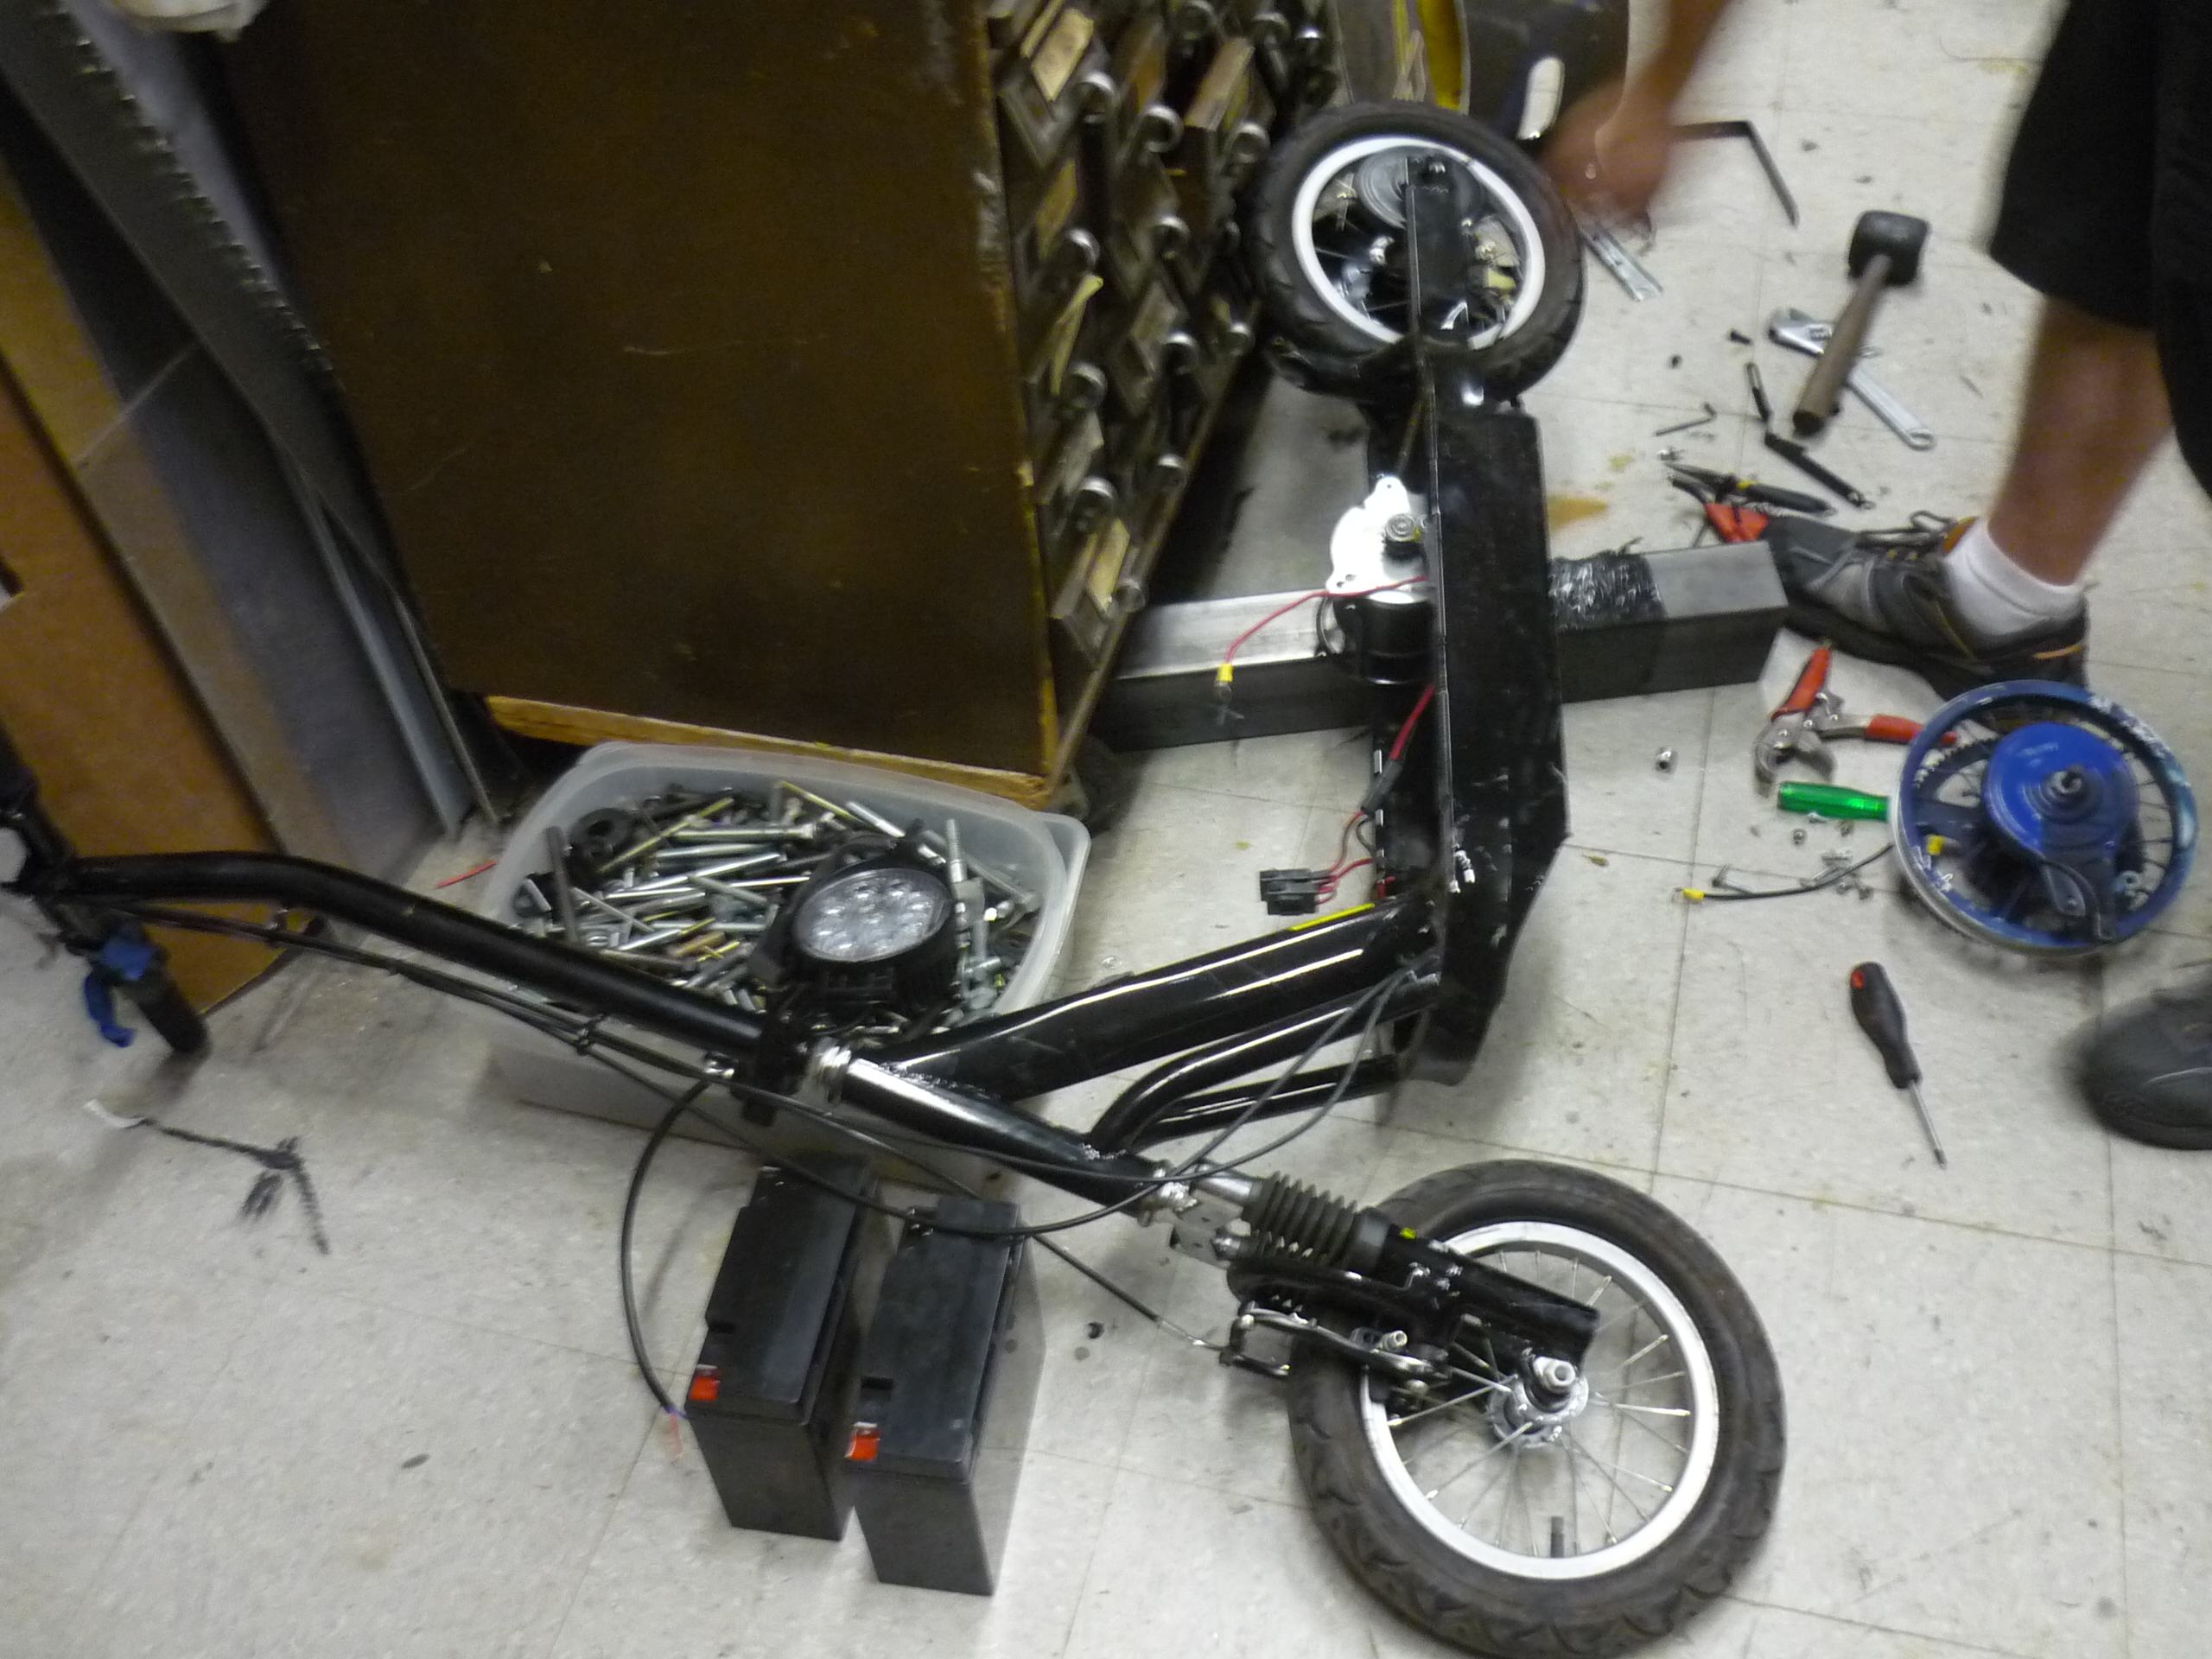
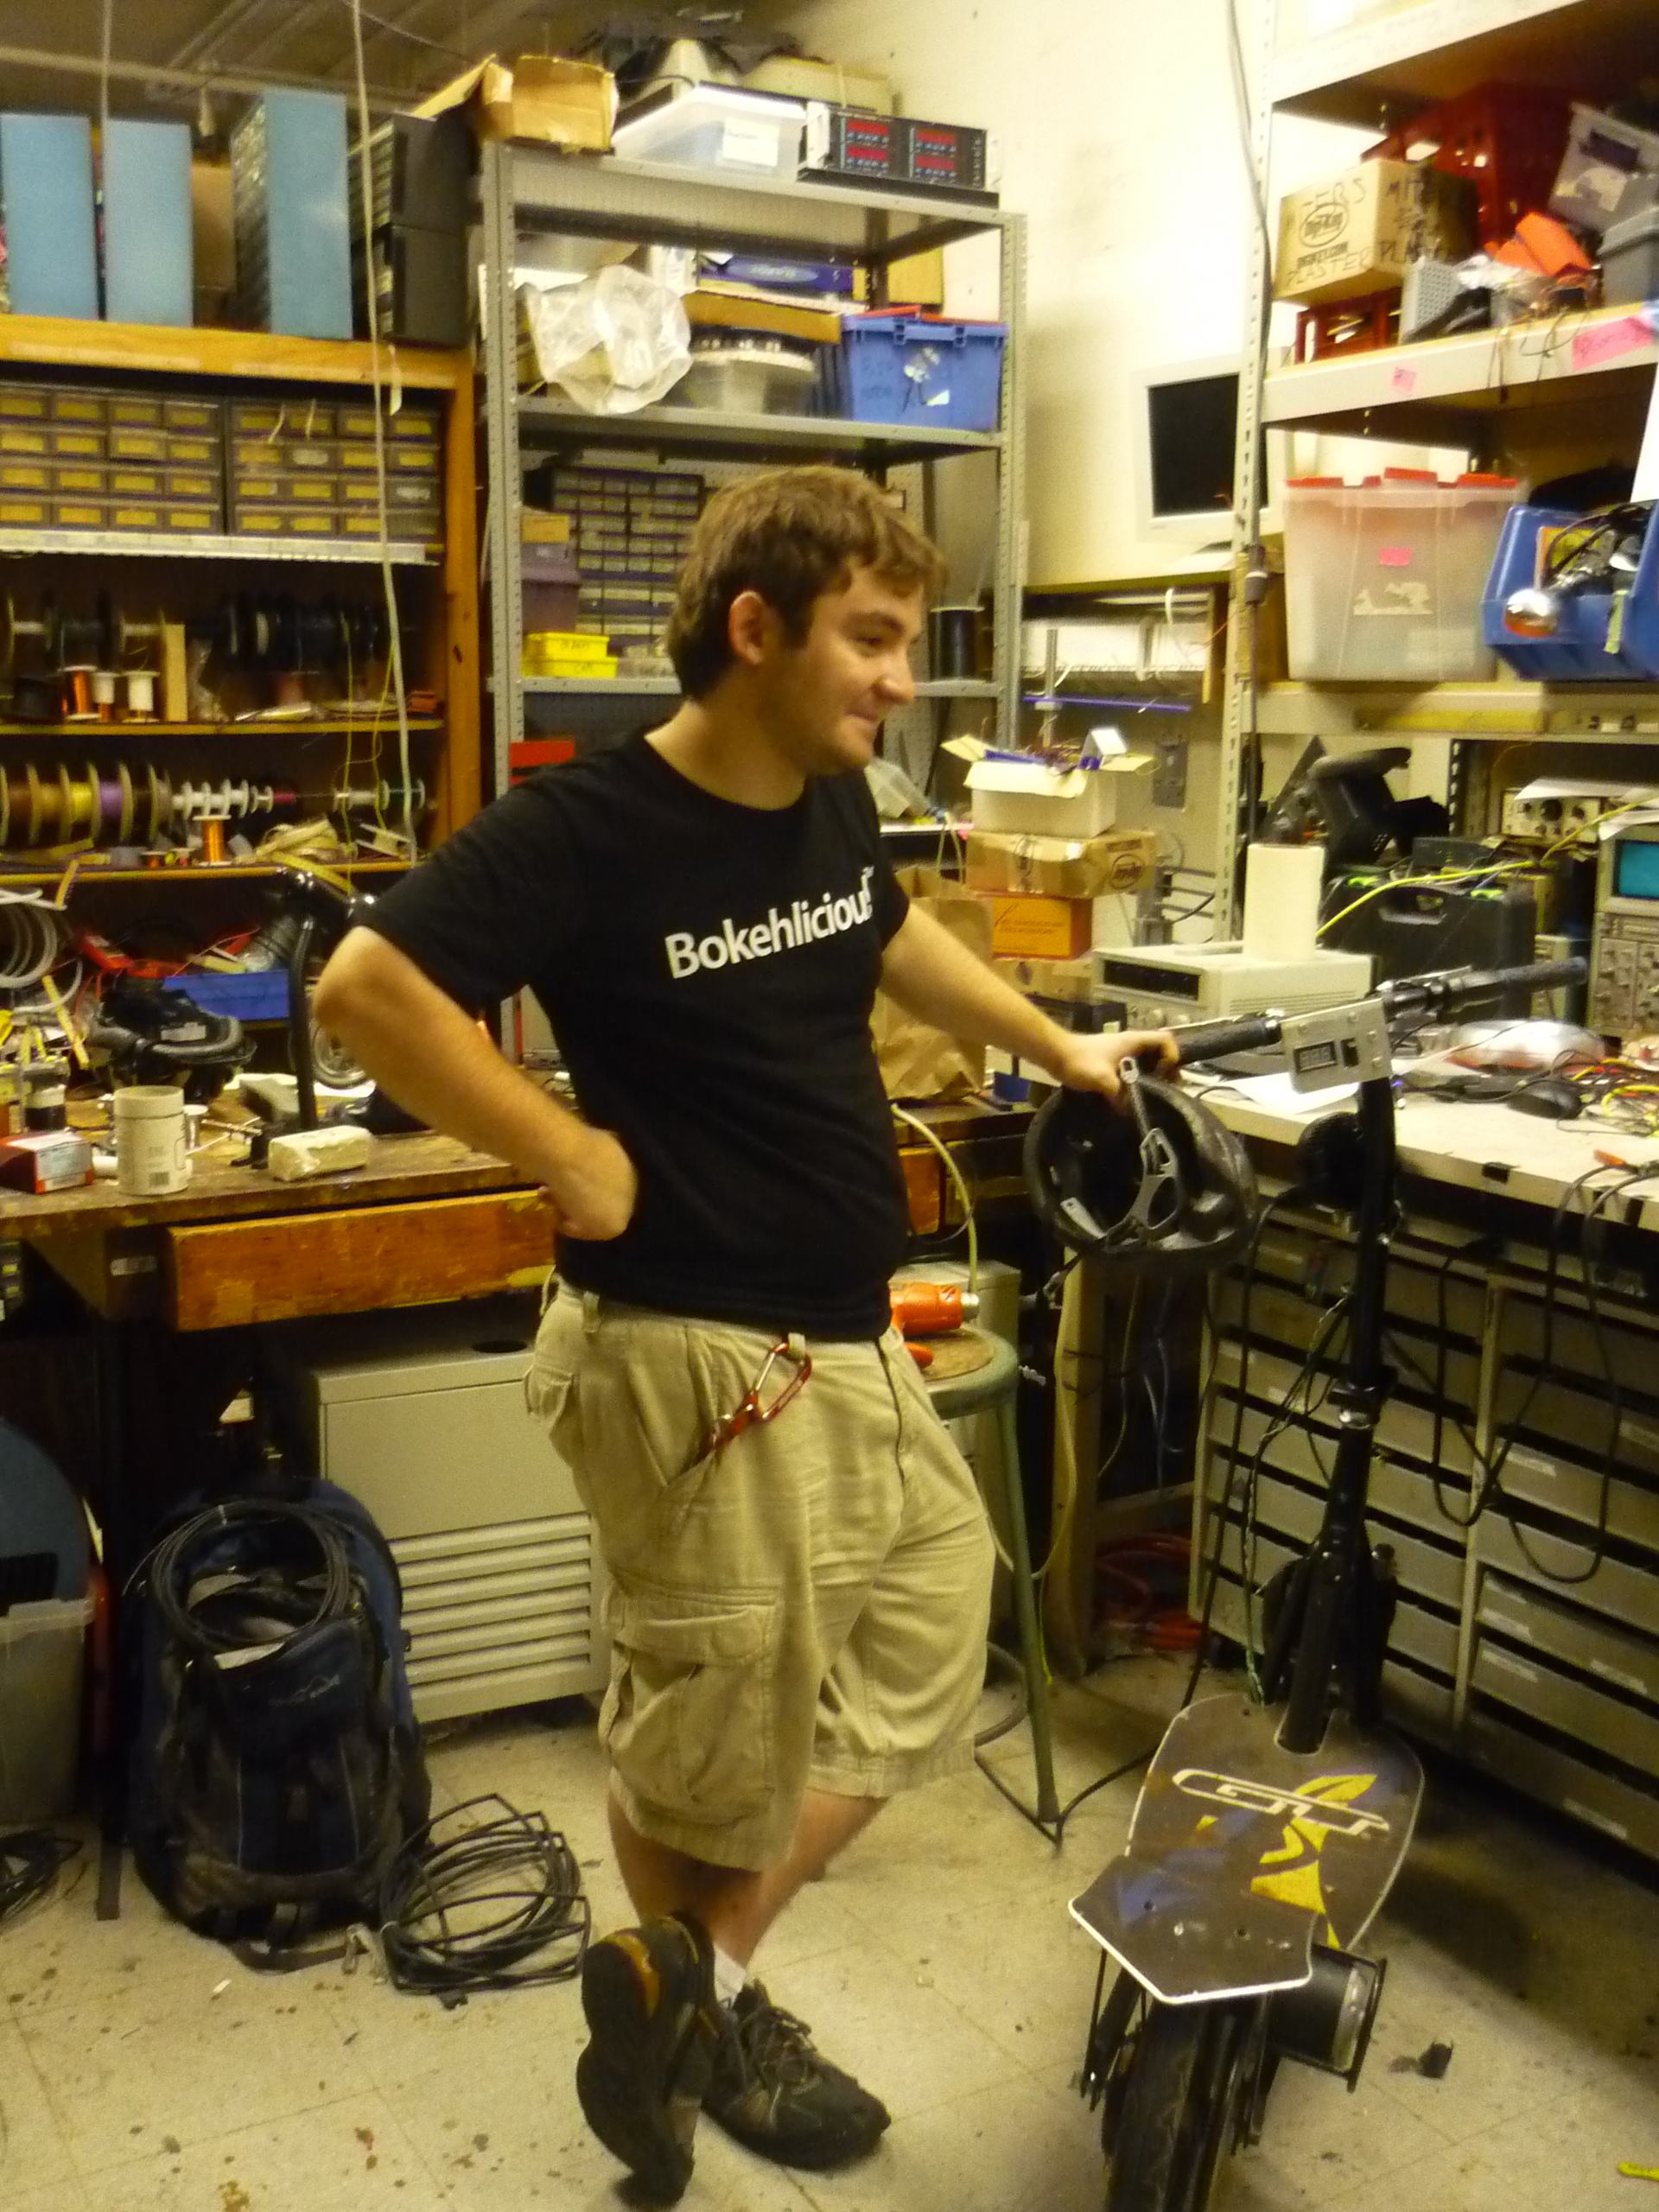
Through the kindness of MITERS, I was able to wrench on my scooter all weekend in their workspace uninterrupted, which was fantastic since I was working within a tight time frame, and 180 miles from RPI's campus. After several part swaps and some general bicycle maintenance, I was able to resurrect something that resembled a recreational scooter. It turned out that most of the scooters shared the same issues: a bent wheel, a loose chain, a loose steering column, flat tires, non-functioning brakes, cut-up wiring harnesses or a damaged chain guard. Those spare parts certainly came in handy.
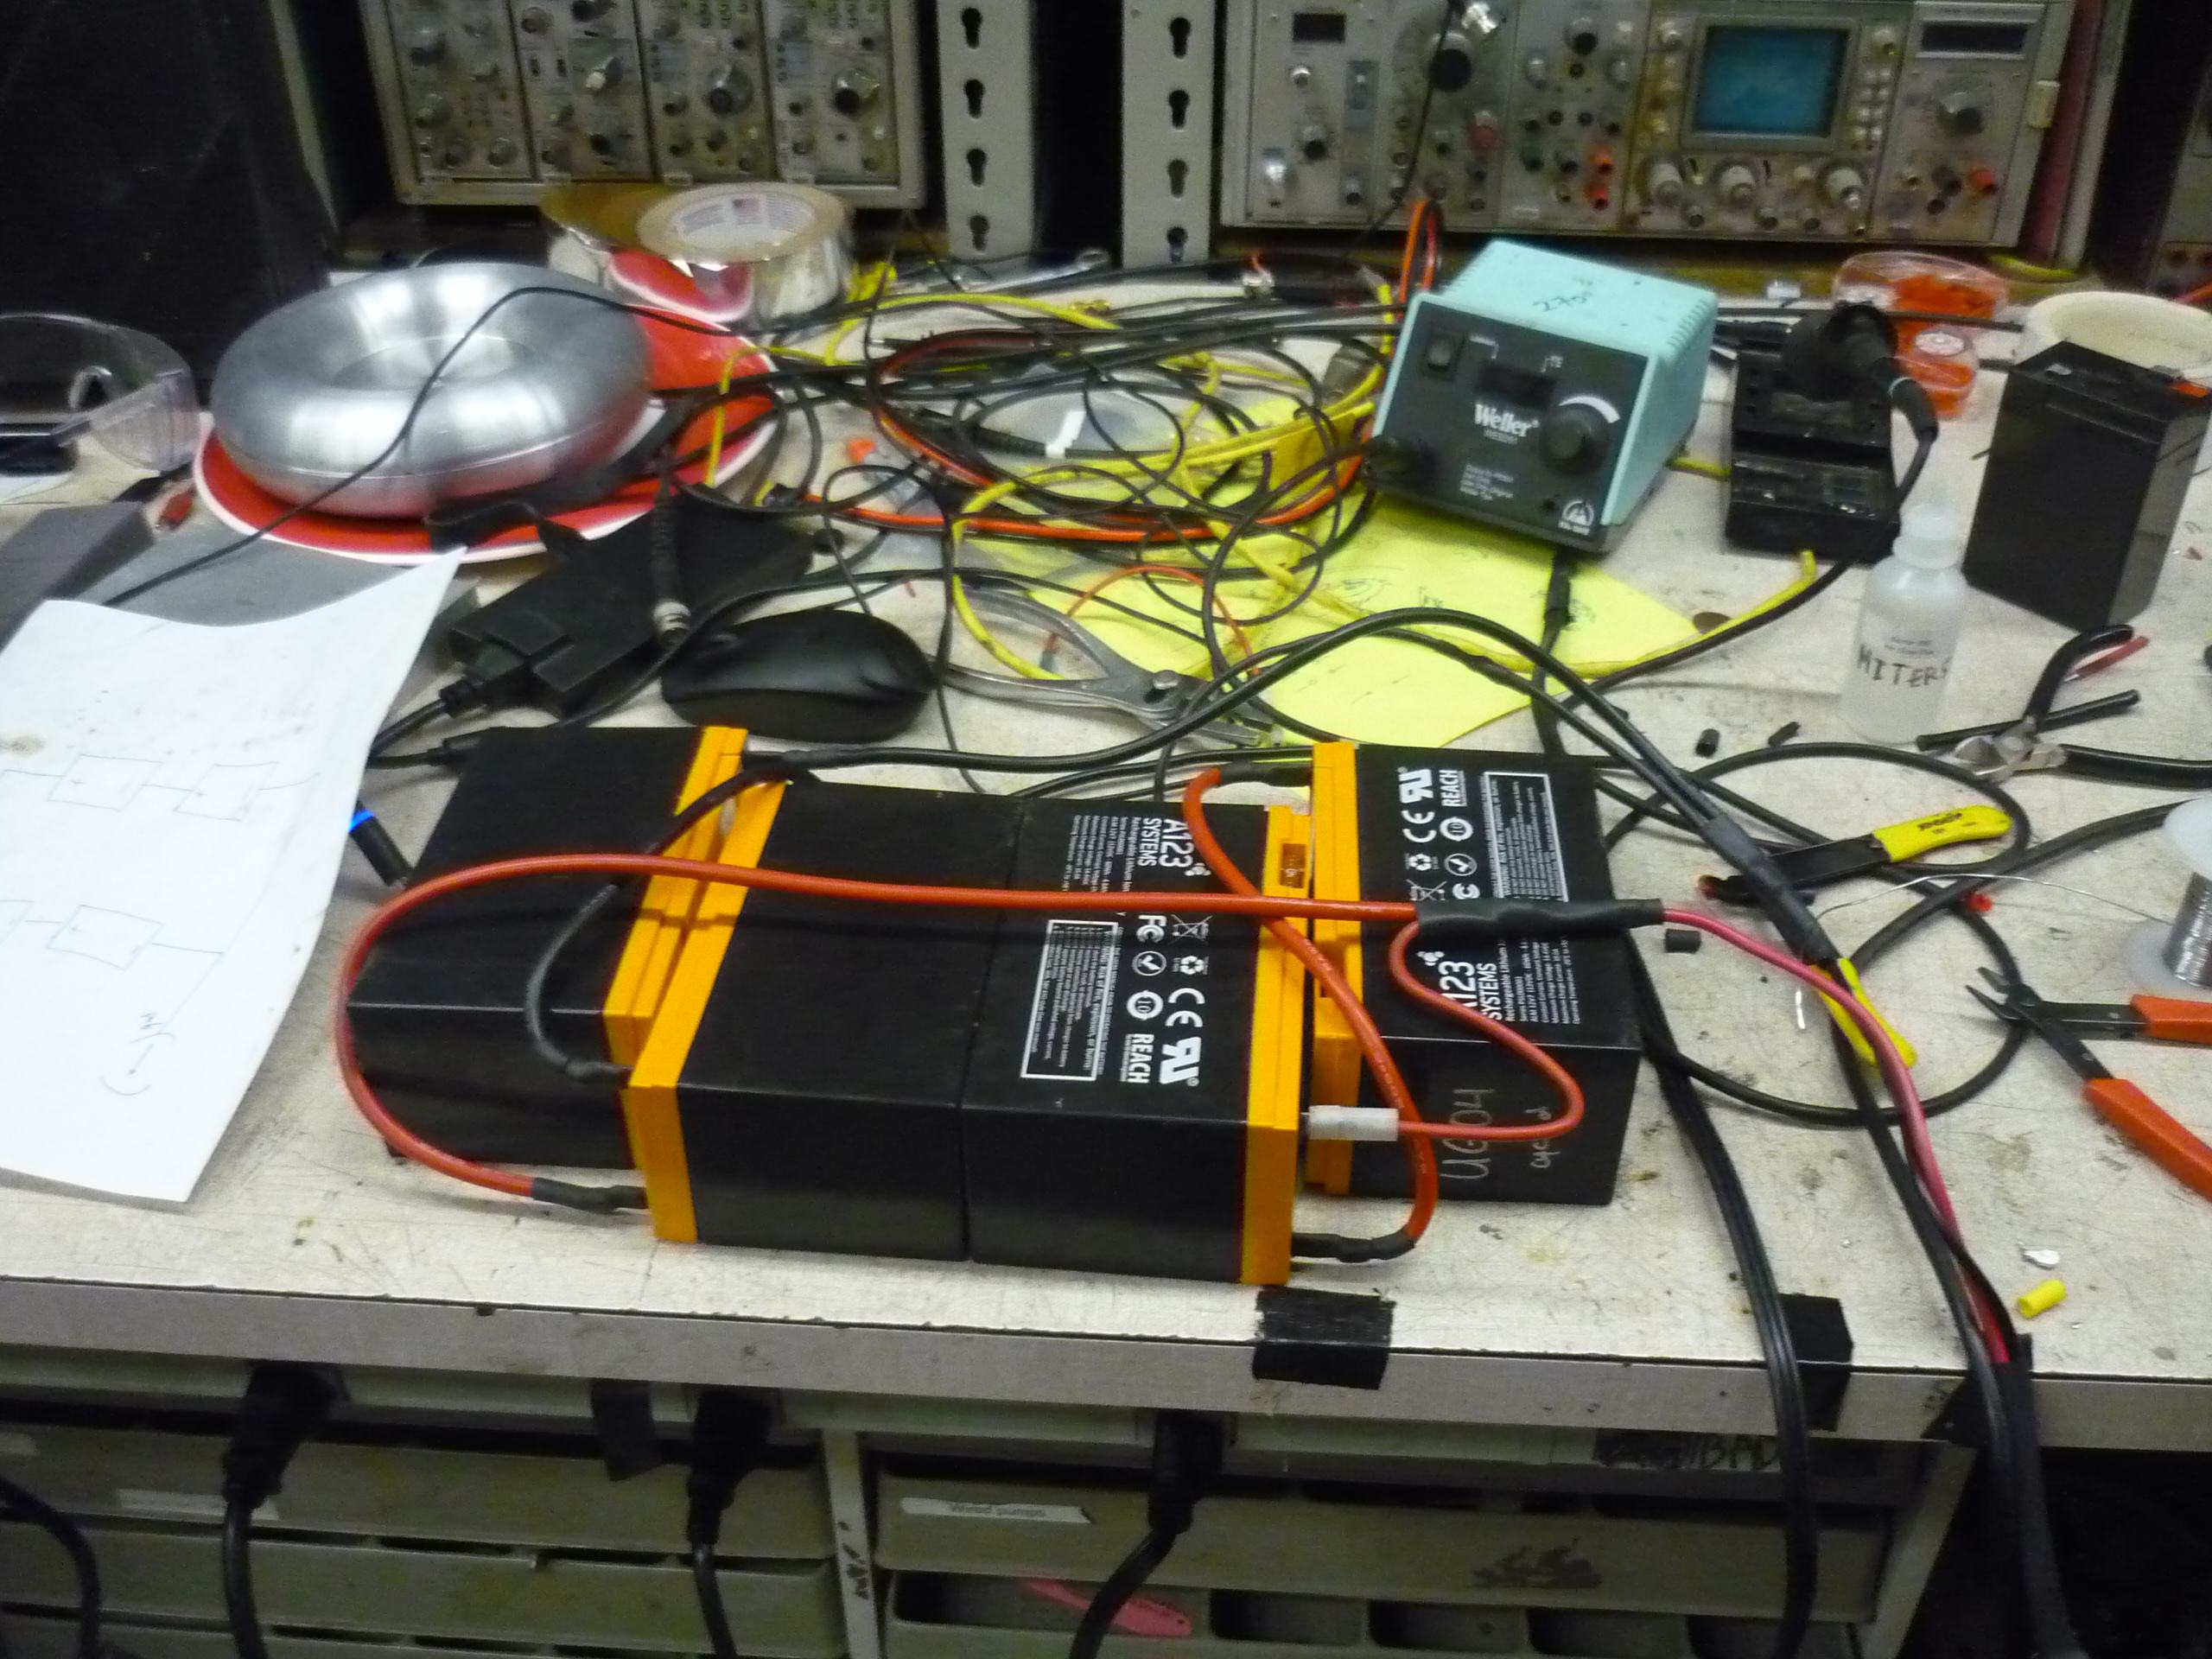
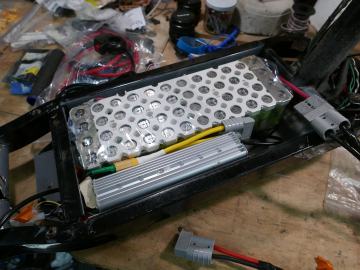
One of the first major changes I made to the scooter was replacing the (2) 12v 18ah Sealed Lead Acid Batteries with (4) 12v 4.6ah A123 12v7 LiFePO4 batteries in a "2 Series, 2 Parallel" configuration or 2S2P. This was a noticeable improvement in scooter performance as the LiFePO4 batteries could source significantly more current than the lead-acid packs, increasing the responsiveness of the motor to a change in acceleration.
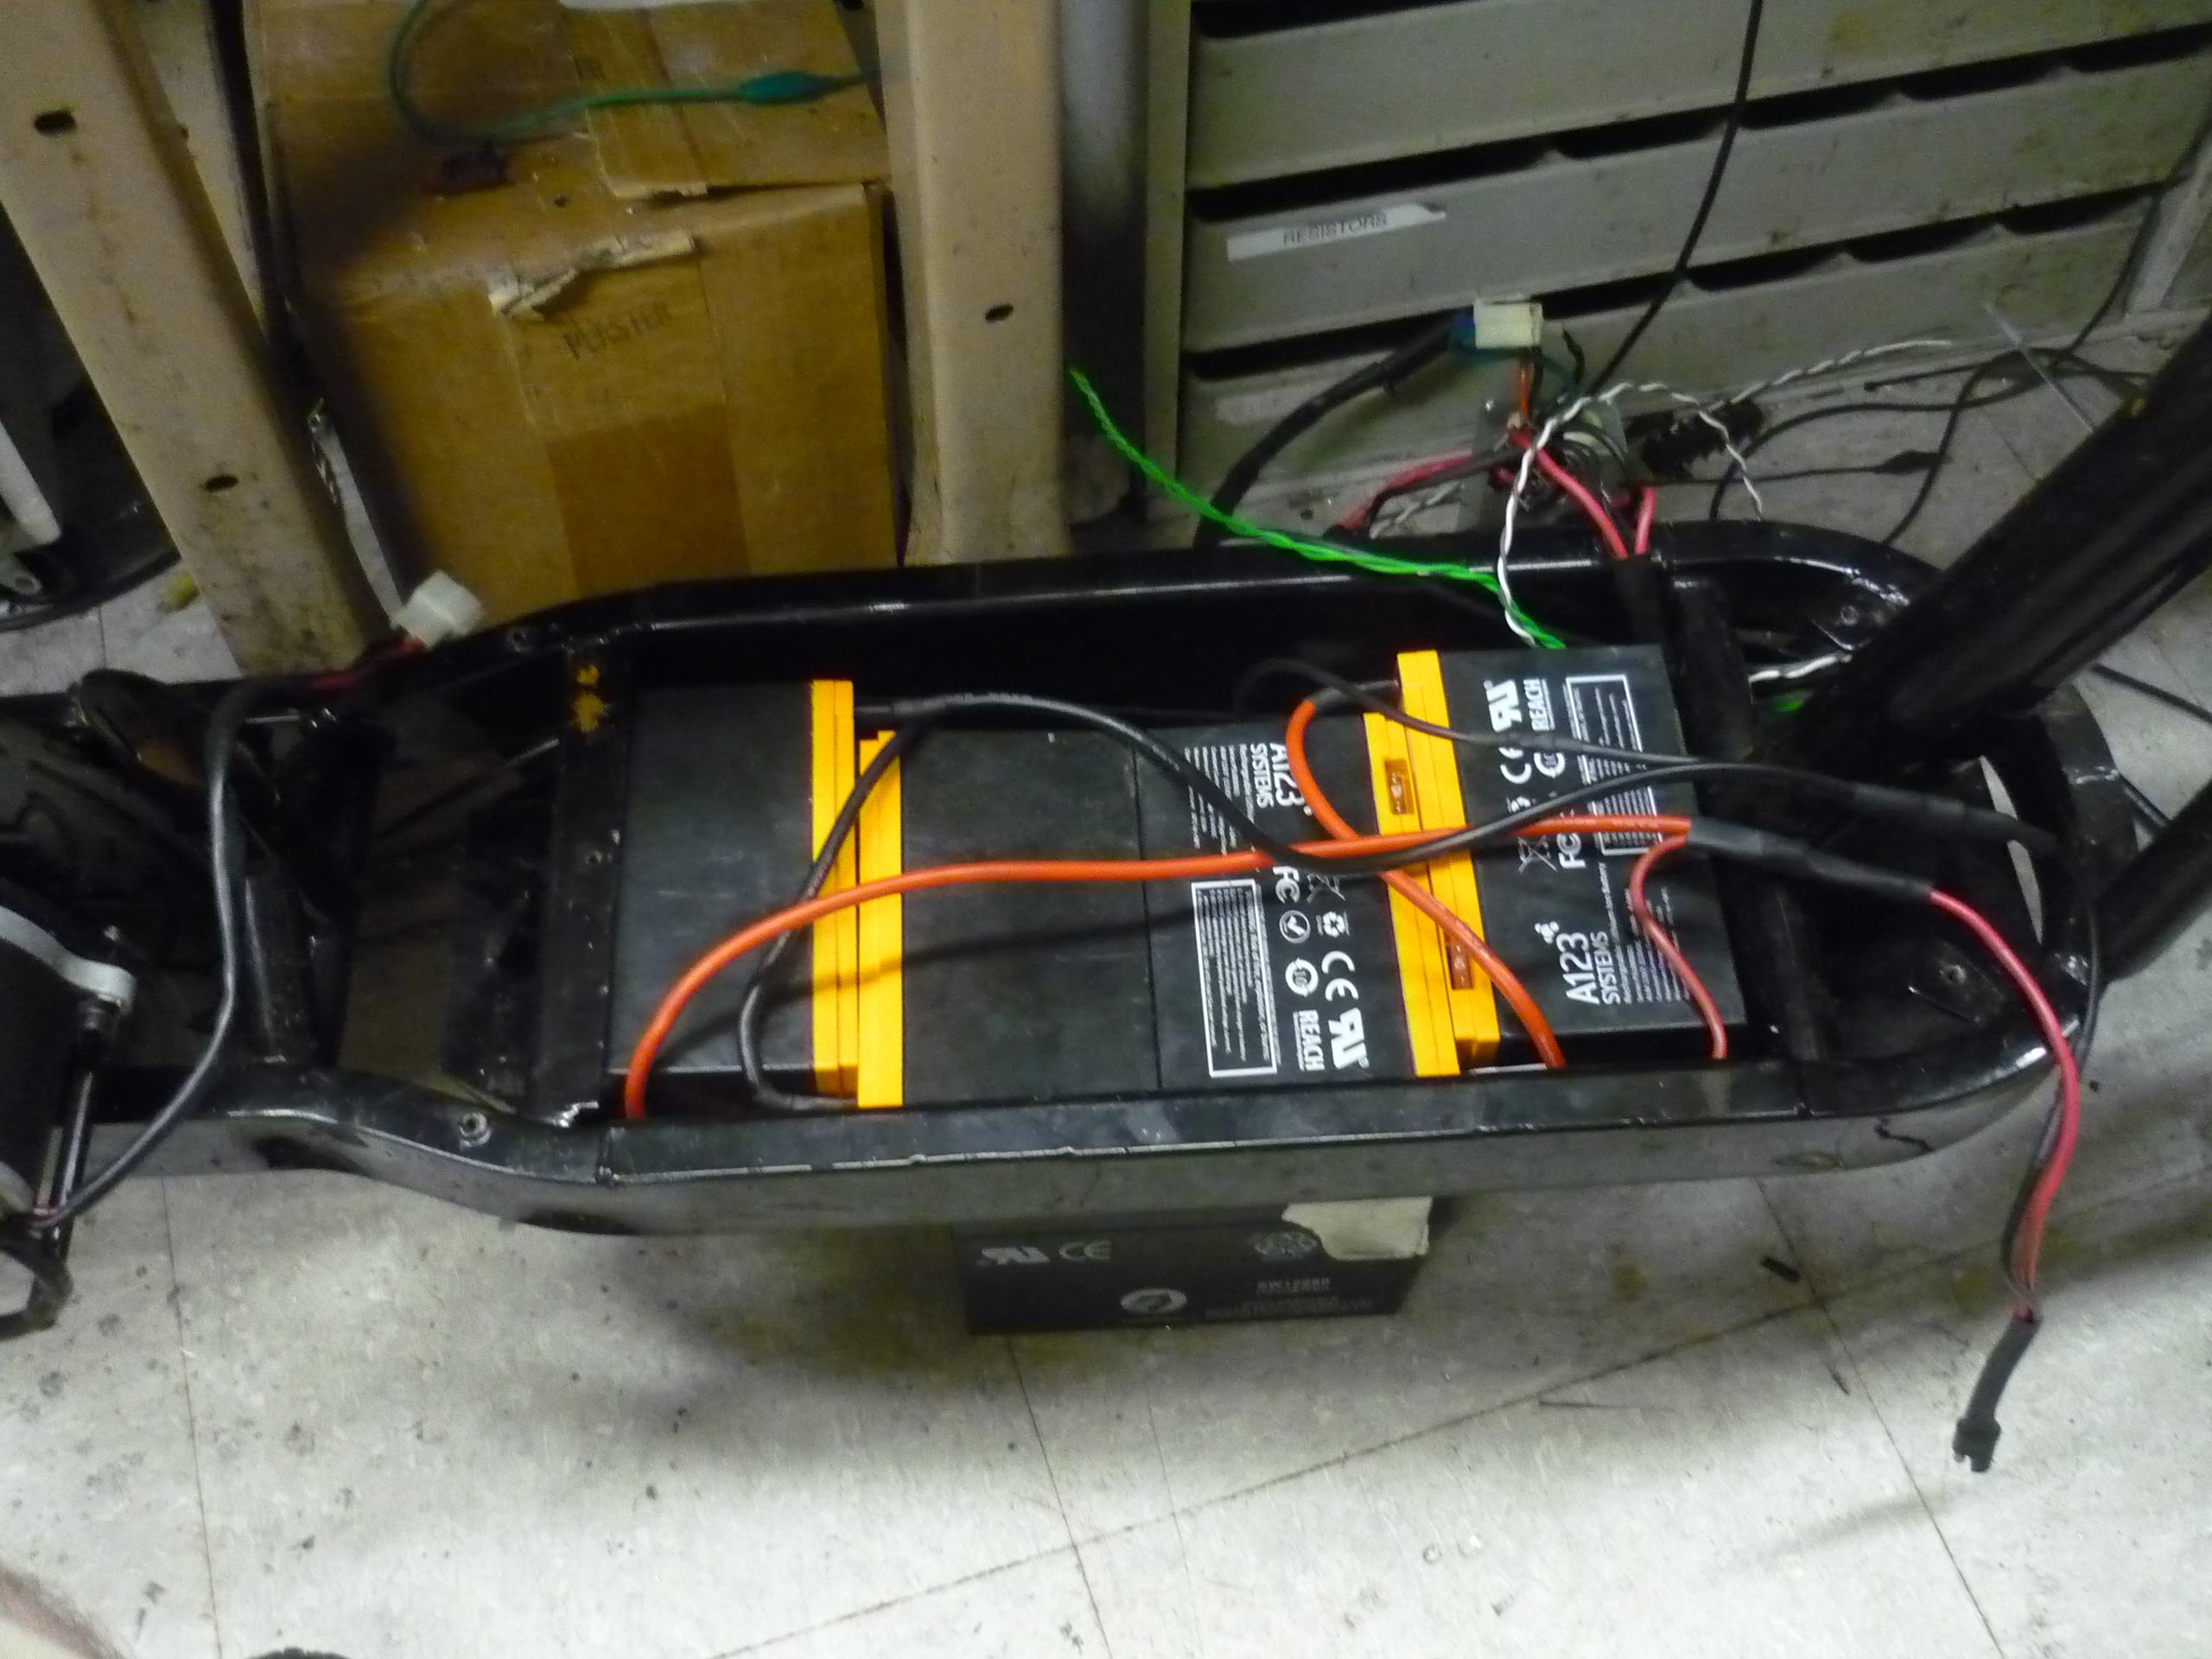
As you can see, those (4) 12v7's fit pretty snug in the battery cavity. I had to Tetris-block them in so I could leave space for the motor controller. This configuration fit all the components and still provided ample room for a decent bend radius on the battery fast-on connectors.
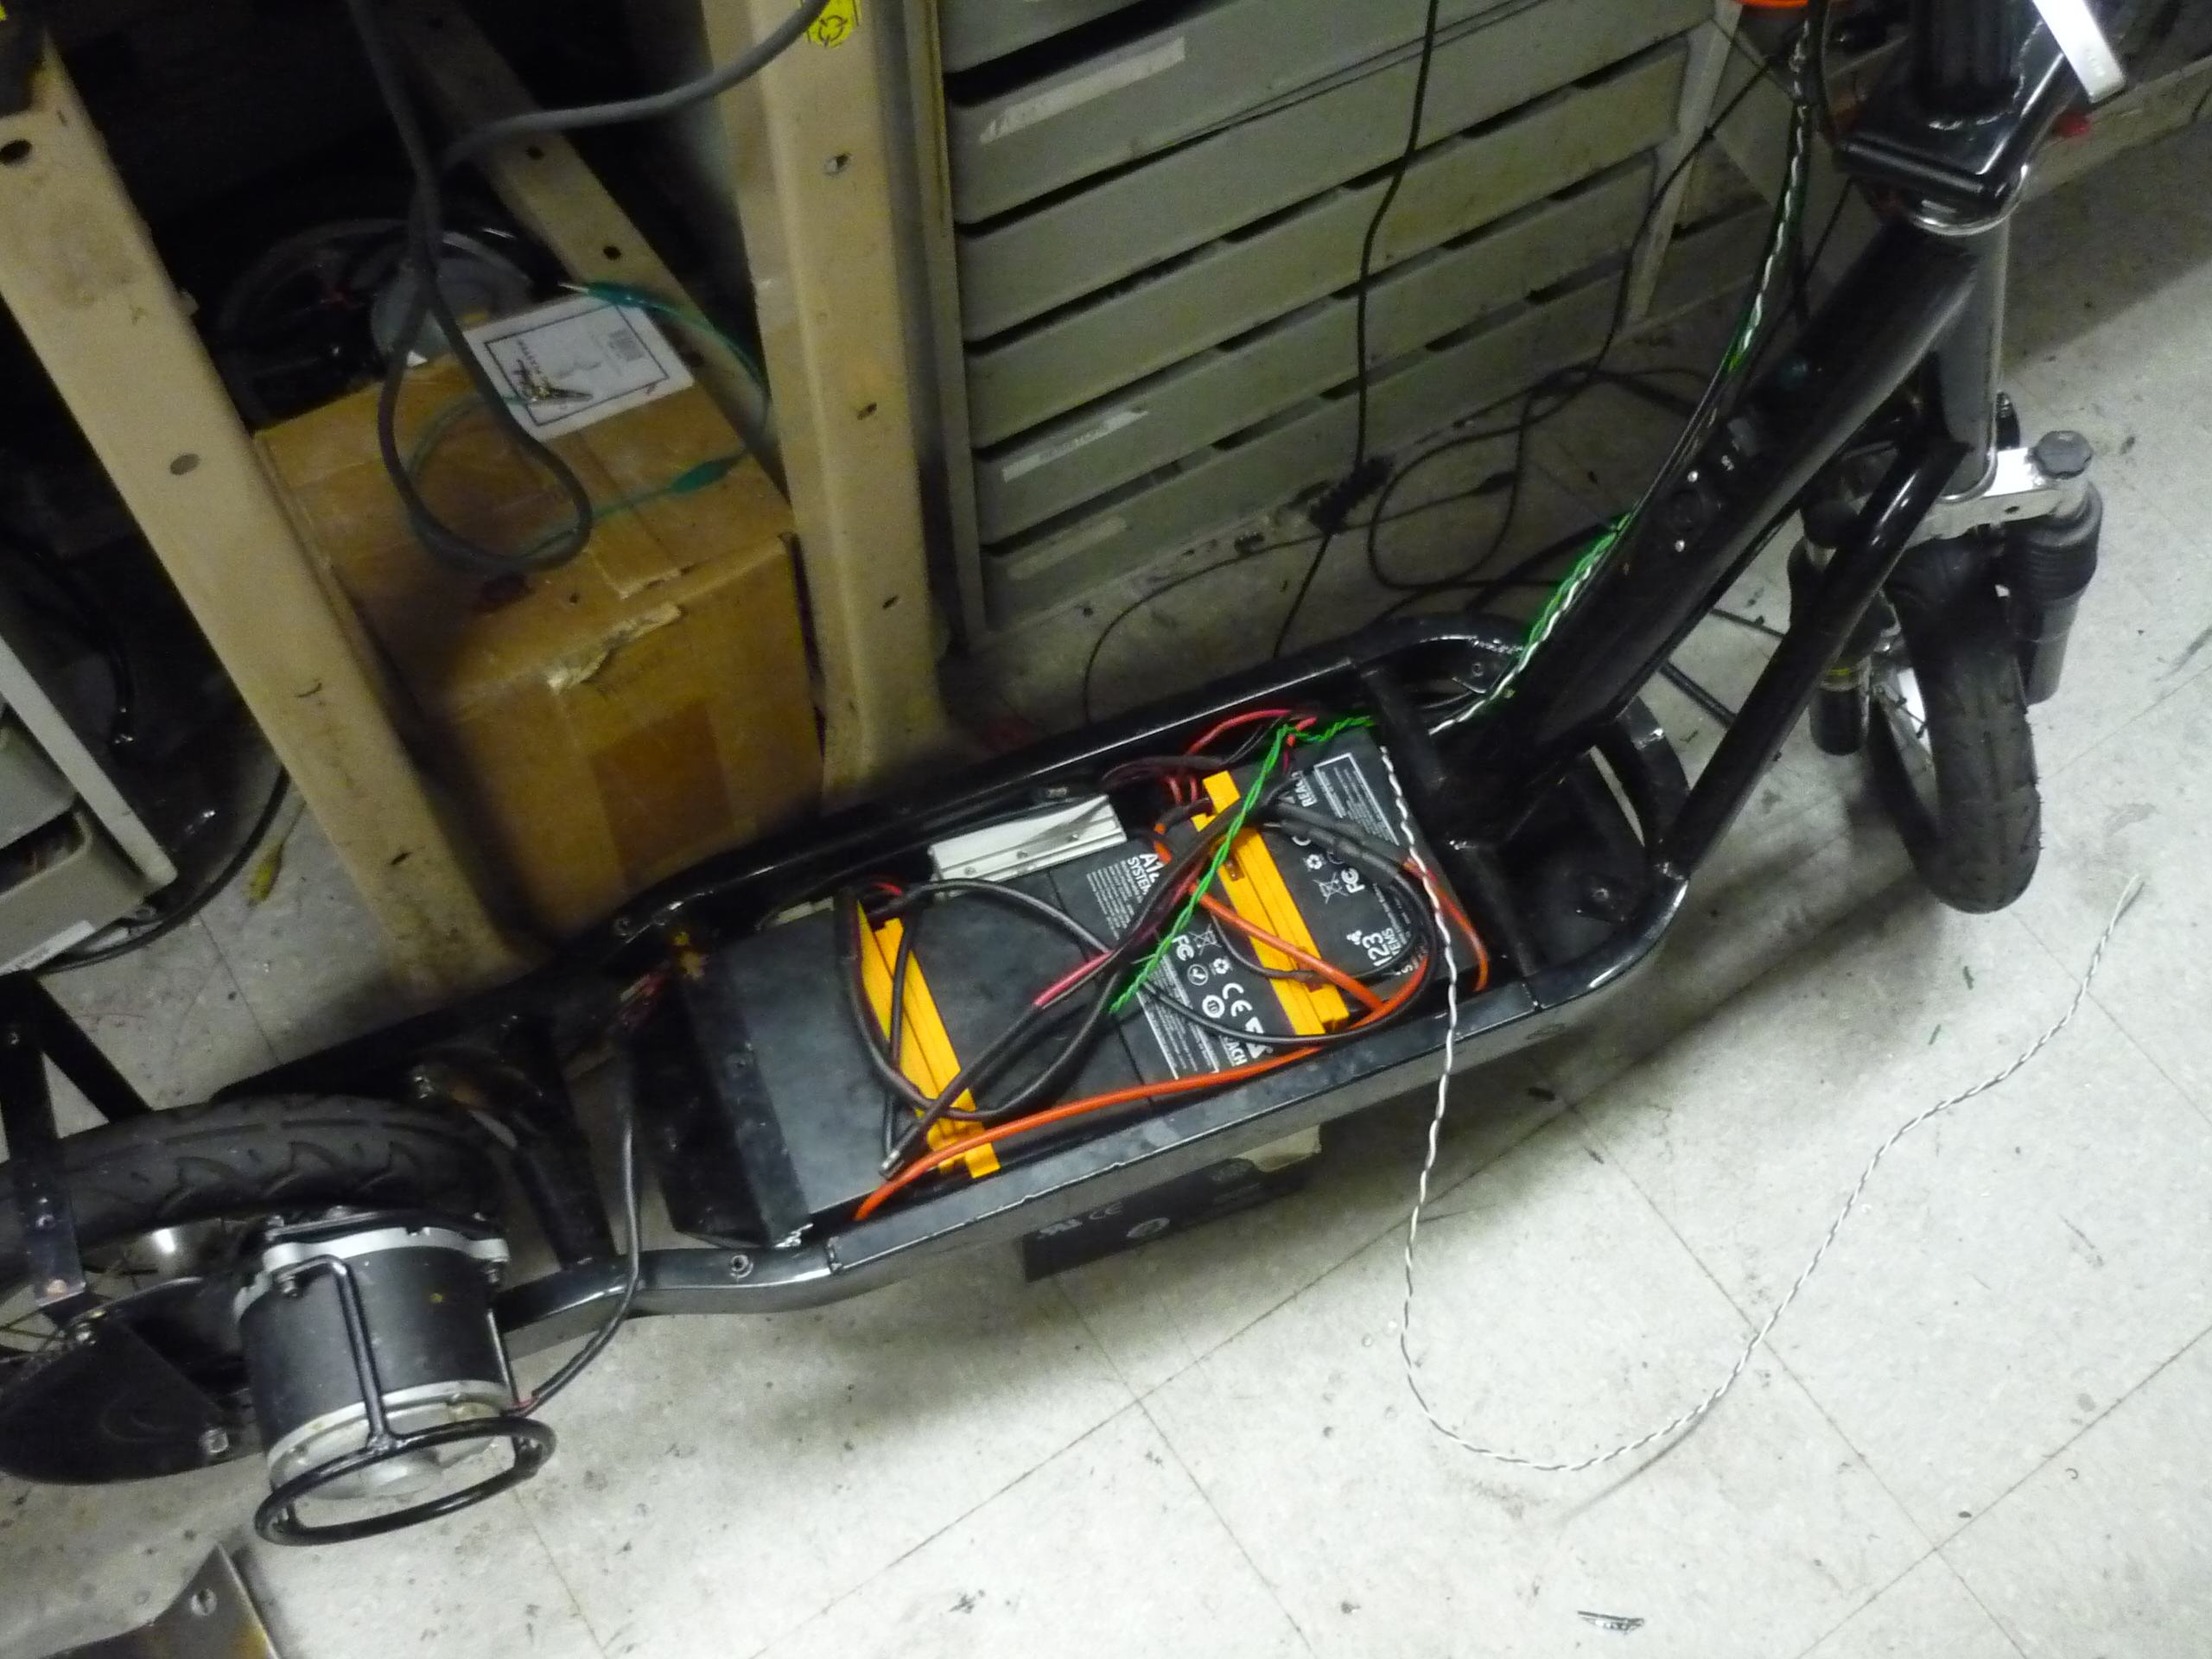
Sure, I had to lengthen the wiring harness a bit too, but that was inevitable. Like a glove. The battery tray cover even fit on top! I added a bit of protective foam and rubber around the battery terminals to add extra insulation in the case of something coming loose on impact.
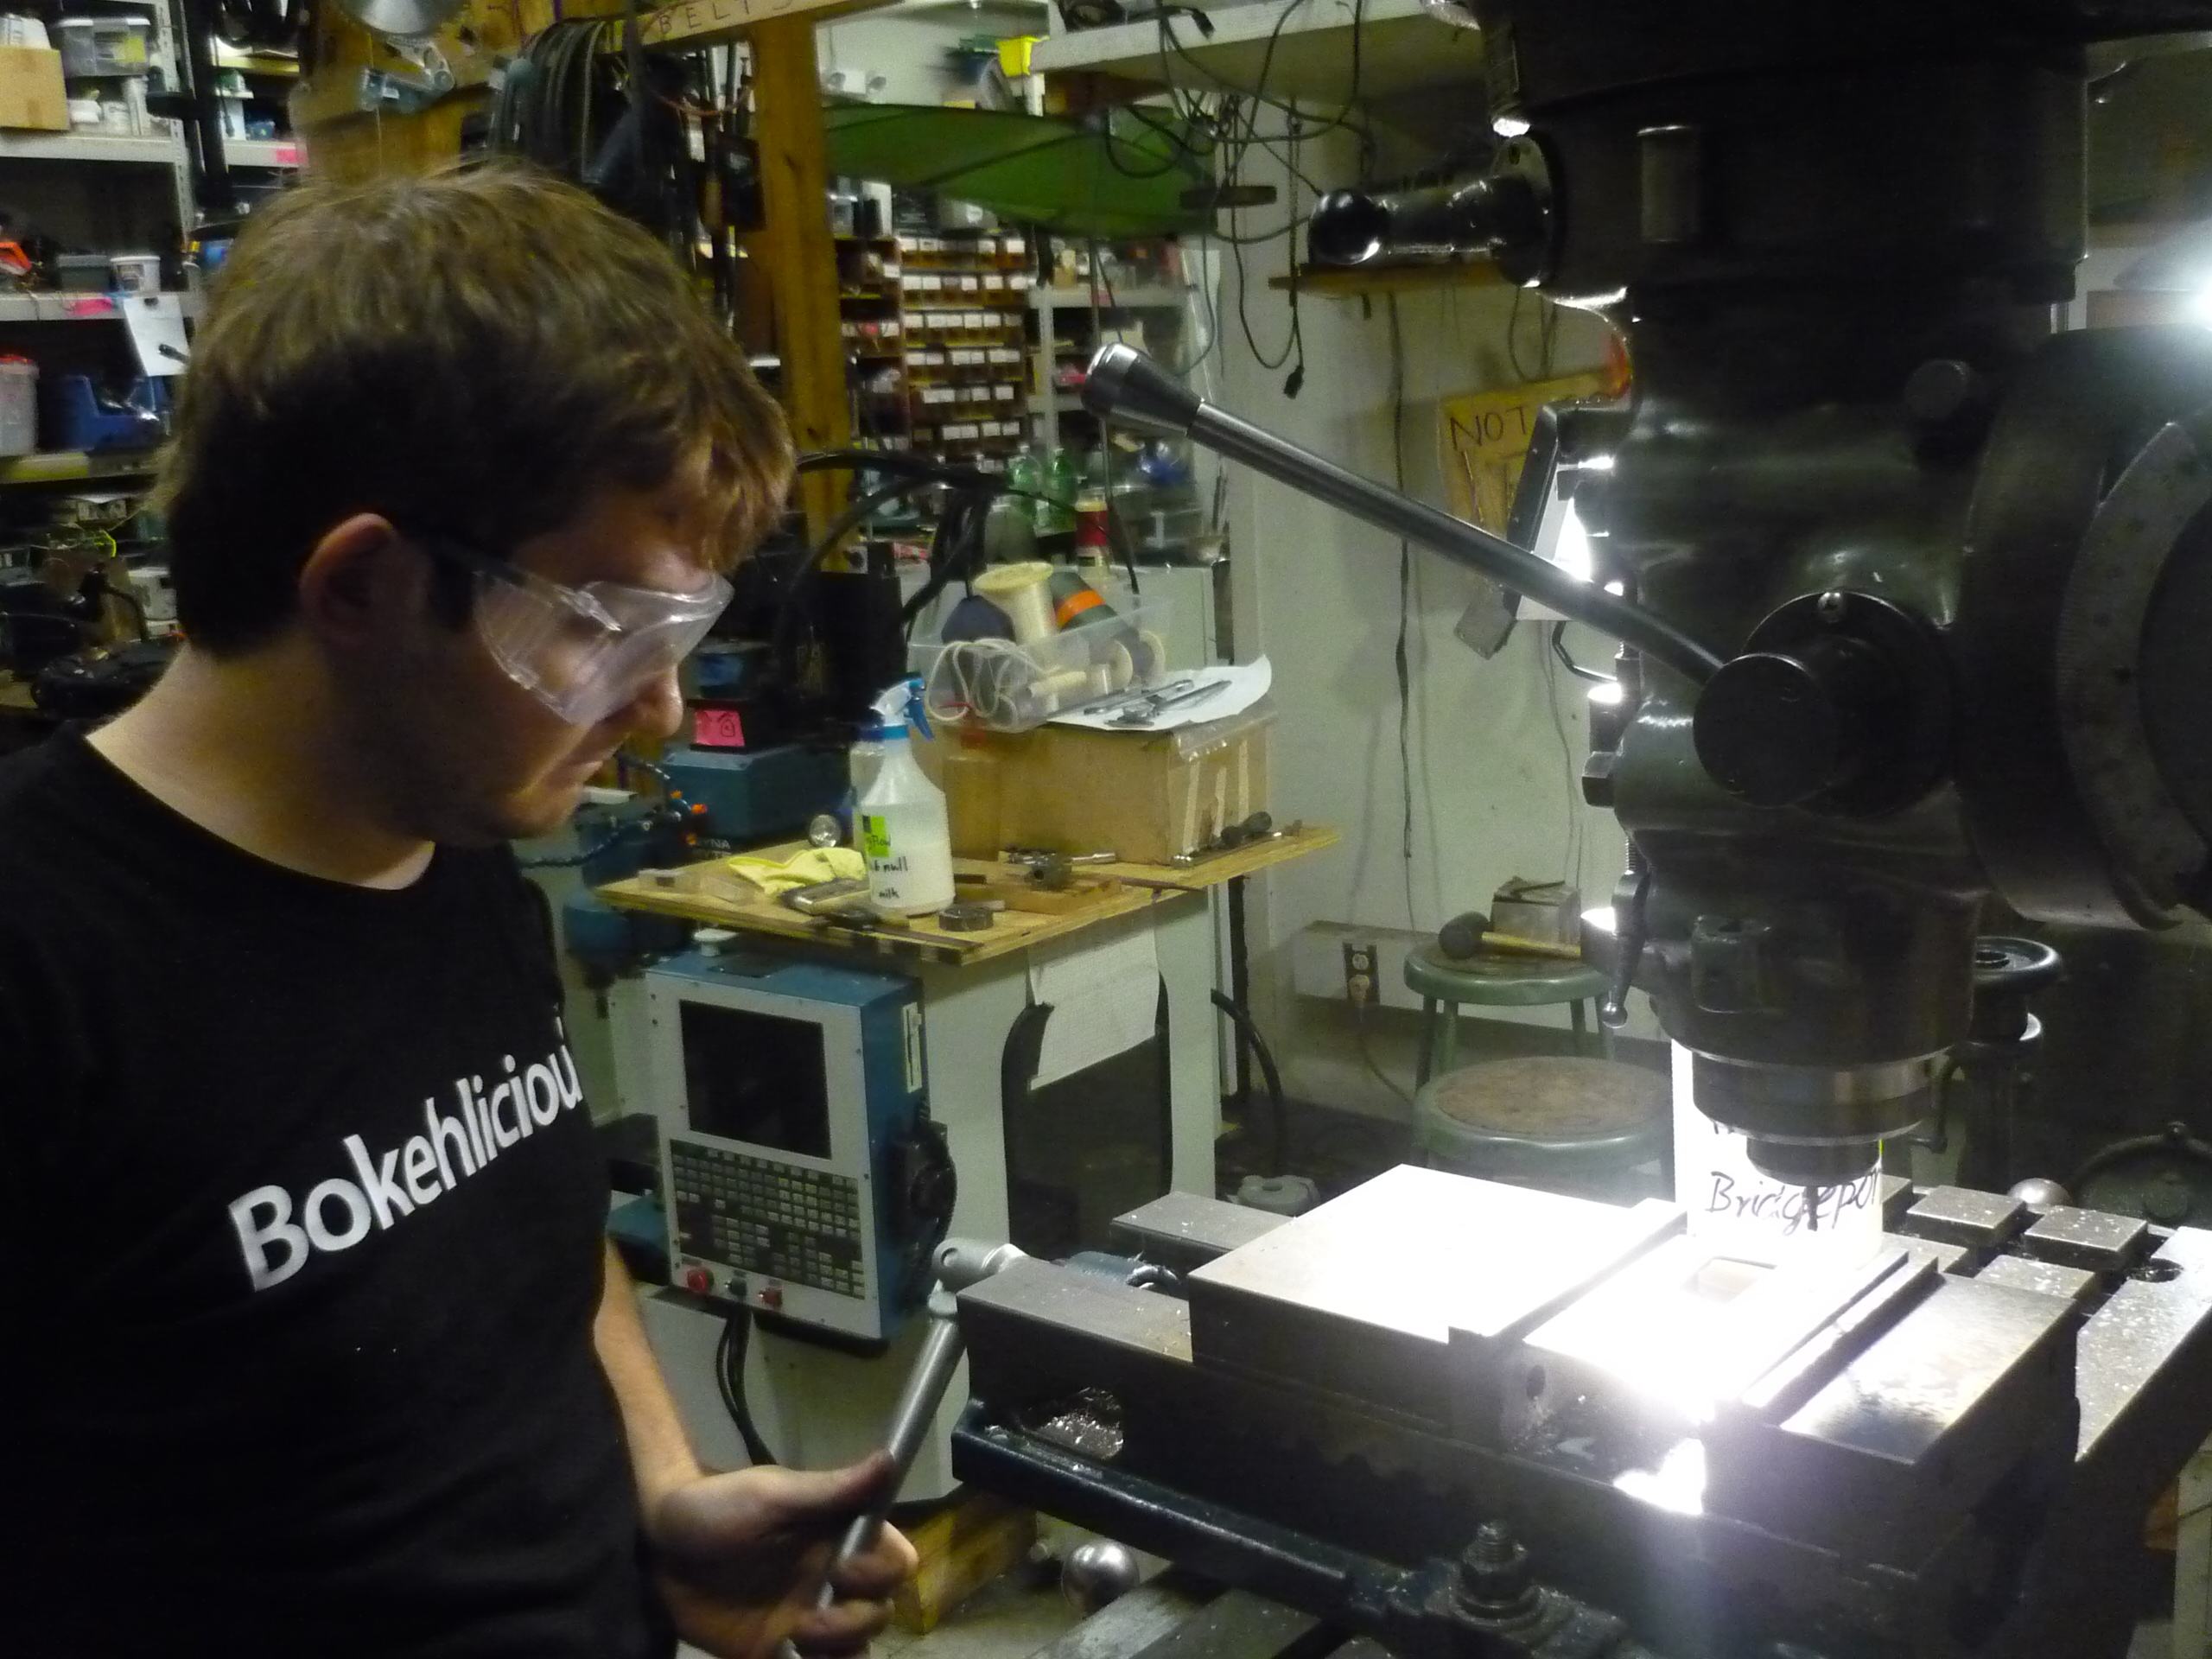
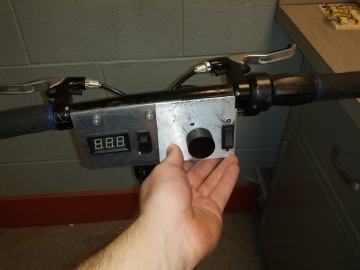
One of the benefits of working in a makerspace is the availability of advanced tools. I was able to use the MITERS Bridgeport to mill cutouts in an aluminum faceplate destined to become the front dashboard of my scooter. This faceplate would house the voltage readout display for the main battery pack and headlight switch. The voltage readout display was a 9-30v 8-segment display commonly found on ebay / amazon. With just a few additional holes in the handlebars, I was able to mount the dashboard and switches.
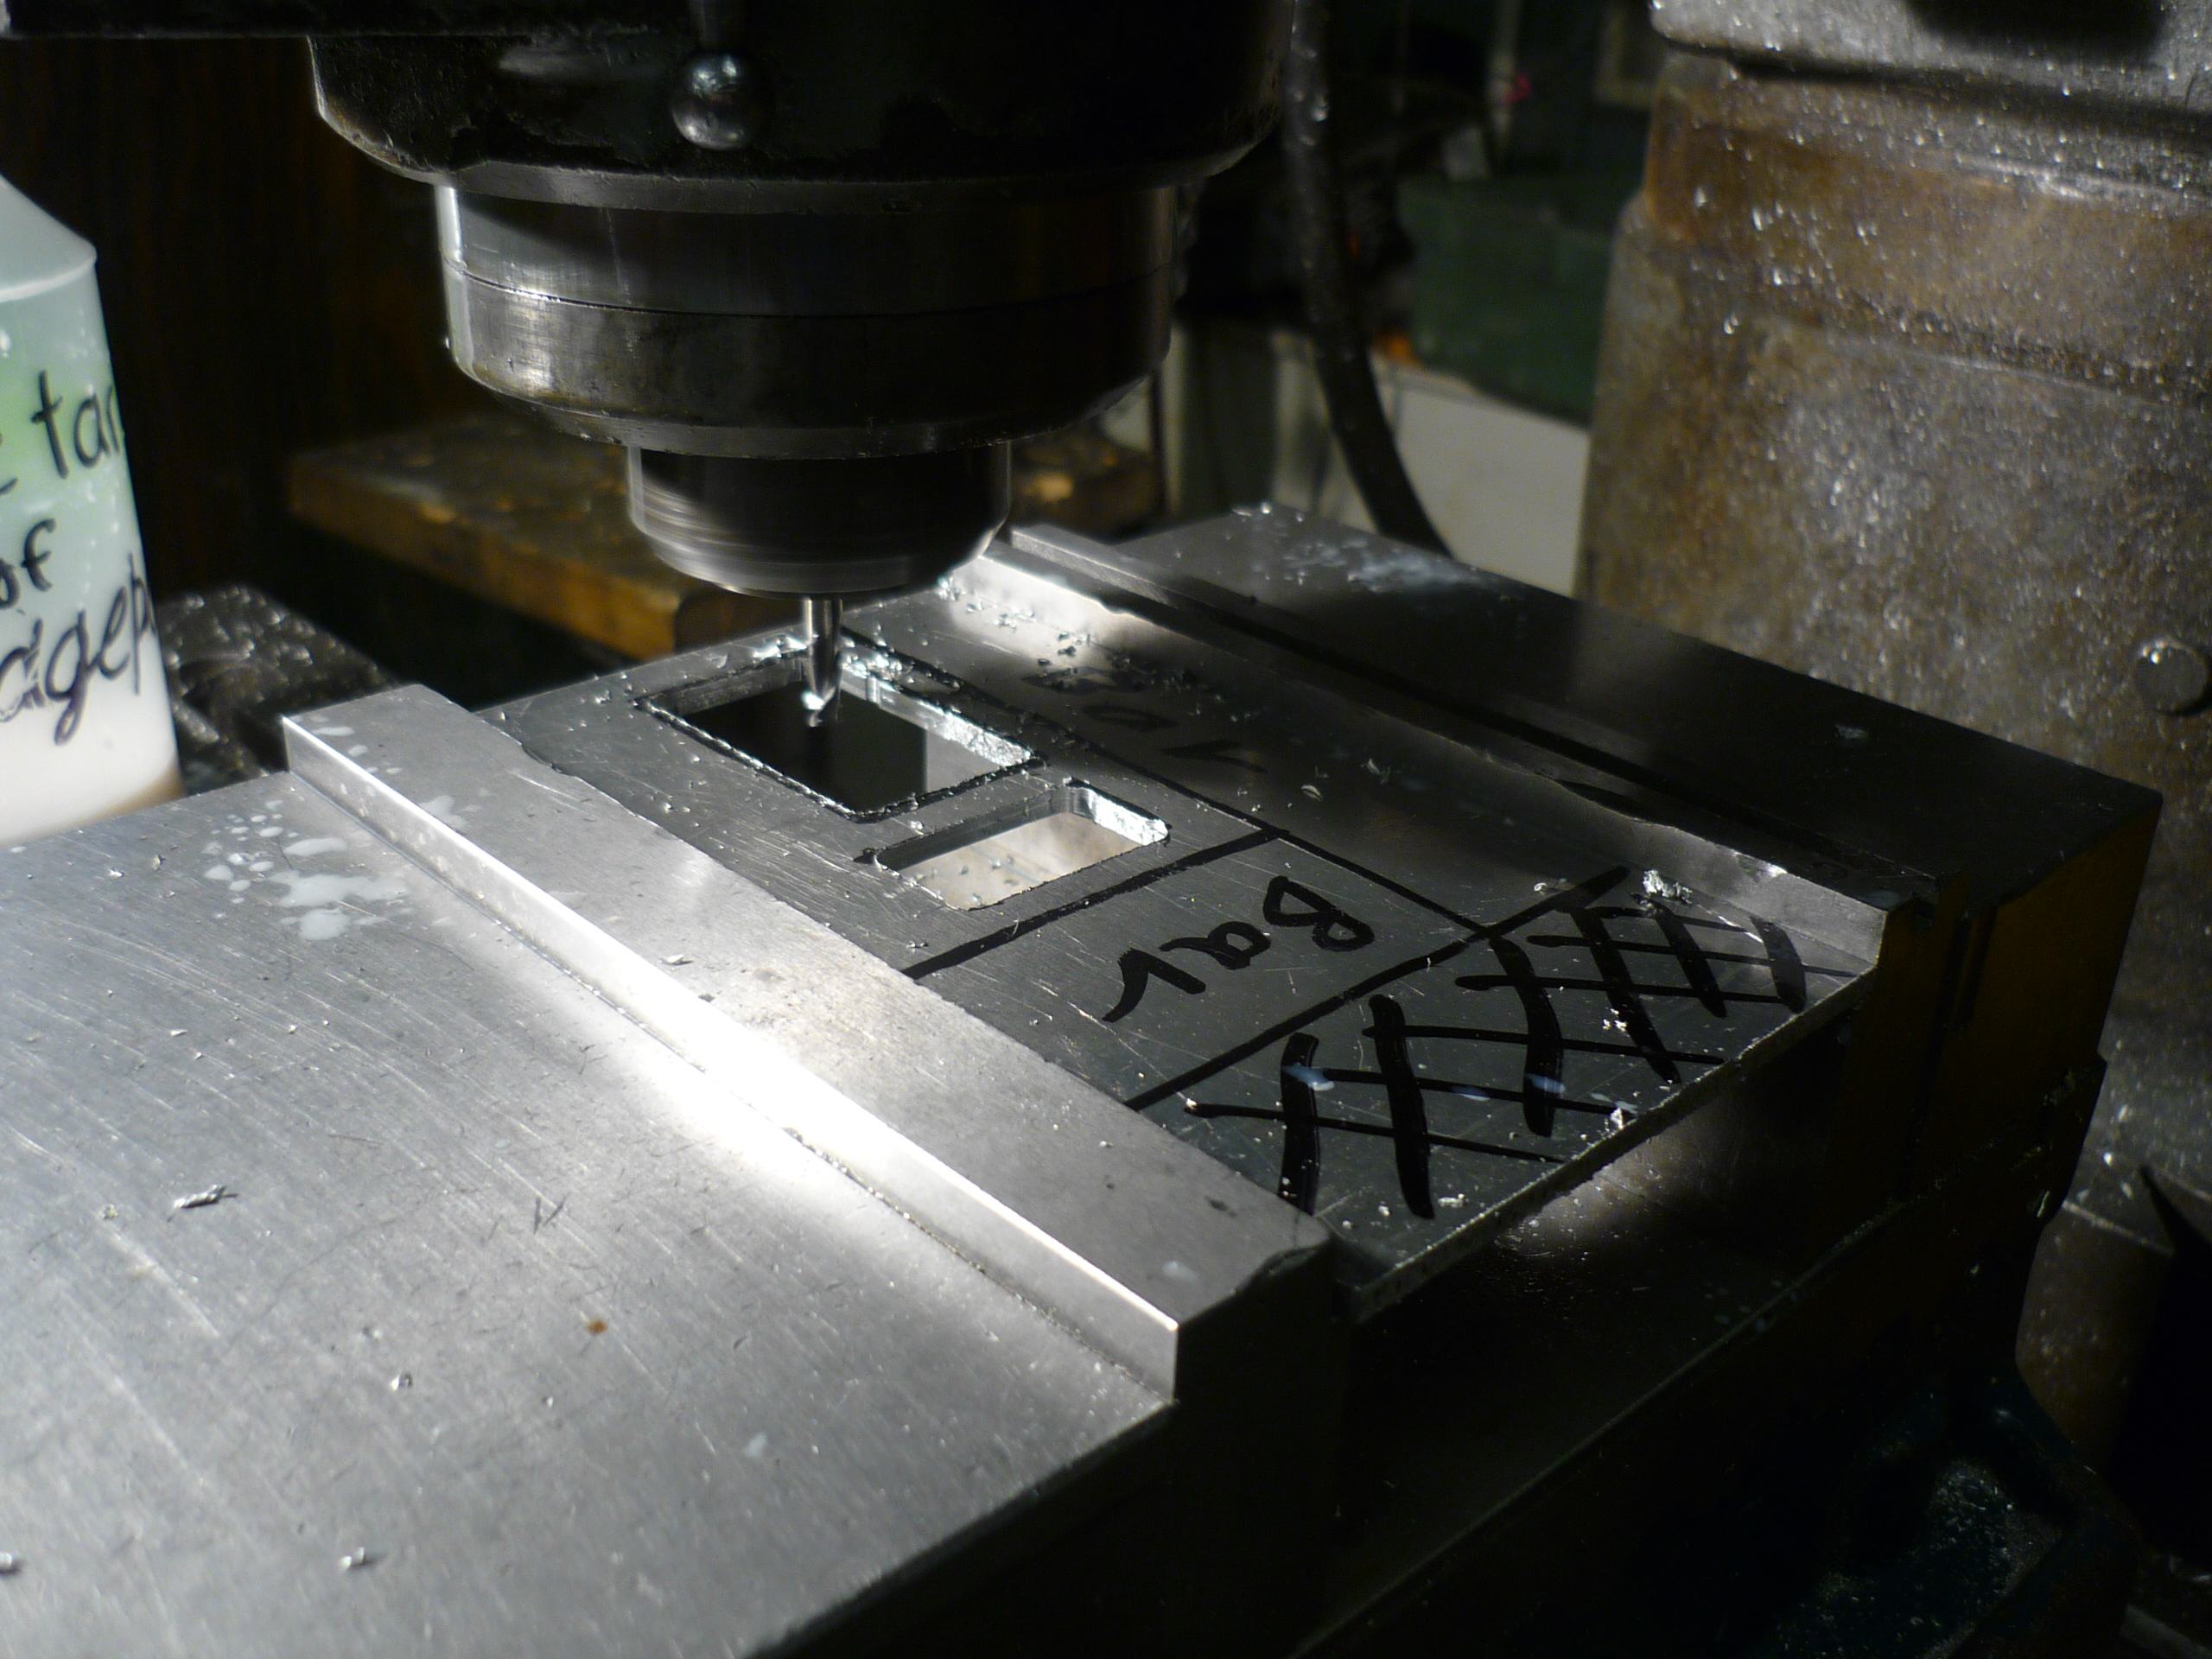
Here's a closeup on the dashboard. I oversized the cutouts for the switch and voltage readout display so I wouldn't spend too much time fiddling around with a perfect fit. I could always use Silicon RTV or some other glue later on.
Even though it was 2am and the scooter was still in shambles, it was good enough a time as any to test drive. It survived the first test quite well: driving around the MITERS packing lot and the adjacent mailroom packing lot. The next test was more enduring, so I made sure the batteries were topped off.
Scootering on the bike path besides the Charles river may have been a bit too daunting for a second test, but the scooter handled far better than I expected. Sure, the handlebars were a bit loose and the brakes had a stopping power measured in the duration of average length 90s pop songs, but hey it worked. The battery packs cut out once I hit the walking bridge on the return trip back into mass ave, which honestly was not the great of range, but it was good enough to get me hooked. Luckily I had some backup support so when the scooter failed I was not trudging back to Miters alone. Here's some test footage around a side street in Massachusetts. I will be compiling the original miters test footage soon.
The first maiden voyage: no rainstorm too gloomy to stop my scootering.
Now for some logistics: how the hell was I going to get this back to Troy, NY? In an all out rush, my brother and I shoved the scooter into the nearest public bus headed straight for Boston South station. A T-train later and I was at the greyhound terminal with the scooter in hand. Keep in mind, this is not a small scooter by any means. It measures 4ft 4in long by 3ft 8in tall and 11.75in wide, disregarding the 1ft 9in wide handlebars. When it is folded it still takes up quite a large amount of space: 4ft 8in long by 2ft 5in tall and 11.75in wide. The fun part was whether I would be able to bring it on the bus. When boarding the Greyhound, I began folding up the scooter to fit under the bus and the driver stopped me. He told me that he couldn't take the scooter as cargo, and to my defense, I showed him my round trip ticket and told him I brought it up. He immediately backed down. Luckily, this was way before those exploding balancing hoverboard contraptions became widely popular. I can't imagine that I would get this lucky today. Through my willingness to forgo sleep, my brother's connections into and out of MIT, and the ignorance of Greyhound, I was able to get the scooter back to Rensselaer, NY safe and sound. Oh and thanks Steve for picking me up from the Rensselaer bus station. You know who you are. It was a glorious day. For the next few weeks I used my scooter exclusively to get back and forth to campus and do whatever else my day entailed.
Problems

The scooter honeymoon ended quite abruptly. To say my scooter was unreliable was an understatement. A lot of tiny problems compounded into major issues and eventually downright failures. First it was a broken brake arm spring not centering the front rim brakes, then the rim spokes shearing at the point of compression, the lack of chain tensioner, and of course the downright stupid method of forward threading the main sprocket to the rear drive rim. The scooter was riddled with problems.
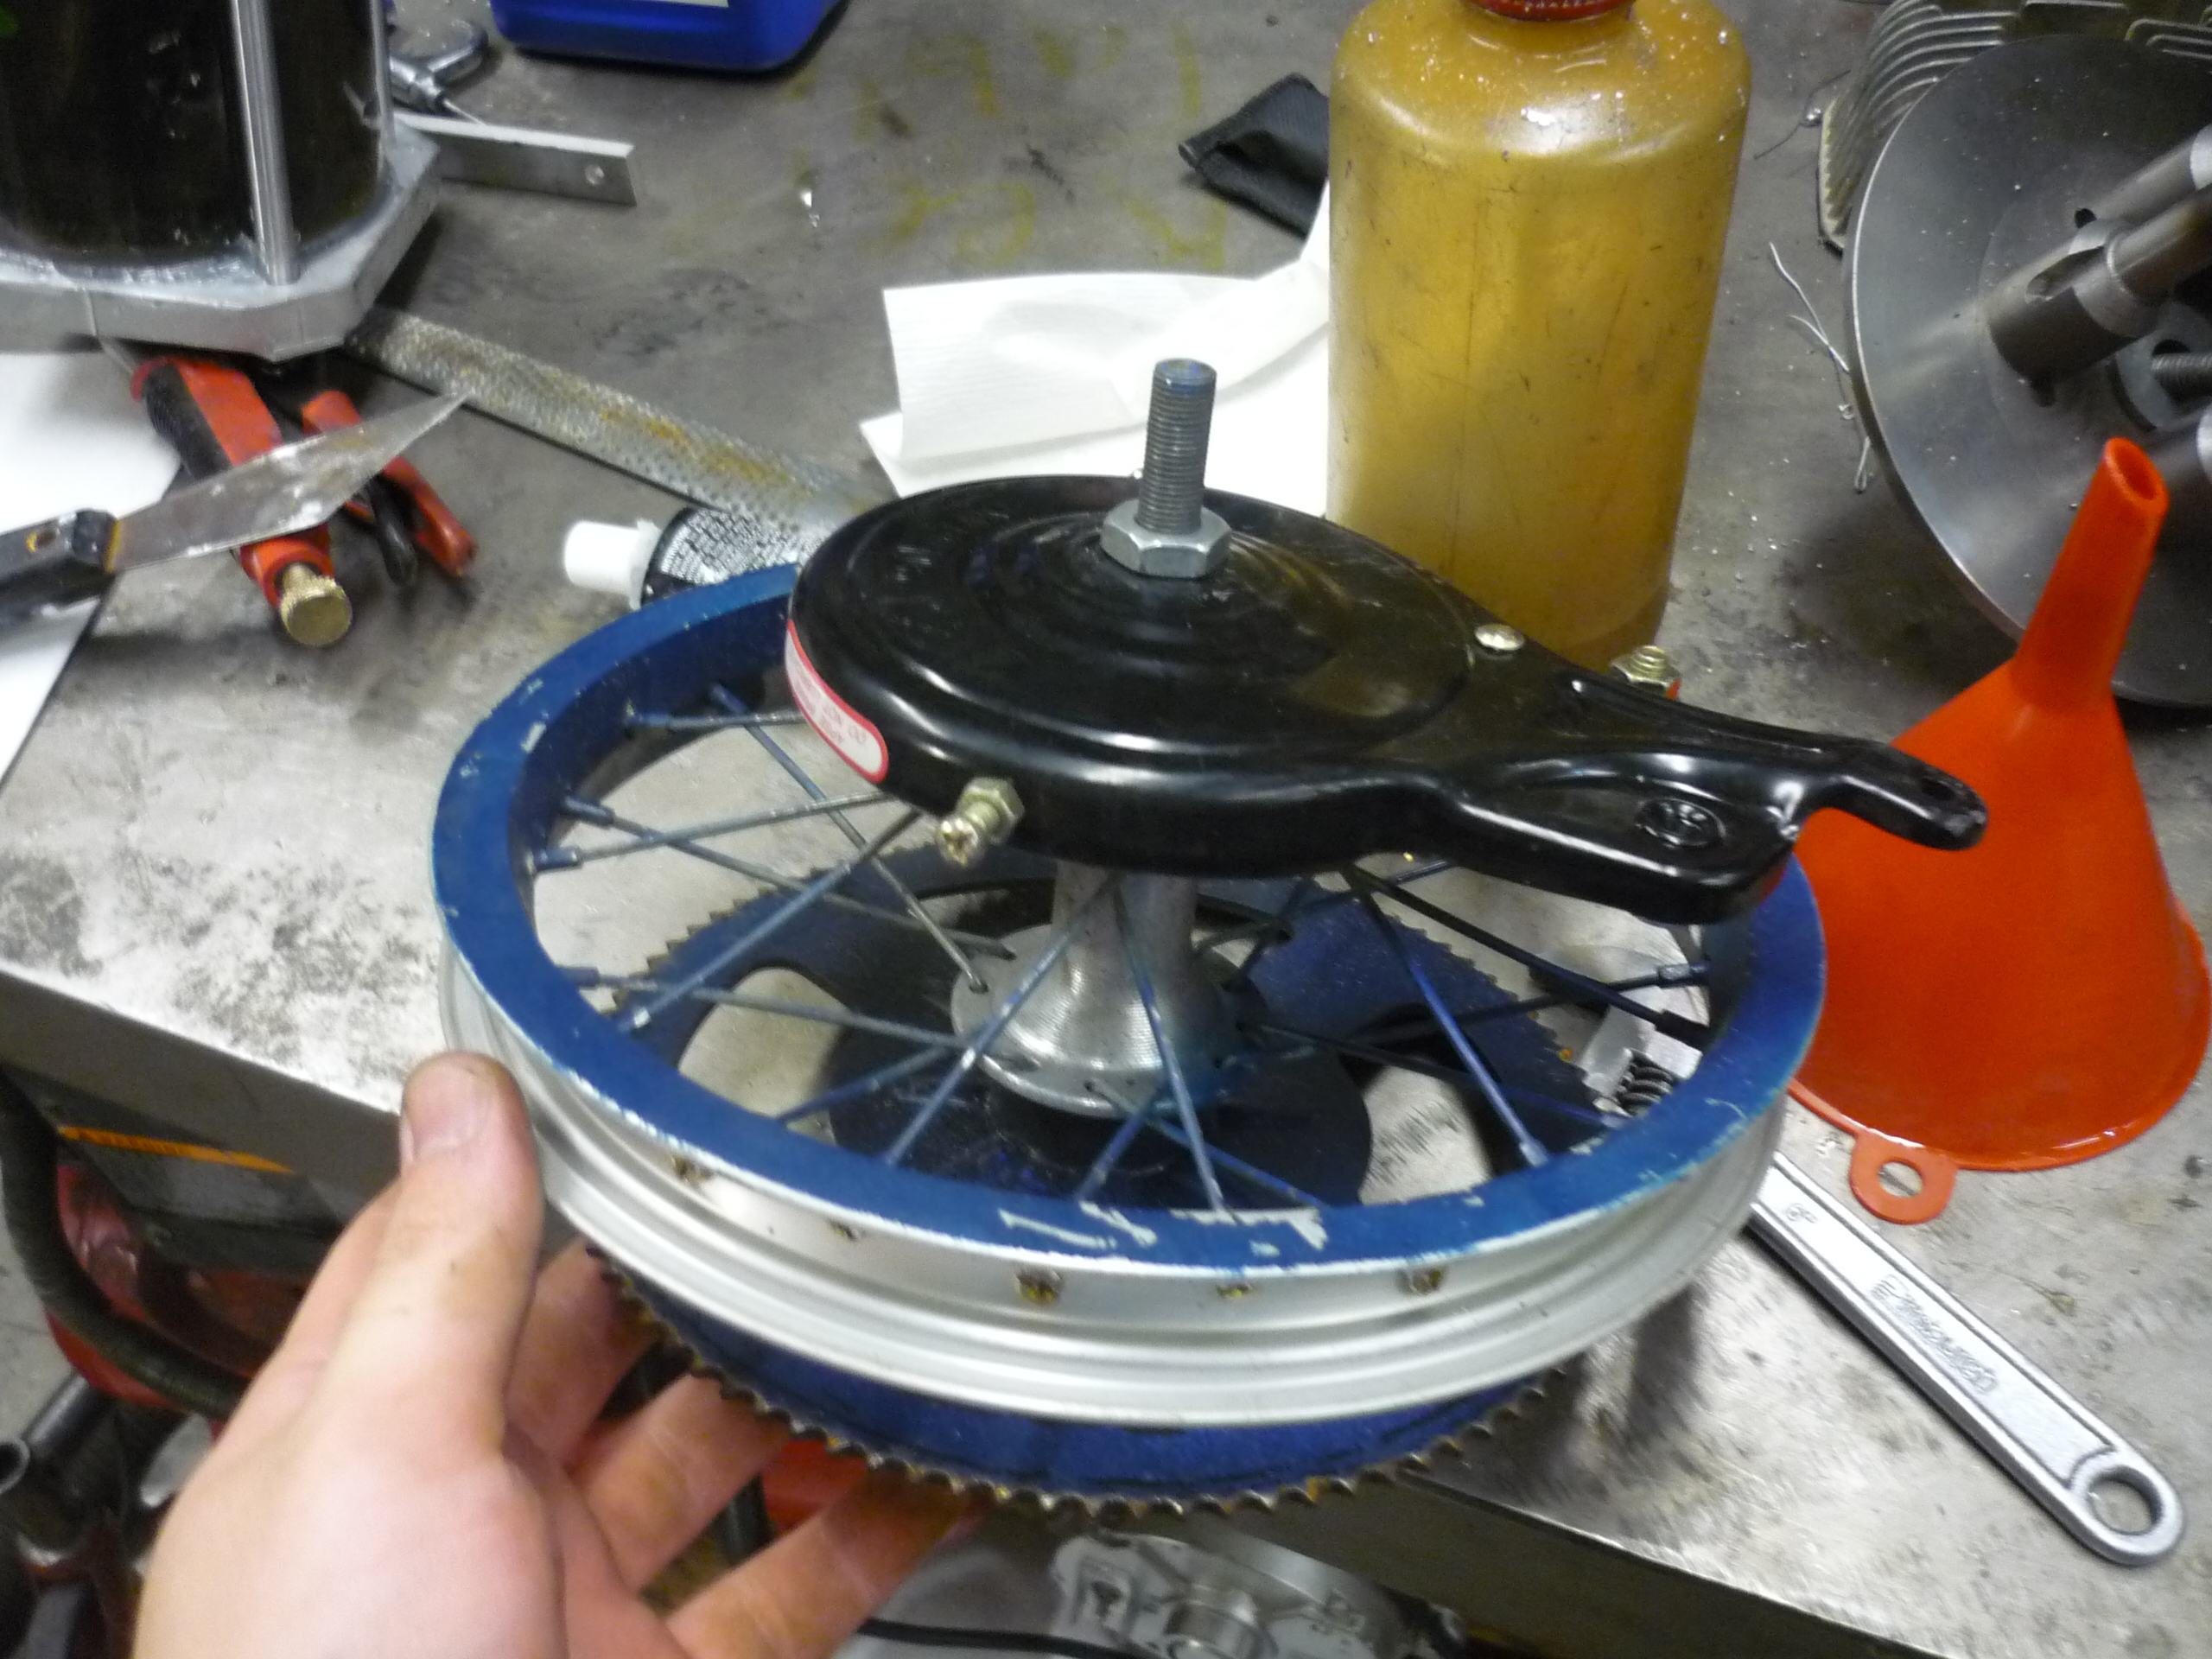
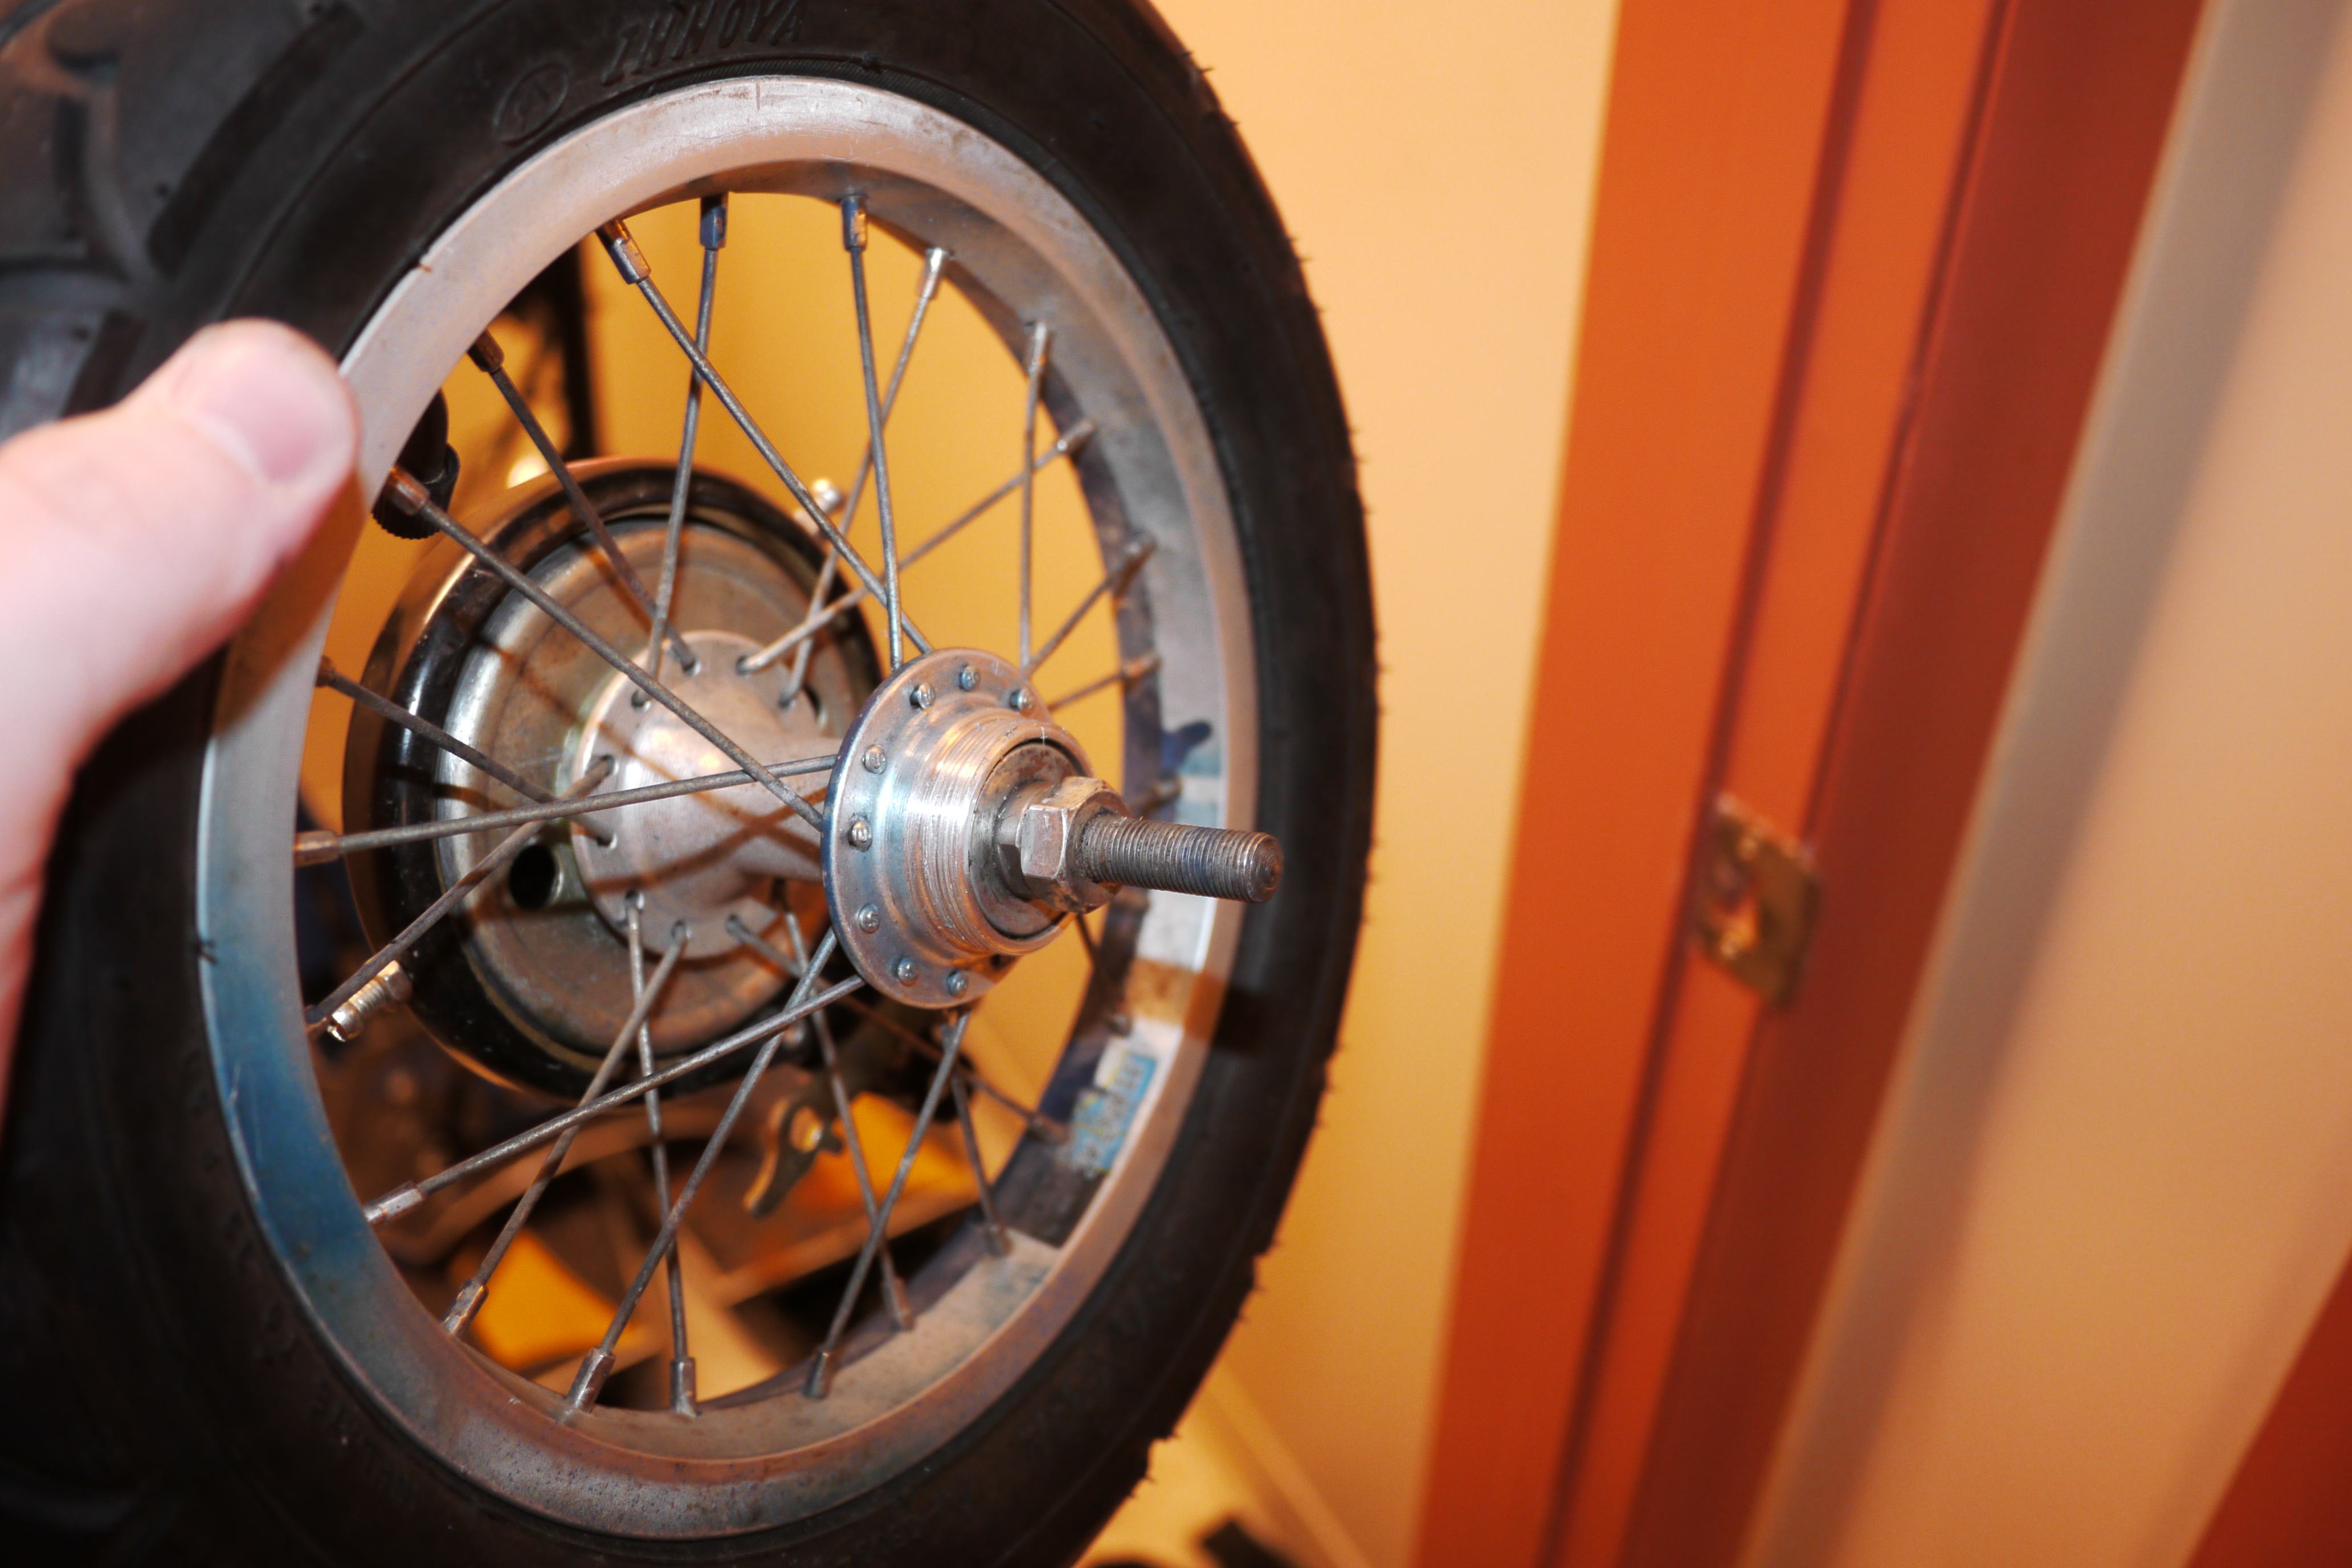
Not wanting to miss out on the daily time savings of using electric scooter transportation, I went about resolving these catastrophic issues as quickly as possible. The rim braking issue was a matter of simple bicycle repair; the constant spoke failure turned out to be a nightmare. I tried cutting new spokes, straightening and balancing the rims and even replacing the outer rims but to no avail, the spokes kept breaking and puncturing my 12in tubes. The straw that broke the camel's back was getting stuck in the middle of downtown troy with metal spokes through my tires.
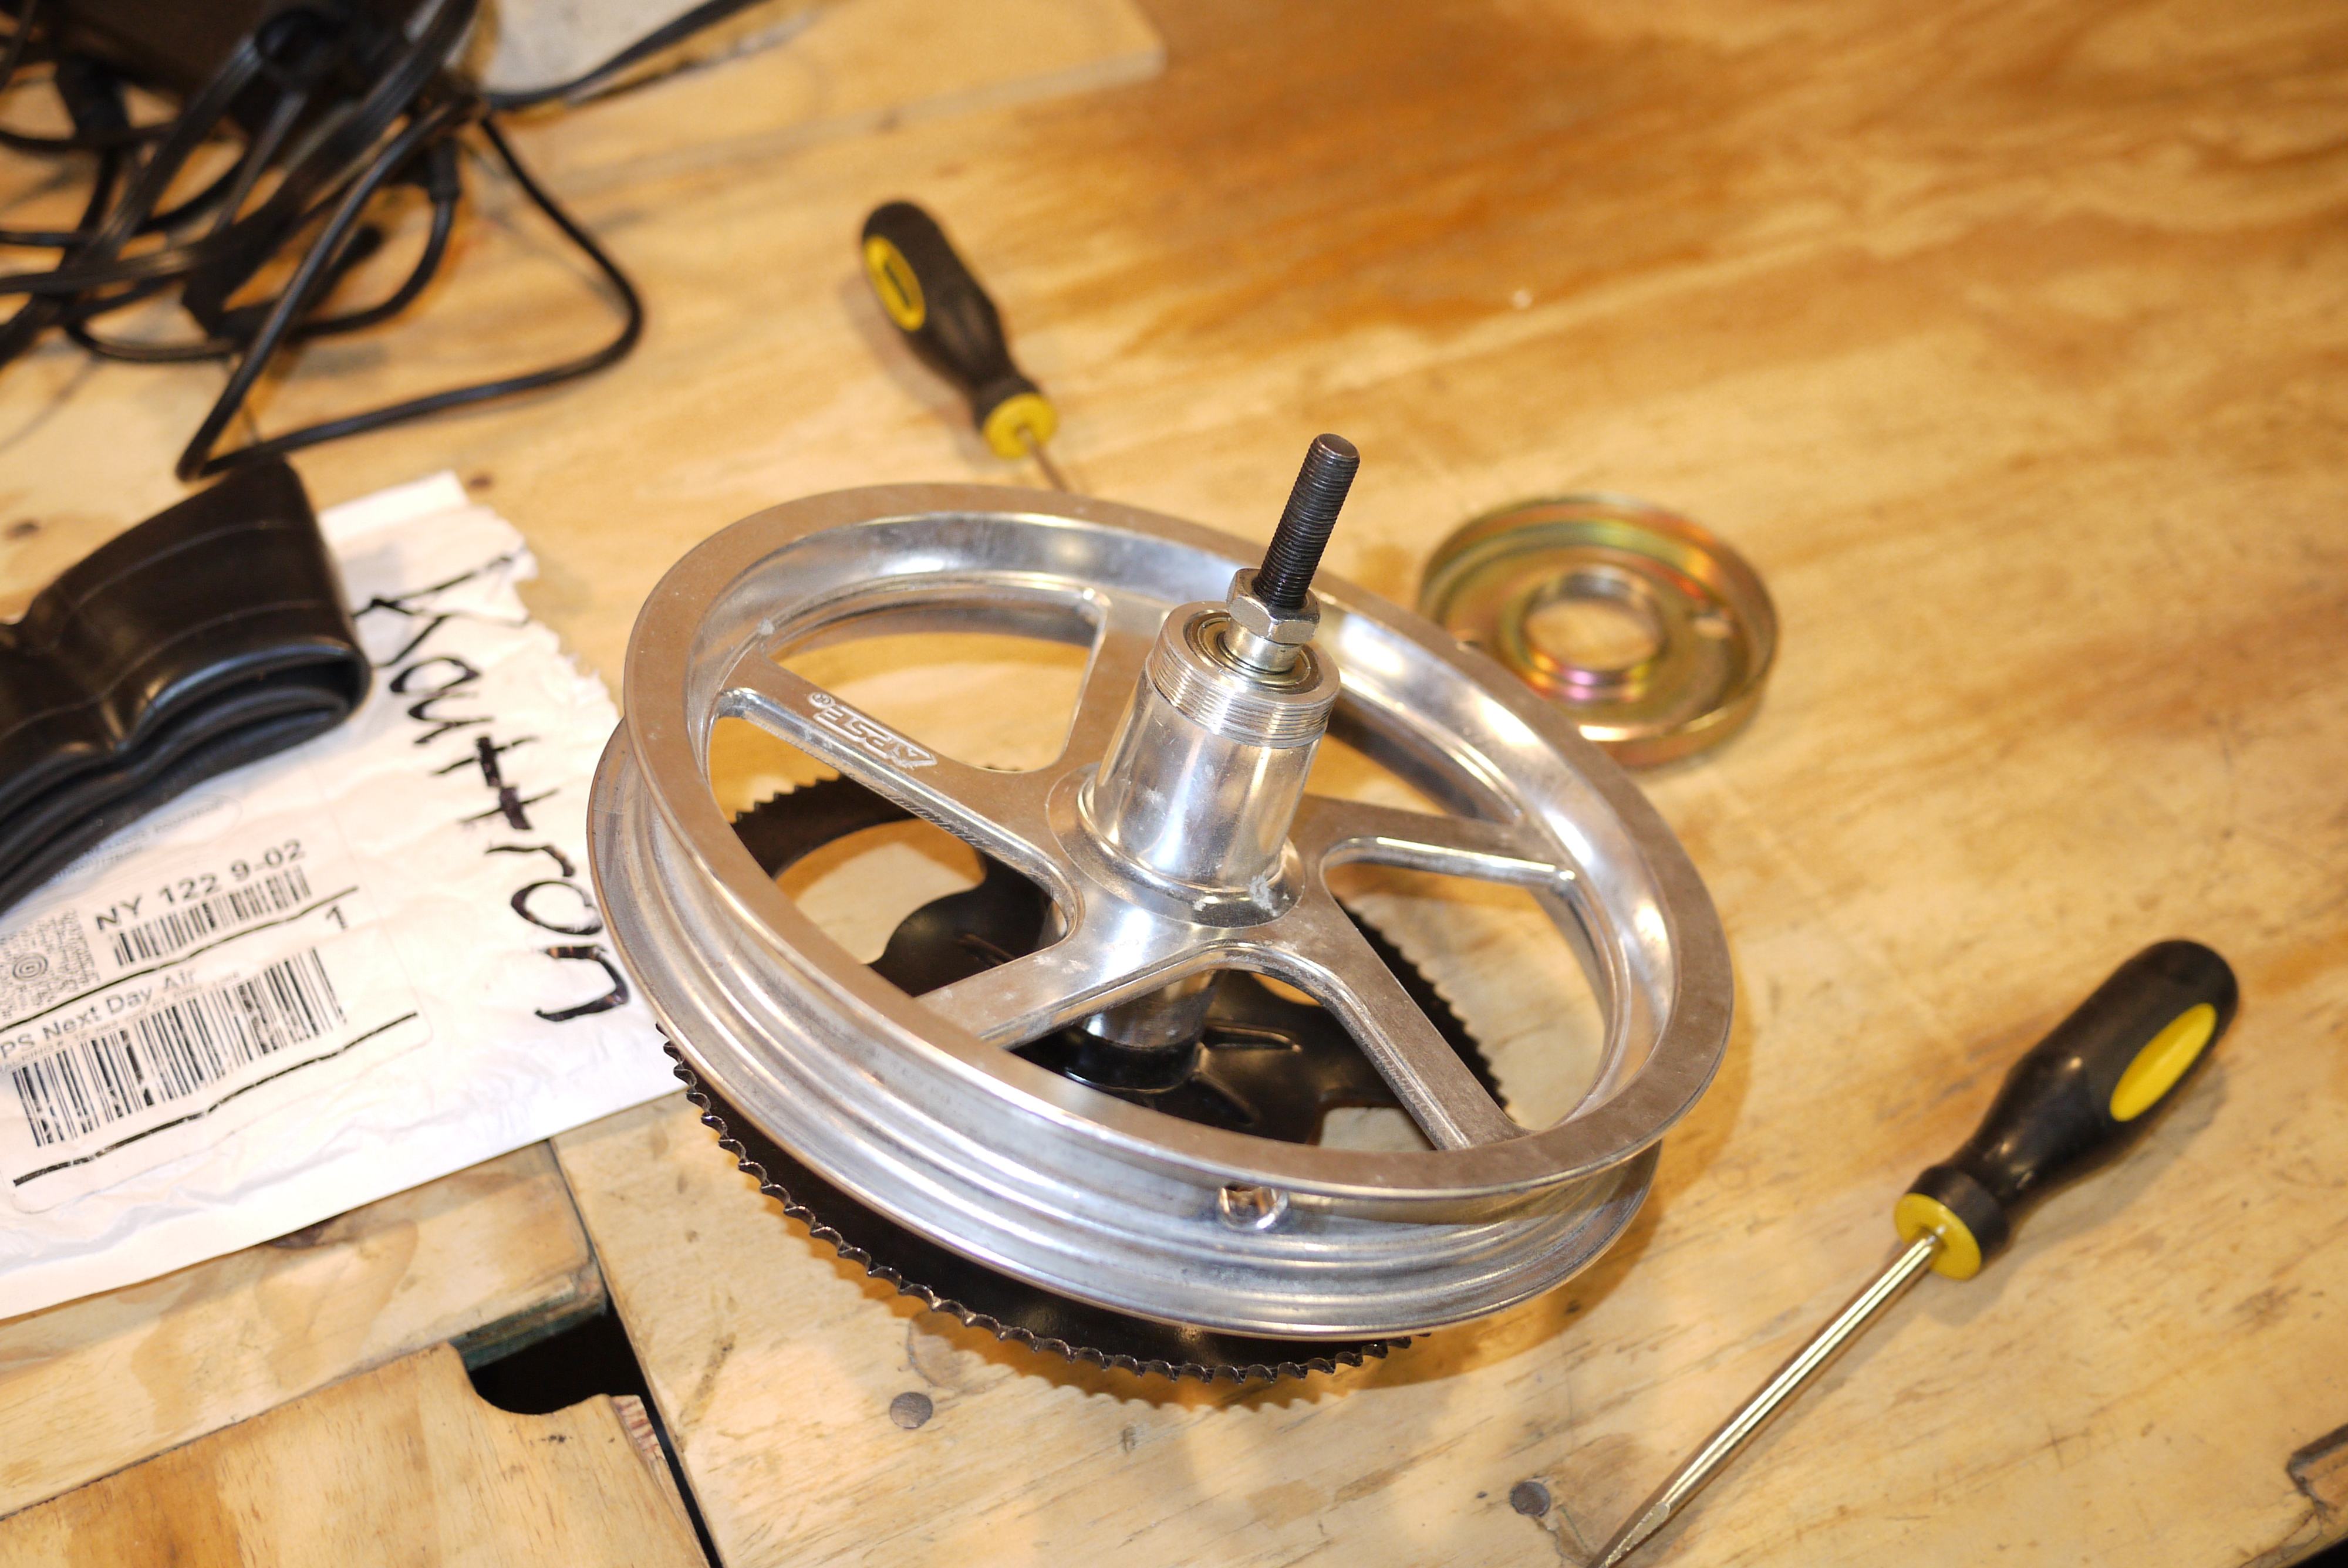
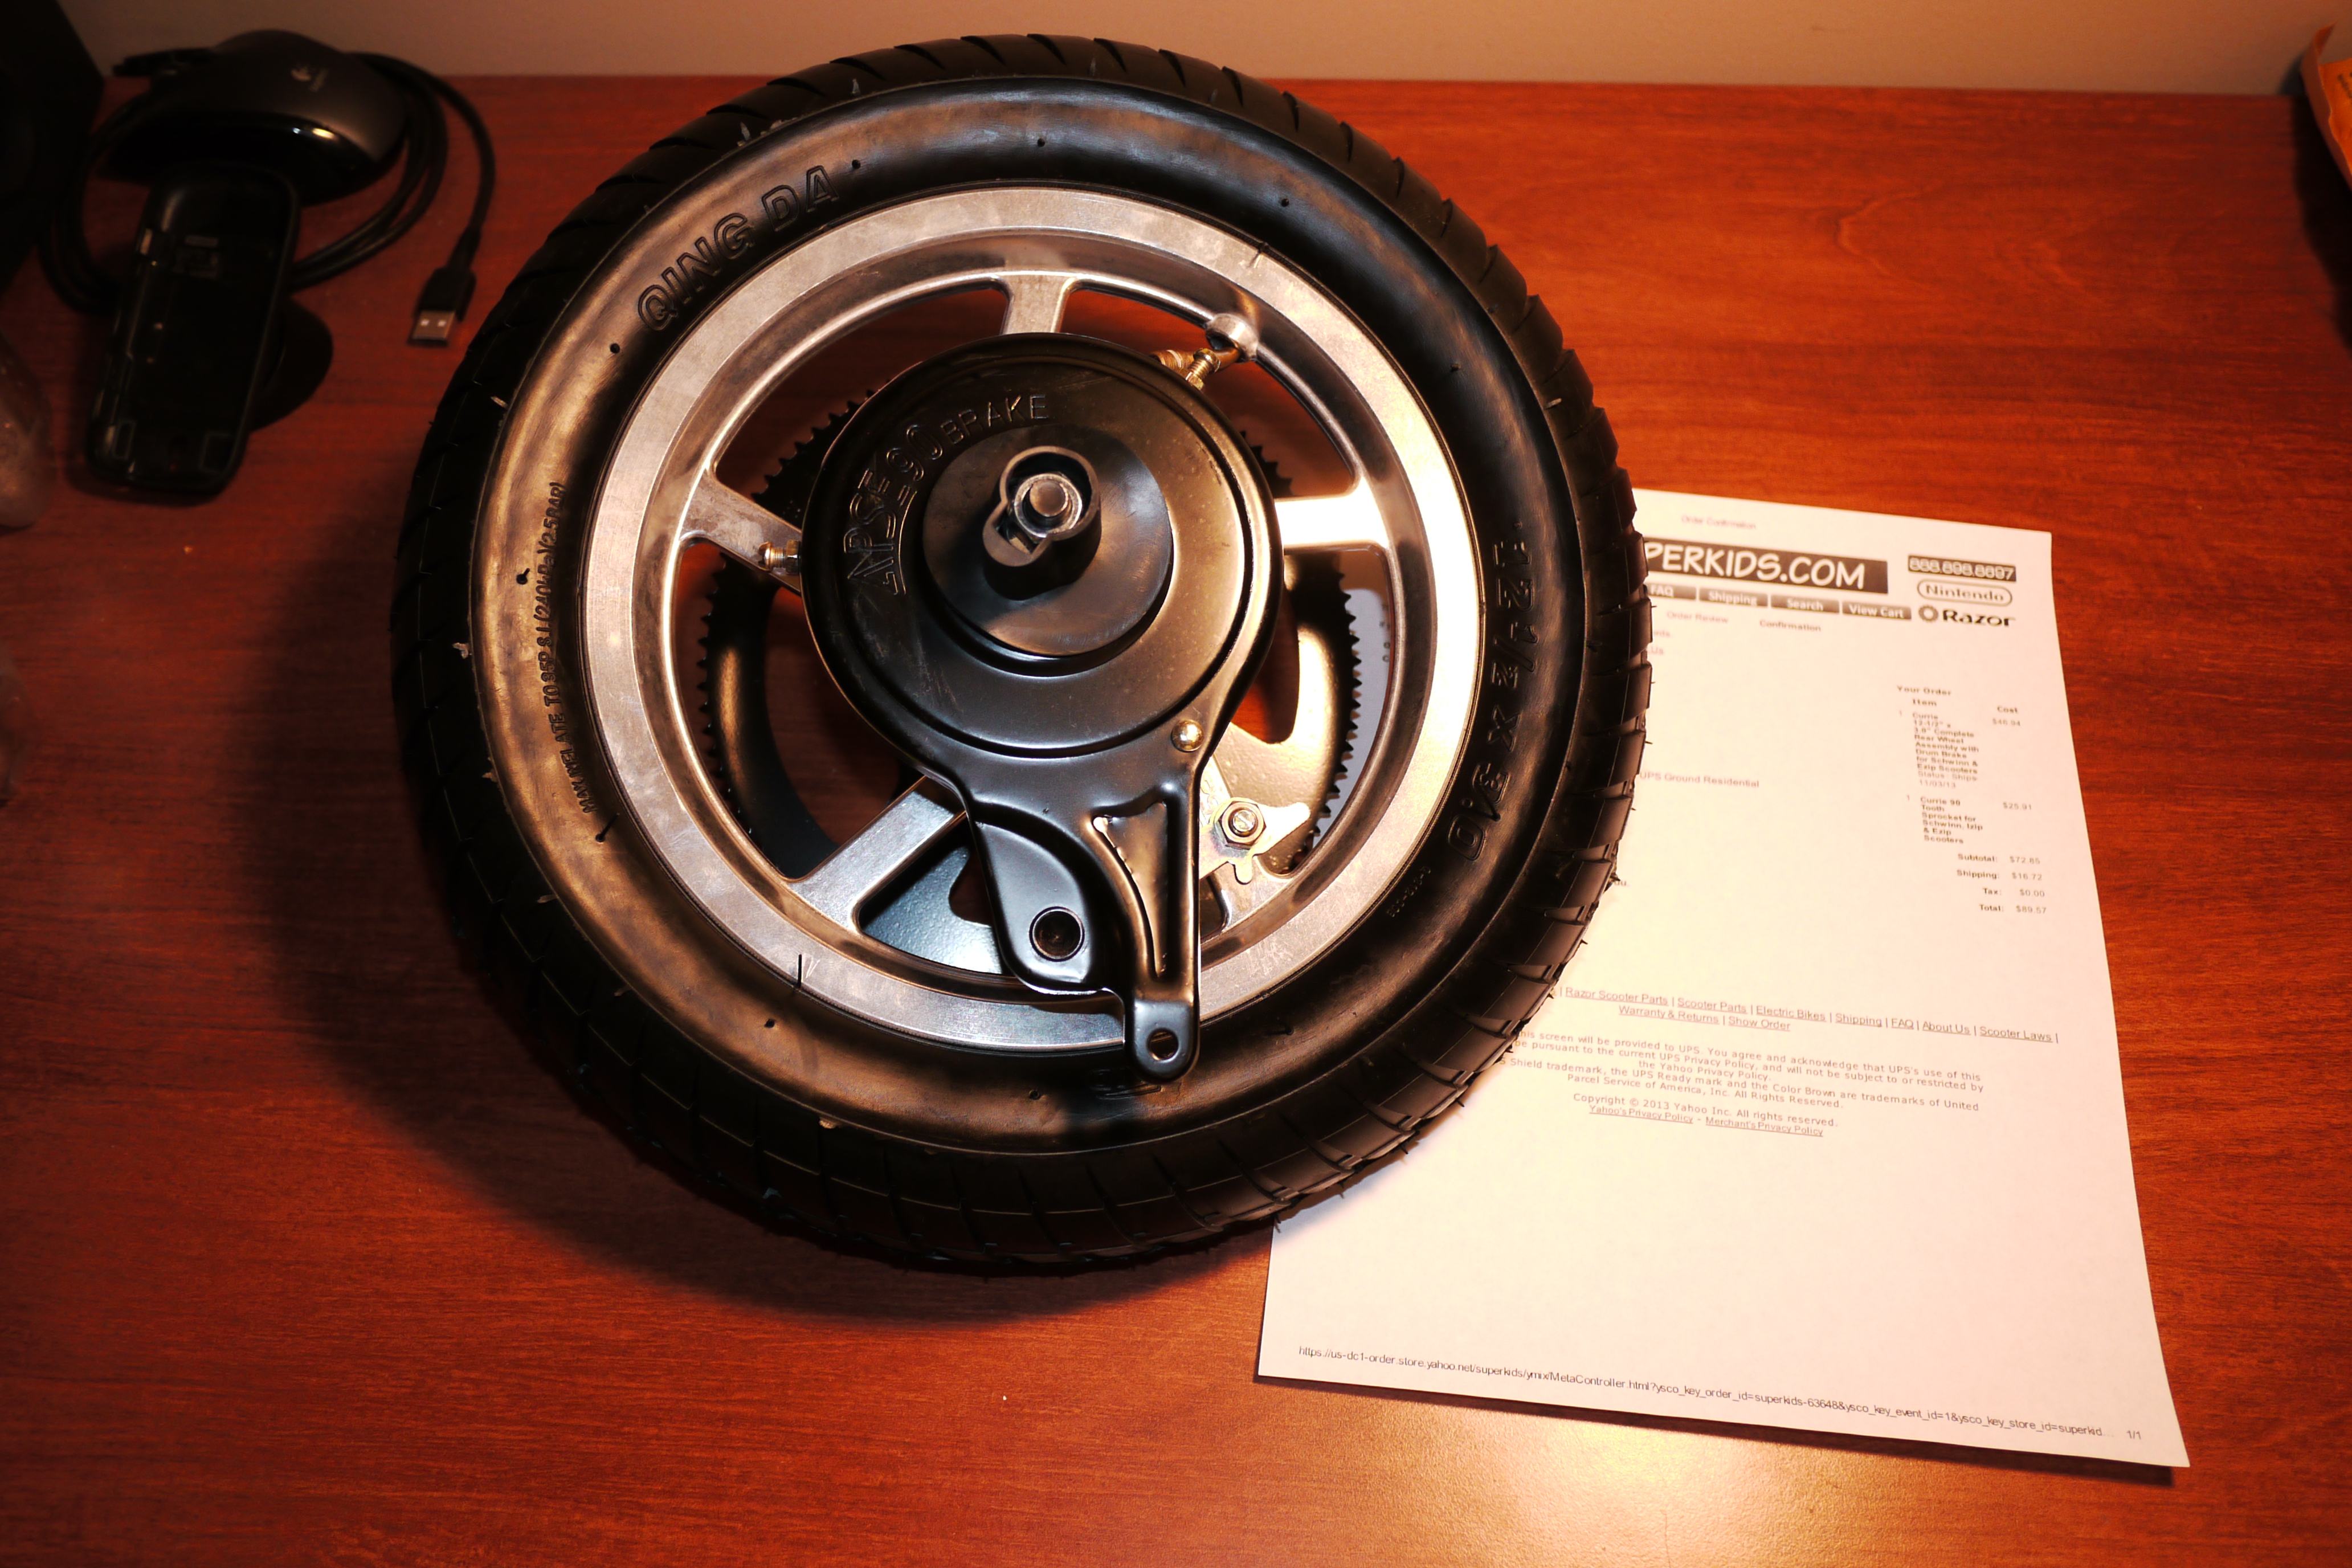
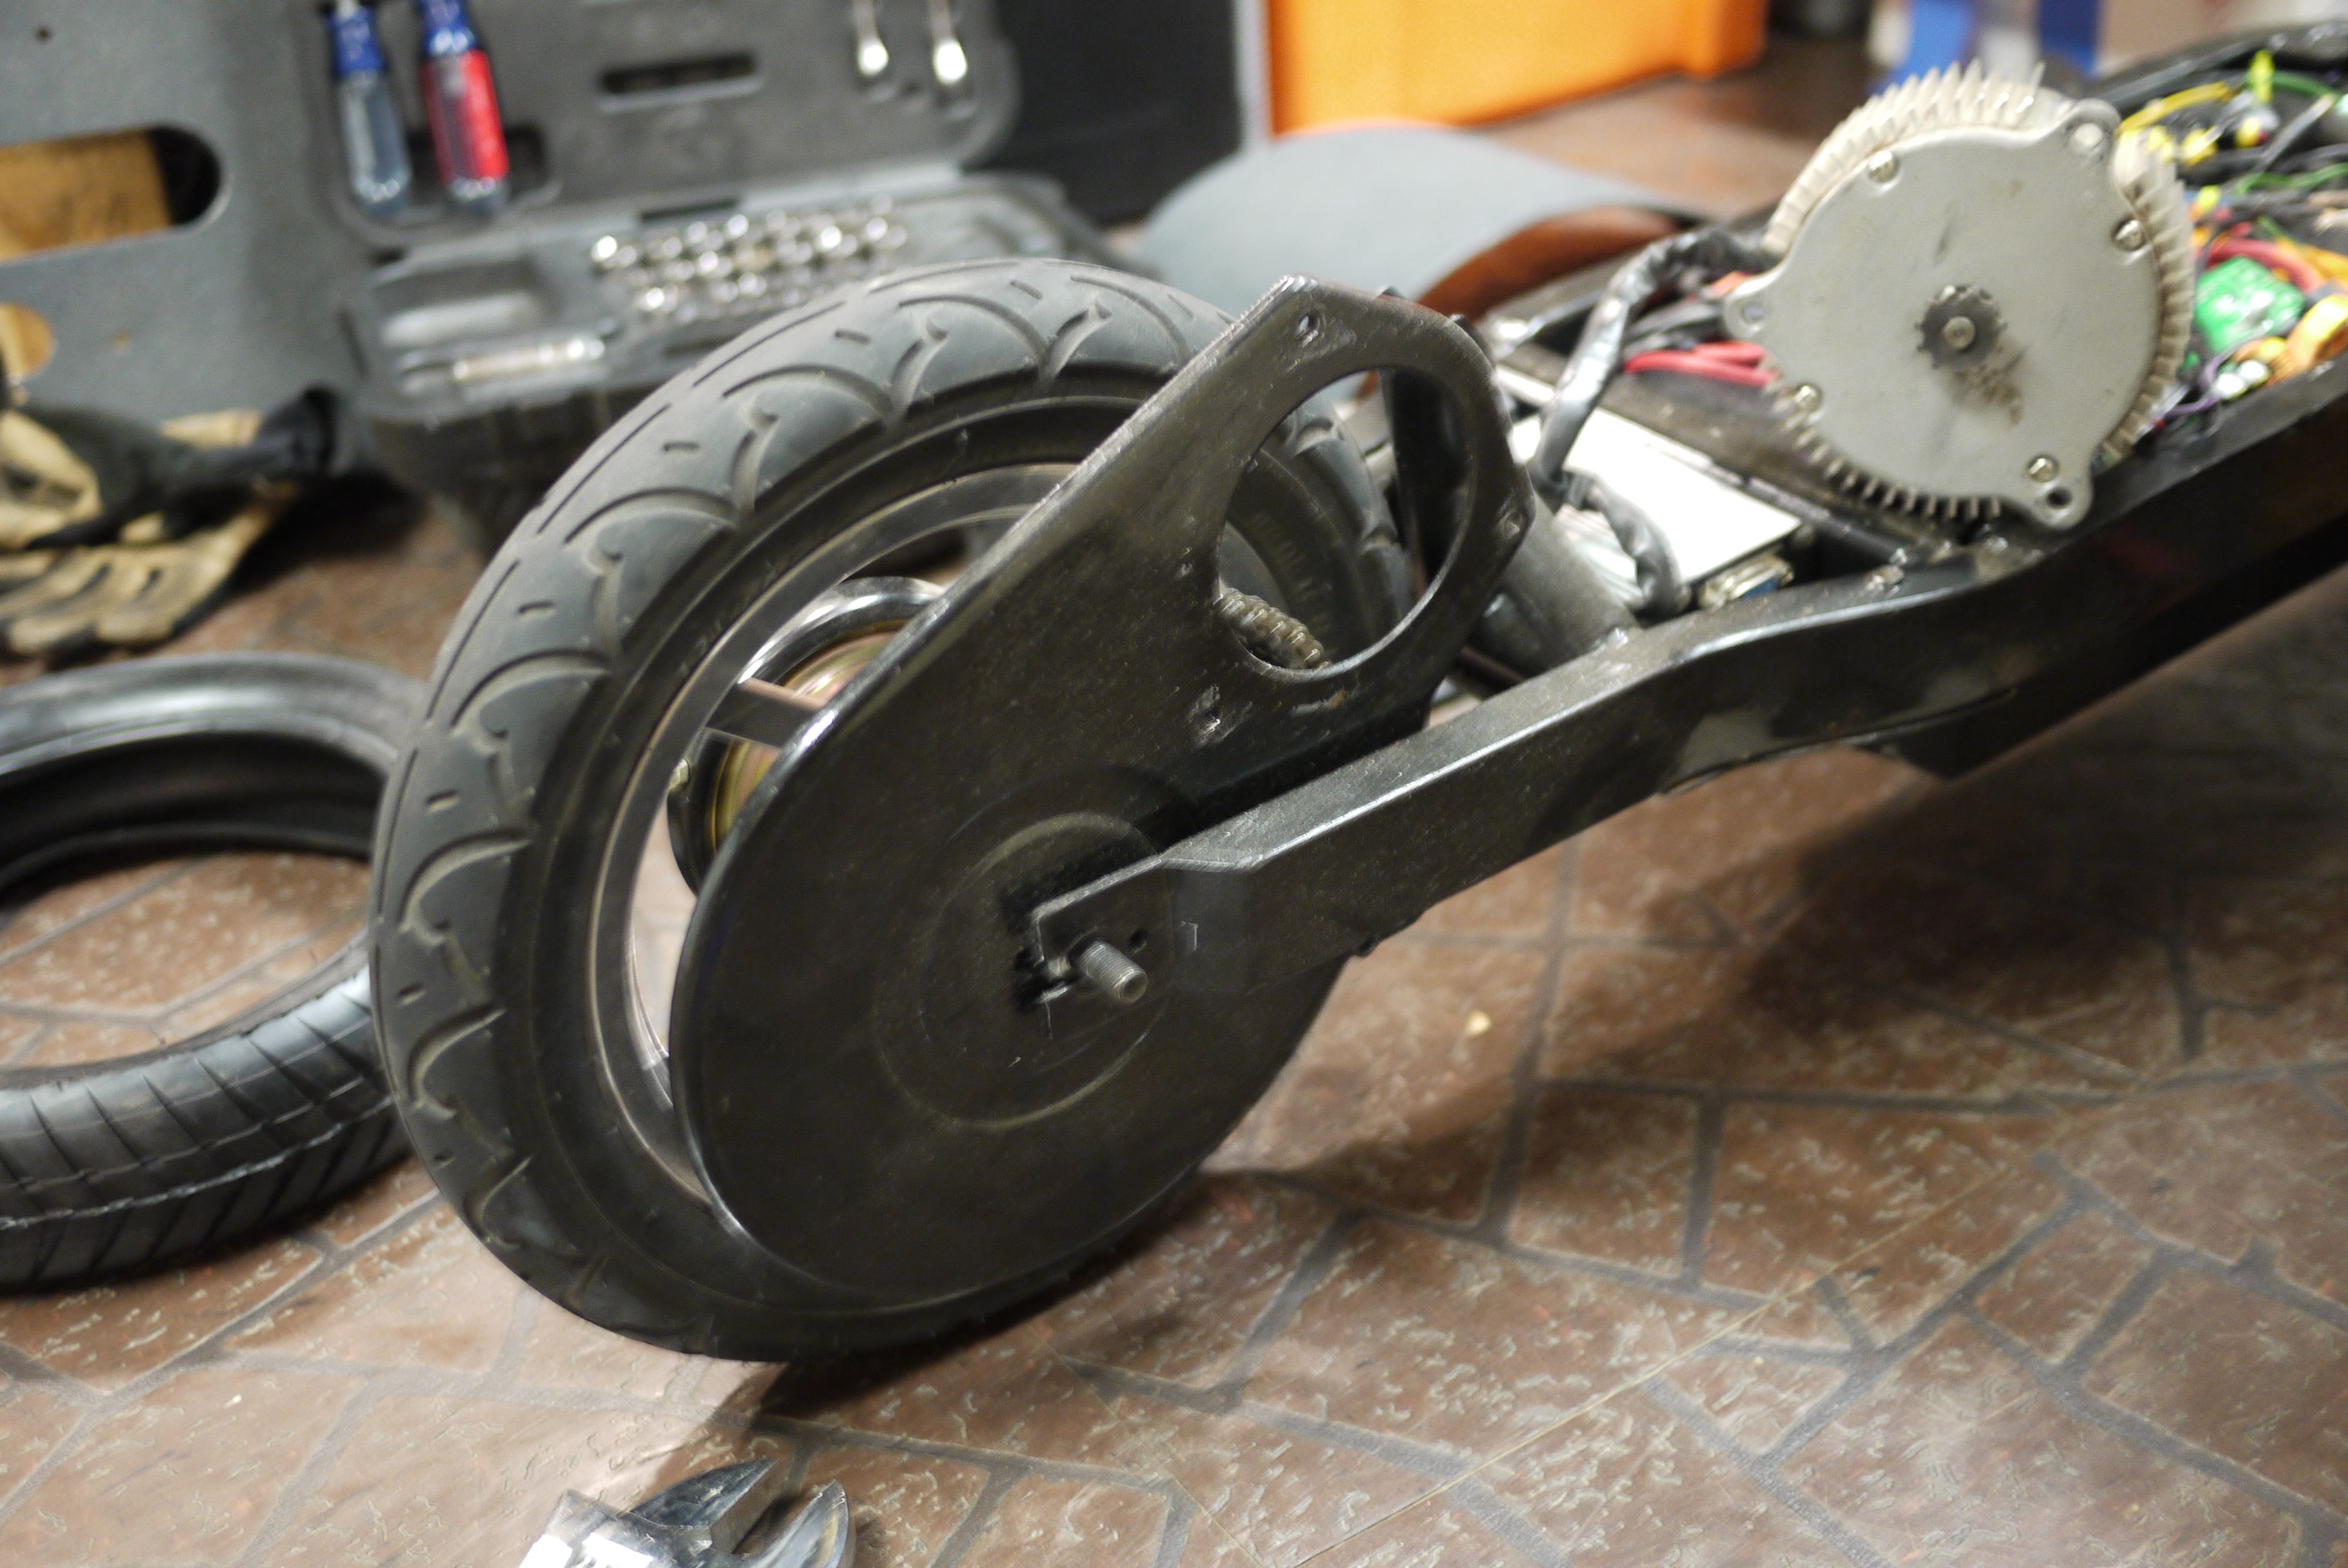
I had enough. I discovered that Currie made 12in aluminum alloy rims and I snagged a few as quickly as I could. The new rims solved my problems immediately and offered a cool new bonus feature: 12in x 3.0 tires. Of course, there is no free lunch and the 3in wide tires did not fit through the front fork, so I shifted to using 12in x 3.0 tires on the back wheel primarily, and left the 12x2.25in tires on the front.
That beautiful 5 spoked goddess came to me through the mail and made all my problems go away. Just sit back and take a sec. Thank you for existing. Thank you.
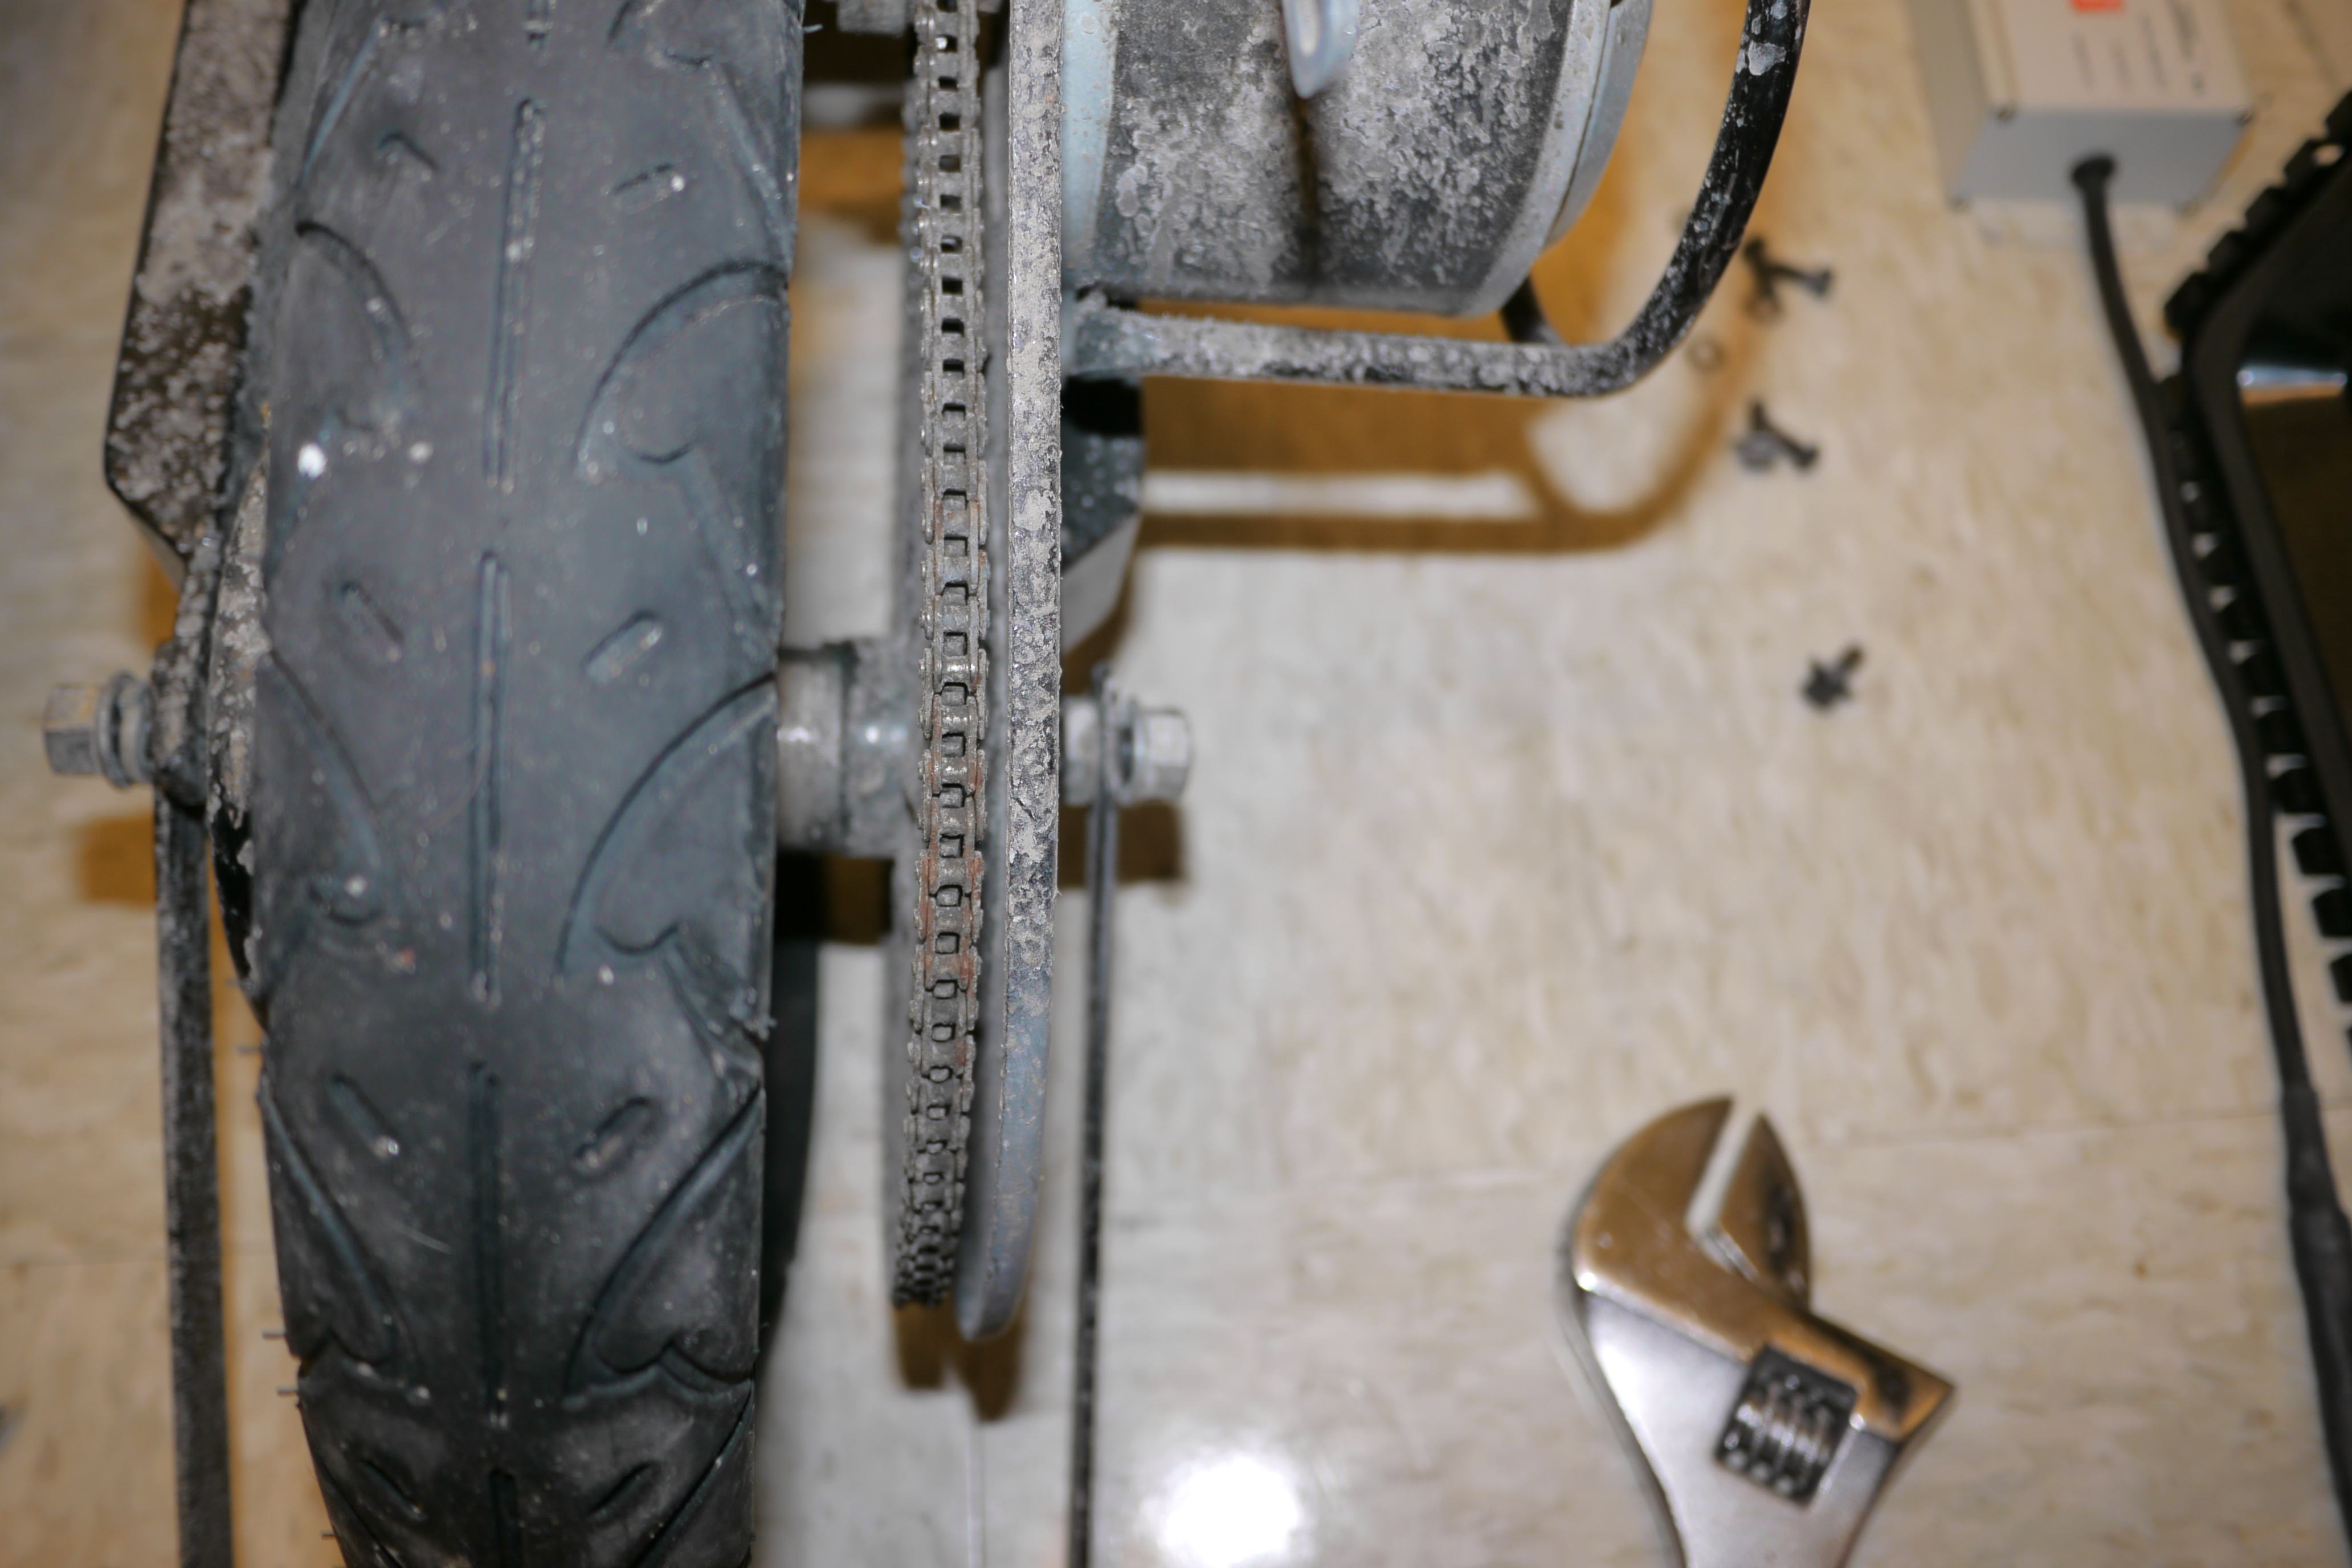
Resolving the wheel issues made the scooter a lot more usable than previously. Instead of having to baby the scooter around and worry about divots in the road or sidewalk, I was able to focus on arriving at my destination on time instead. Well, that's if the chain didn't fall off. Sure, I wouldn't mind resetting the chain every once in a while if I was riding carelessly and driving right into potholes, but no, the chain fell off at any whim and didn't just dangle from the motor sprocket. No. The genius designers at Currie decided to space the chain guard within exactly the same width as the #25 chain, so it would graciously get stuck between the chain guard and the rear wheel sprocket, locking up the rear wheel, rendering the scooter completely immobile. I did not have infinite time to devise a sound solution for the chain, and I needed to keep using my quick mode of transportation, so I began carrying flat-head screw drivers in my backpack for the inevitable chain derailment.
The screw drivers bought me another few days at most before the problem got out of hand. The Currie sprocket and chain implementation relied on the distance of the back wheel axle from the fork to provide tension on the chain. There was no tensioning screw or fork grooves or additional sprocket tensioner. Instead, the position where you tightened the axle to the rear fork would determine the final tension placed on the chain. The fork groove was only 3/4in in length and provided less than 1/8in adjustment if you used a Fork Safety Retaining Washer. These are the standard bicycle washers that feature tabs which prevent accidental dismount of a wheel. Currie shipped this scooter in hopes that users would not place the scooter under any unnecessary load and stretch the chain. Chain tensioning was clearly an afterthought.

Hold on, there's more. Currie decided to show off their mastery of mechanical design by integrating a freewheel mechanism into the 15-tooth motor sprocket. Having a freewheel is great when you are coasting down a large hill and exceed the rotational rpm of the motor. However, allocating 1/4in of clearance between the freewheel gear and the side of the rear tire was downright childish. Well, this scooter was designed for children - those with a certain death wish. If the tire was even slightly out of true it would come dangerously close to hitting the freewheel sprocket, and the lack of support in the motor bracket basically ensured that the motor sprocket would eventually interfere with the rear wheel sooner than later. Measure that clearance. Go ahead. That's stock!
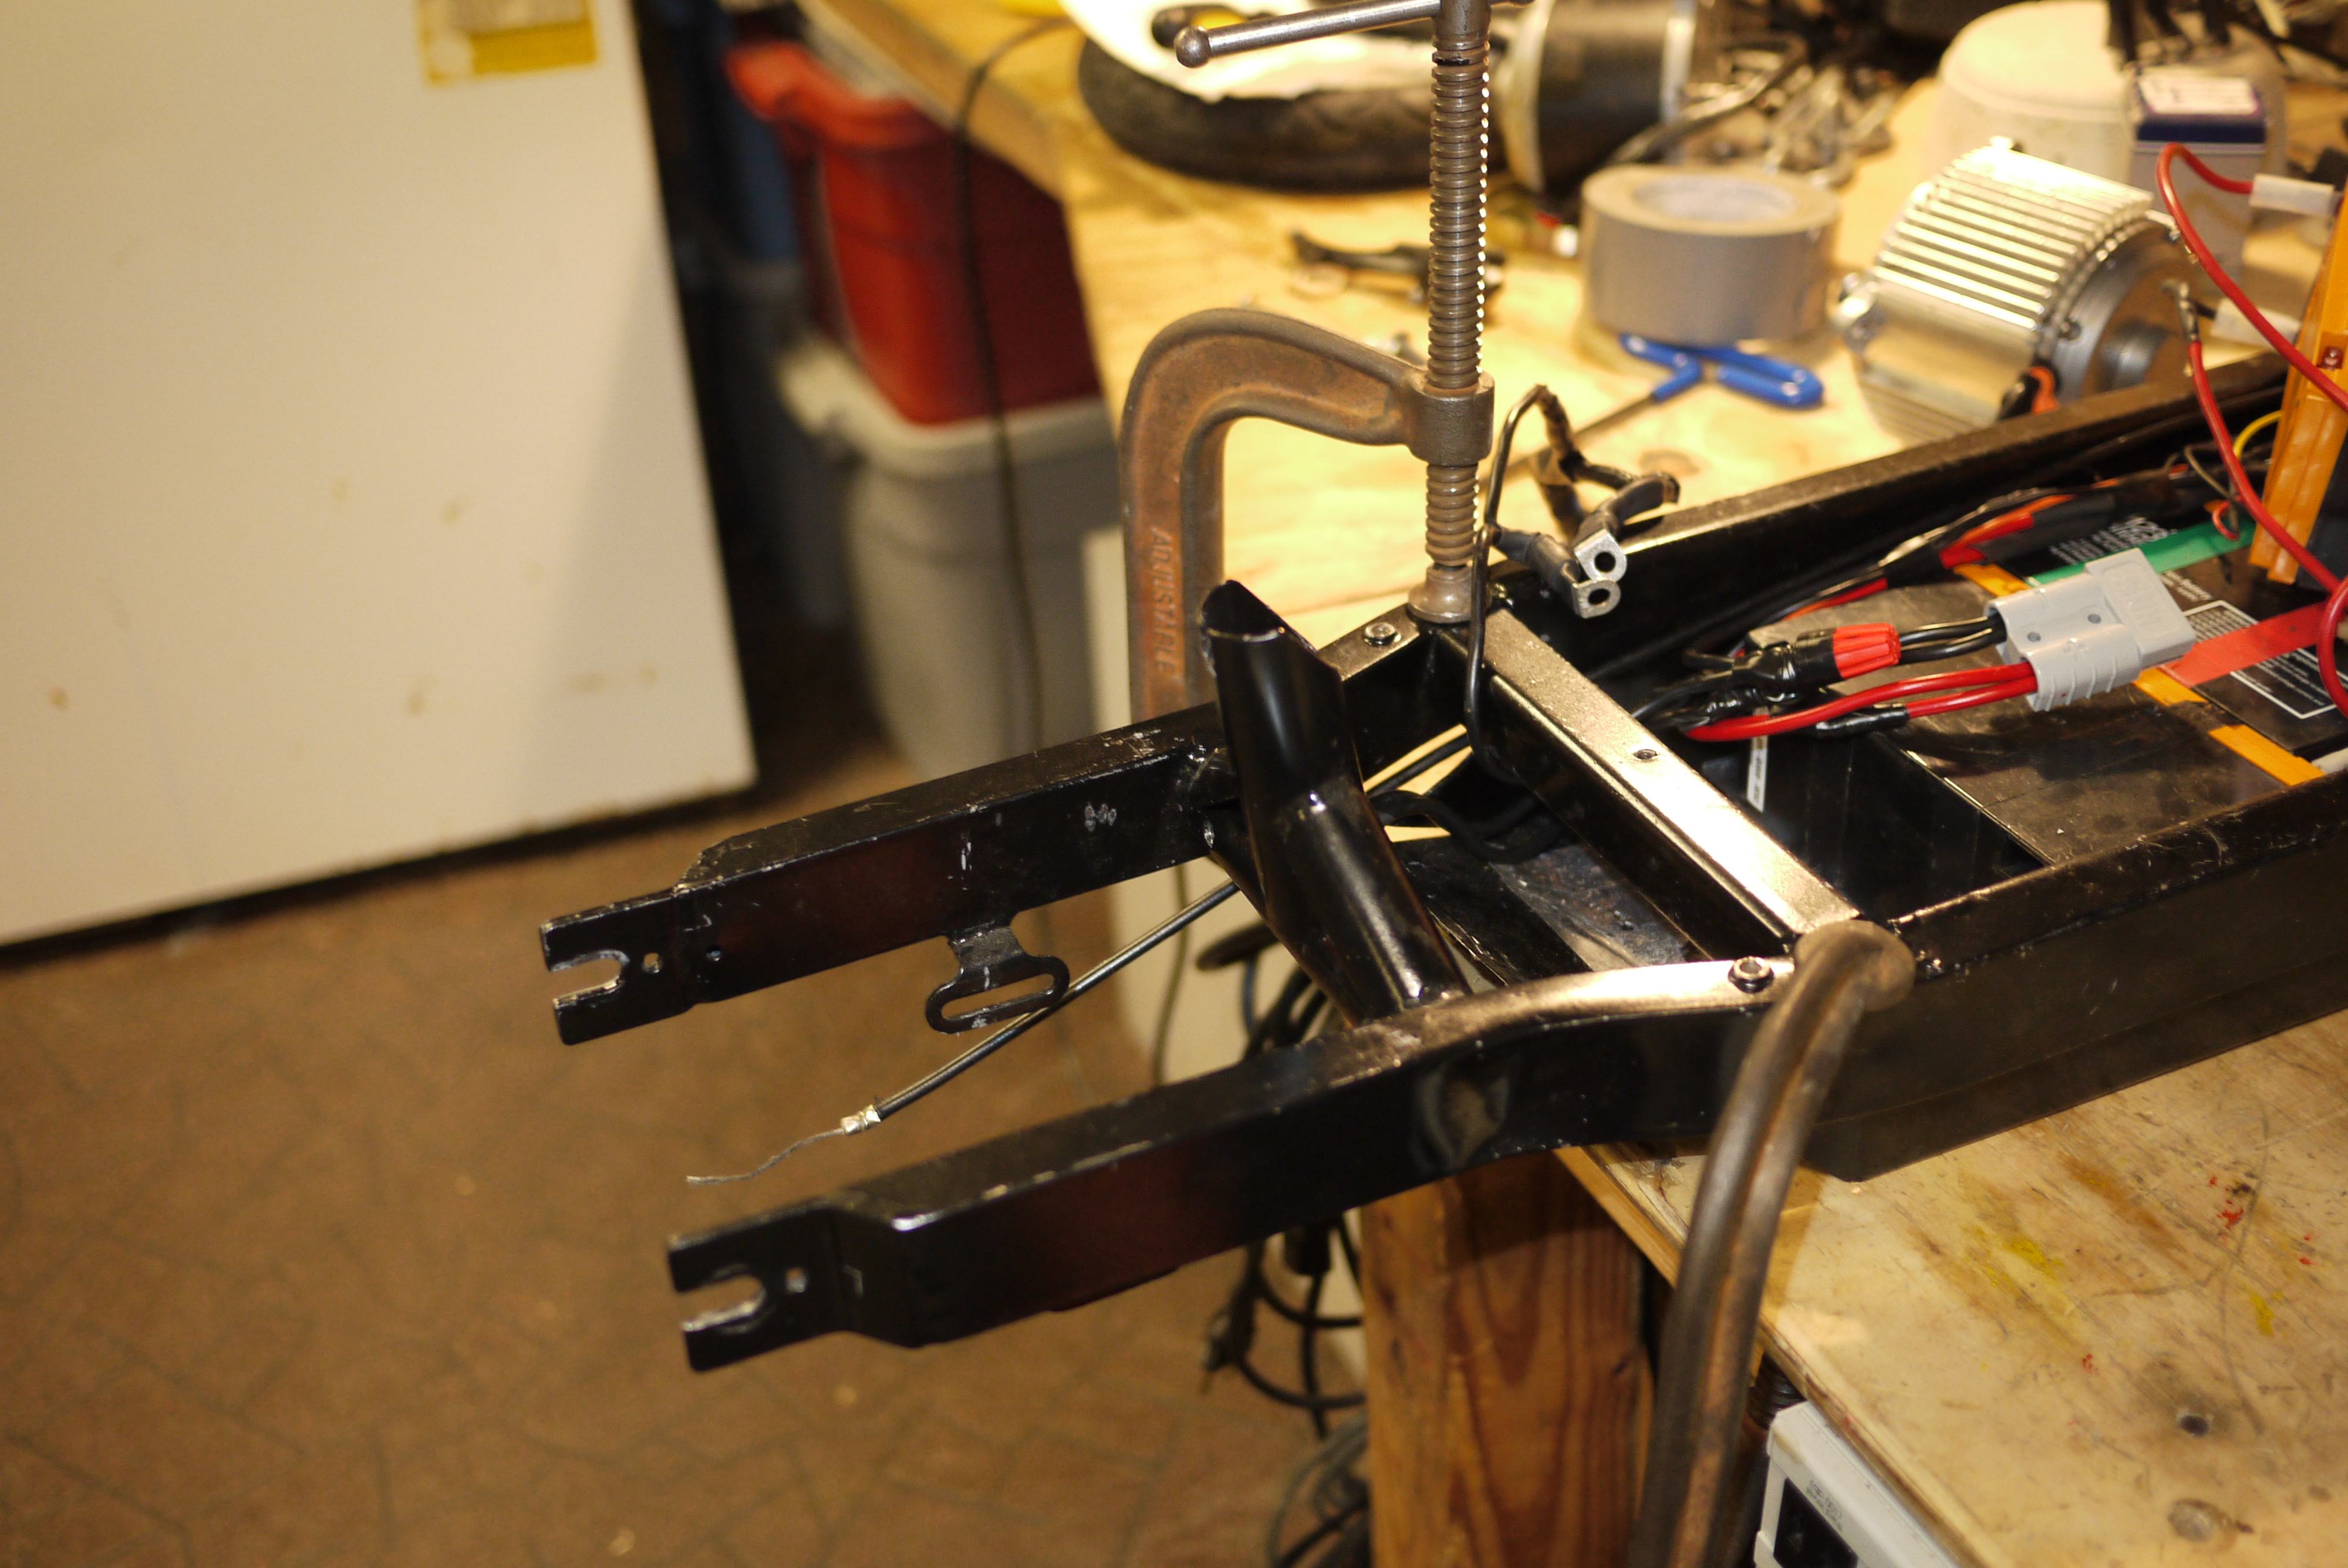
With a stretched chain, bent motor mount plate and freewheel sprocket riding into my rear tire, I needed a solution and I needed one fast. One of the components I removed from the scooter from day one was the seat. I did not see myself riding the scooter for extended periods of time to validate the added weight and space. The seat mounted to the scooter chassis through a welded tubular post. This left an unused post on the scooter chassis for easy manipulation.

With the help of a fellow RPI student, Ricky Williams, I was able to weld a small L-shaped bracket to the seat post using the RPI formula hybrid welding equipment. This allowed me to straighten the motor plate and push it further from the wheel, increasing the space between the wheel and freewheel sprocket and simultaneously adding more tension to the chain. A bit of primer to prevent rust and the modification was ready to go.
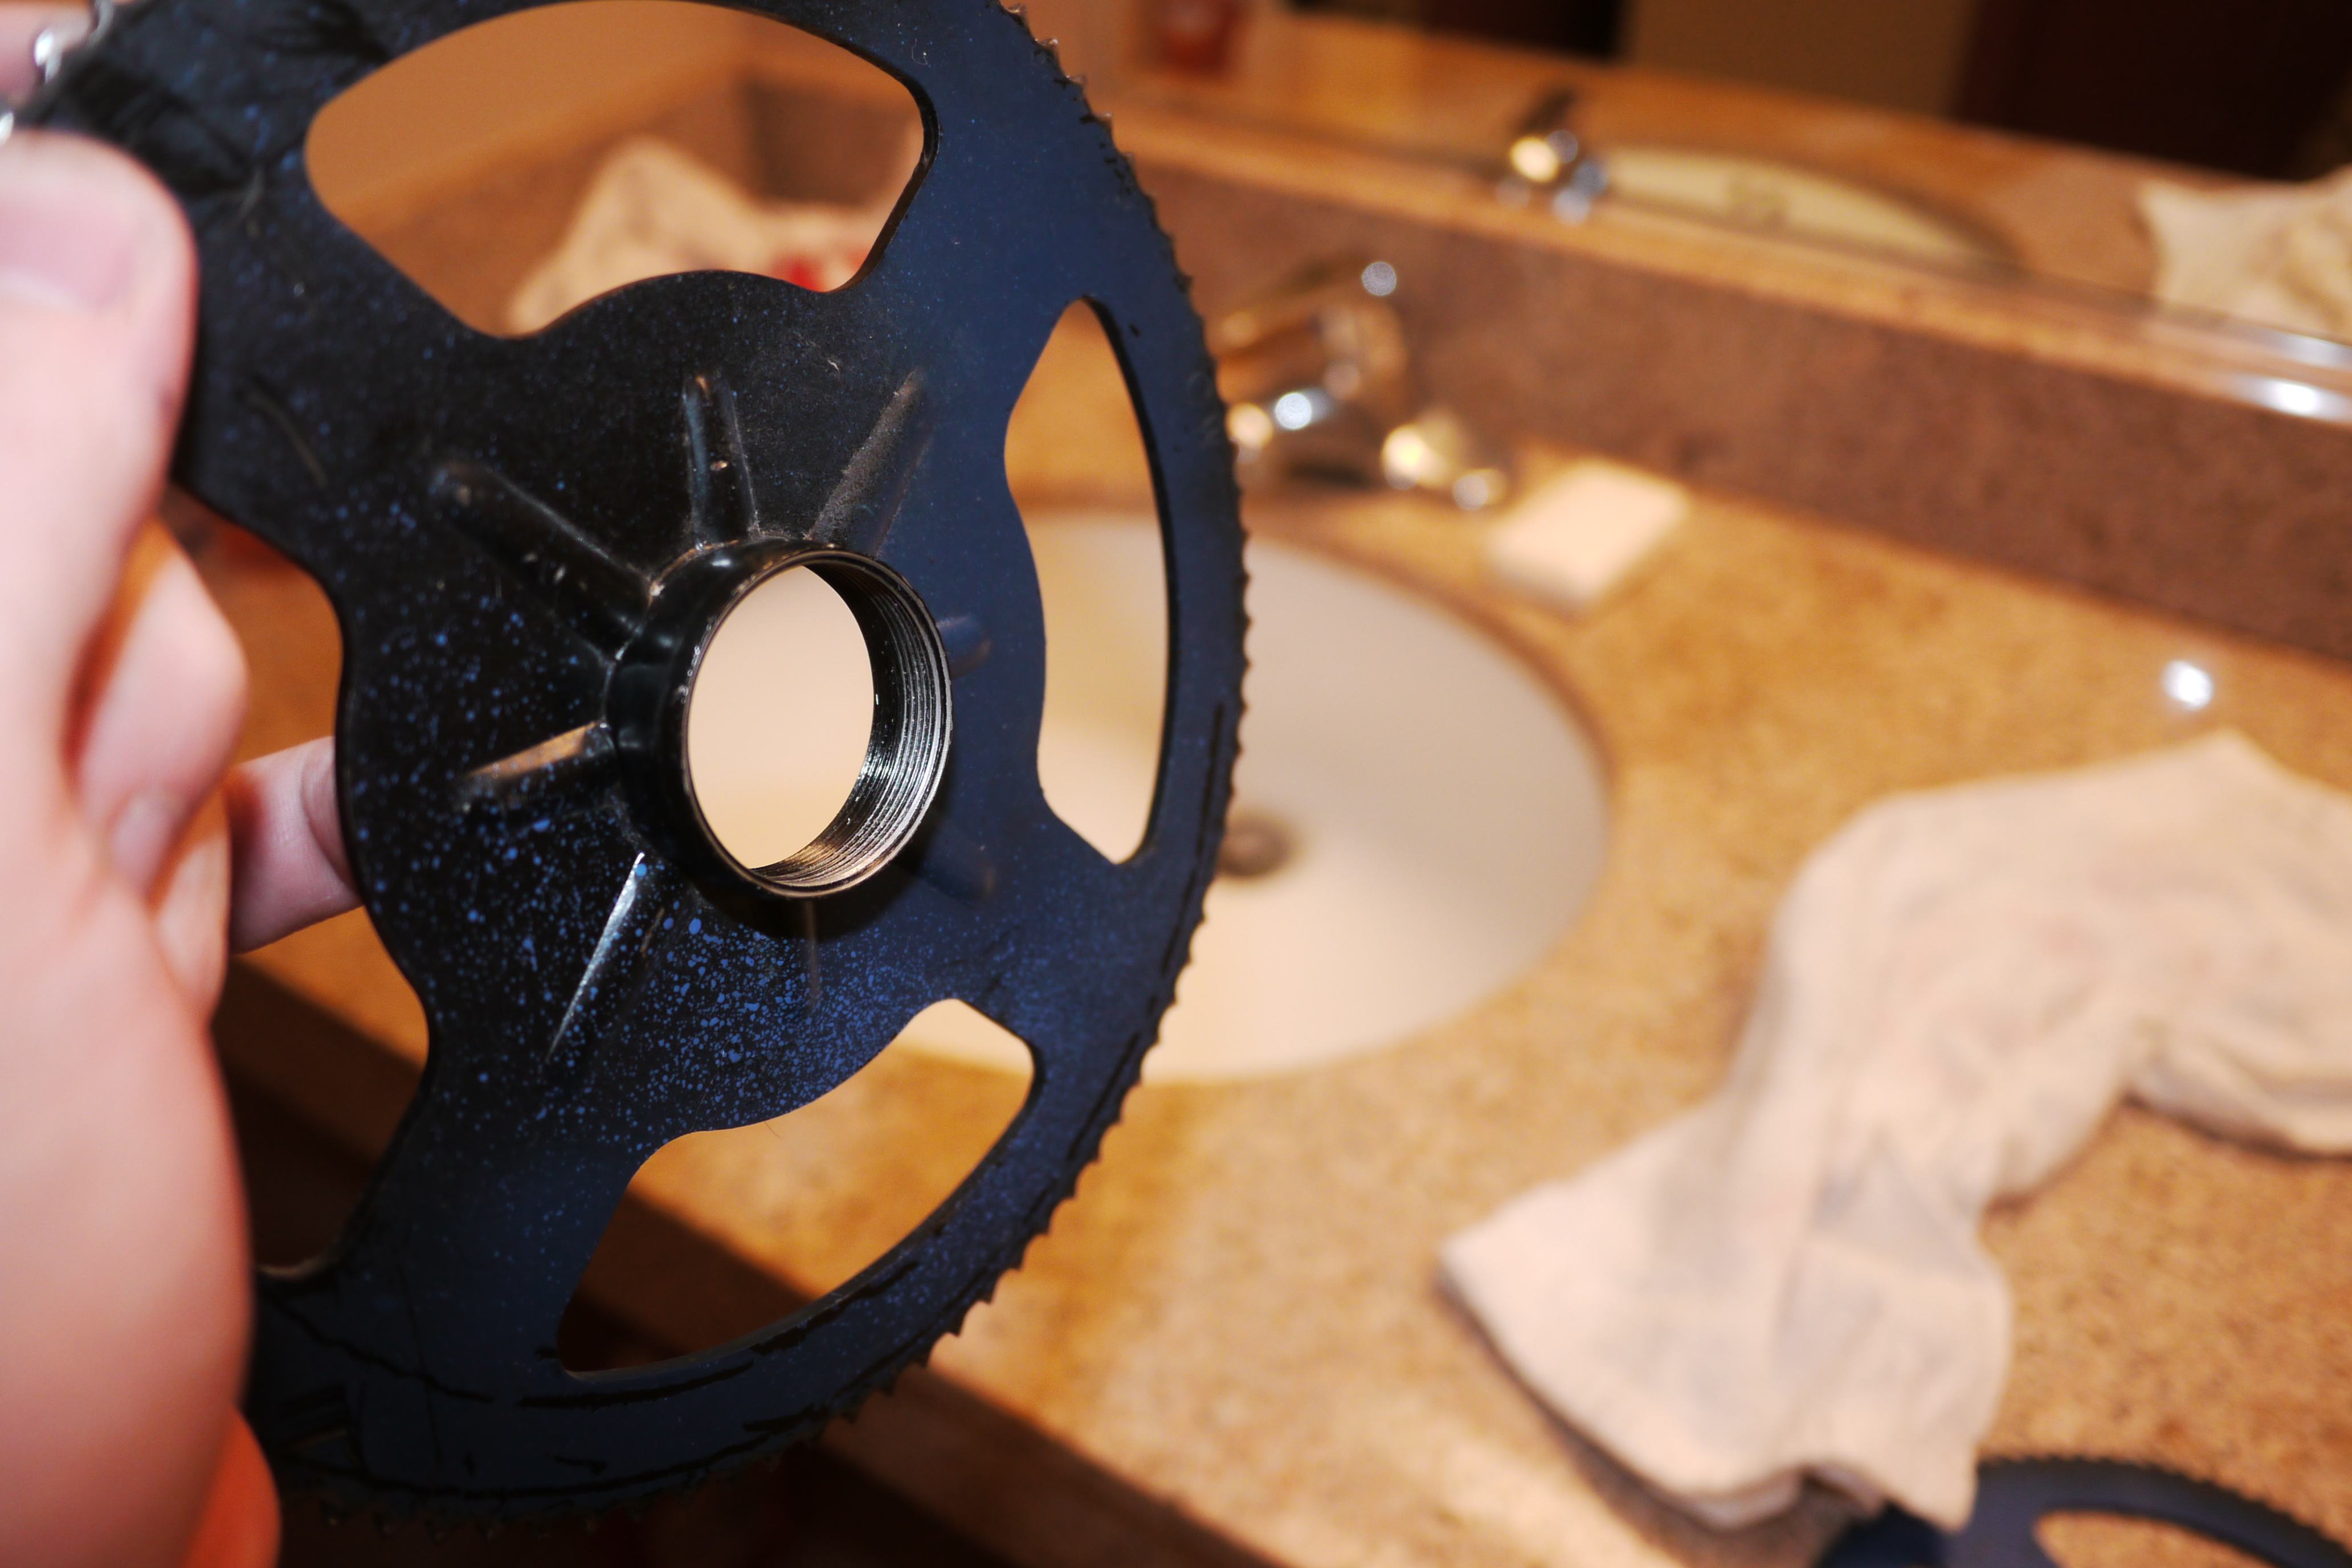
While I was working on the rear end of the scooter, I decided to tackle the loosening forward gear problem. I was considering drilling a hole through the sprocket and axle and rely on a spring pin to prevent the sprocket from coming loose while operating the scooter, but I decided that I would take advantage of the thread surface area and use a whole bunch of Loctite 680.
I removed the rim and sprocket assembly, put it in a vise and separated the sprocket from the rim. I cleaned up the rim of all debris and used isopropyl alcohol to remove all oils for good measure. I proceeded to coat the rim thread in Loctite 680 and screw on the sprocket as fast as I could. Reading the Loctite 680 spec, it has a shear strength of 4,000 psi and a breakloose torque of 34N*M or 195 lb*in for 3/8 x 16 steel grade 2 nuts. That is not incredibly strong, but more than a reasonable compromise in the few hours I had left that weekend. Heating the part up to 250 degrees C will get the sprocket moving again, so the process is reversible.
Upgrades
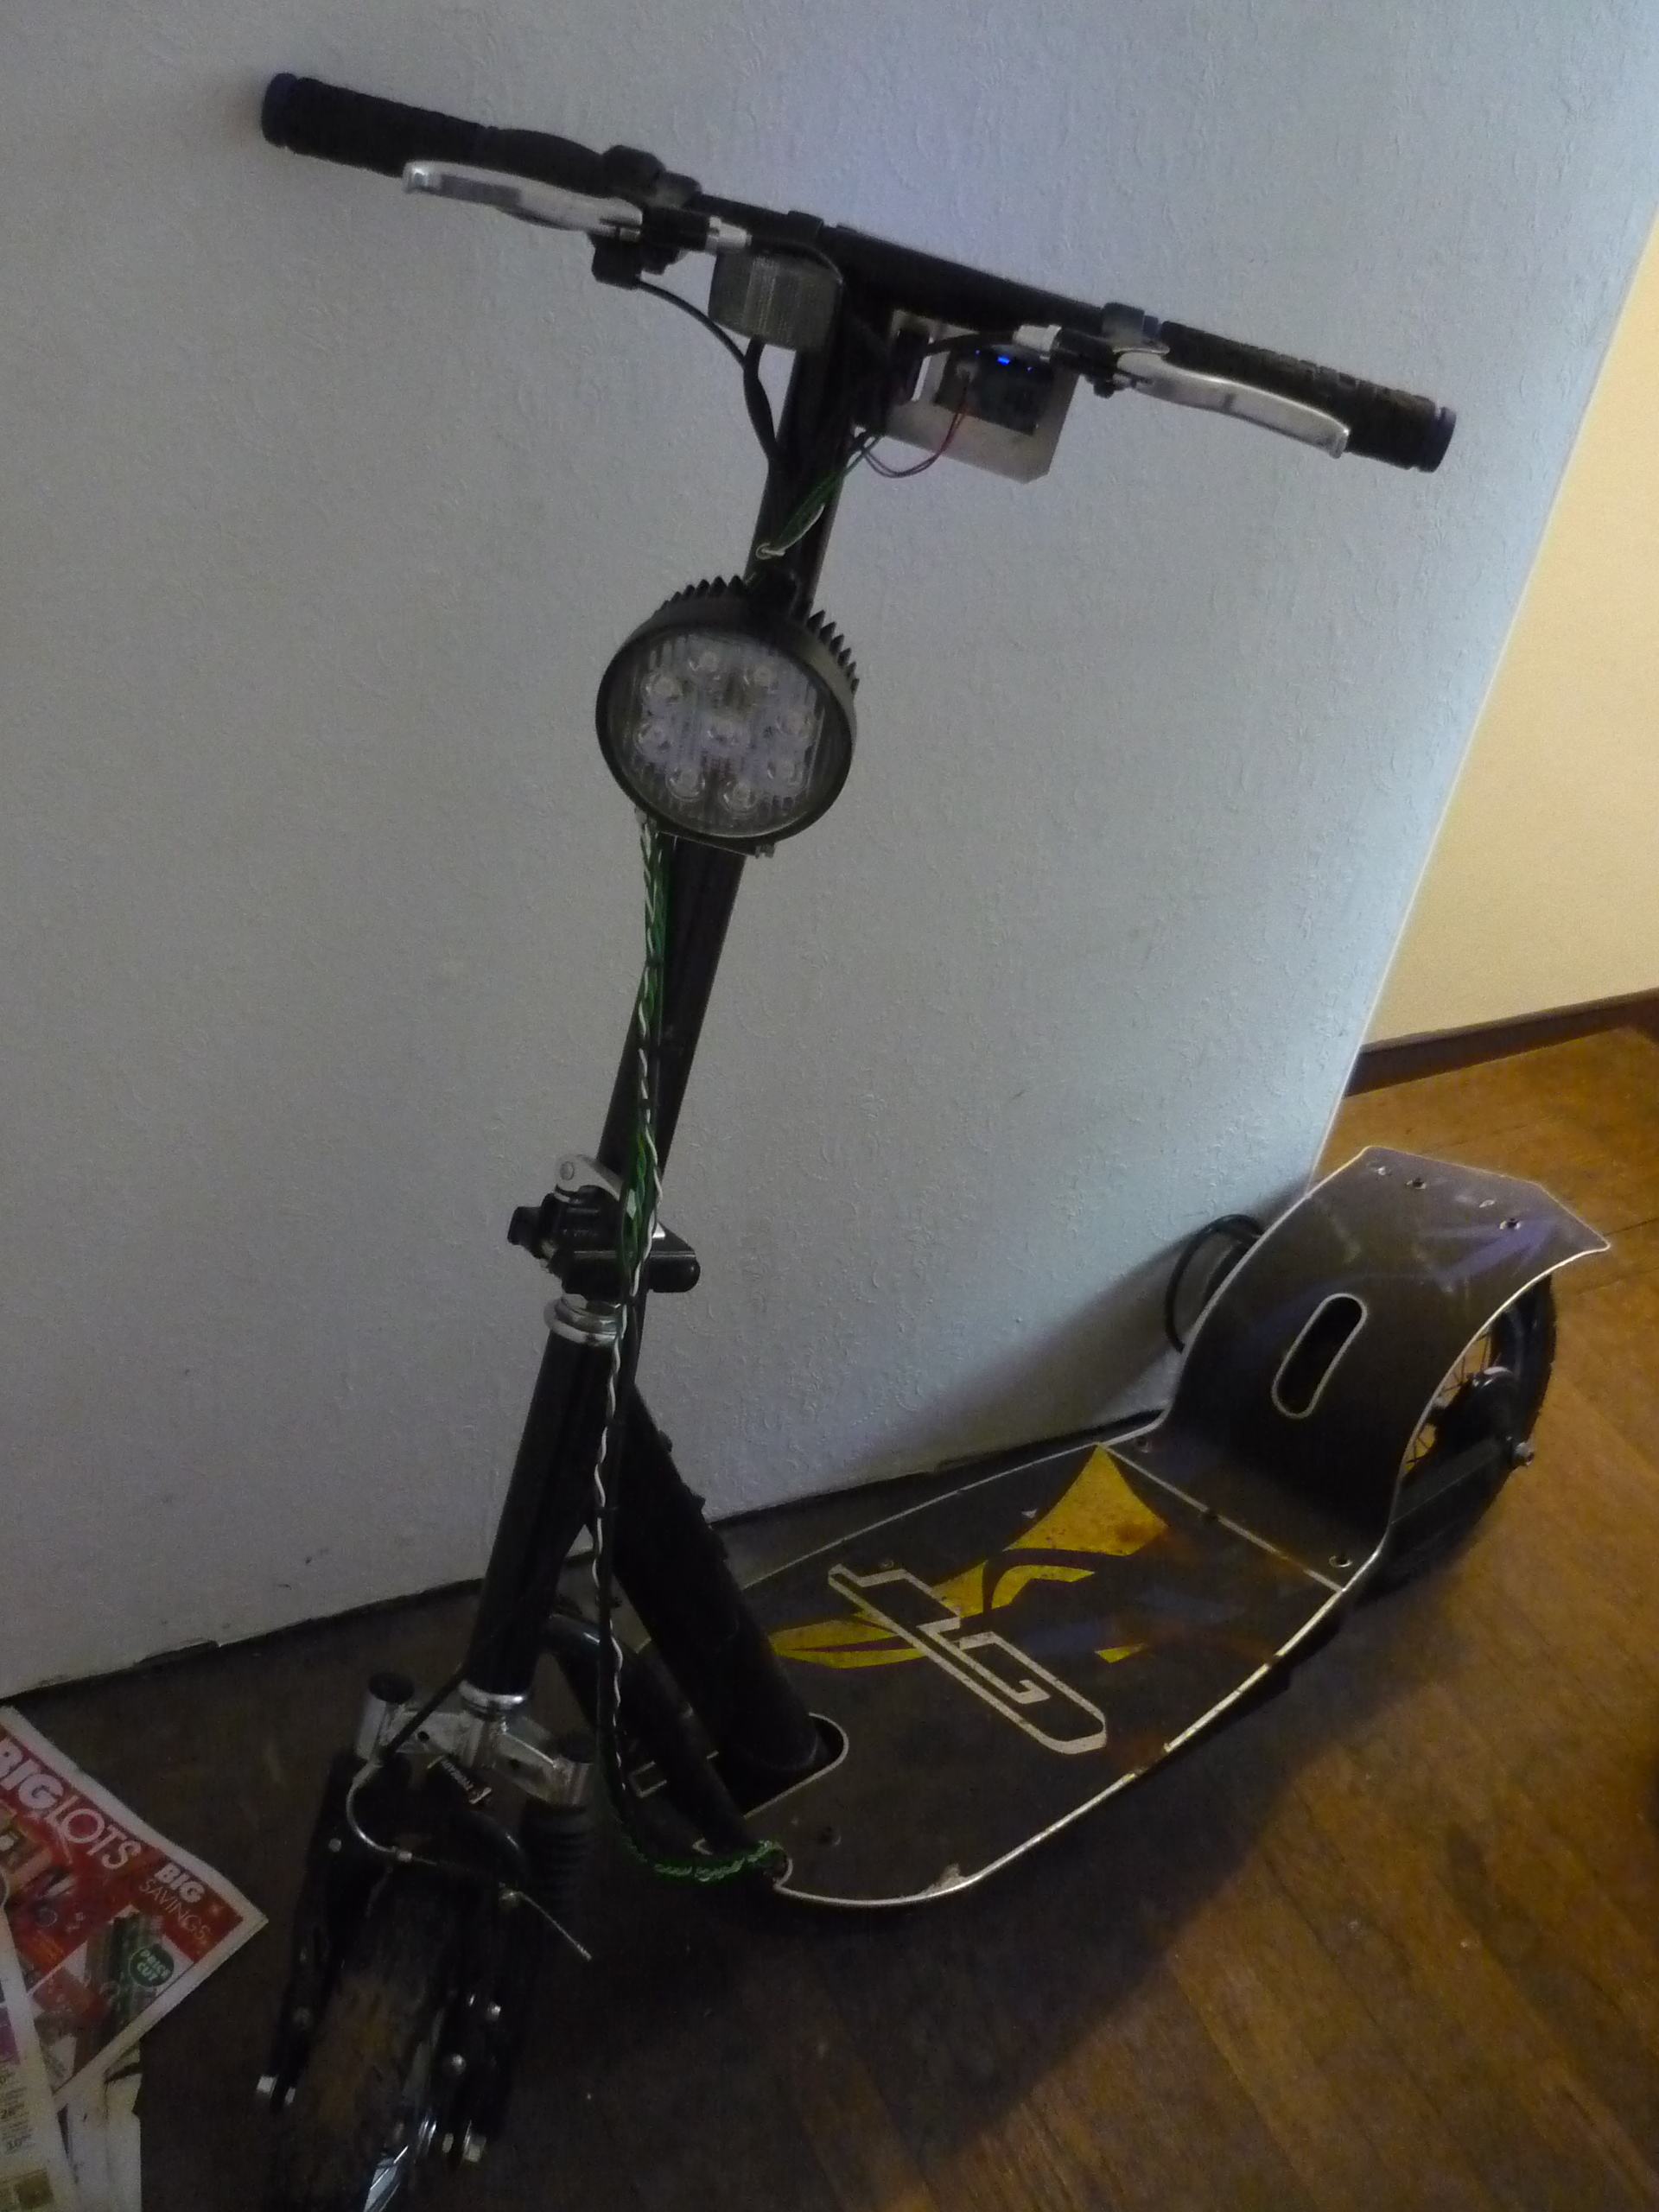
The scooter worked surprisingly well for the next few months. It could take bumps and ditches and brake within a reasonable distance without self-destructing. It worked so well that I actually got a chance to incorporate some nice-to-have items, like a headlight. I found an inexpensive "27w LED work light" off amazon which looked to be a perfect lumen output and shape for a dedicated headlight. I was impressed that for just $10 I got a cast magnesium, relatively well sealed 12v headlight. I choose the 30 degree angle headlight because I wanted a very bright area of light in my field of view and not a wide-angle dim headlight.
I liked the headlight so much, I made a near identical CAD model, available for download.
Check out my article about the CAD process too!.
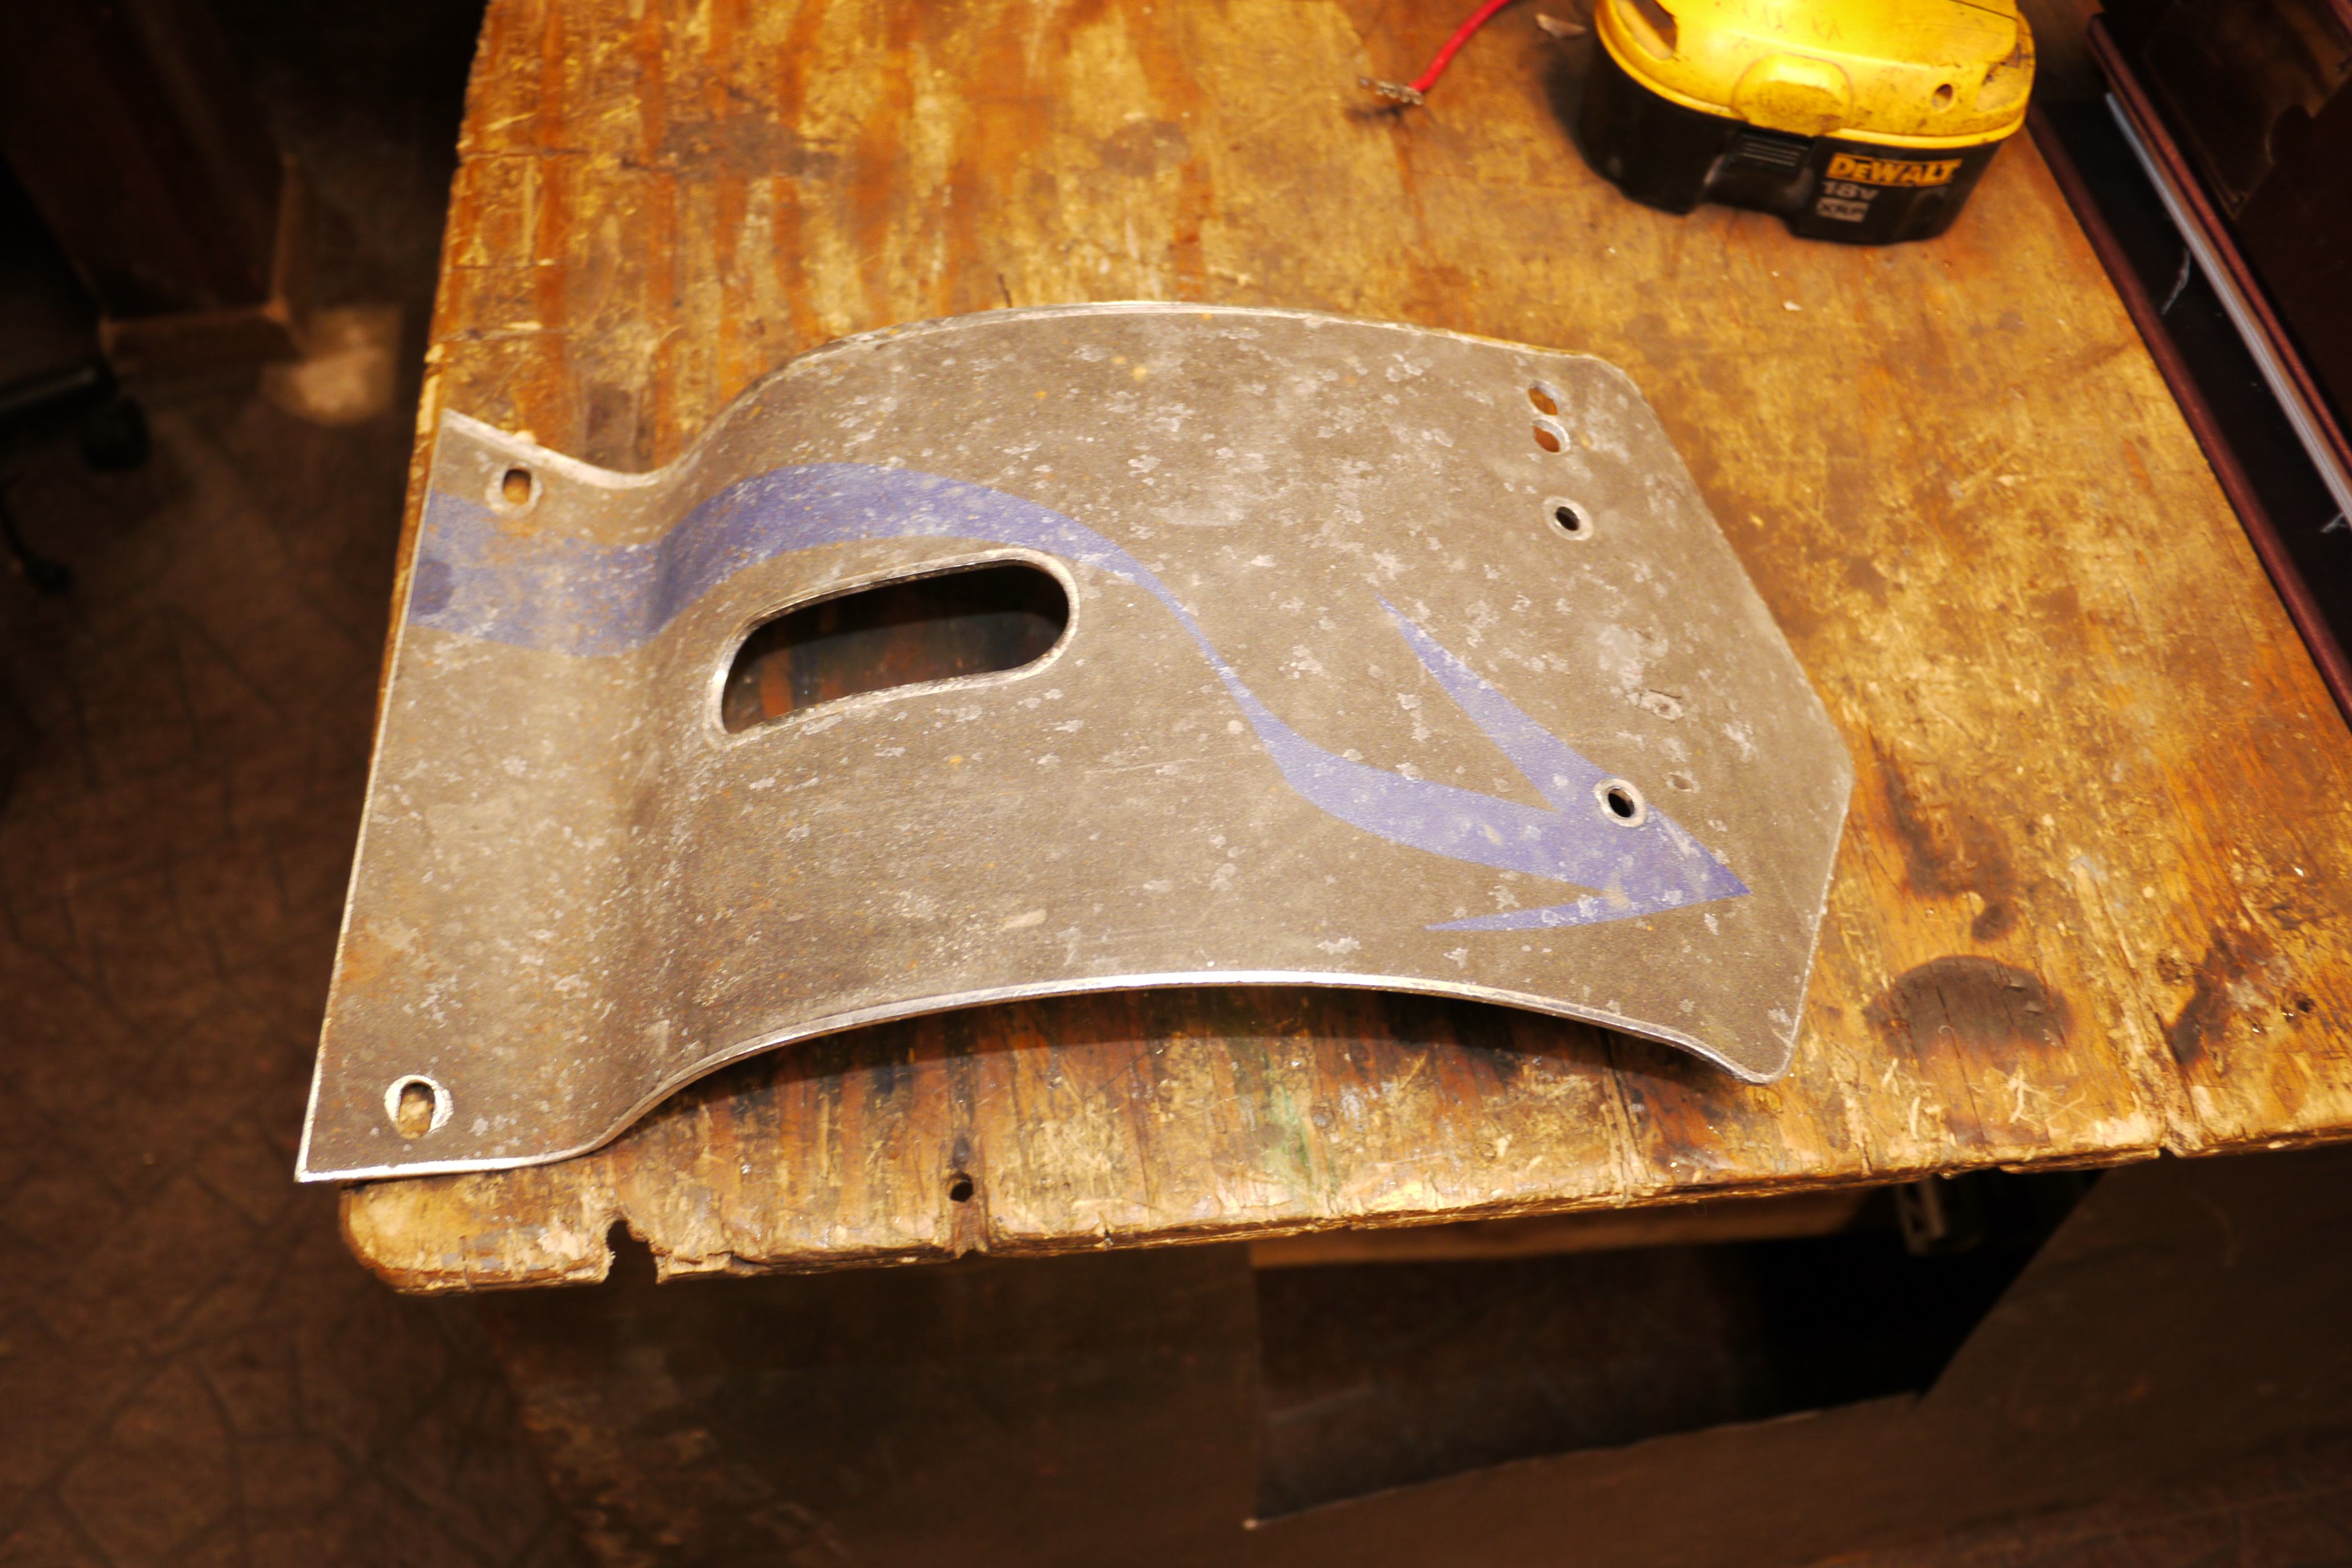
Another major point of improvement was replacing the charger. Currie generously included a 24V 1.6A charger which translates into 8-10 hour charge times. I recycled them almost immediately, so I don't have a photo. Crazy enough, you can still buy one today through monster scooter parts. I guess they really didn't want you to use this thing. Man.
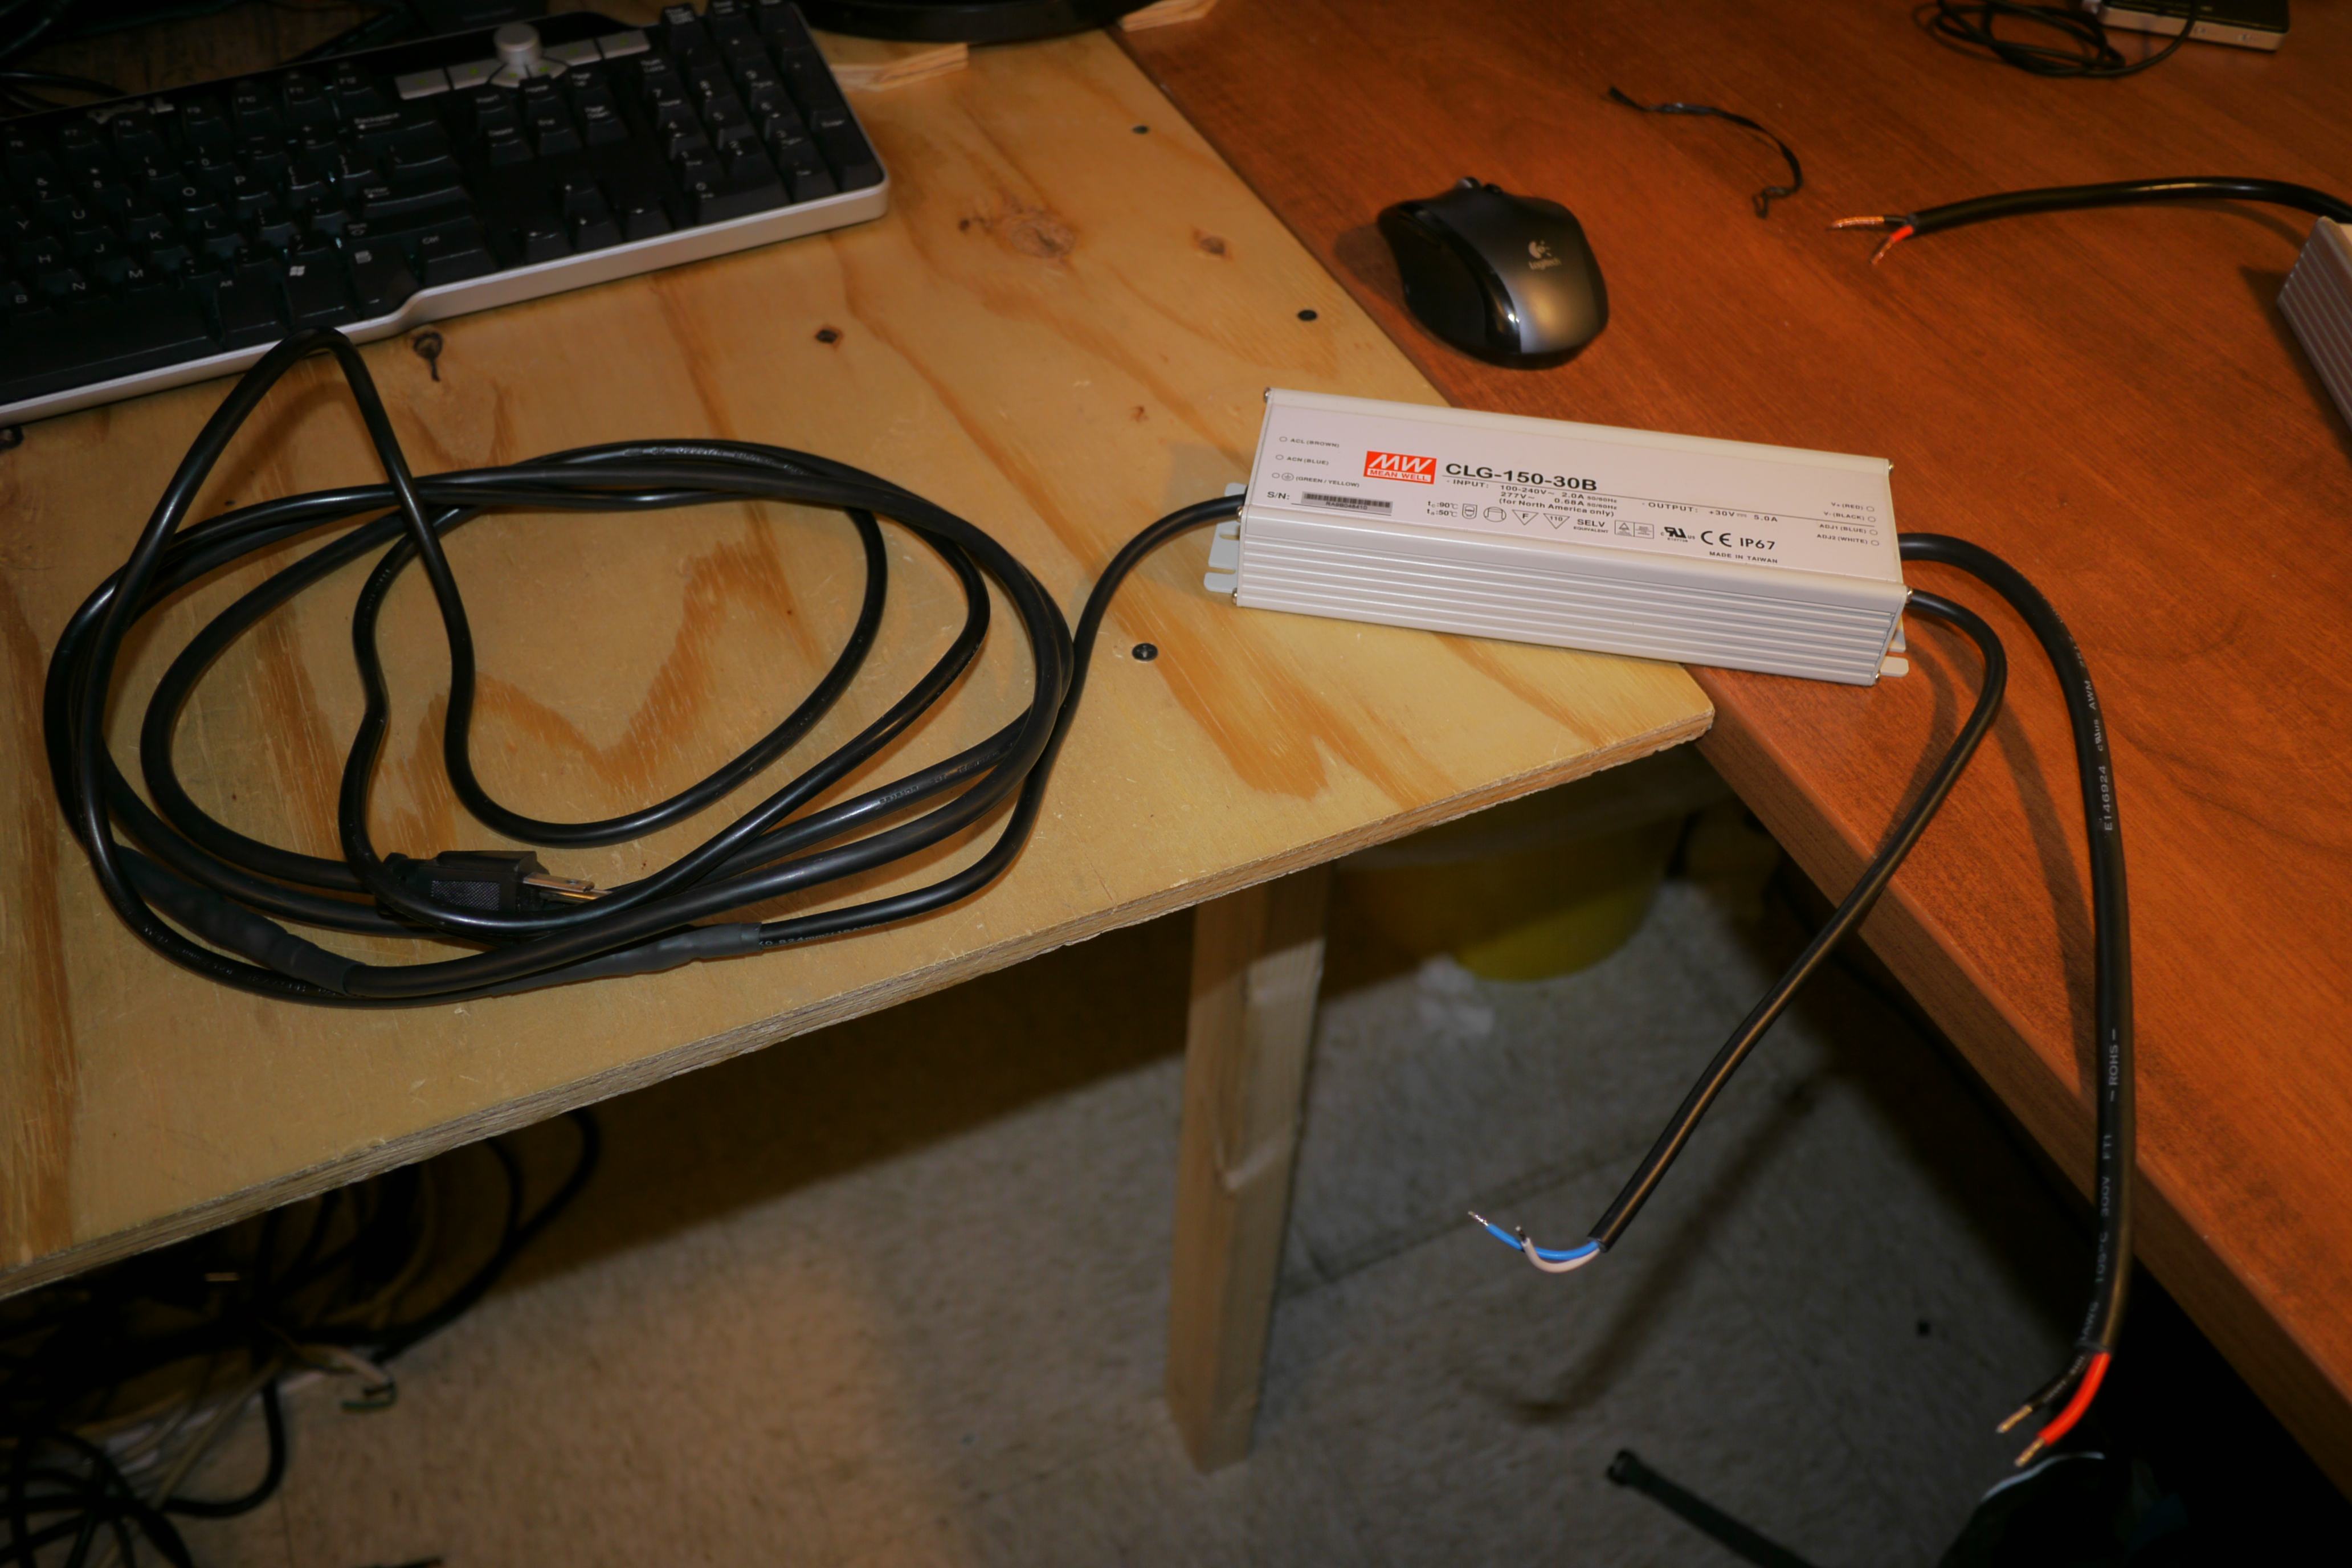
I settled on the Meanwell CLG-150-30B. It is a 30V 5A constant current power supply, traditionally used for LED lighting setups. The Meanwell is better than the stock charger in every way. I am honestly wasting project log space by going into further detail. The Meanwell is smaller, ingress protected to IP65, thermally potted and undeniably more solid in construction.
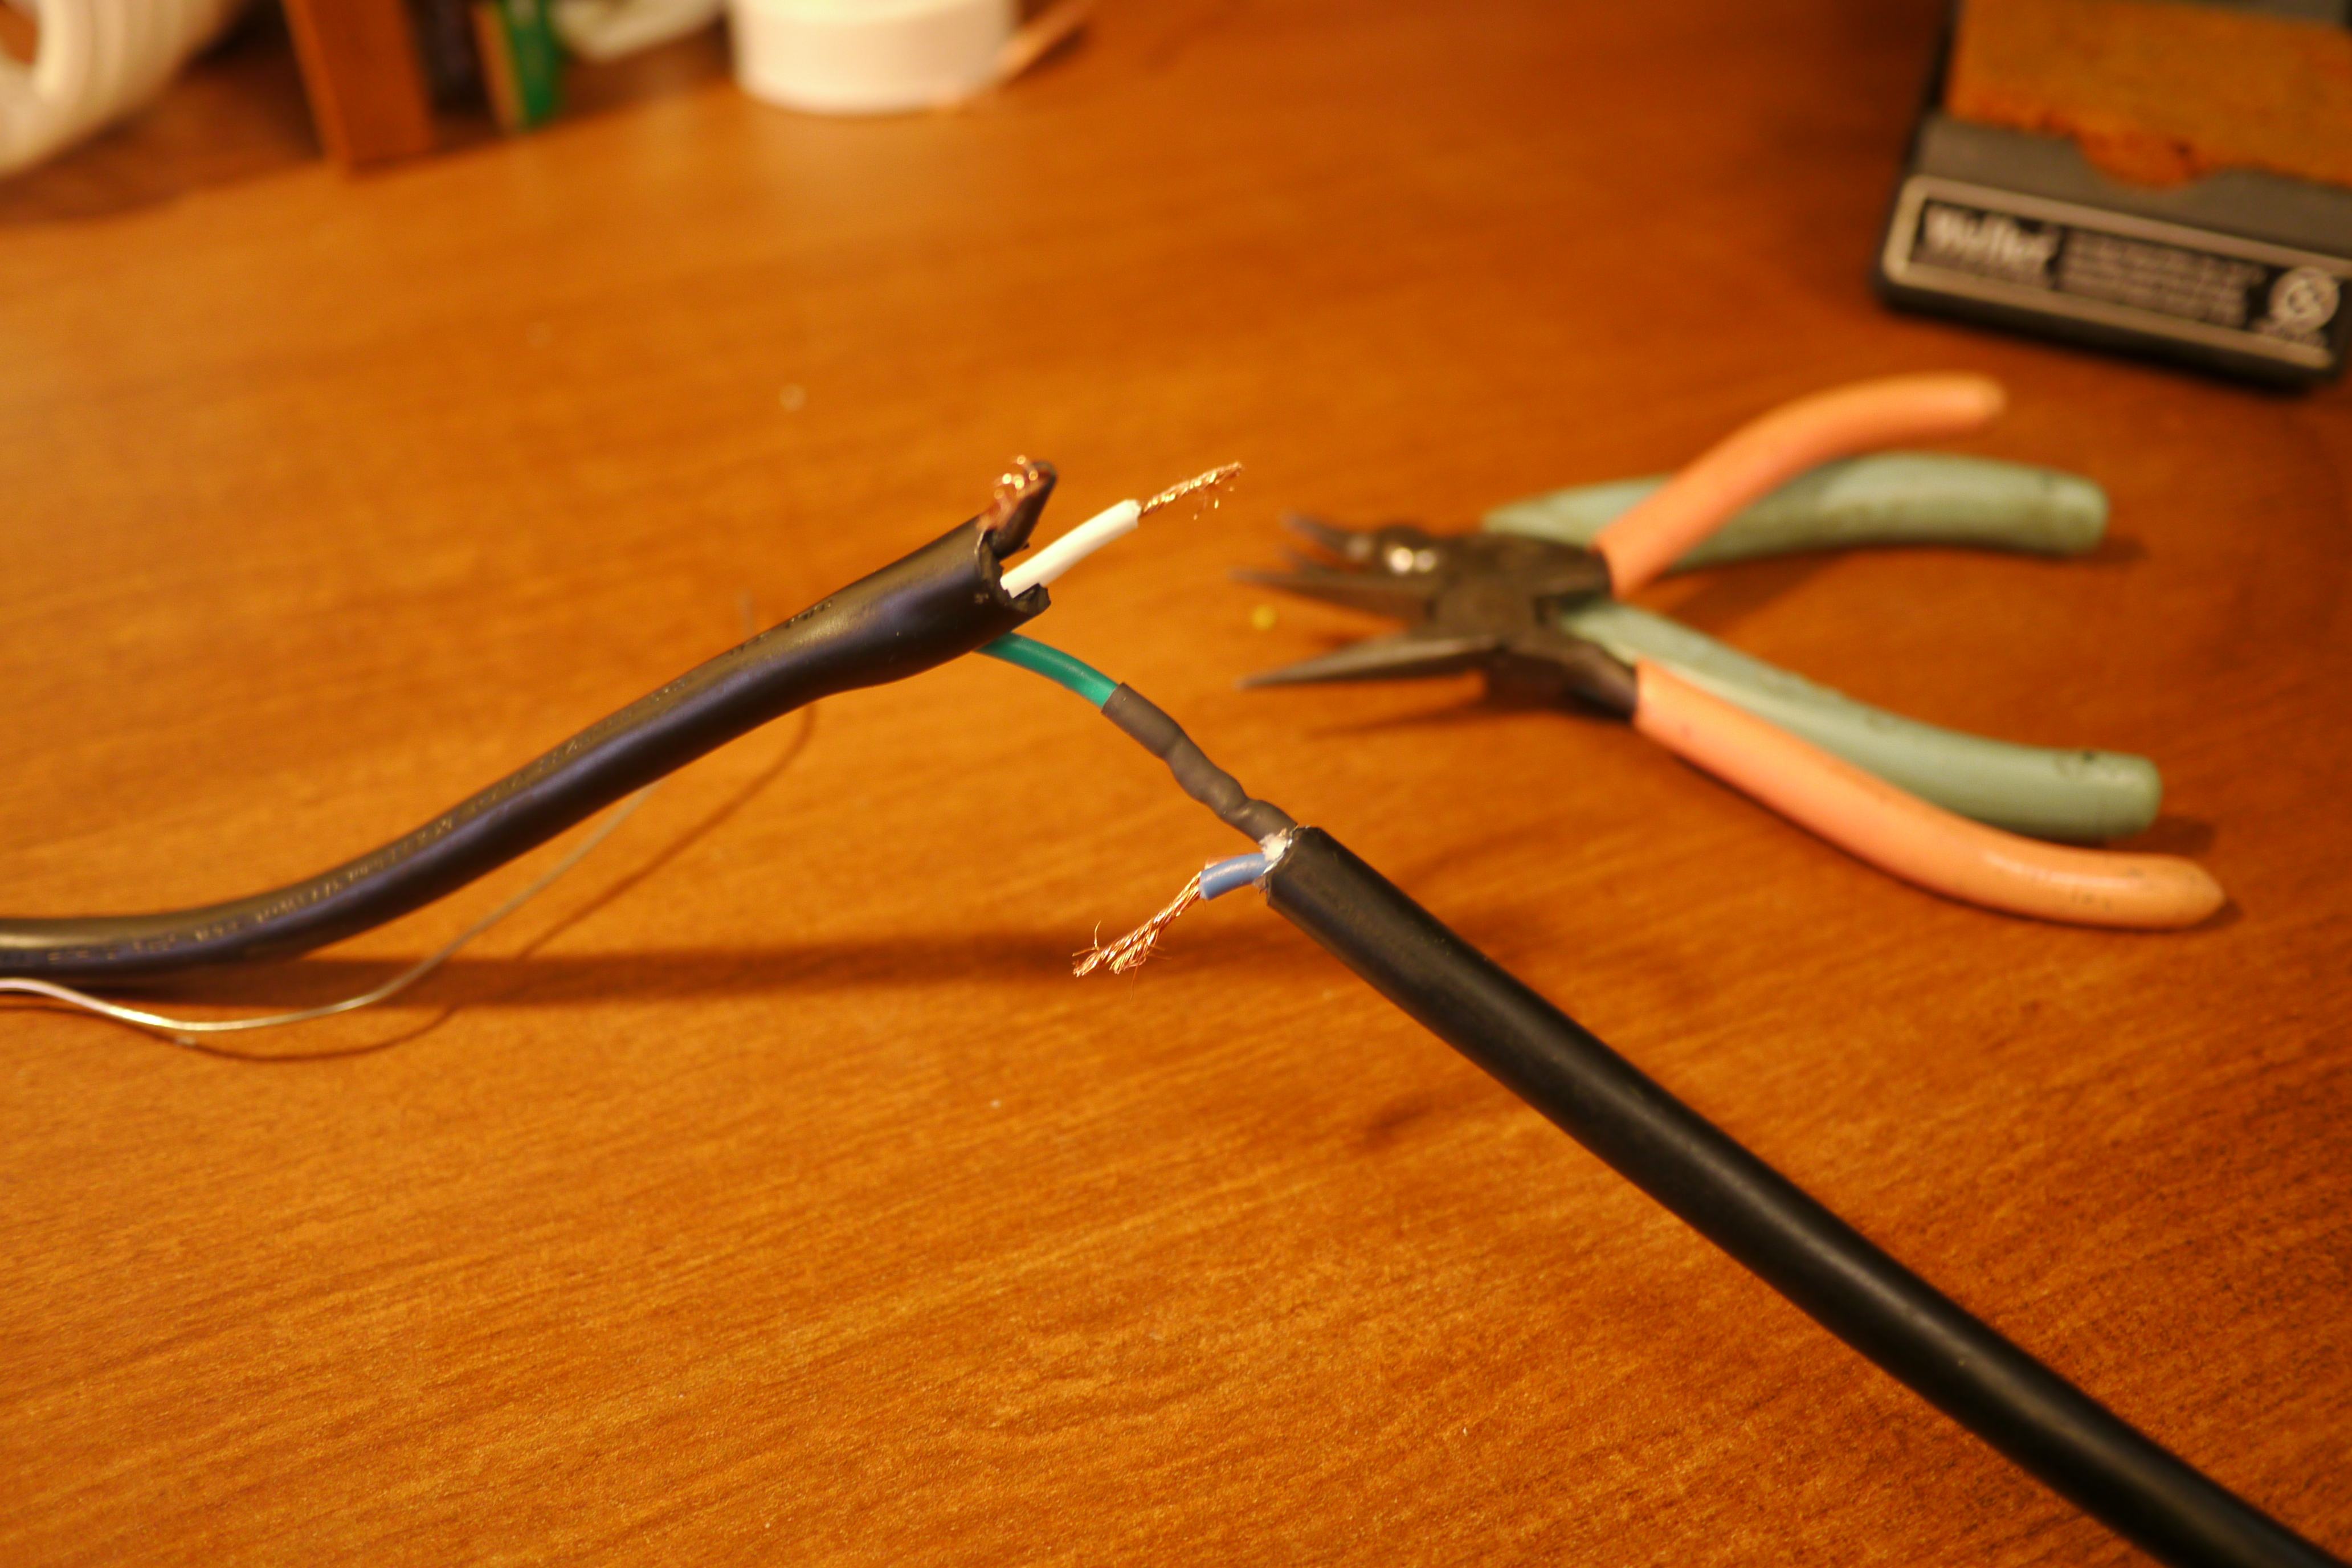
The meanwell comes with a wire length of 1.5ft for the input and output wires. Luckily I saved a bunch of 16AWG and 14AWG 120v power cords from heavily damaged discarded appliances.
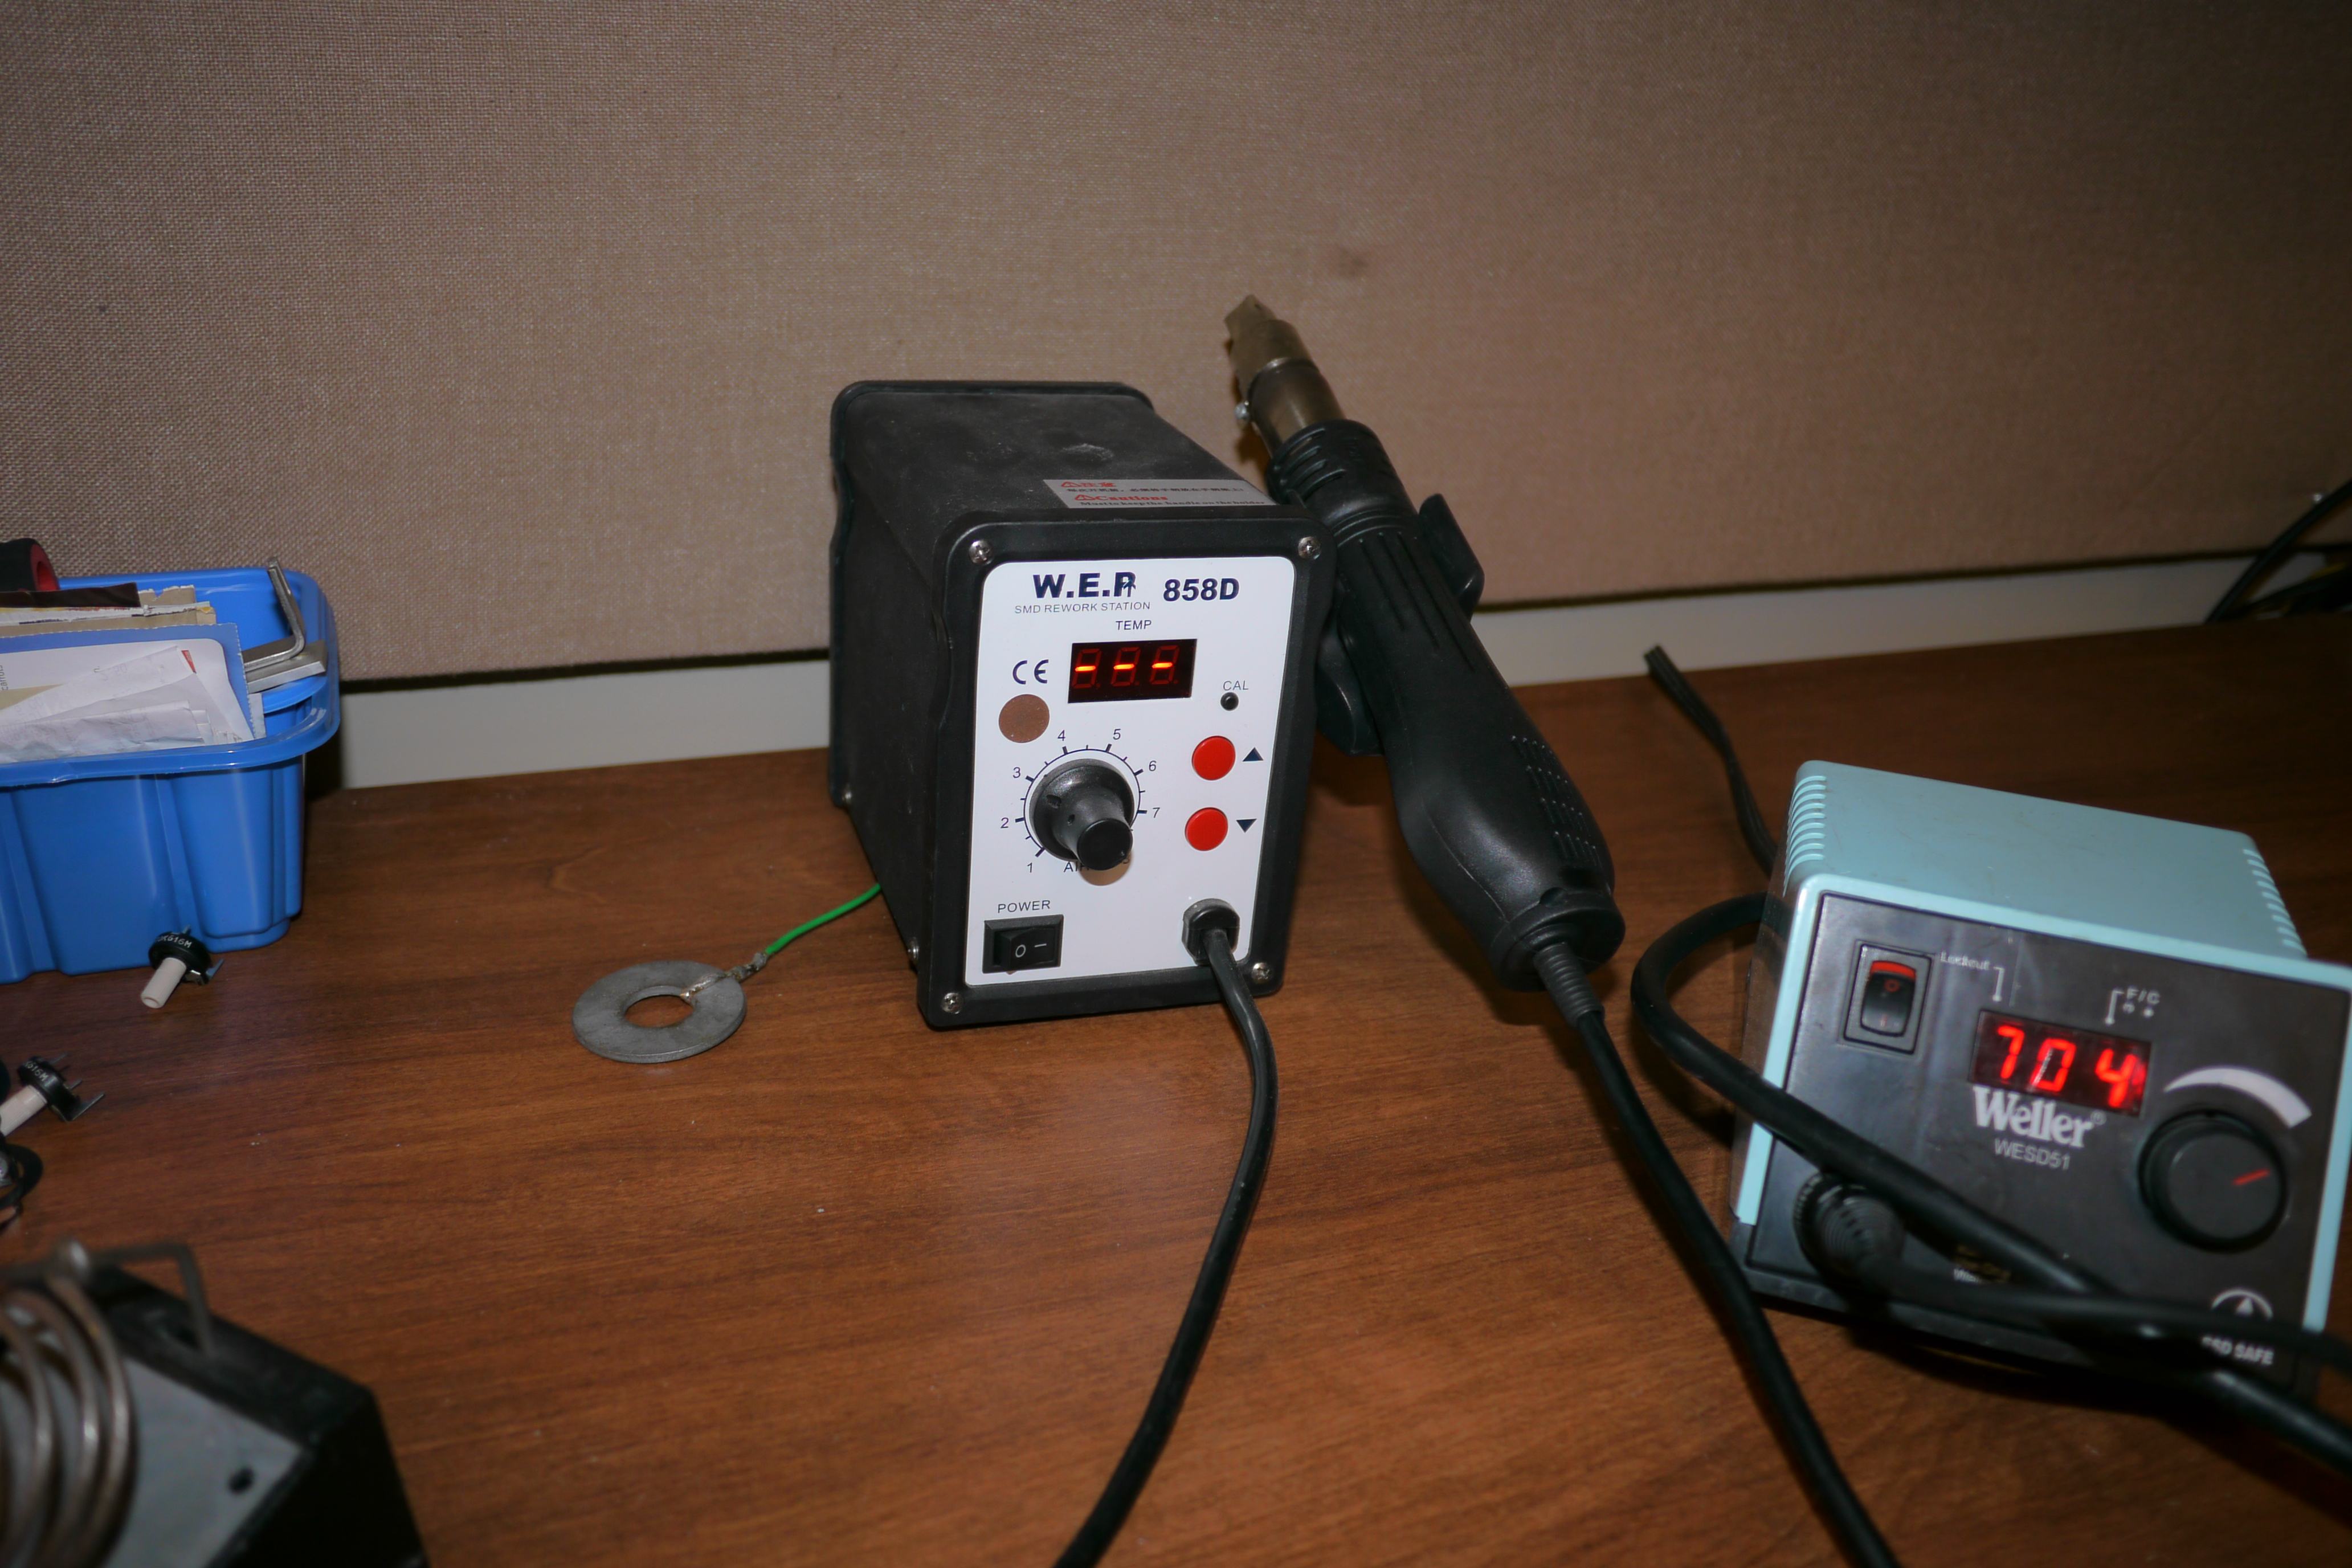
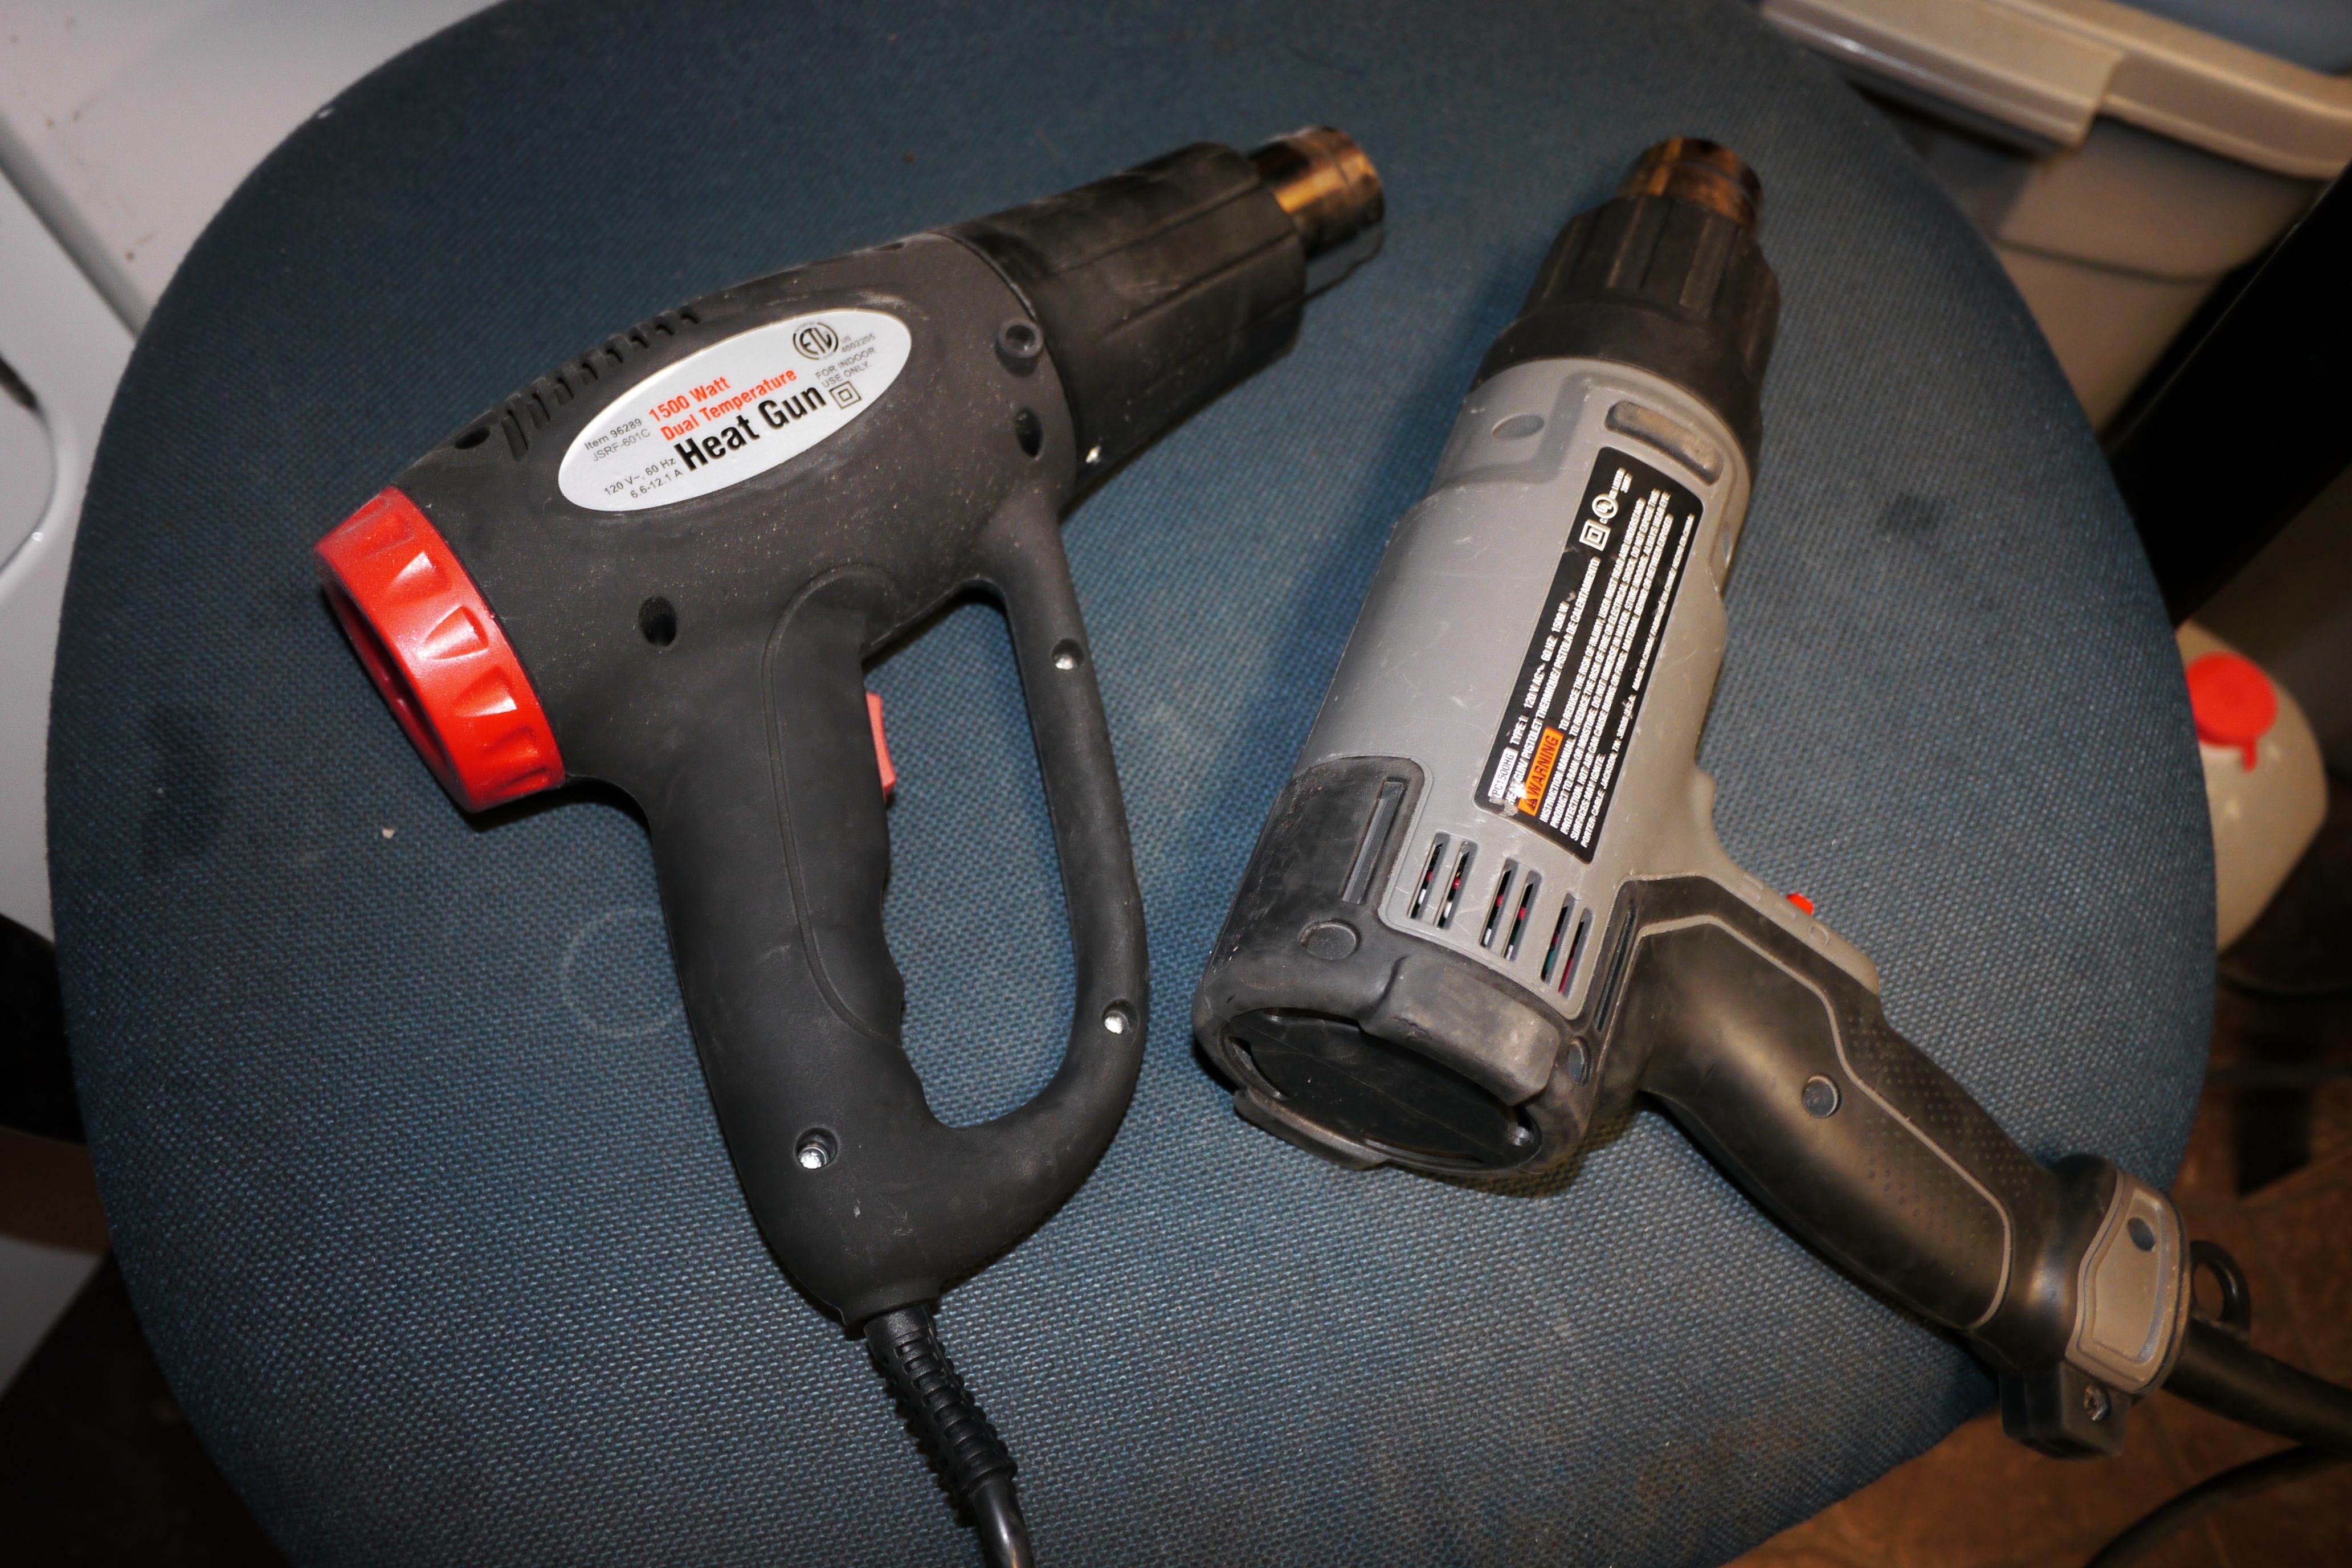
If you have not invested in a heatgun / reflow station, get one. It is invaluable for quick fixes and professional-level results. The heatgun works far better than a match, heat off a solder tip or a lighter. Best $50 I spent on ebay.
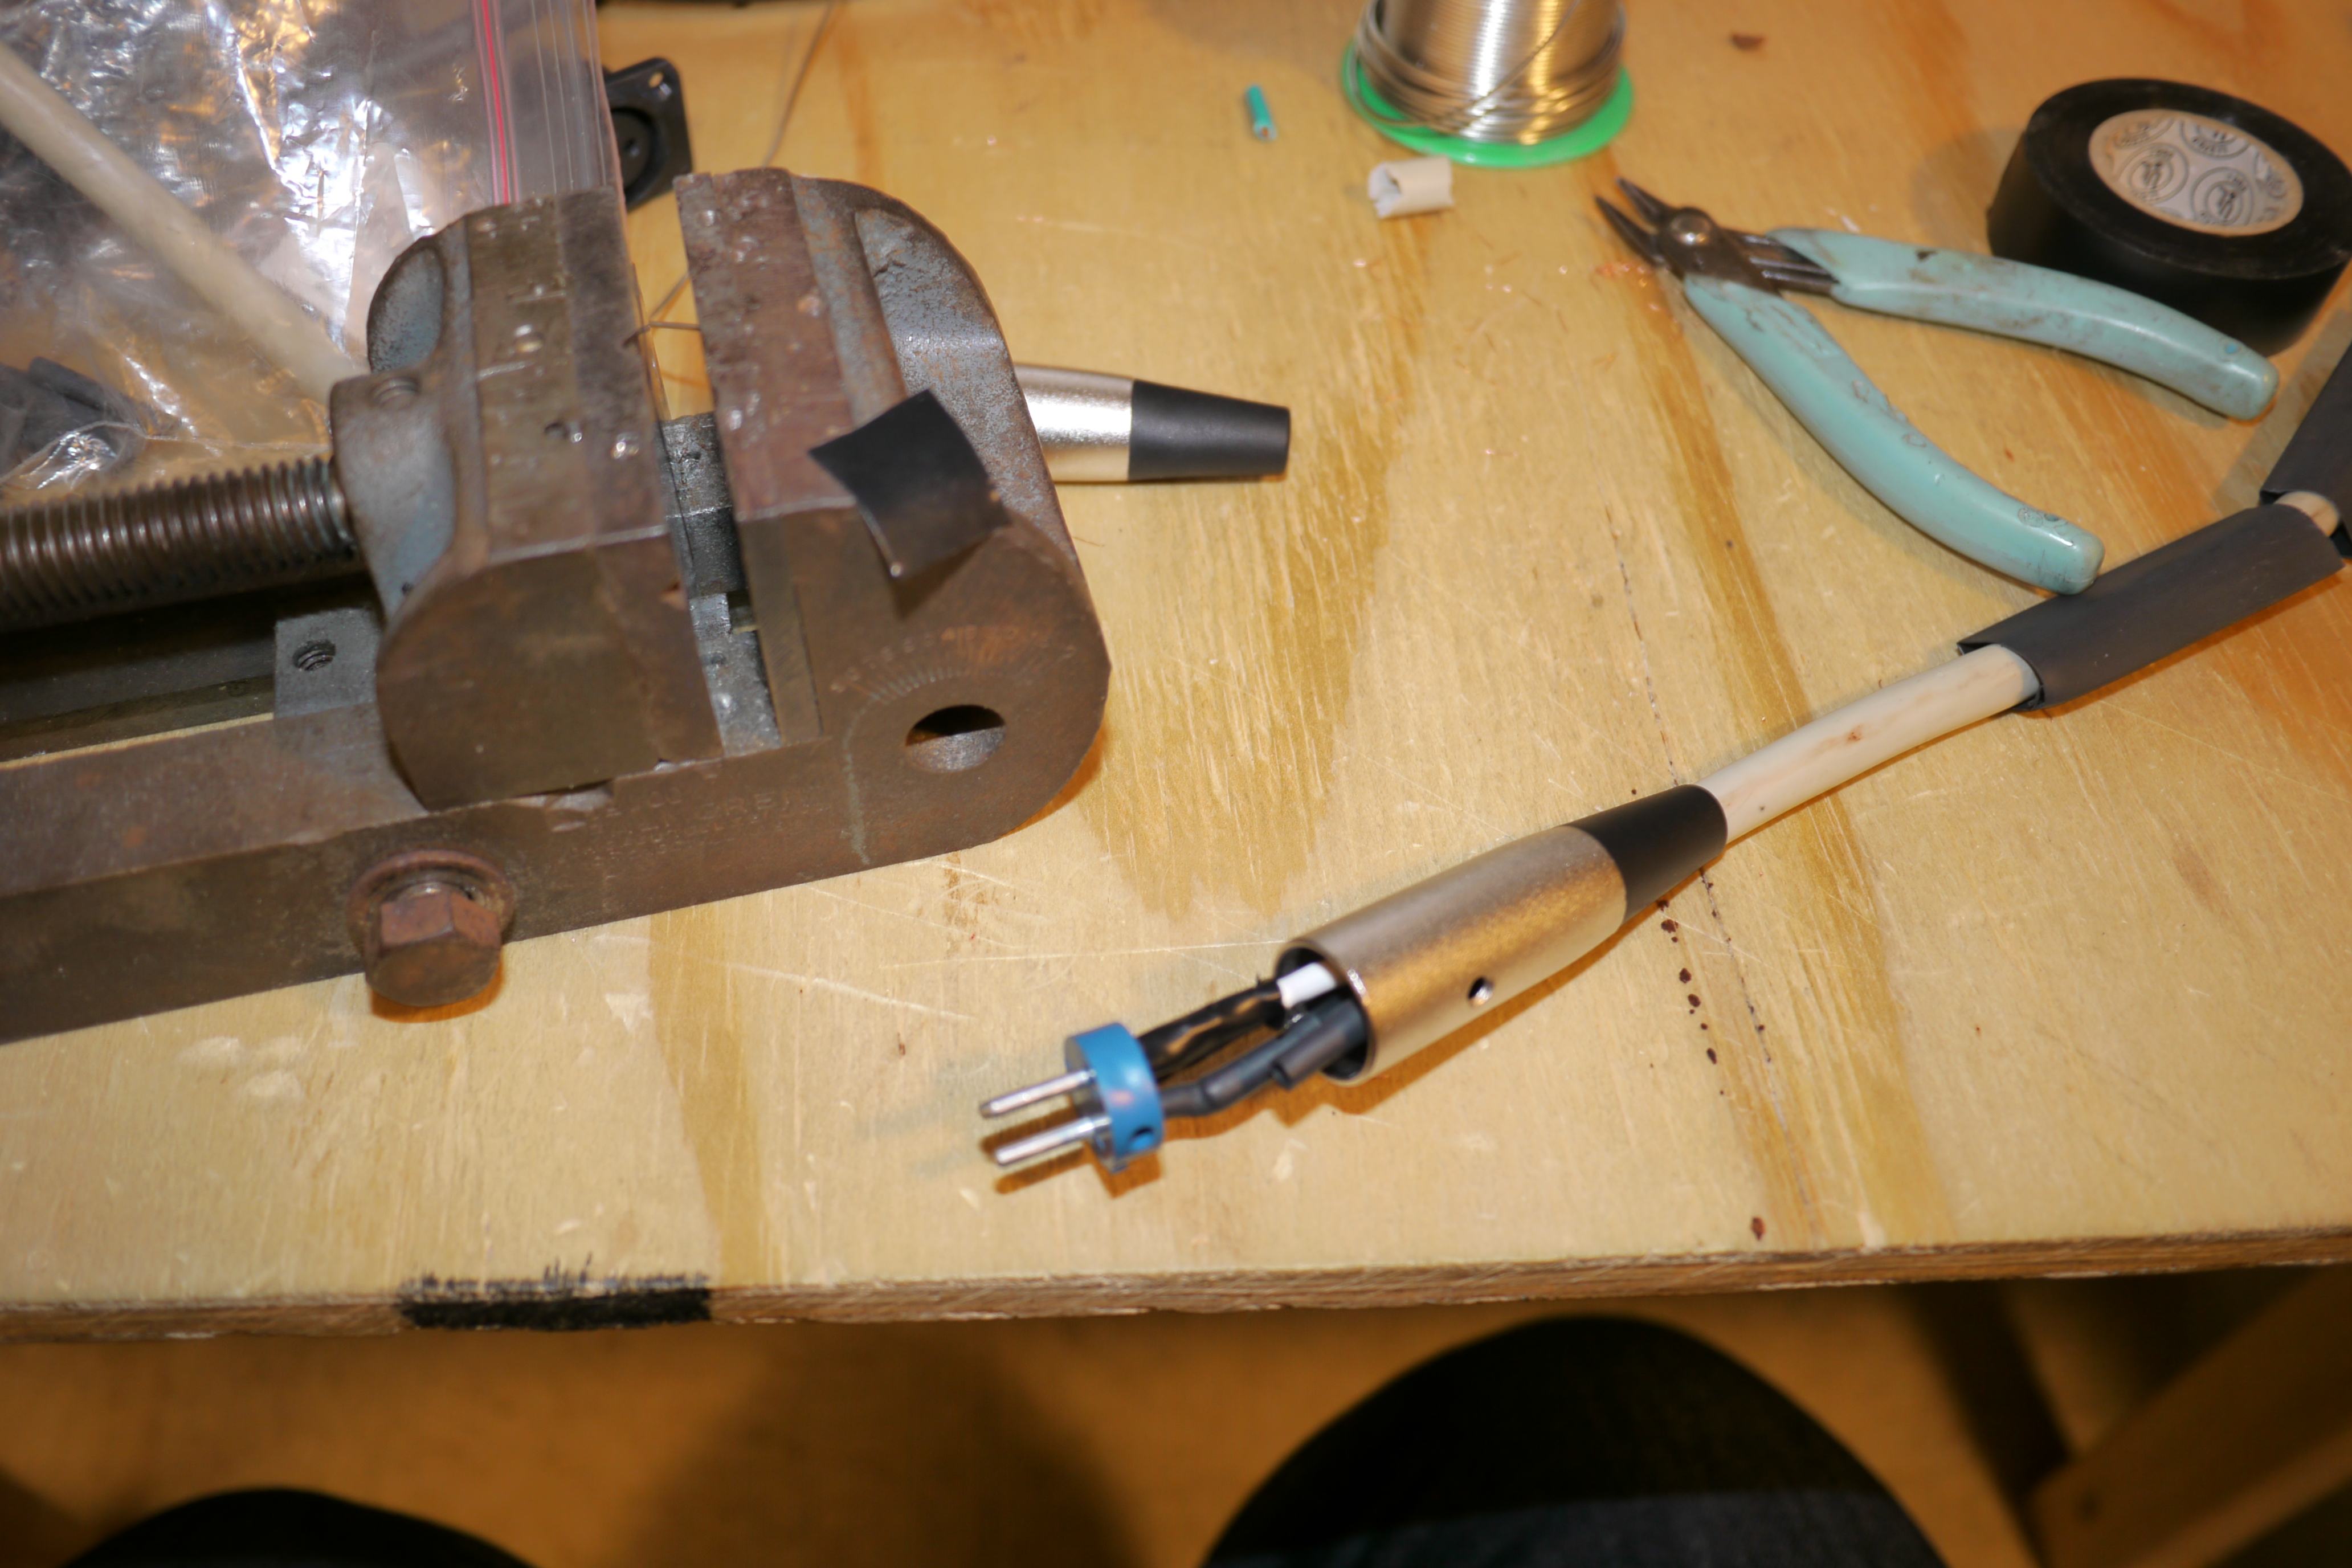
The Currie scooter relied on the extremely common XLR connector for charging. The maximum current carrying capacity of a standard XLR connector is 15A, so the use of that connector is well within reason.
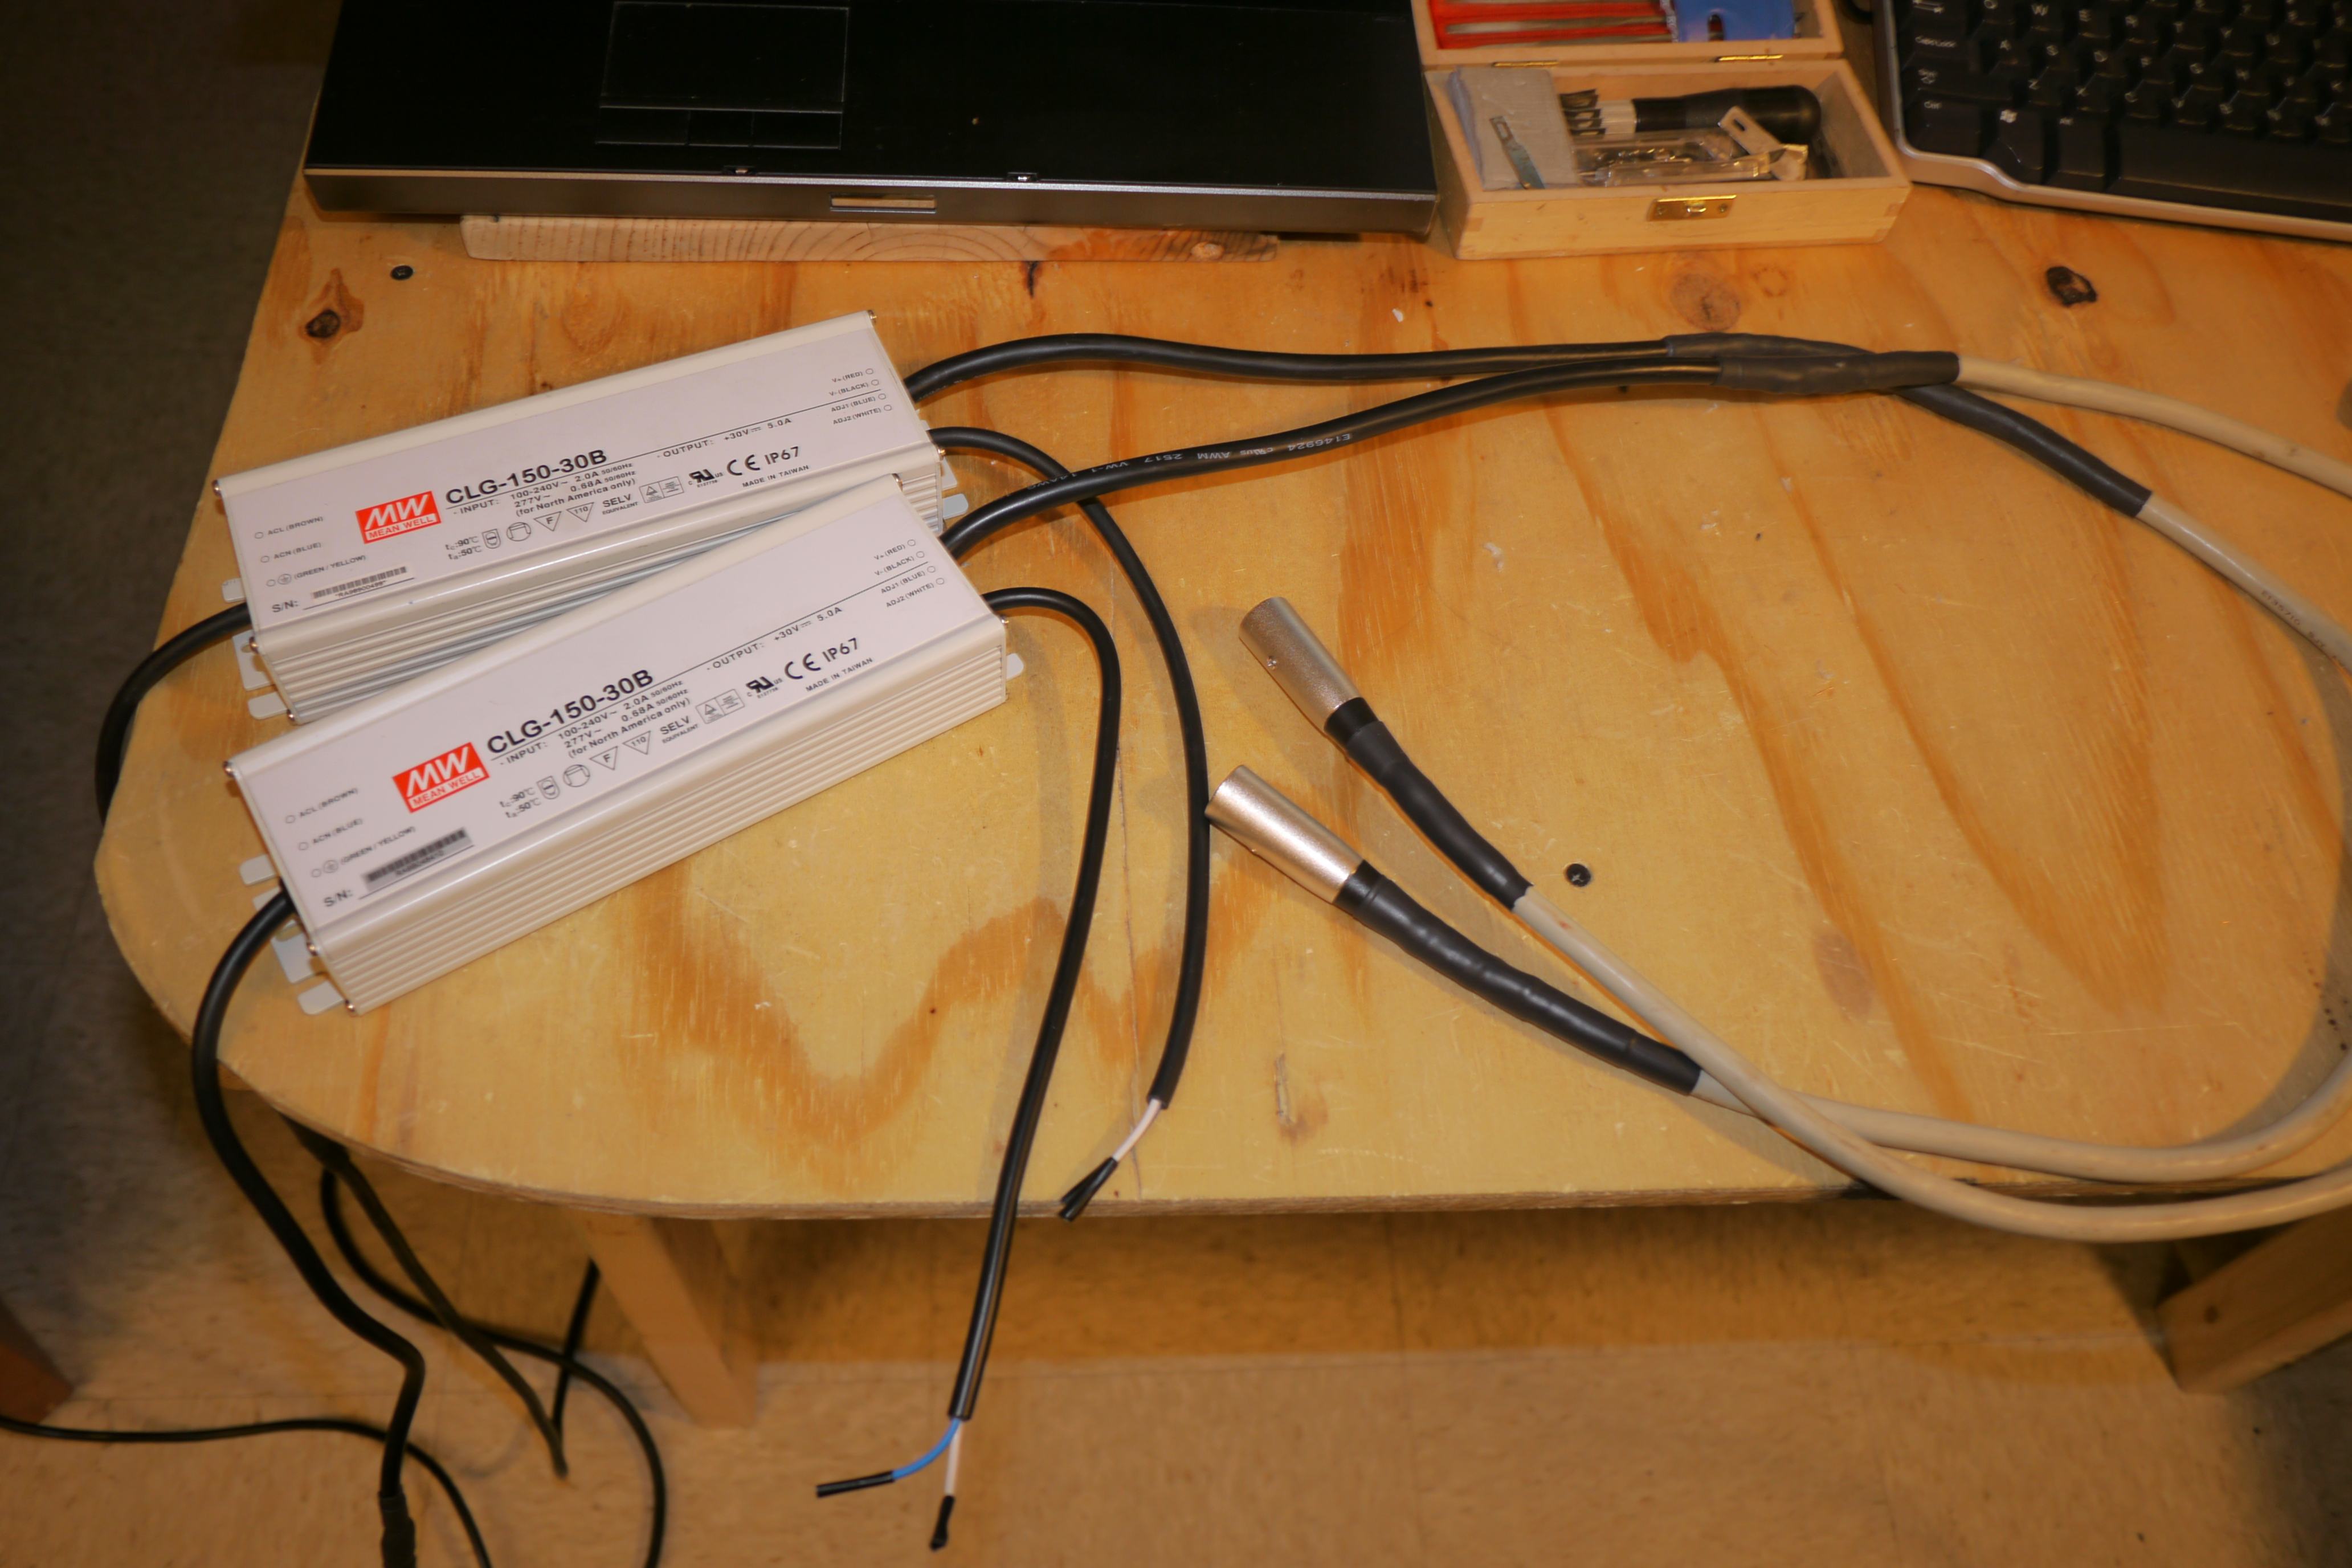
Results. Check out those glorious XLR connectors. Just don't plug these into Phantom power :D. I can imagine how many audiophiles would be up in arms about this.
Another minor change I made to the scooter was replacing the massively over-advertised grip tape that covered the scooter. I was able to snag a 12in x 9ft spool of grip tape on the cheap and adorned the scooter in a flat black layering. The procedure is similar to re-taping a skateboard.
I used (2) heatguns, some gloves and several bottles of alcohol to remove the old grip tape. Once the tape is heated up, a bit of elbow grease will remove it from the uncomfortably hot aluminum scooter cover plate. IMPORTANT: when finished using heatguns, let them rest and cool on a non-flammable surface away from stuff. Too many accidentally melted items. Too many.
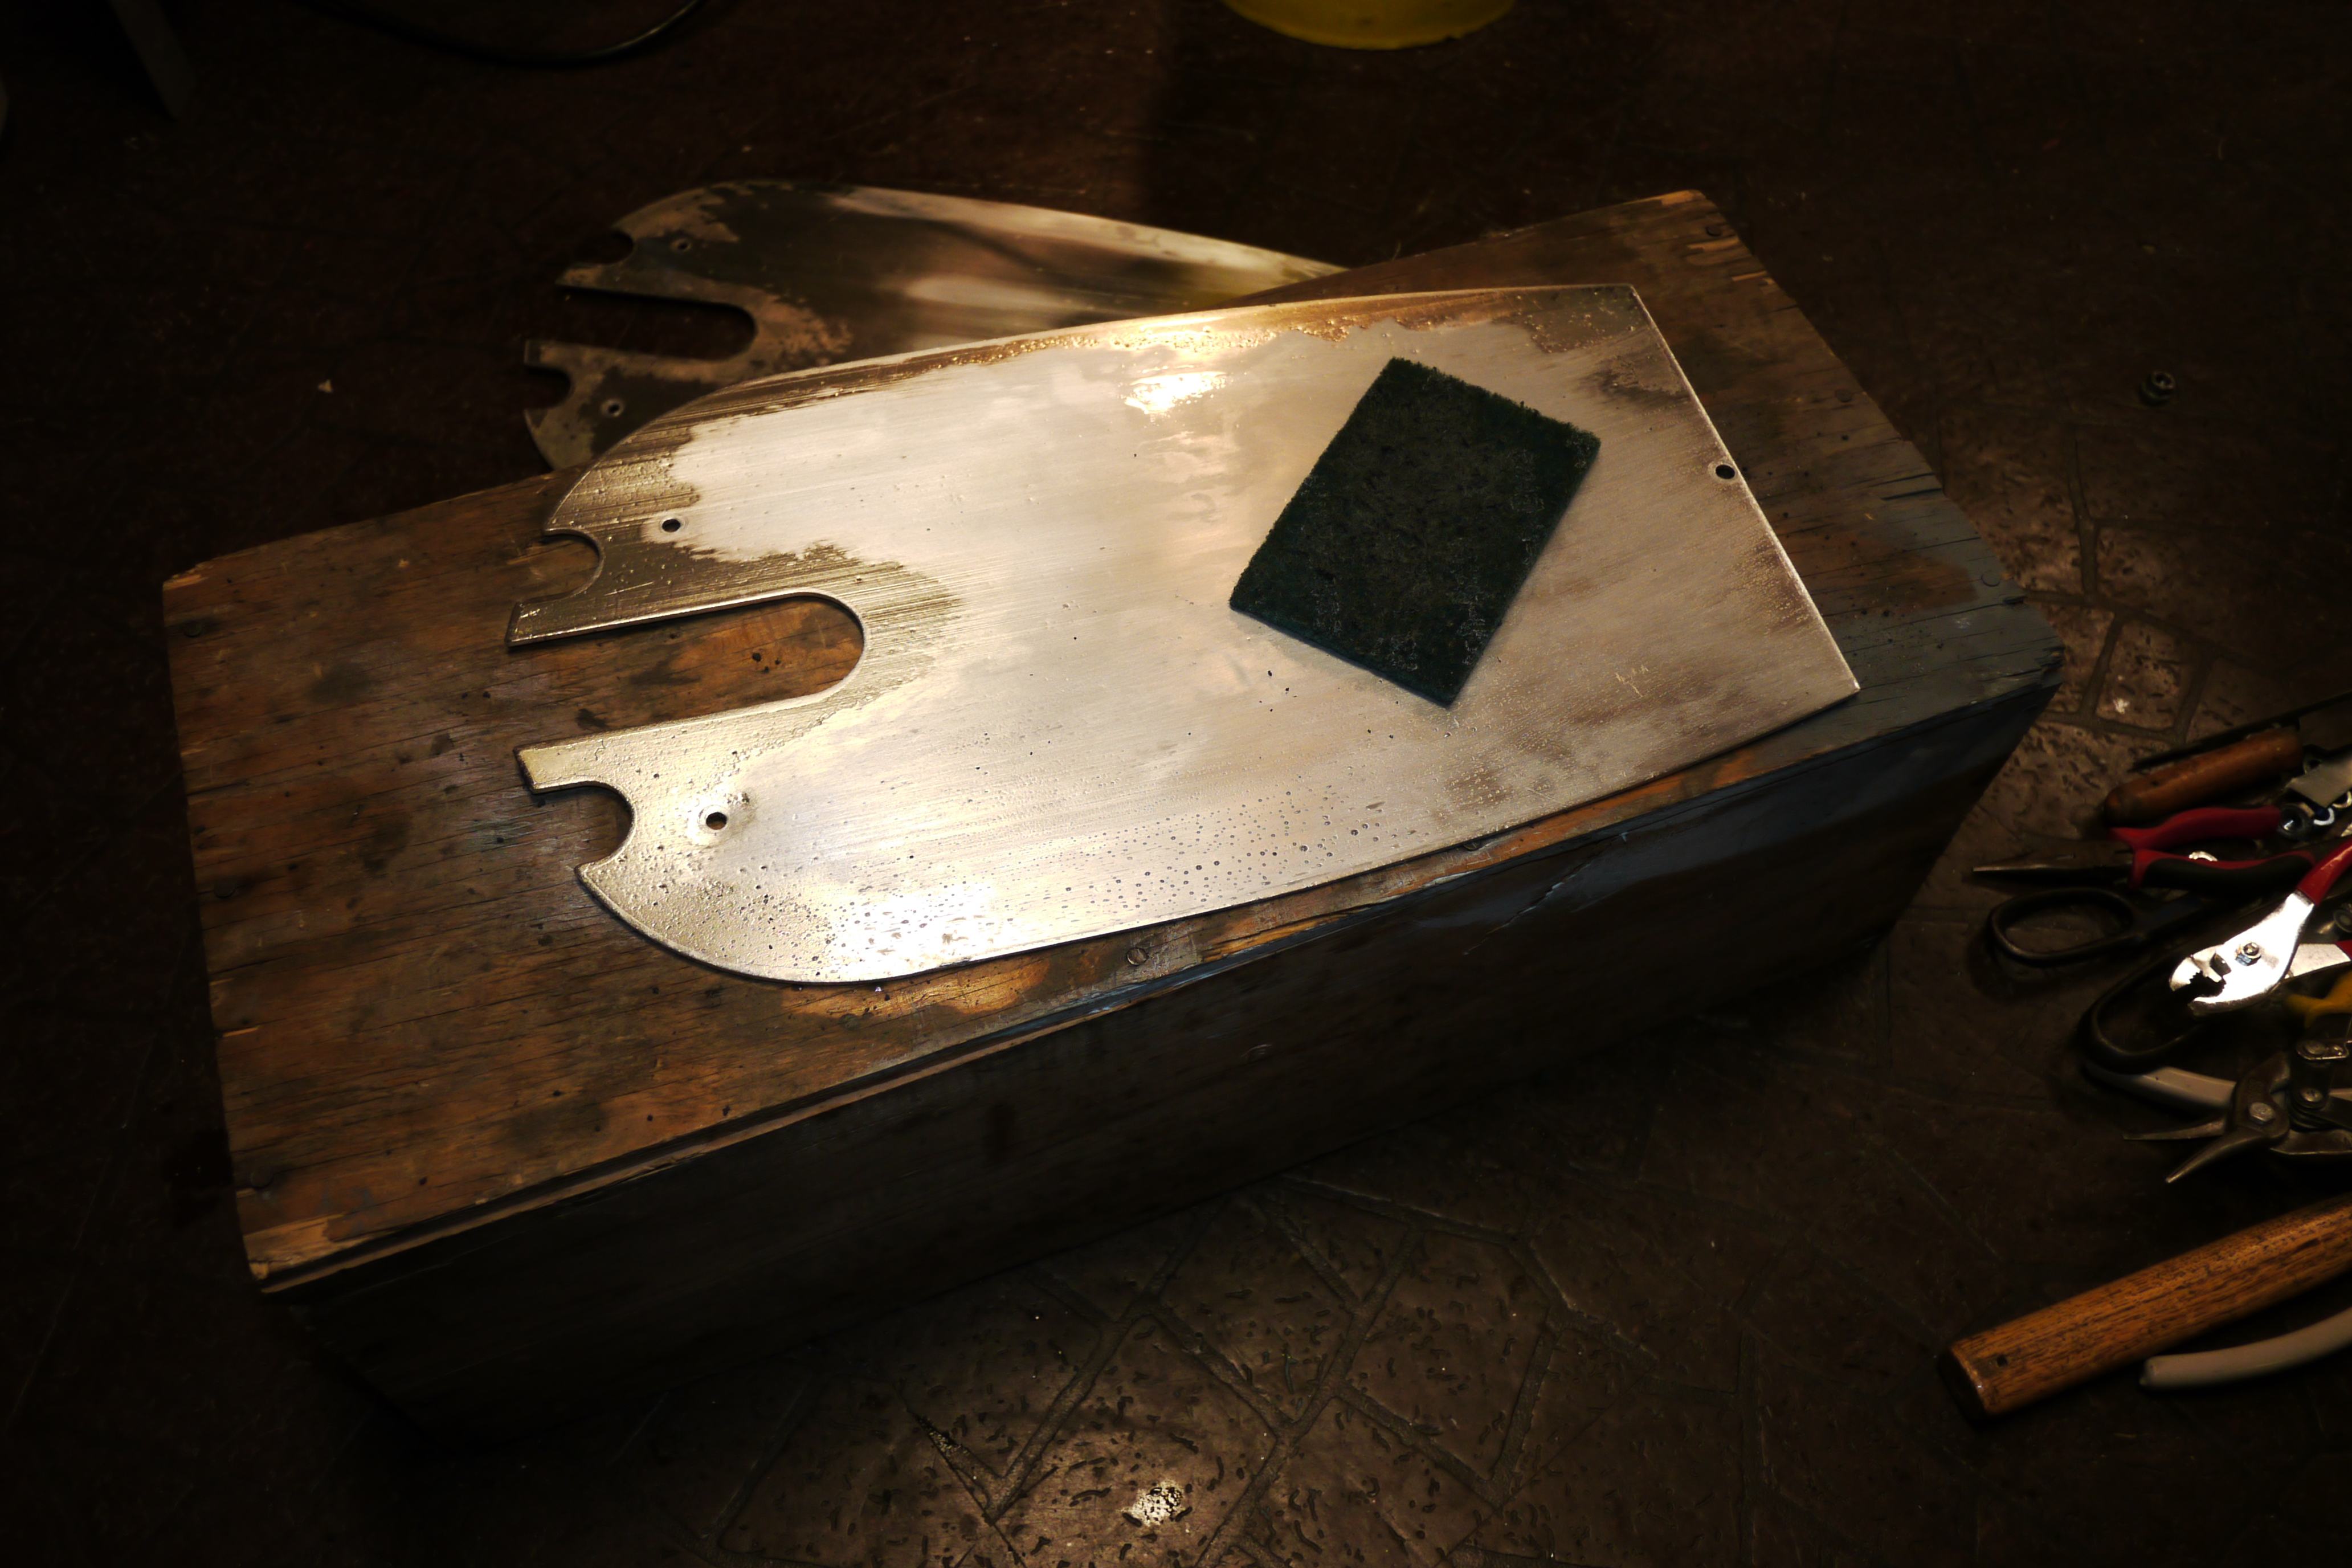
Removing the adhesive is a labor of love. It honestly takes far too long (~30min) but is a necessary evil if you want your new grip tape to lay evenly without any bubbles. I tried using Goo Gone to speed up the adhesive removal process, but I found that isopropyl alcohol worked just as well, and is far less expensive.
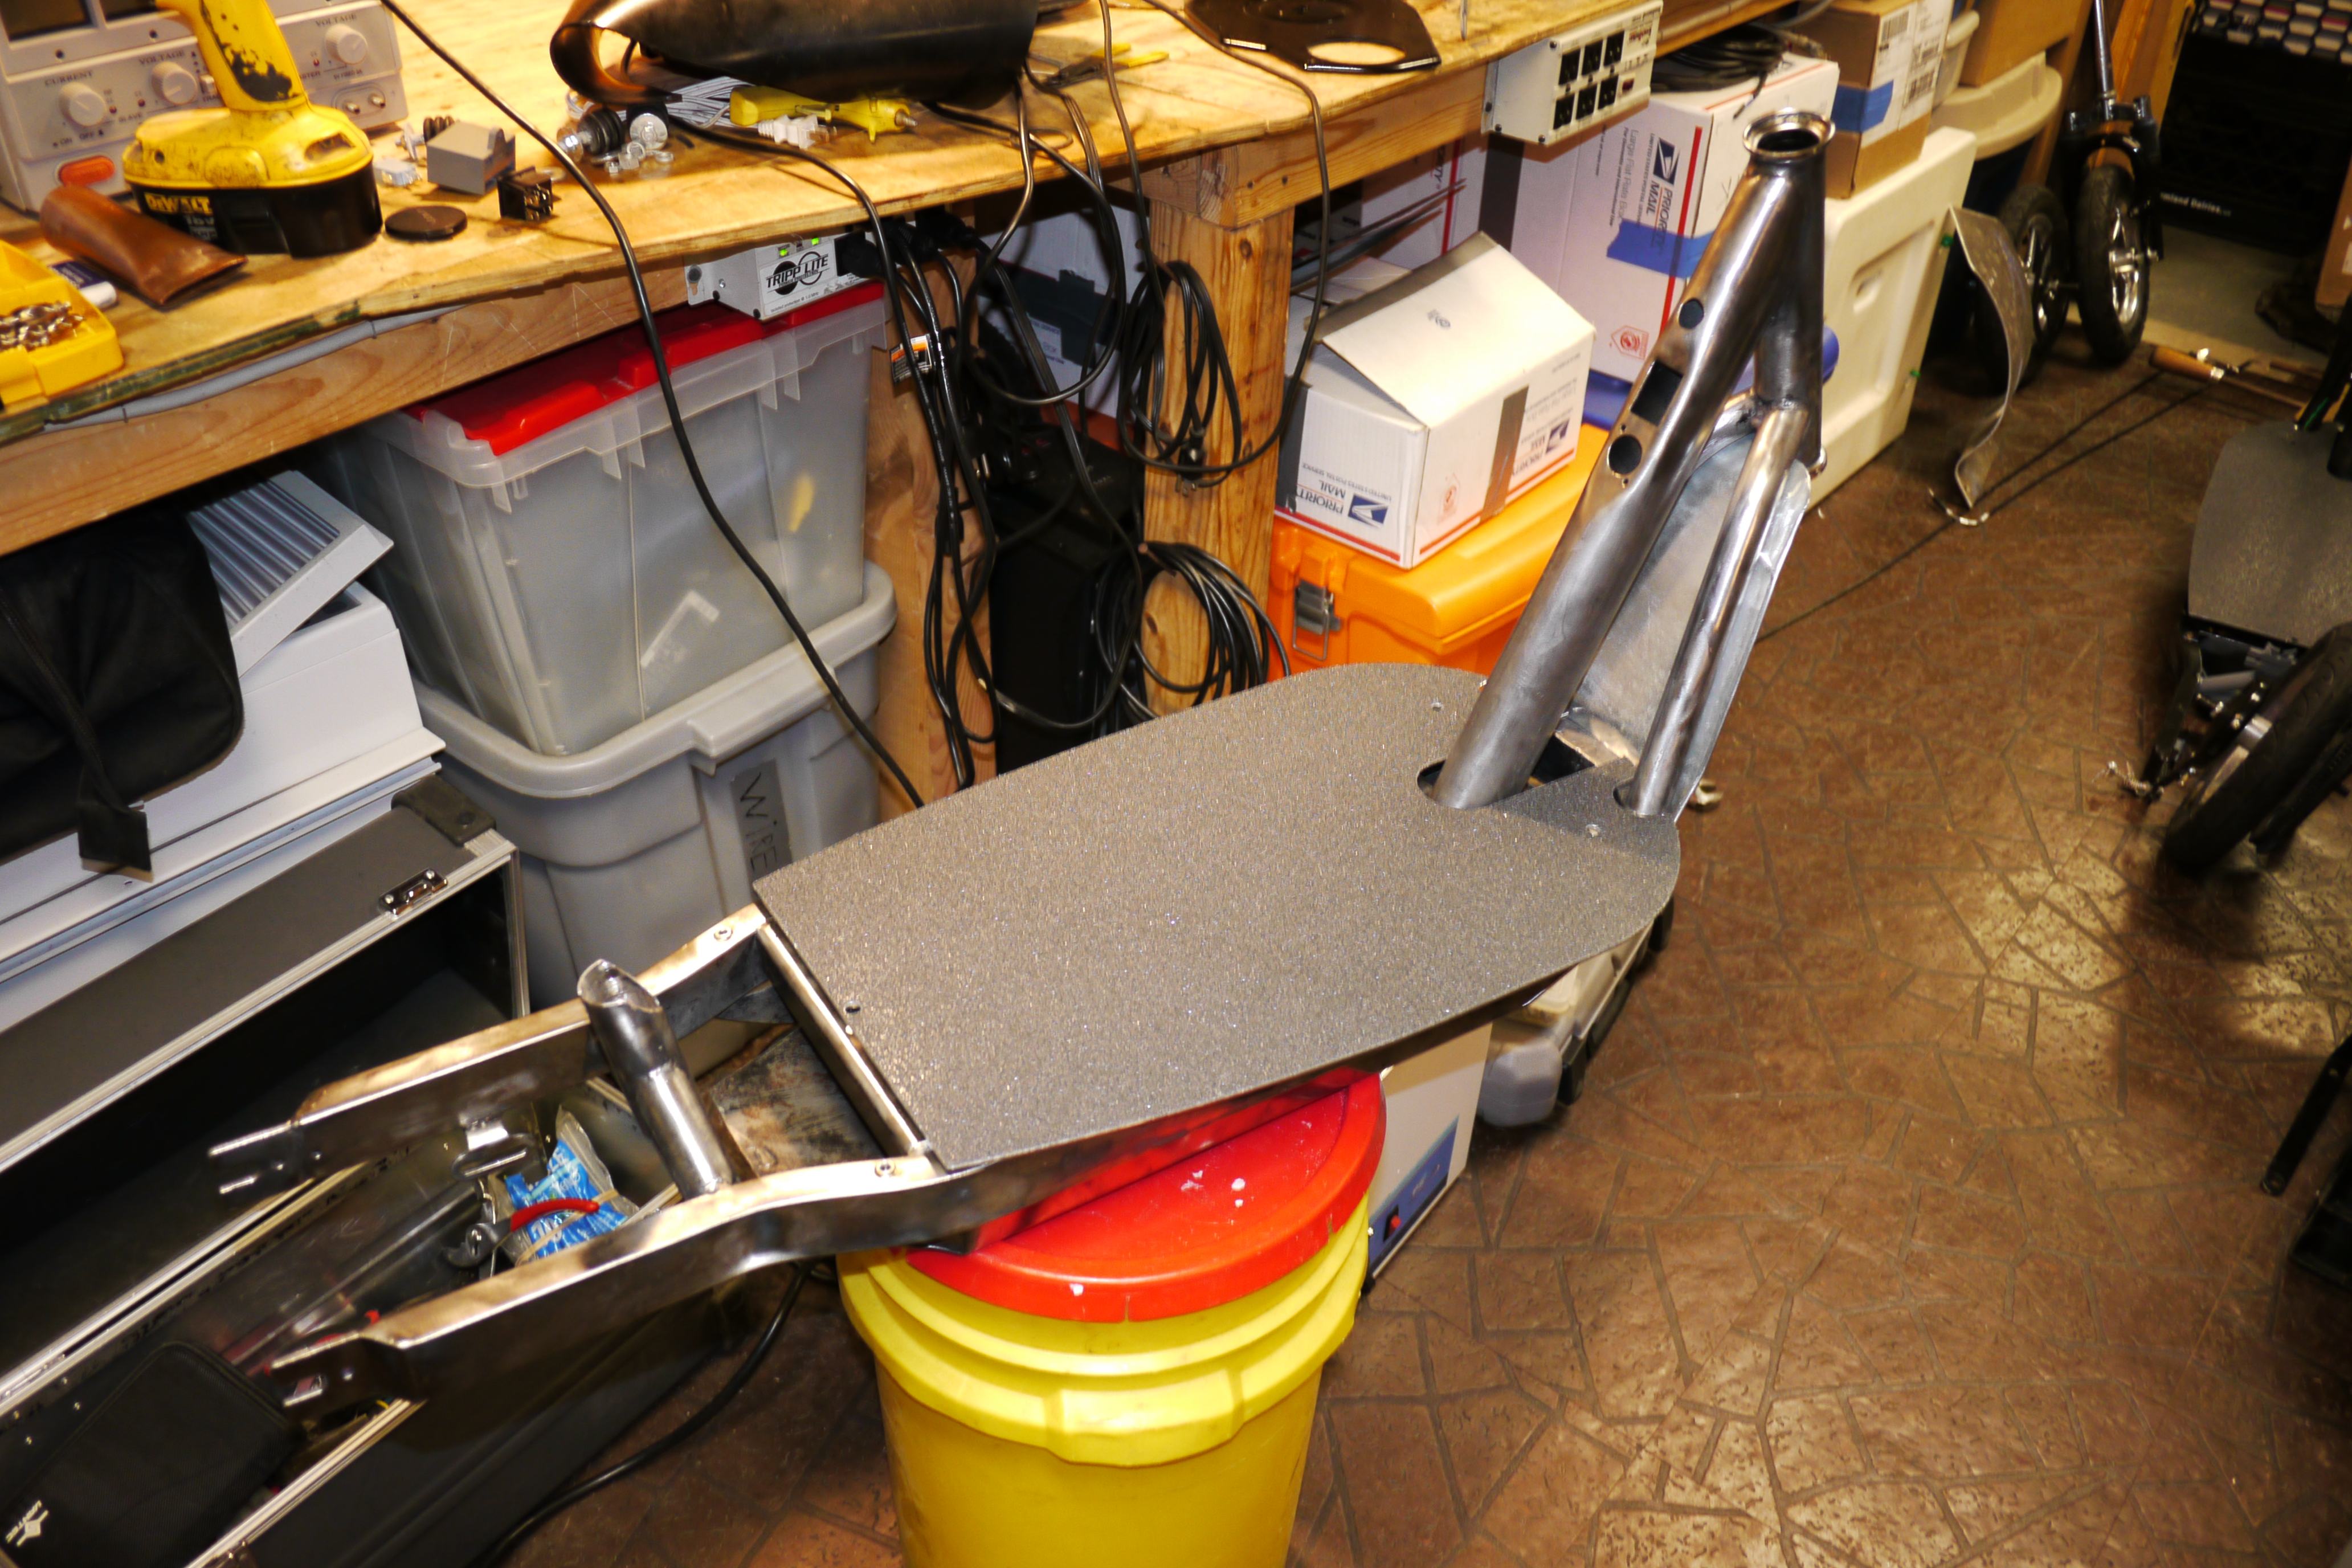
After some scrubbing, the aluminum baseplate and rear fender were clean enough to eat off. Laying the grip tape is self explanatory and only takes a minute. I used an x-acto knife to cut off the excess from the edges and screw holes. I must say, it is amazing how de-branding a product makes it feel so much more of your own. No in-your-face logos or text to get in the way or obstruct your views. Nothing like a stock vanilla experience.
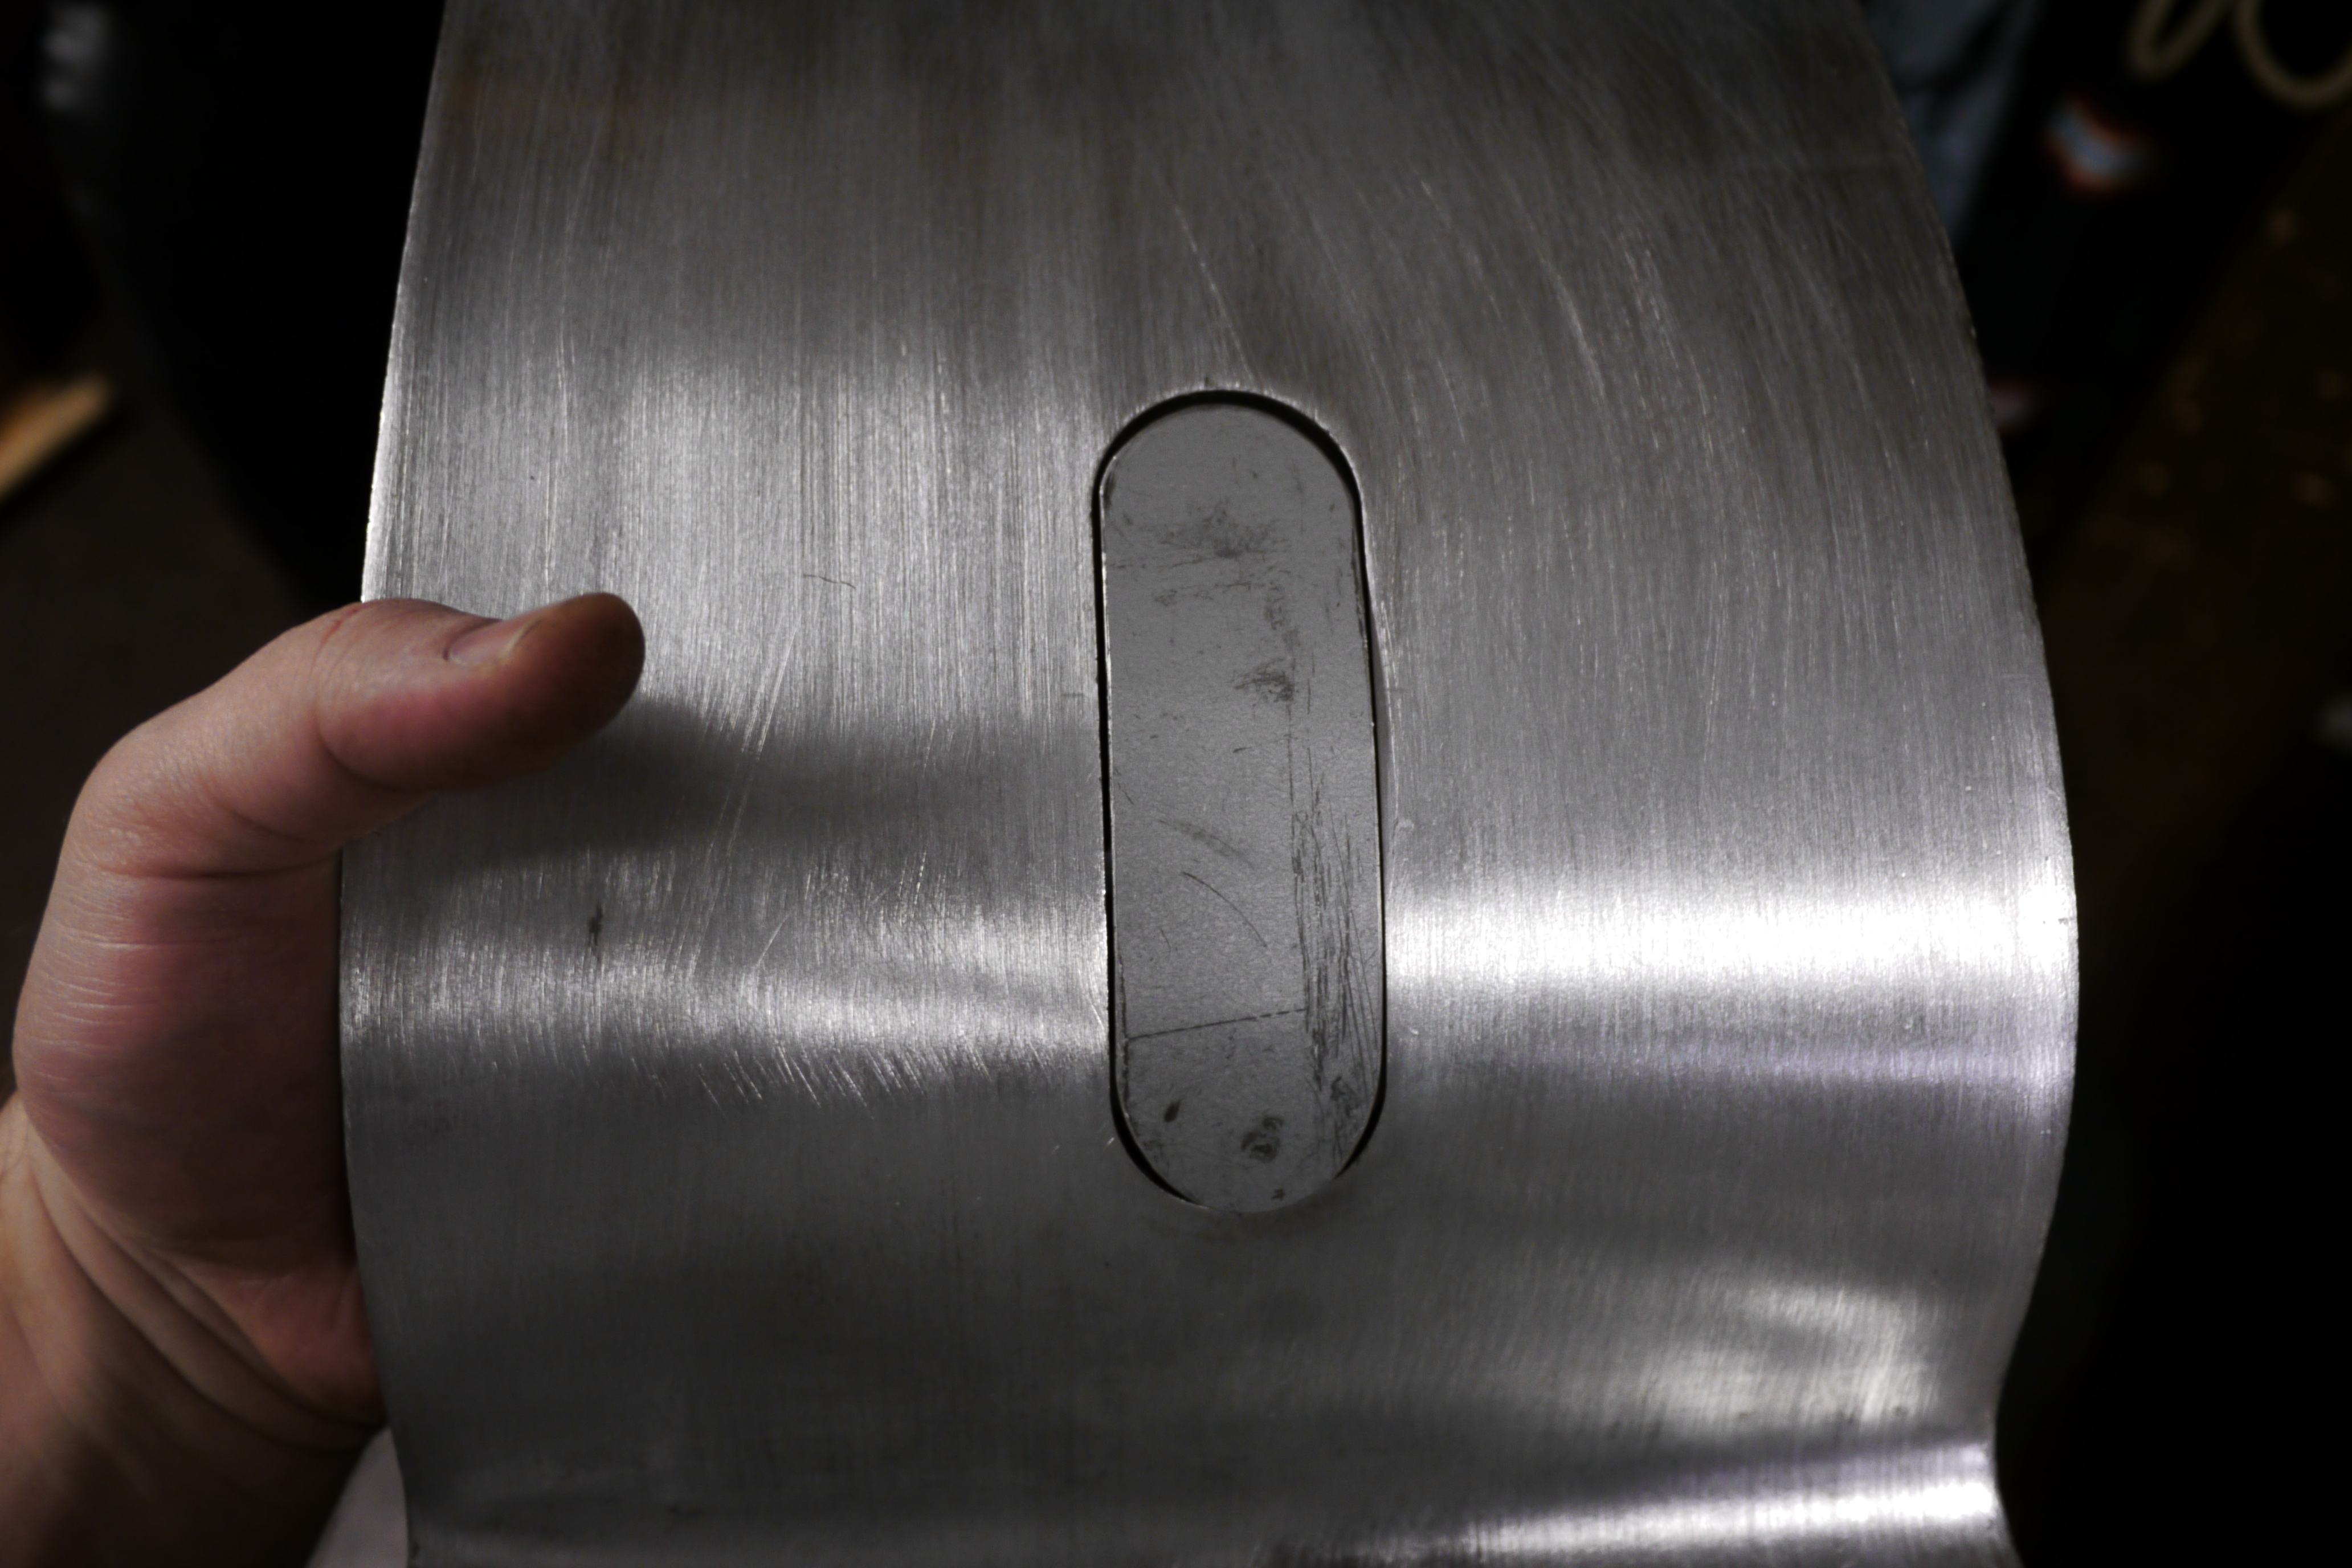
Another non-critical but oh-so-useful fix was plugging up the seat post hole in the rear fender. Sure I could just ignore the fact that my rear gets wet on rainy days and pretend that I enjoy that nice squish of the lecture seat, but really, it would be nice to not have that problem.
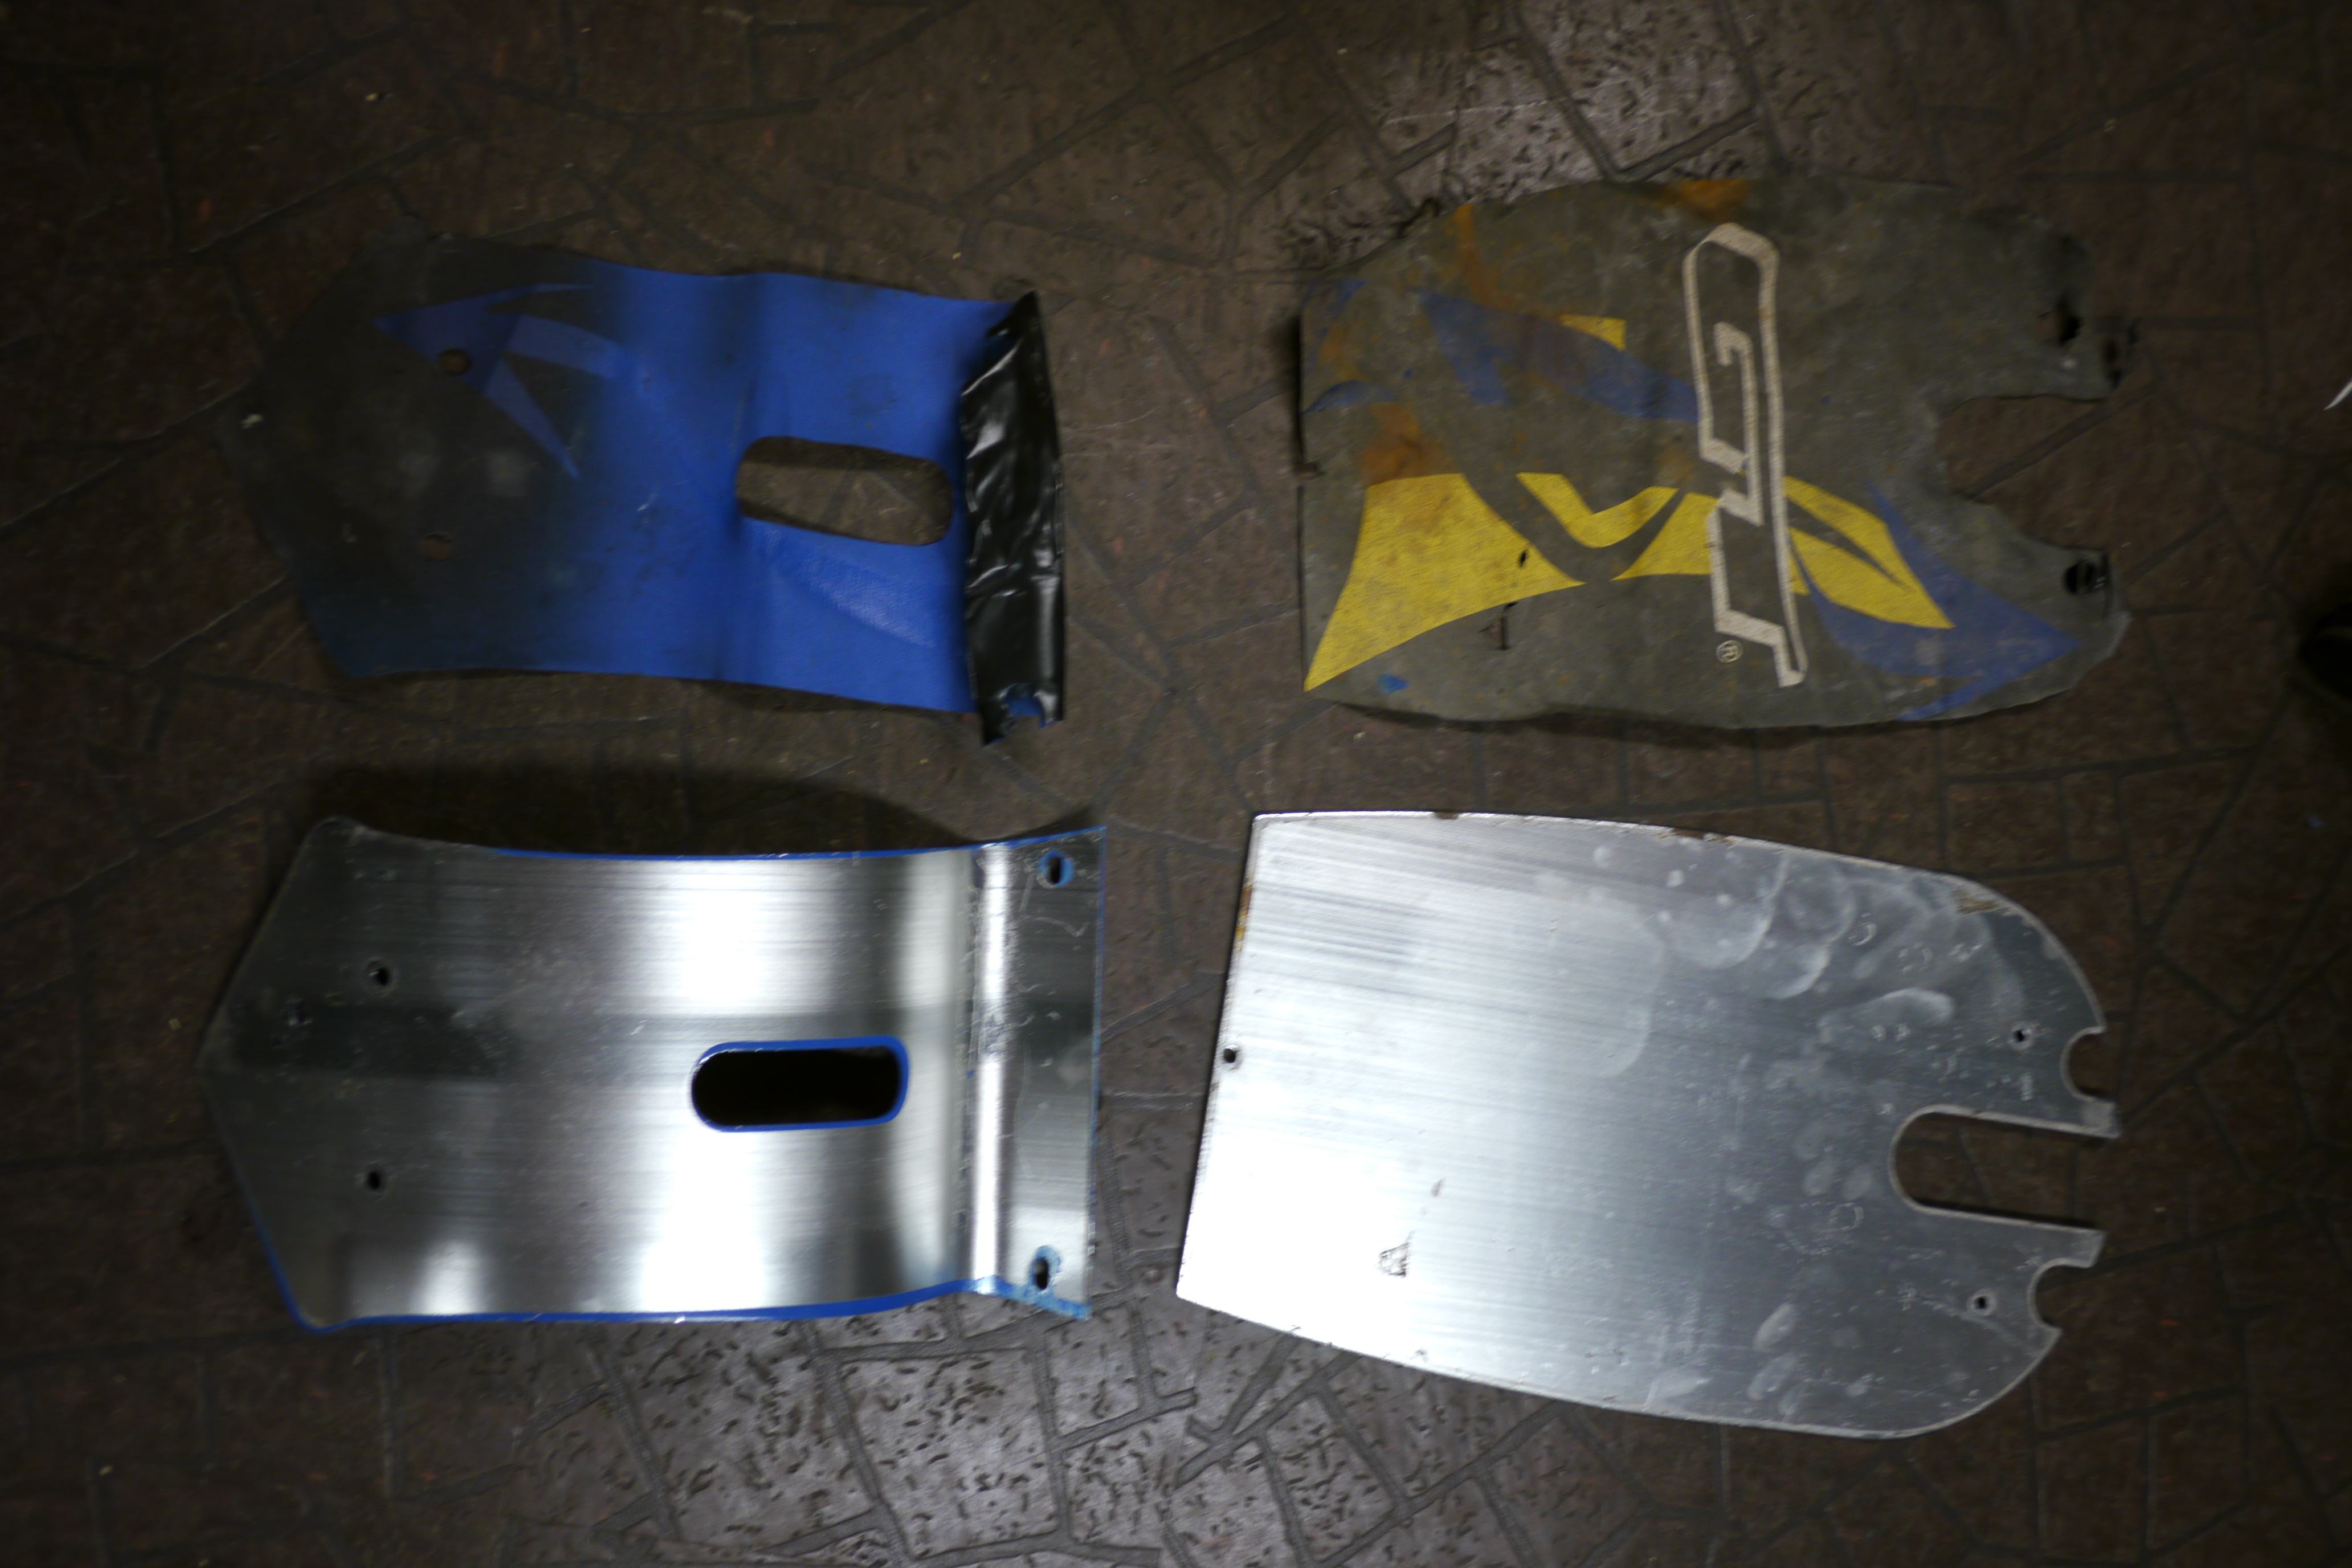
With the fender being aluminum, and not having a TIG welder, I didn't have many options for plugging up that hole. Sure I could just use duct tape and look the other way, but I wanted something more robust.
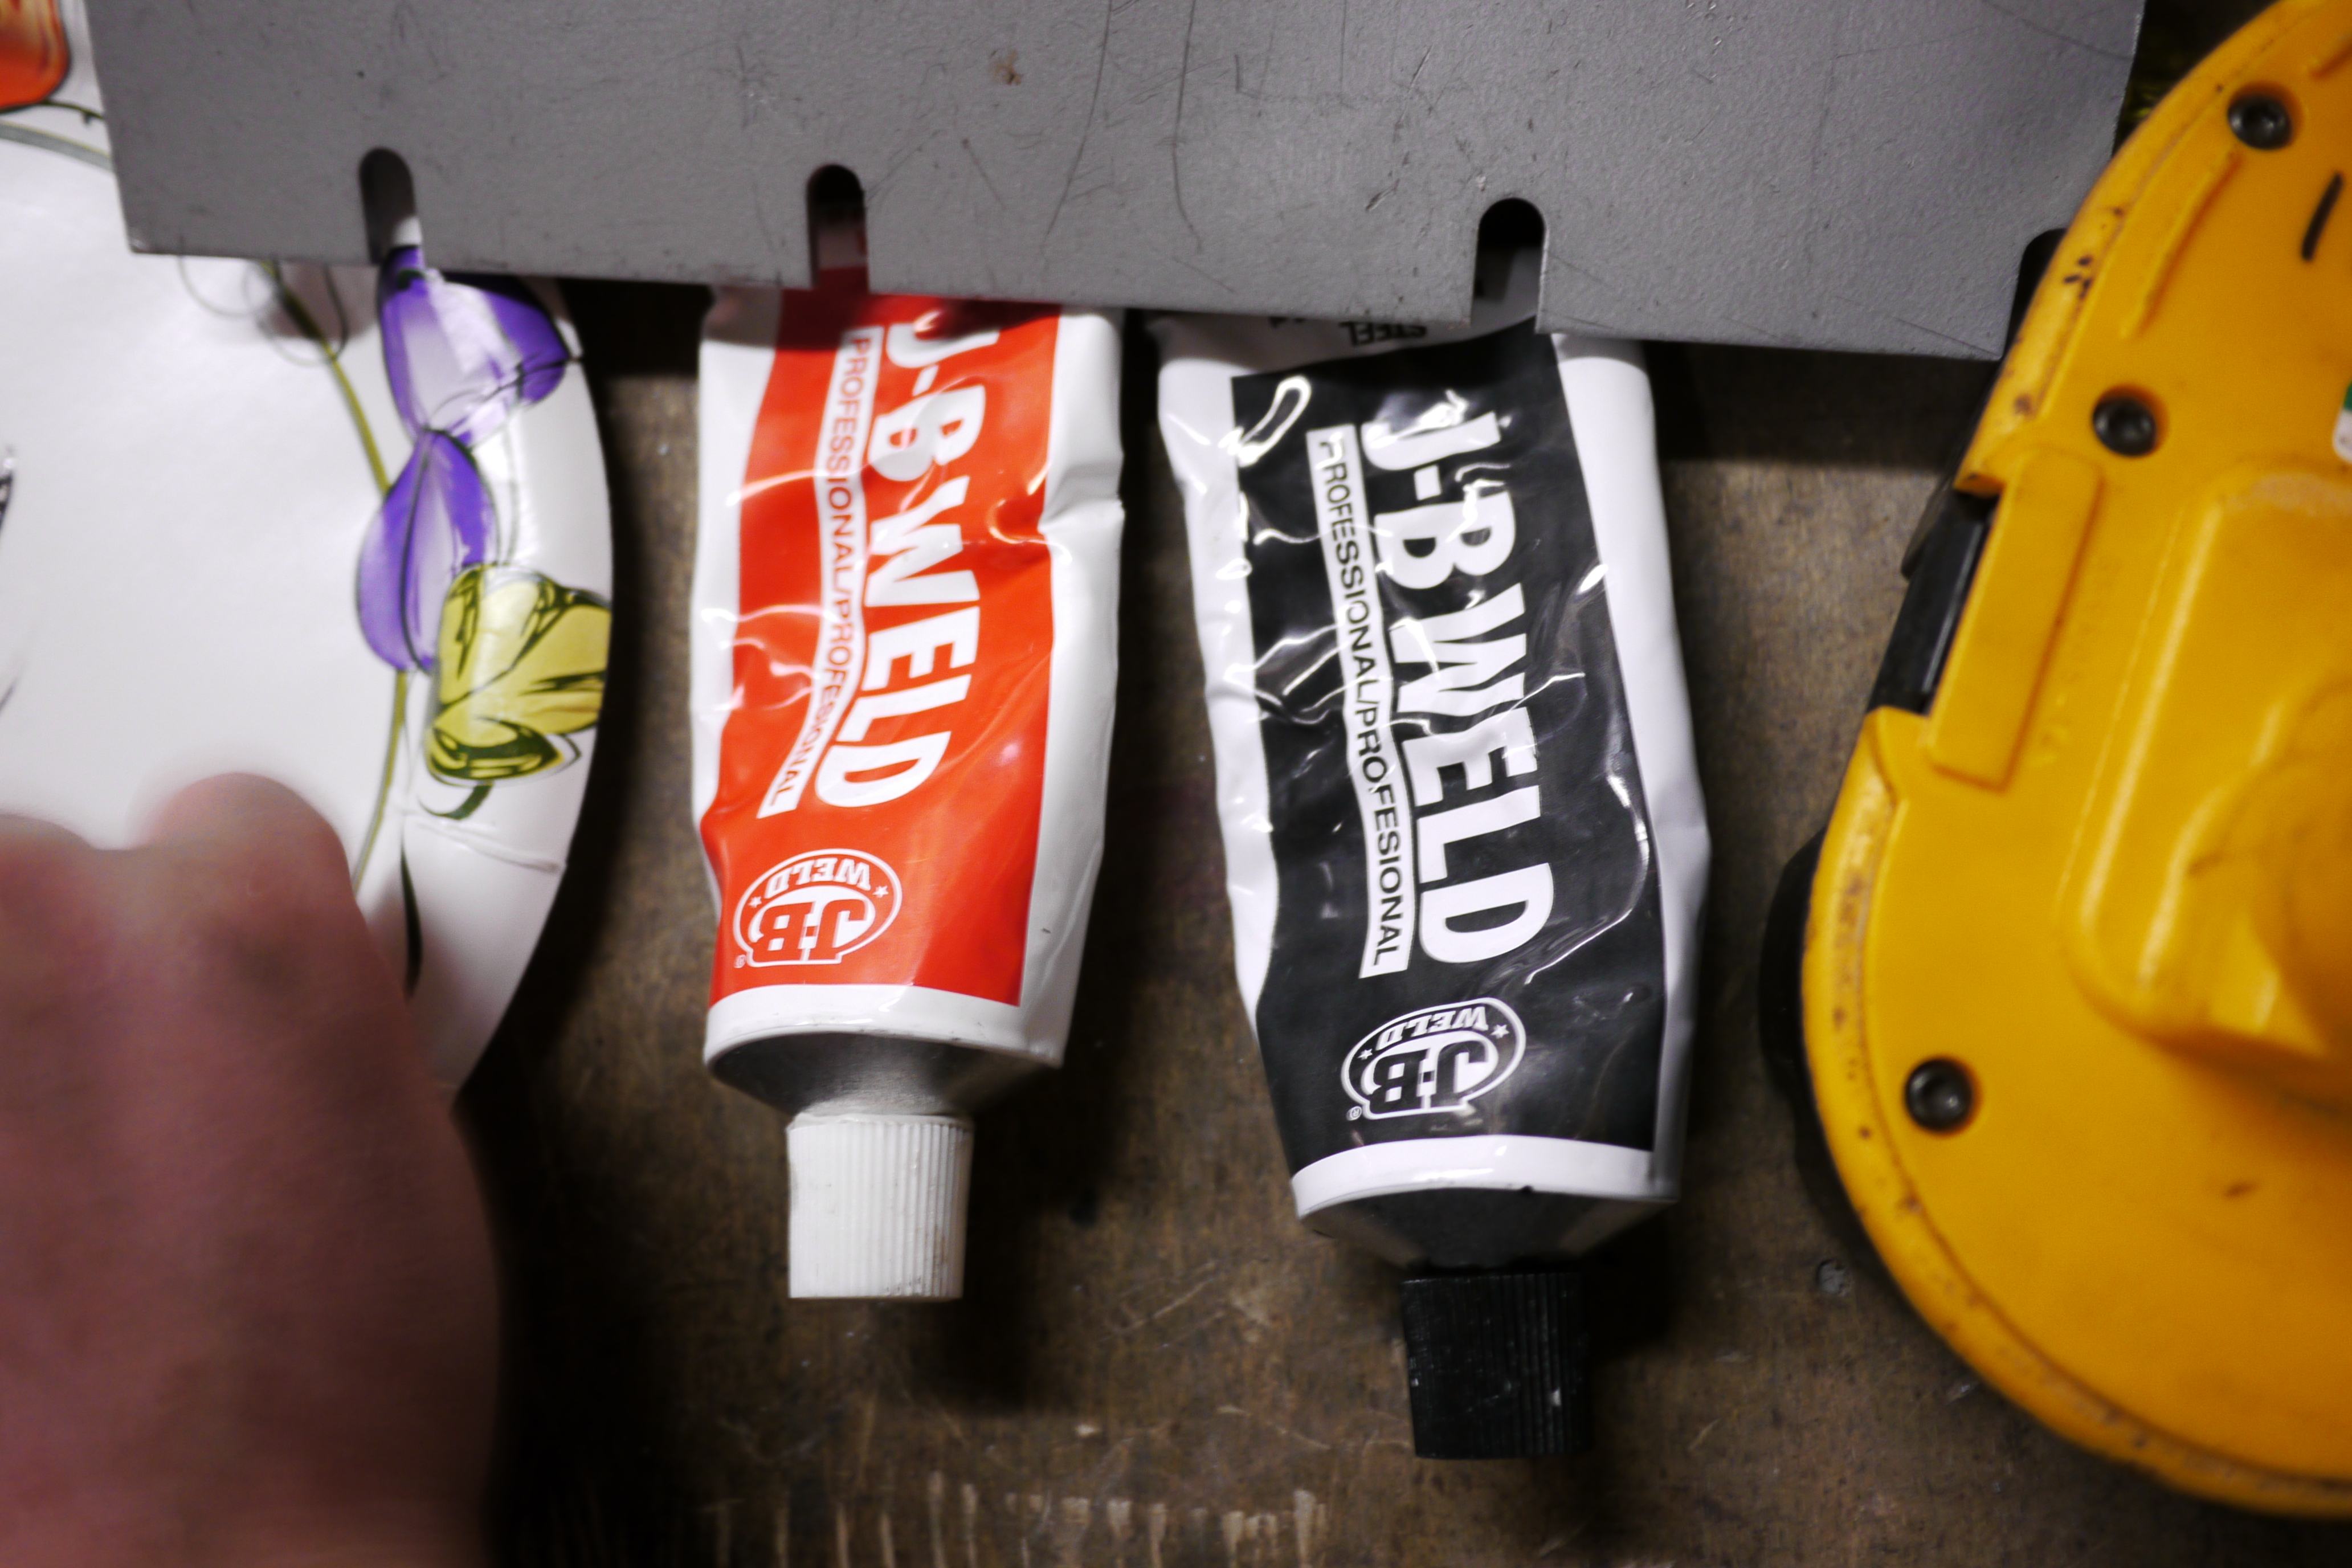
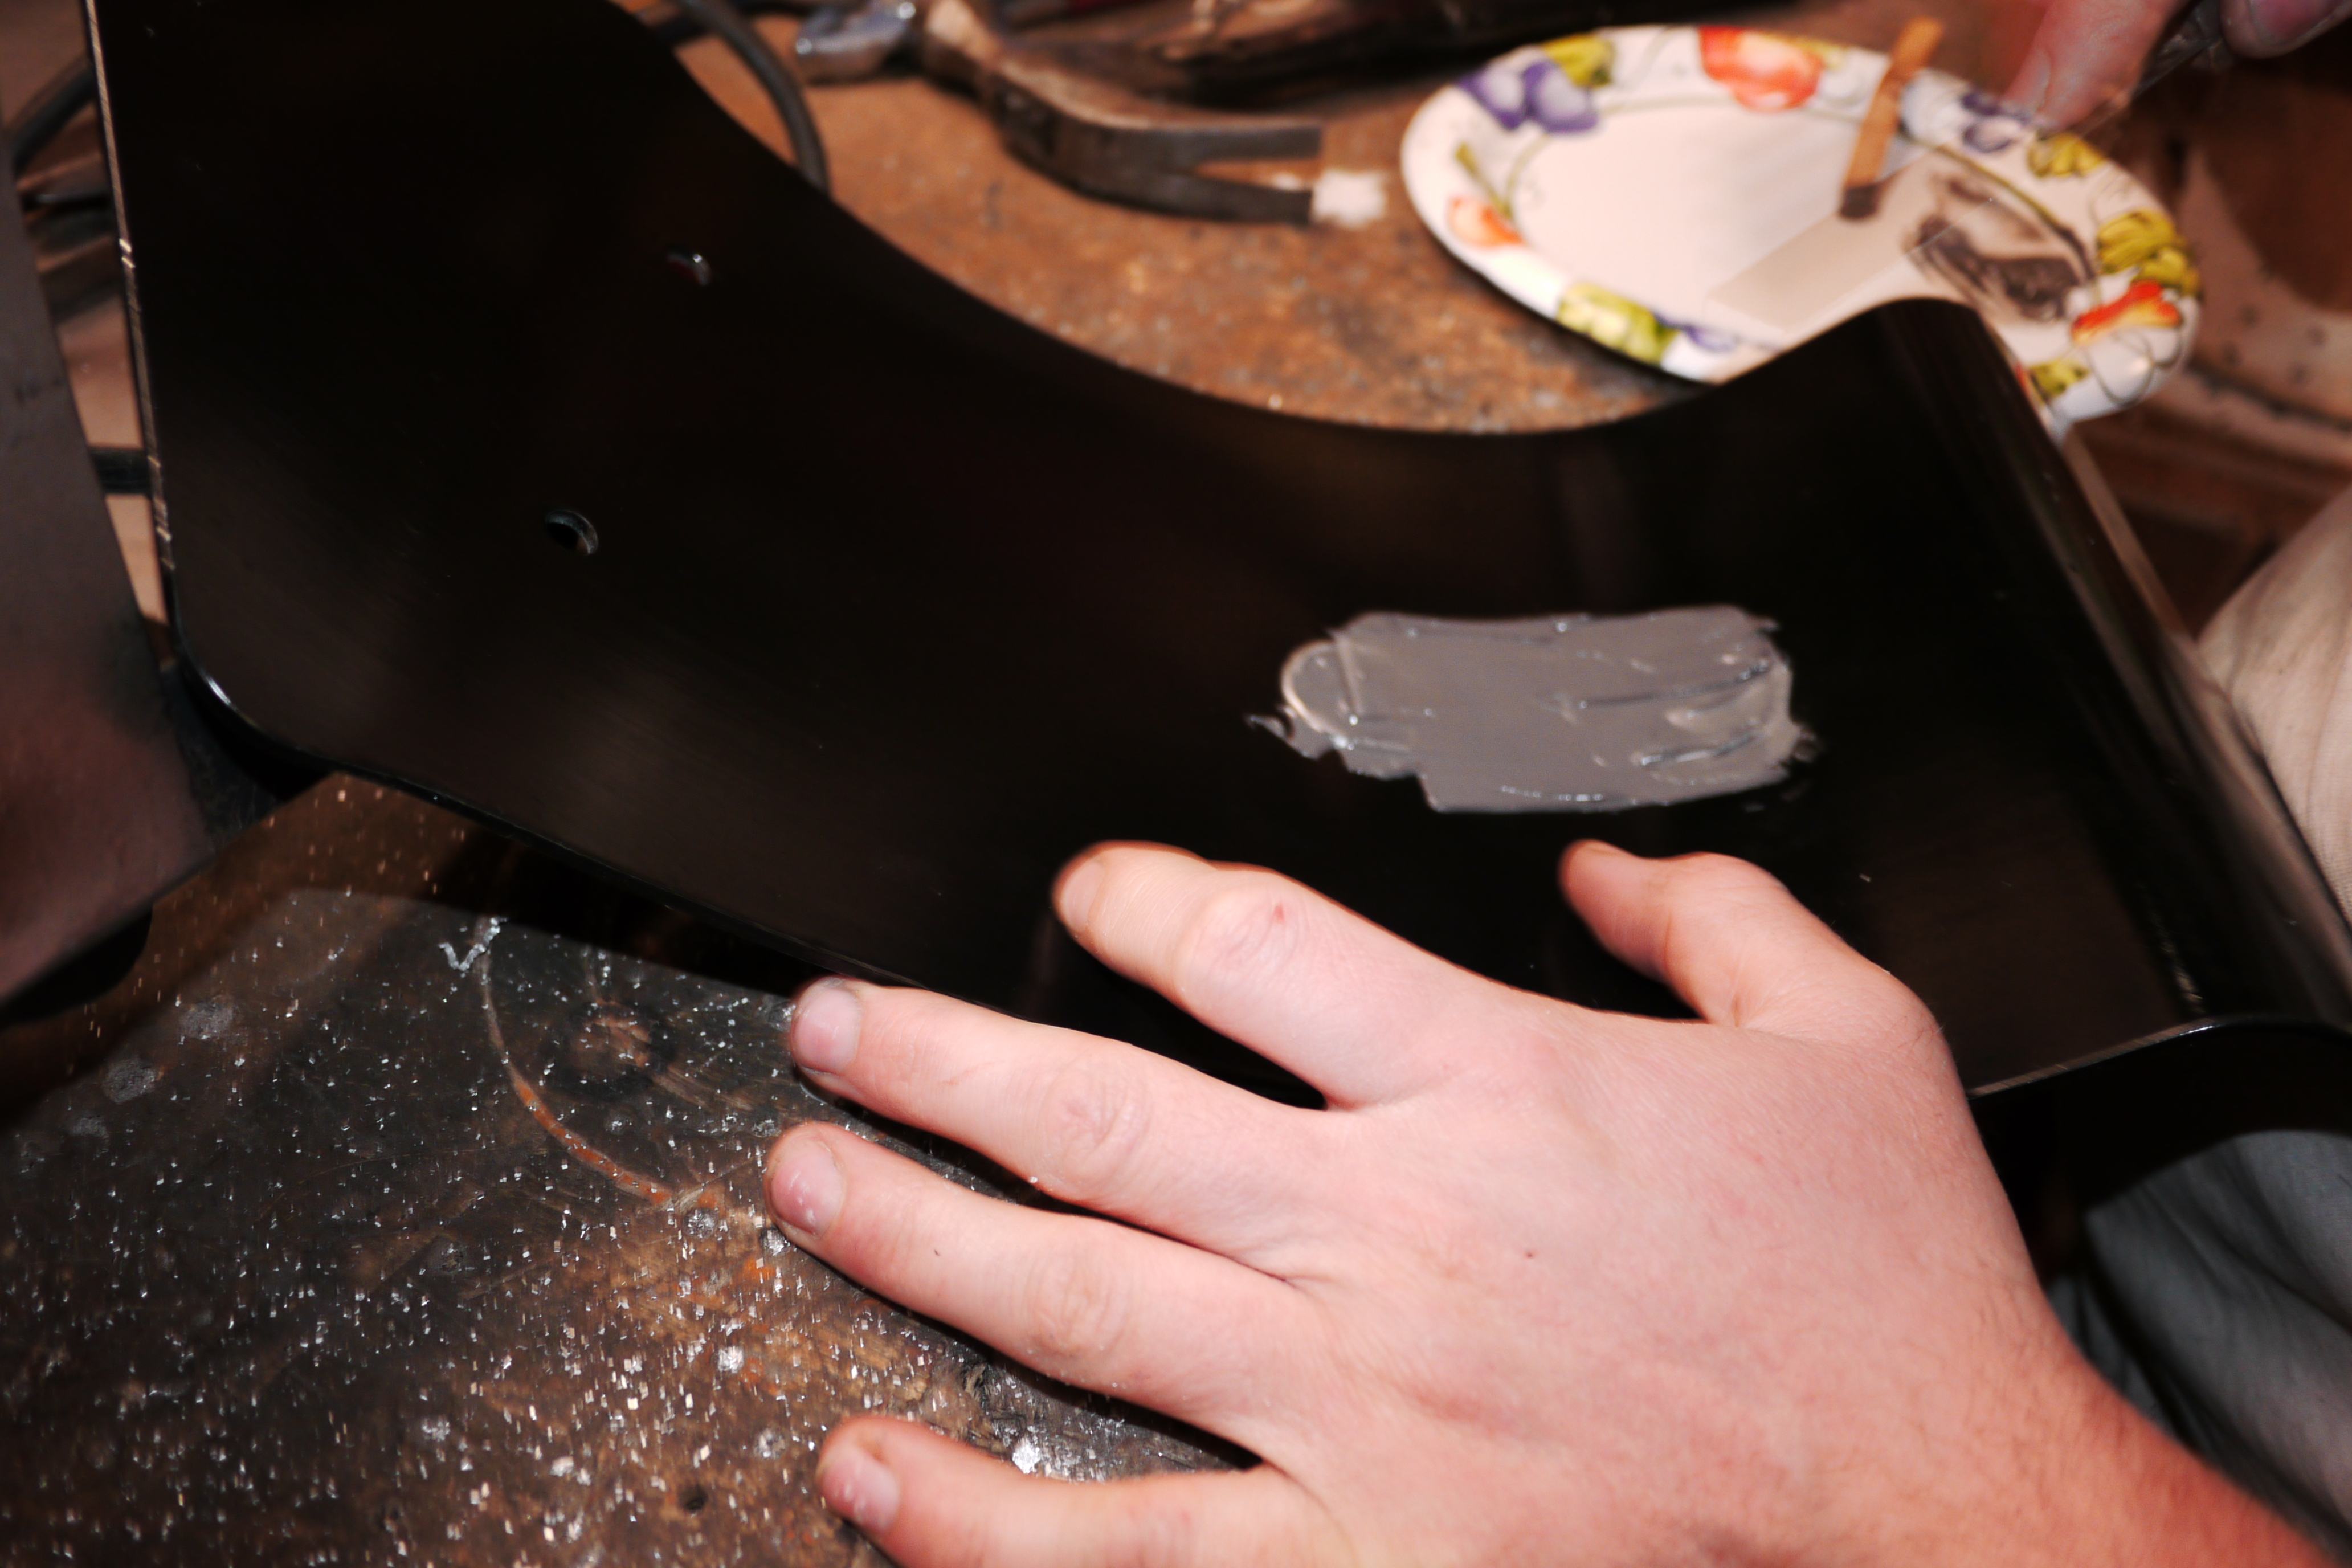
Let me introduce J-B Weld. J-B Weld is company that makes epoxies and adhesives. In this case I used the self-titled "J-B weld original" cold weld two-part epoxy to bond a patch onto the hole in my rear fender. J-B Weld dries in a few minutes, sets in 4-5 hours, fully cures in about a day and dries a gray color. From past experiences, I have found that J-B weld works extremely well for bonding similar metals to each other. The end result is a semi-durable bond that can withstand some abuse. The bond is by no means a weld-class strength bond, but rather a better-than-duct-tape yet weaker-than-fastener bond. This makes it perfect for my application. The patch did not need to hold a tremendous mount of weight. I may accidentally kick into the fender or get on the scooter at a weird angle, but at the end of the day the patch did not have to hold much weight.
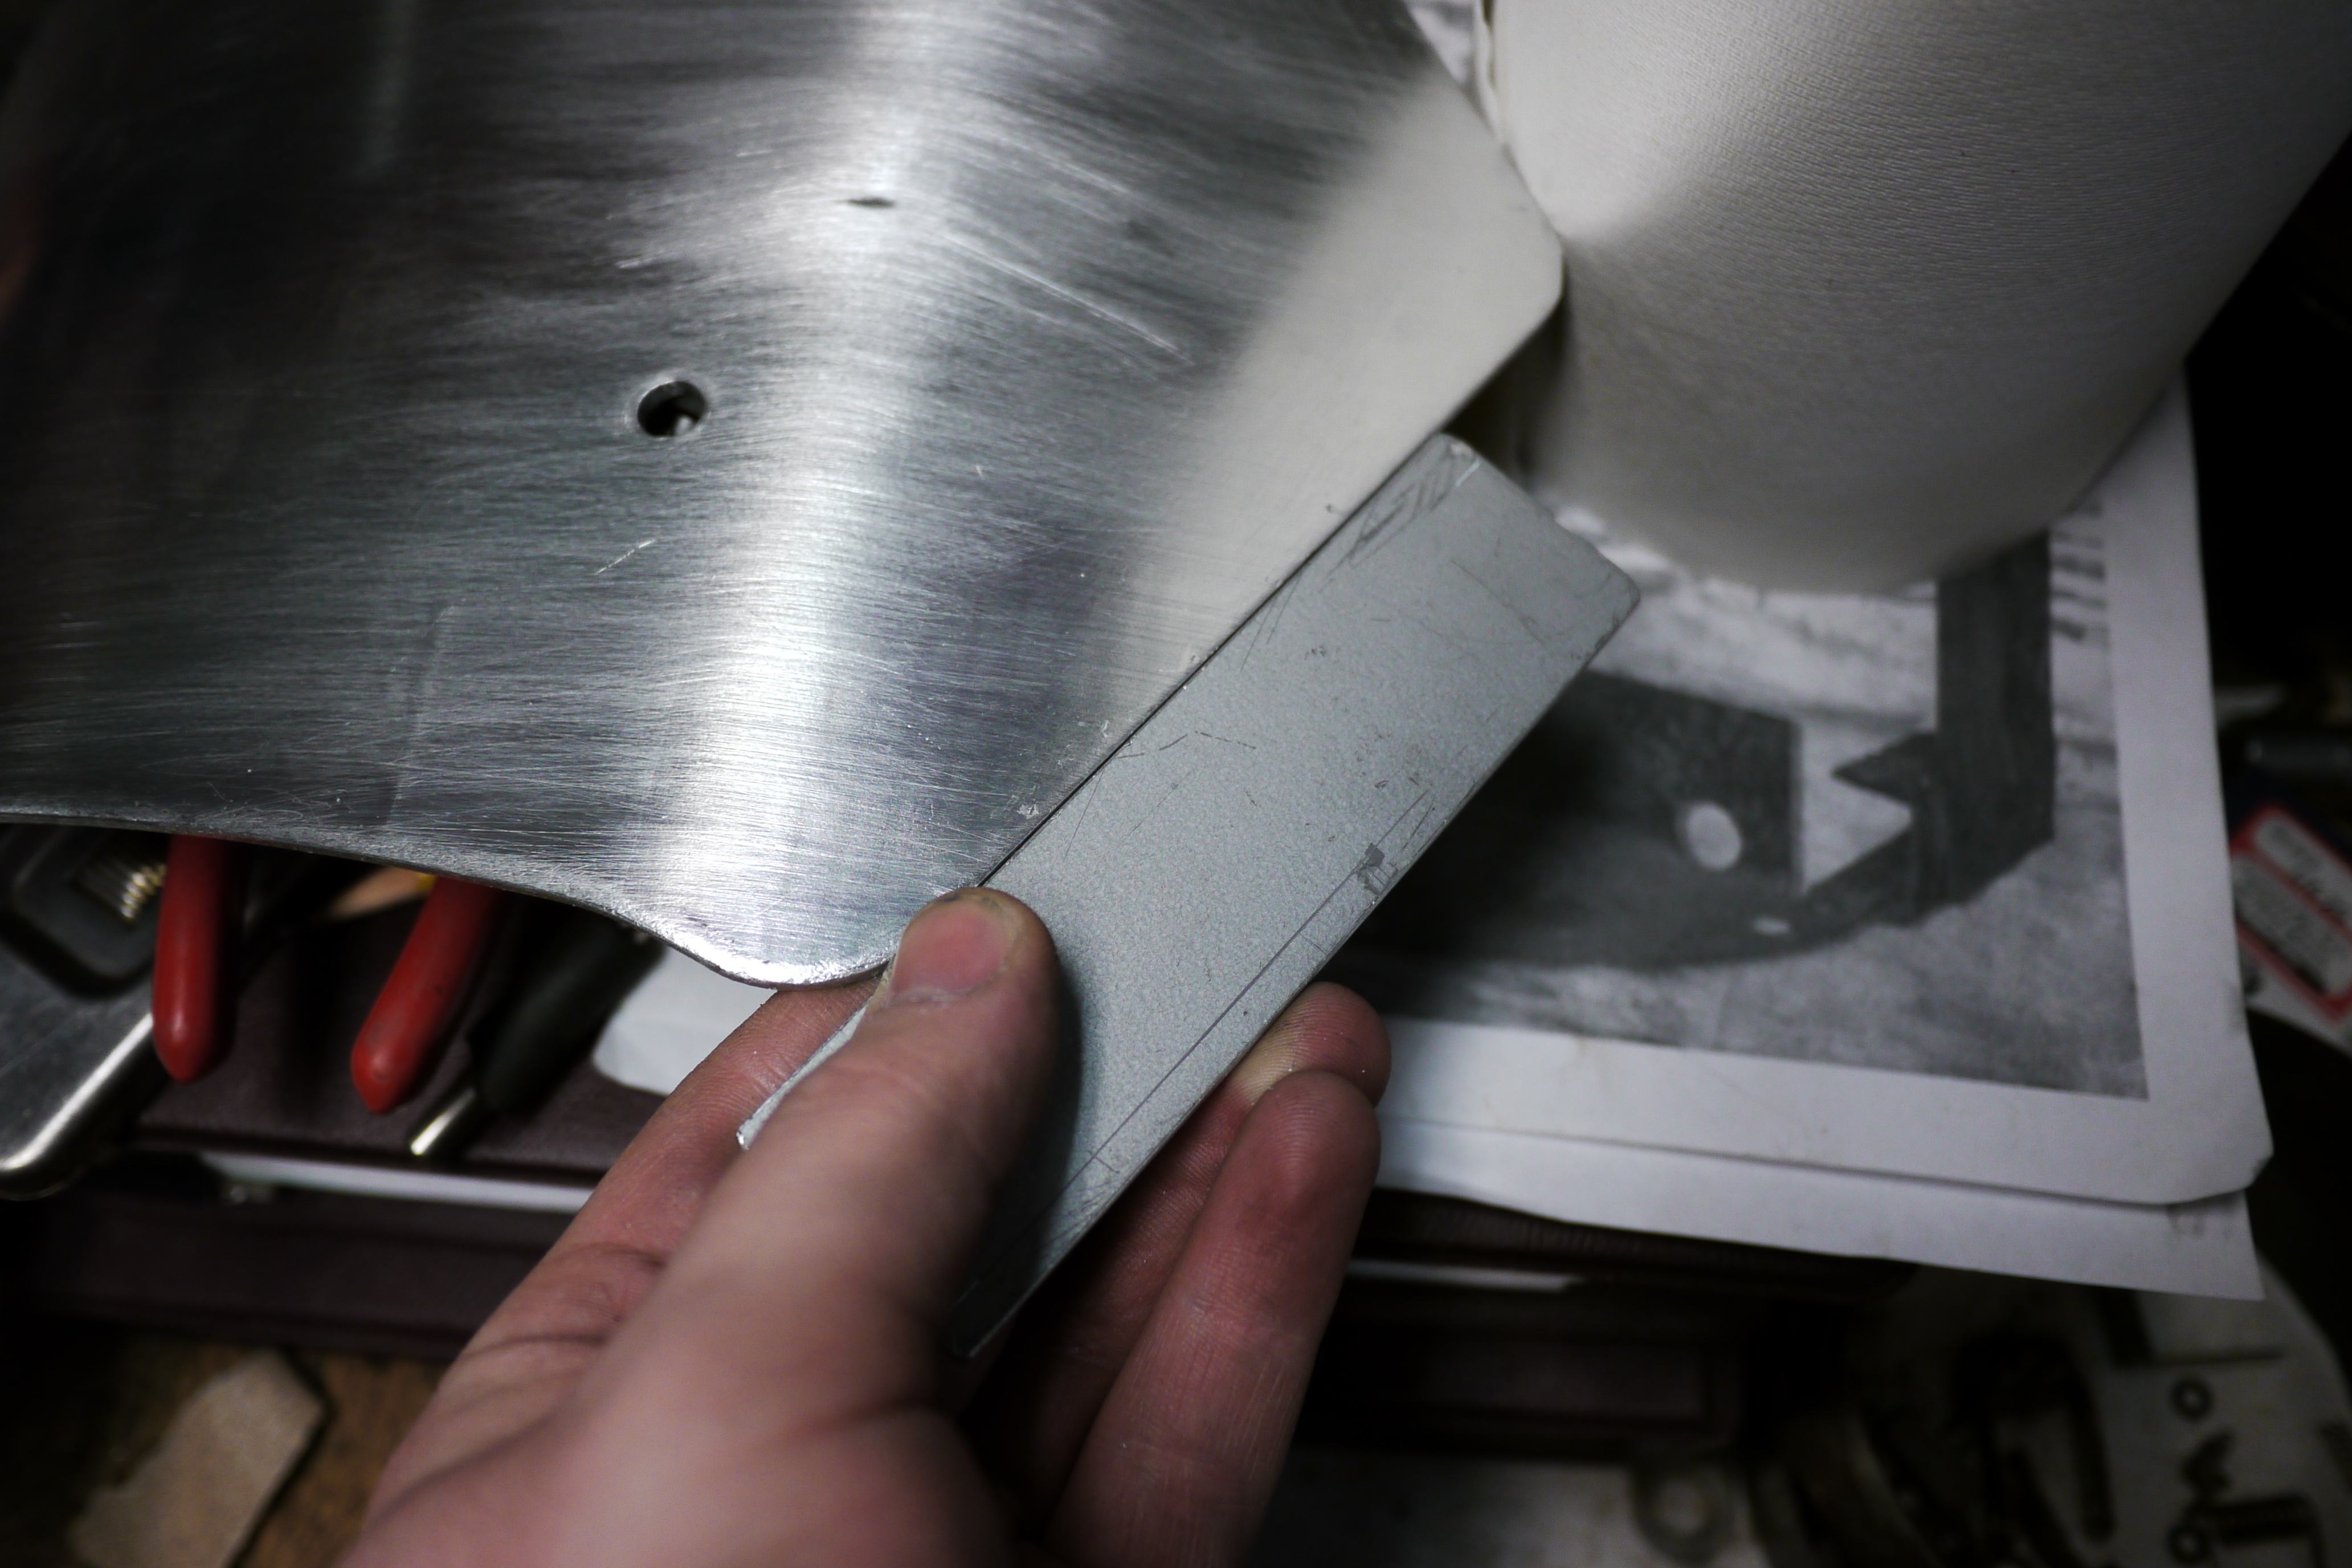
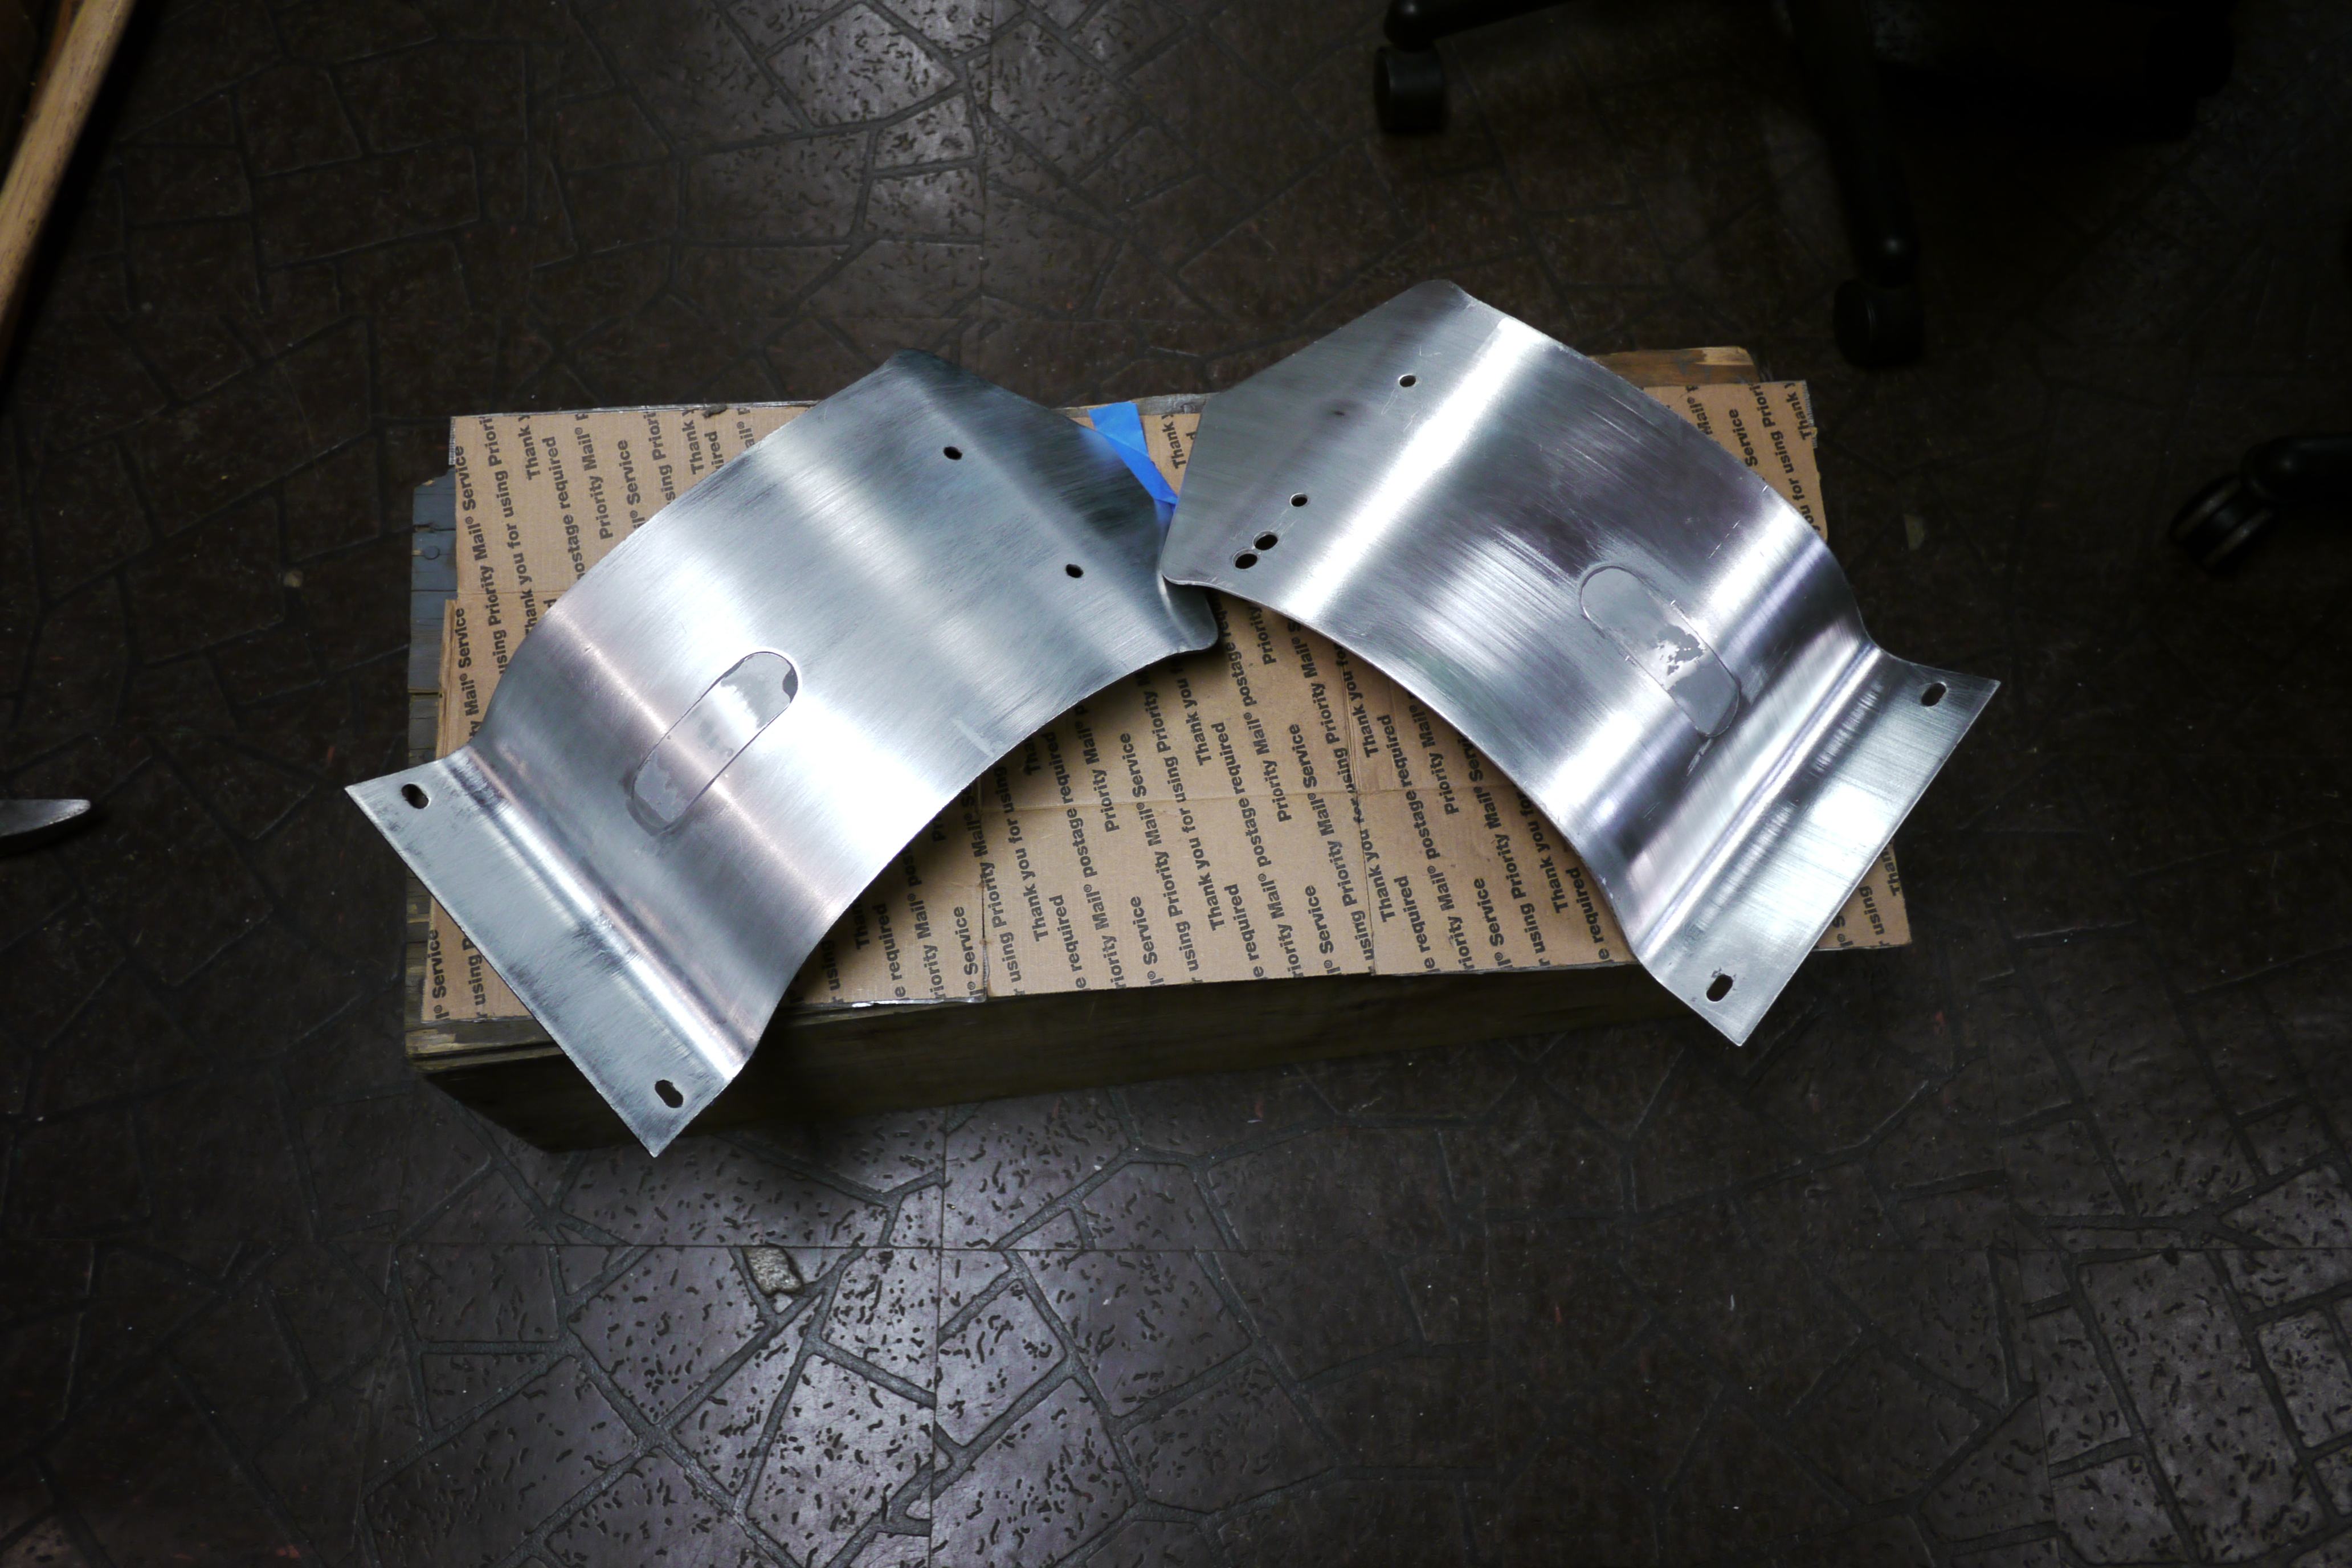
I was able to find some scrap aluminum of similar size and thickness as my scooter fender and went to work. That work entailed sanding, polishing, filing and bending.
The results after a bit of persuasion. My hands are very happy that aluminum is far more malleable than steel. I am honestly still impressed with how close I was able to match that fender curve.
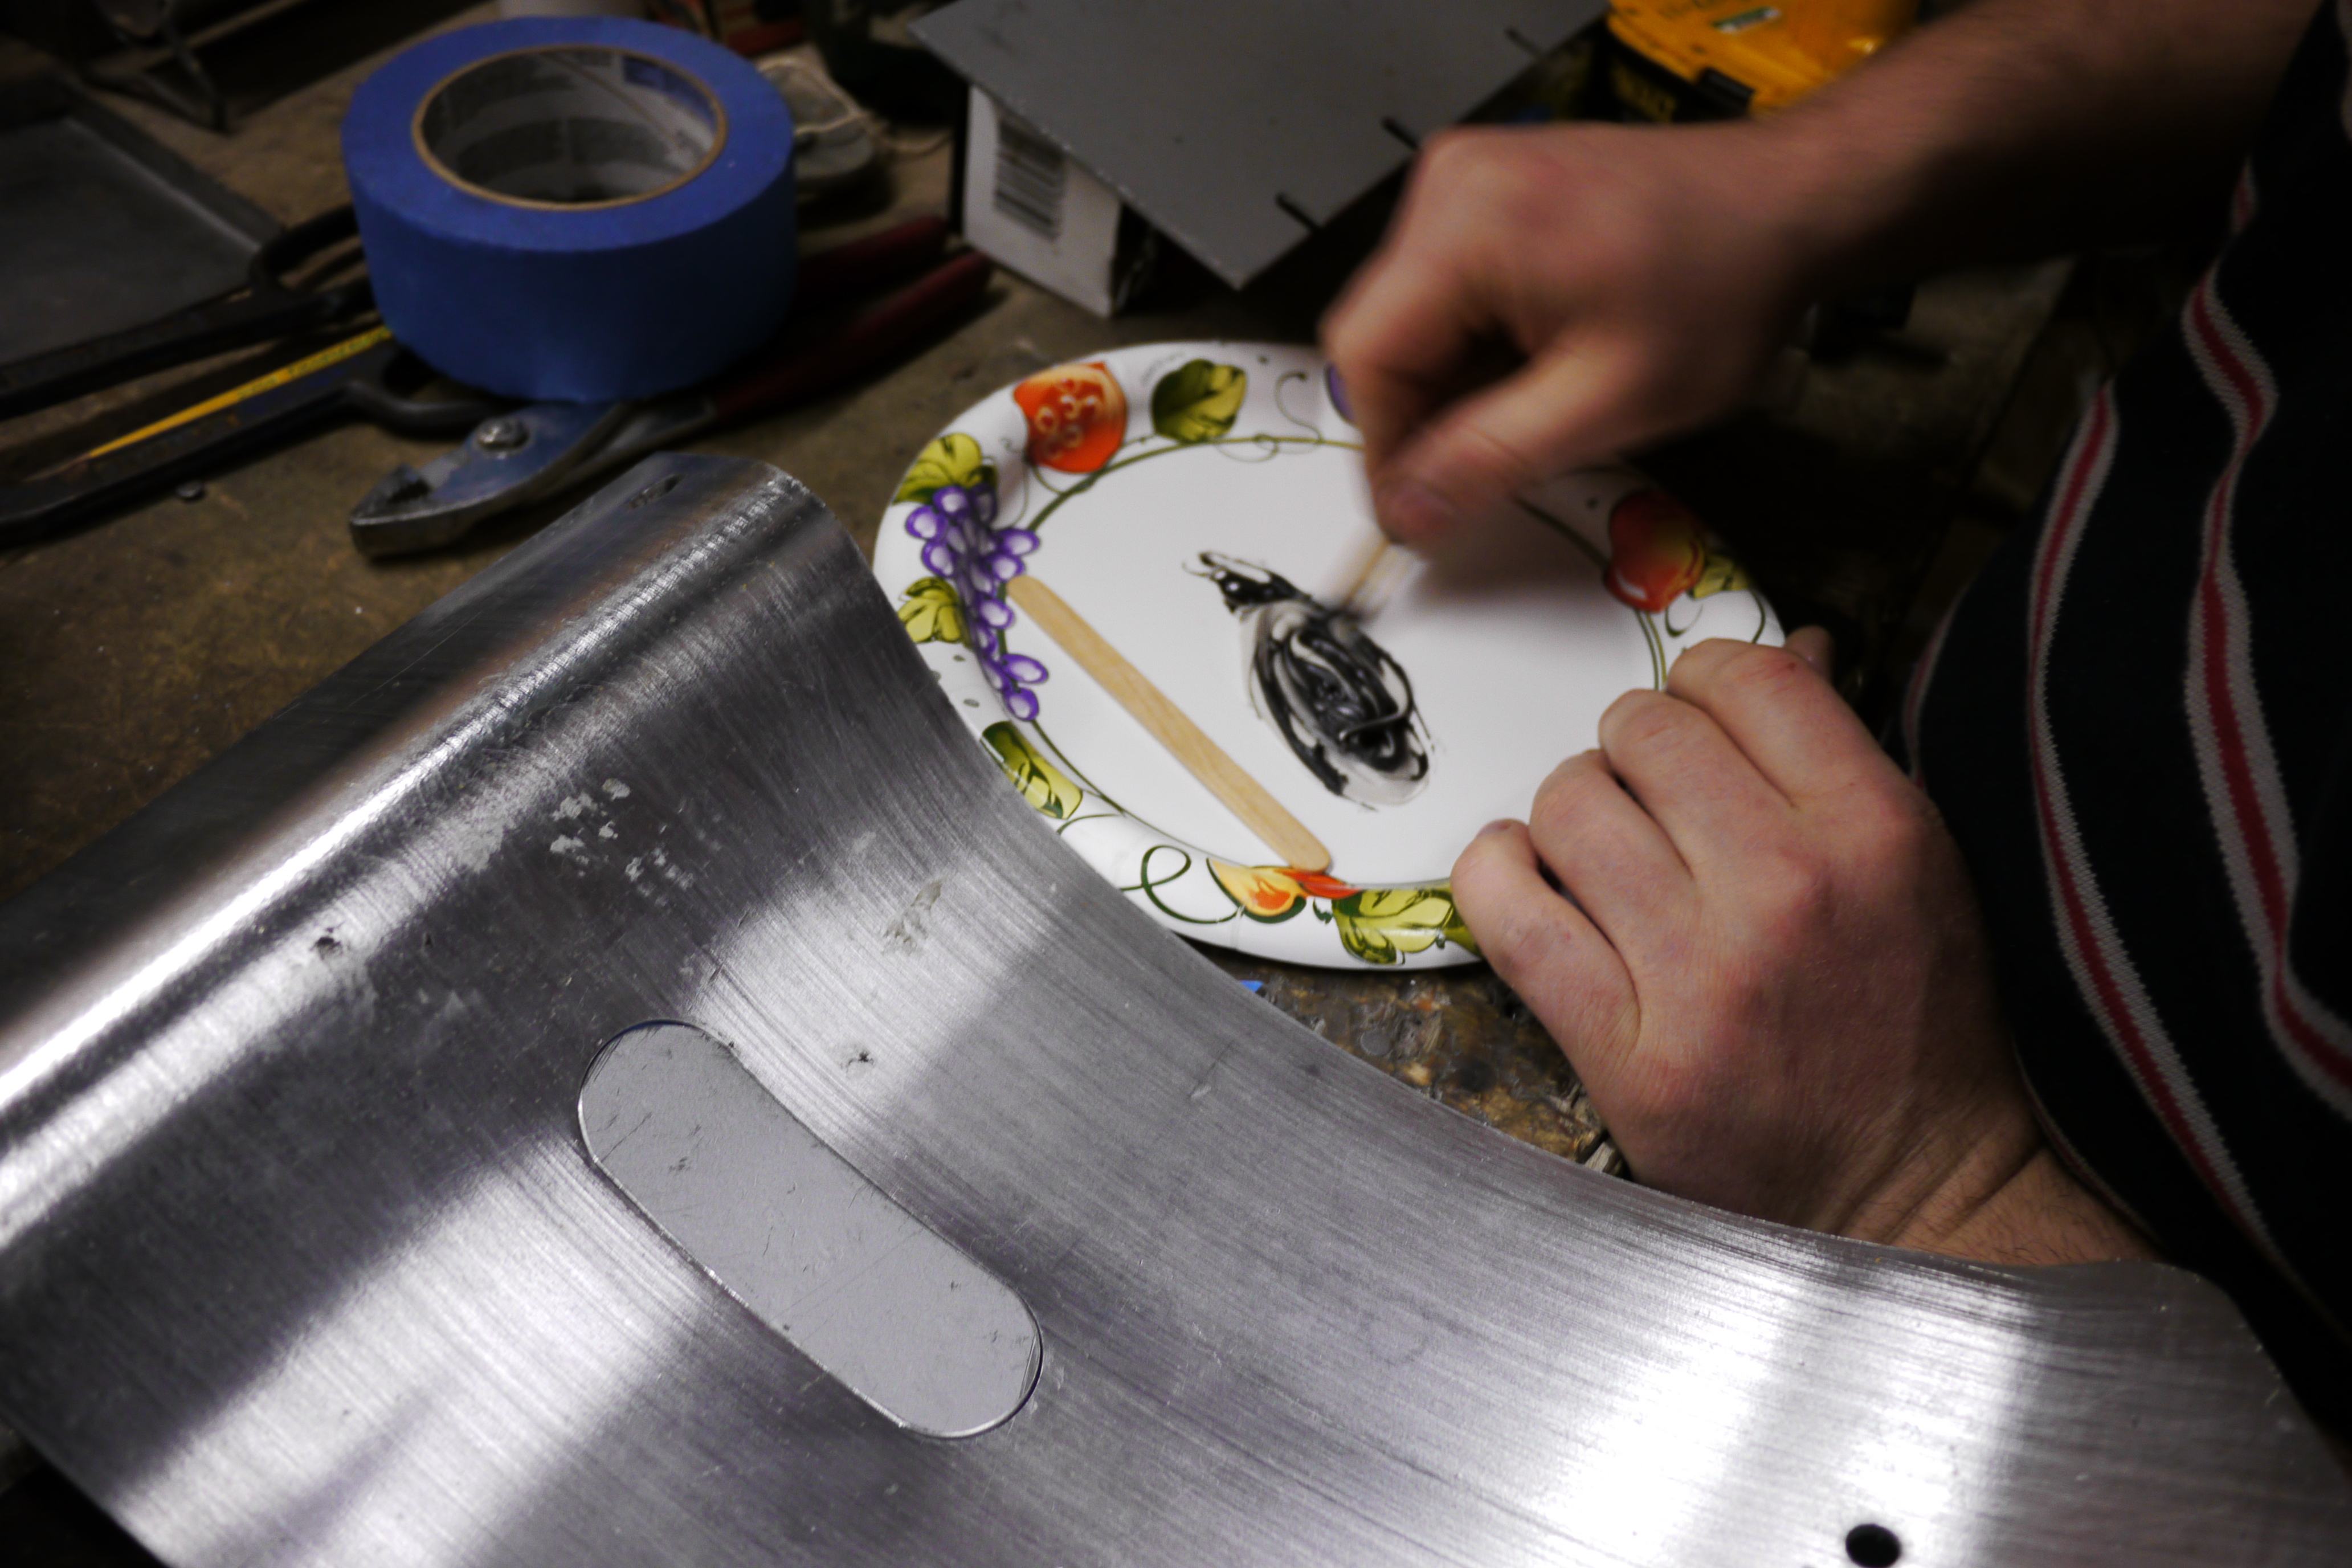
I find that mixing J-B weld with a popsicle stick on a paper plate is pretty convenient. After all, it is a simple 1:1 mixture.
I used a variety of tools to apply the J-B Weld. I found that plastic giftcards work phenomenal at spreading the gray goop. next time you get one of those annoying promotions in the mail, save the plastic card.
After J-B Weld. I like after better too. I was pretty happy with the consistency in the results. For those interested, J-B Weld sands quite easily, so in this case I was able to retain a very smooth surface for the grip tape that covers the fender.
Benefits
After all of my modifications, I was pretty satisfied with the performance of my scooter. Sure, it still struggled going up the monumental hills of Troy and the braking performance going downhill was something that kept me up at night, but hey, I could finally rely on it to get my to where I needed to go. Instead of waking up 15min earlier to get to class, I can make that same trip in less than 3 minutes. No more excuses to stay in the dorm and not go to office hours. No more runaround when rushing to get everything done. No more relying on my roommates to go food shopping. My scooter saved me a tremendous amount of time, and came to the rescue when I was most in need. My current study spot became too noisy all of a sudden? No problem. In a rush to get to the bursar's office before they close? No big deal. Need to snag some last-minute materials for a group project? You see where I'm getting with this. My scooter was invaluable to my college years. I only wish I had built it sooner.
An interesting note: during the time I was escorting my younger brother, Thomas, on college tours, I had noticed that Rensselaer was behind on the times in transportation. The bike culture in troy was a fraction of the size of most other colleges we visited - even colleges of similar size. Cornell blew me away most. It seemed like motorcycles, mopeds, scooters and bikes populated every street corner, building exterior and meeting space. It was almost like two wheel transportation was engraved into the college environment.
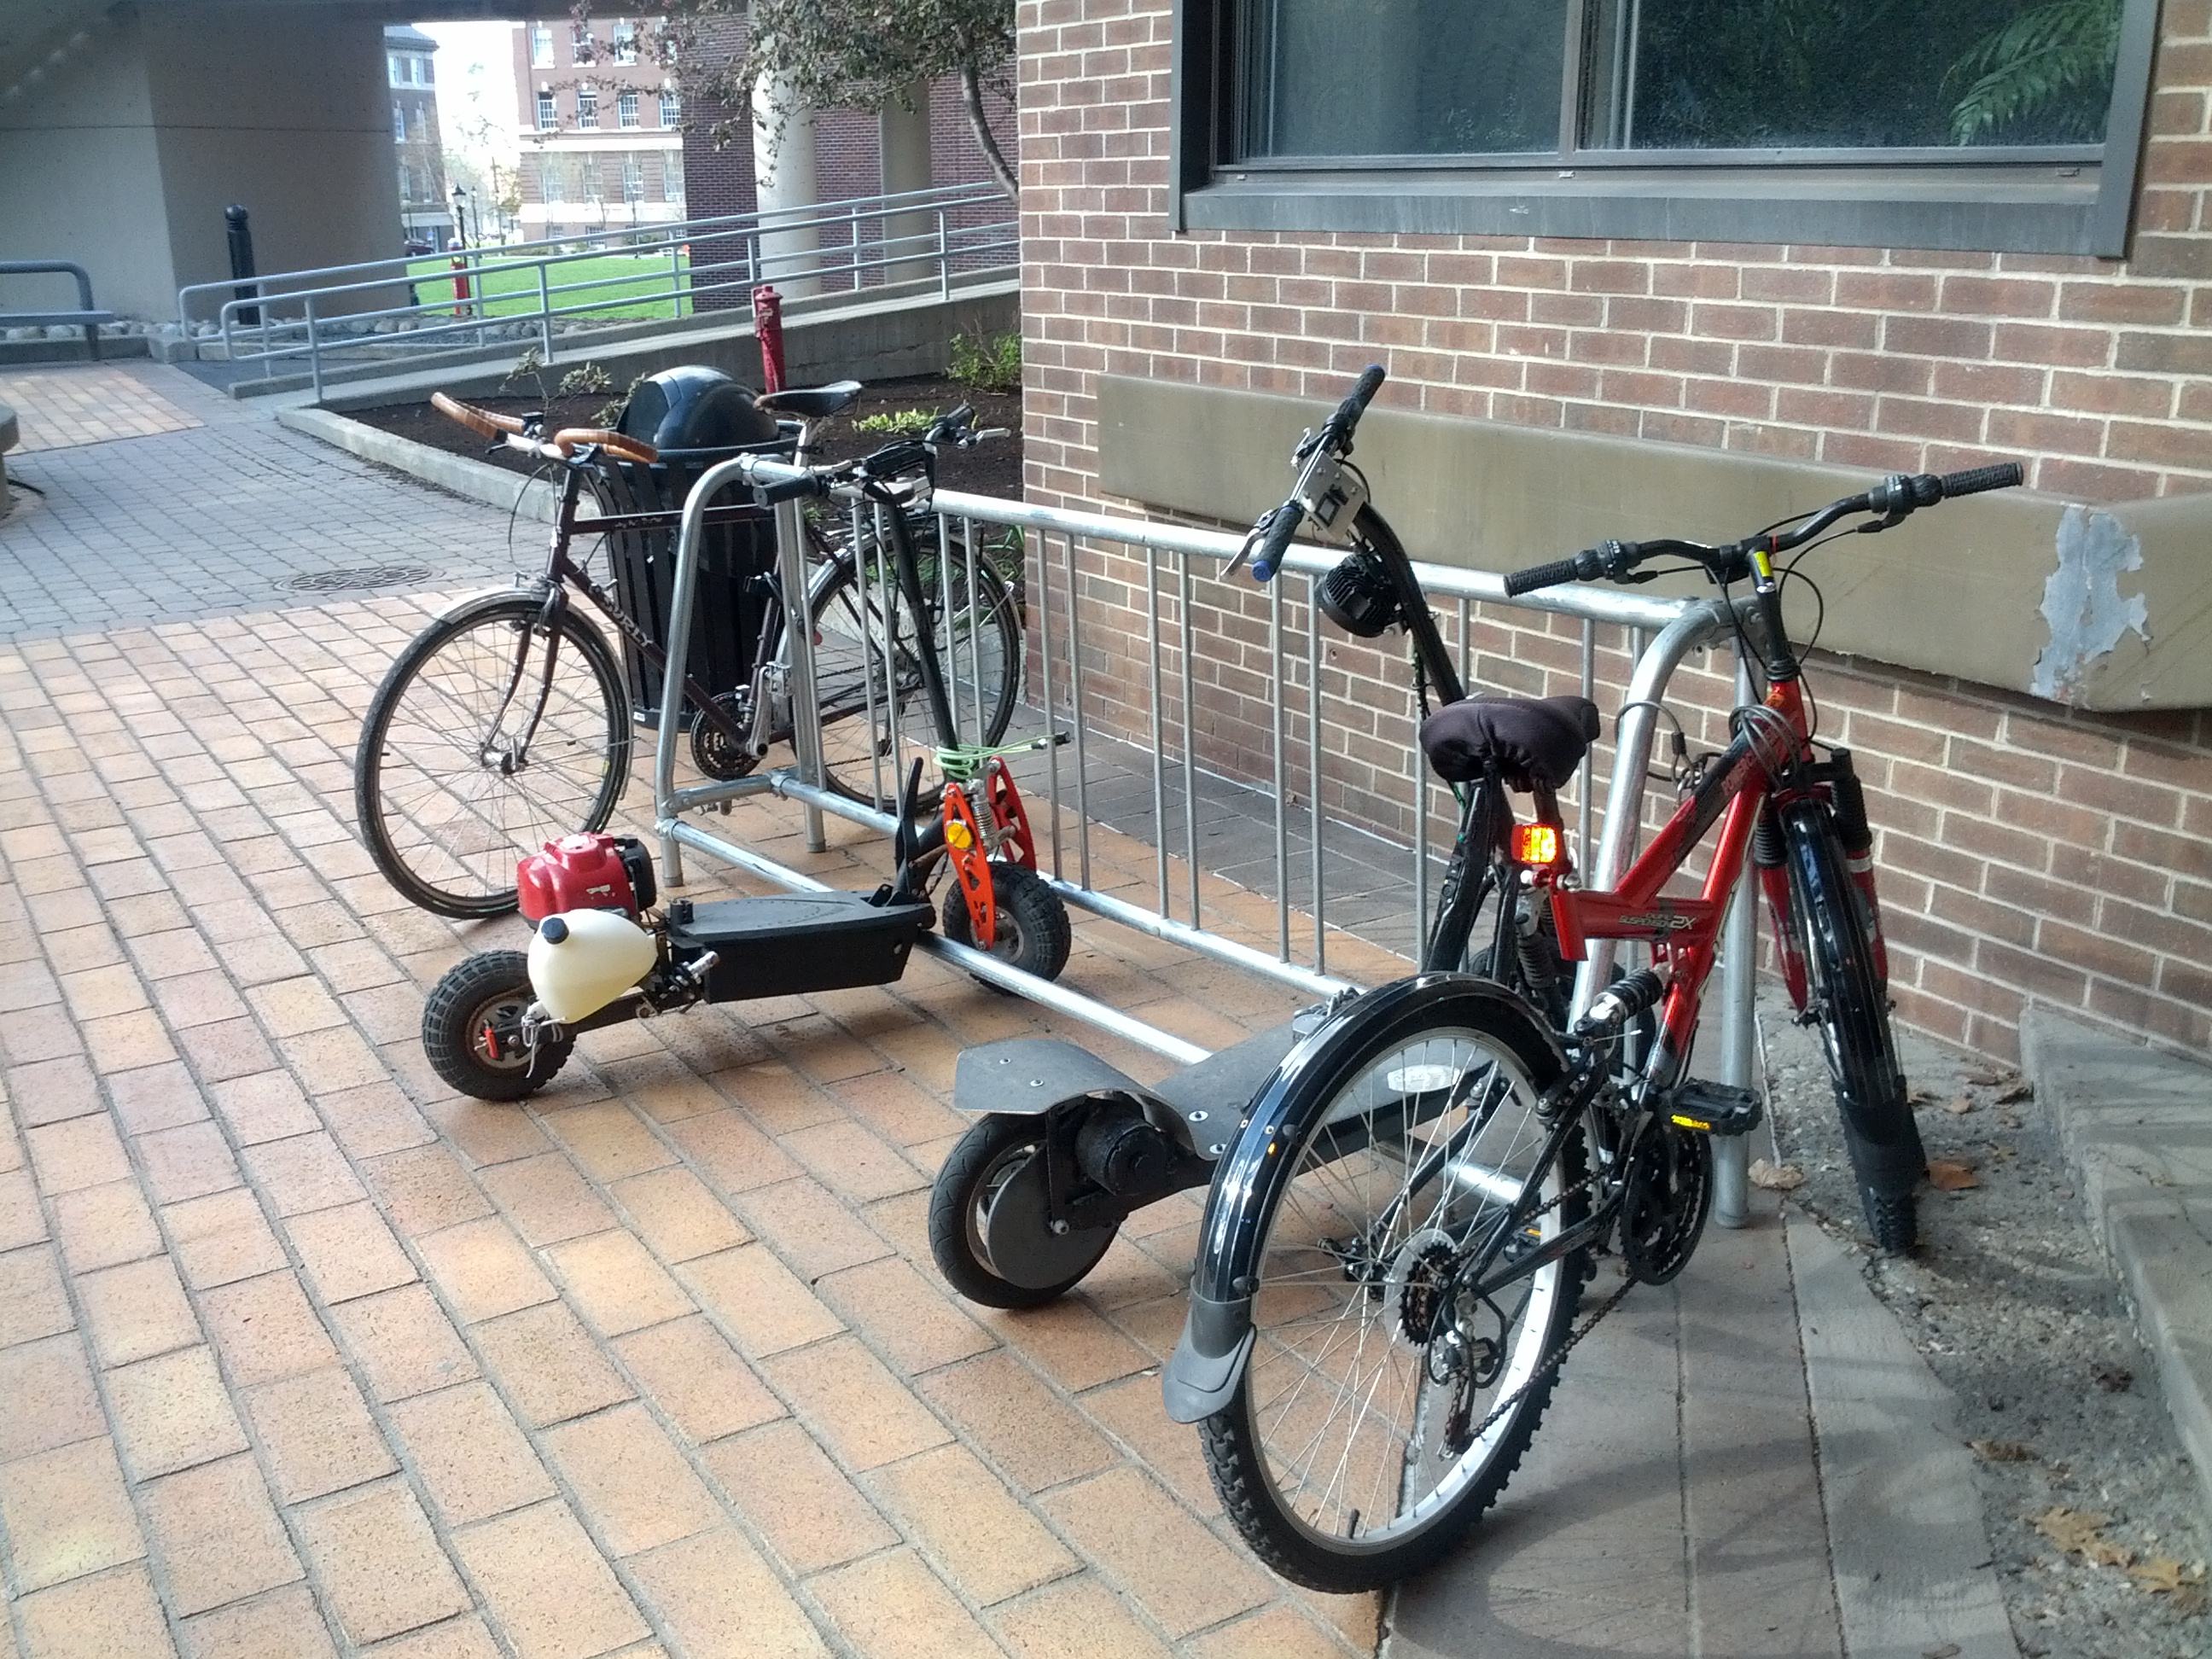
In contrast, Rensselaer was home to nothing but bikes, and not many at that. Sure, there was a known elusive group of bike thieves, but I had not even seen any form of powered two-wheel transportation anywhere around campus. RPI banned vehicle ownership for the first two years on campus, which makes this even more interesting. Toward the end of my senior year, I had noticed that the scooter culture was catching on. Another student purchased a gas powered scooter and used it all around campus. Here's a photo I snagged of the scooter duo. Yeah, I like mine better too :D.
In all fairness, my scooter was more suitable for transportation around RPI. Why? Well for one, you could easily bring the scooter inside a building with no IDLH (Immediate Danger to Life or Health) since there were no possibilities of leaking fuel tanks or noticeable gaseous fumes. I used UL listed, REACH certified batteries and made sure everything was thoroughly insulated so the risk of them catching fire or exploding was pretty minimal. Also, something that gets overlooked far too often: campus power was free. I could top-off my scooter anywhere for free. The classroom, the lecture hall, outside the career office, in the union and even in my dorm. Power was included with your dorm and was not billed by the hour. I actually had my own personal charging stations spread throughout campus. I hid chargers in discrete locations so I could plug in at any time.
However, there were two main drawbacks. One: bringing the scooter inside on a wet or snowy day makes a huge mess, and I had to carry paper towels to compensate. Two: unwanted attention. The scooter draws in people to fiddle with it while it's sitting idle. I know. It has its own charm. Sometimes you just want to study and get shit done, but need to bring the scooter inside to charge, so you just have to deal with it. Those are honestly the two only drawbacks. It folds, doesn't take up too much space and helps you get shit done. Oh and it allows you to move faster than anyone on campus - including the president. Want one now? You bet.

Want more? Check out my entire photoset directory HERE! This image is also directly linked to the Electric Scooter photoset directory. Check it out!
Part II coming soon!
Want more? Here's a behind the scenes look at my workspace and some of the images that did not make the cut to be included in the write-up: