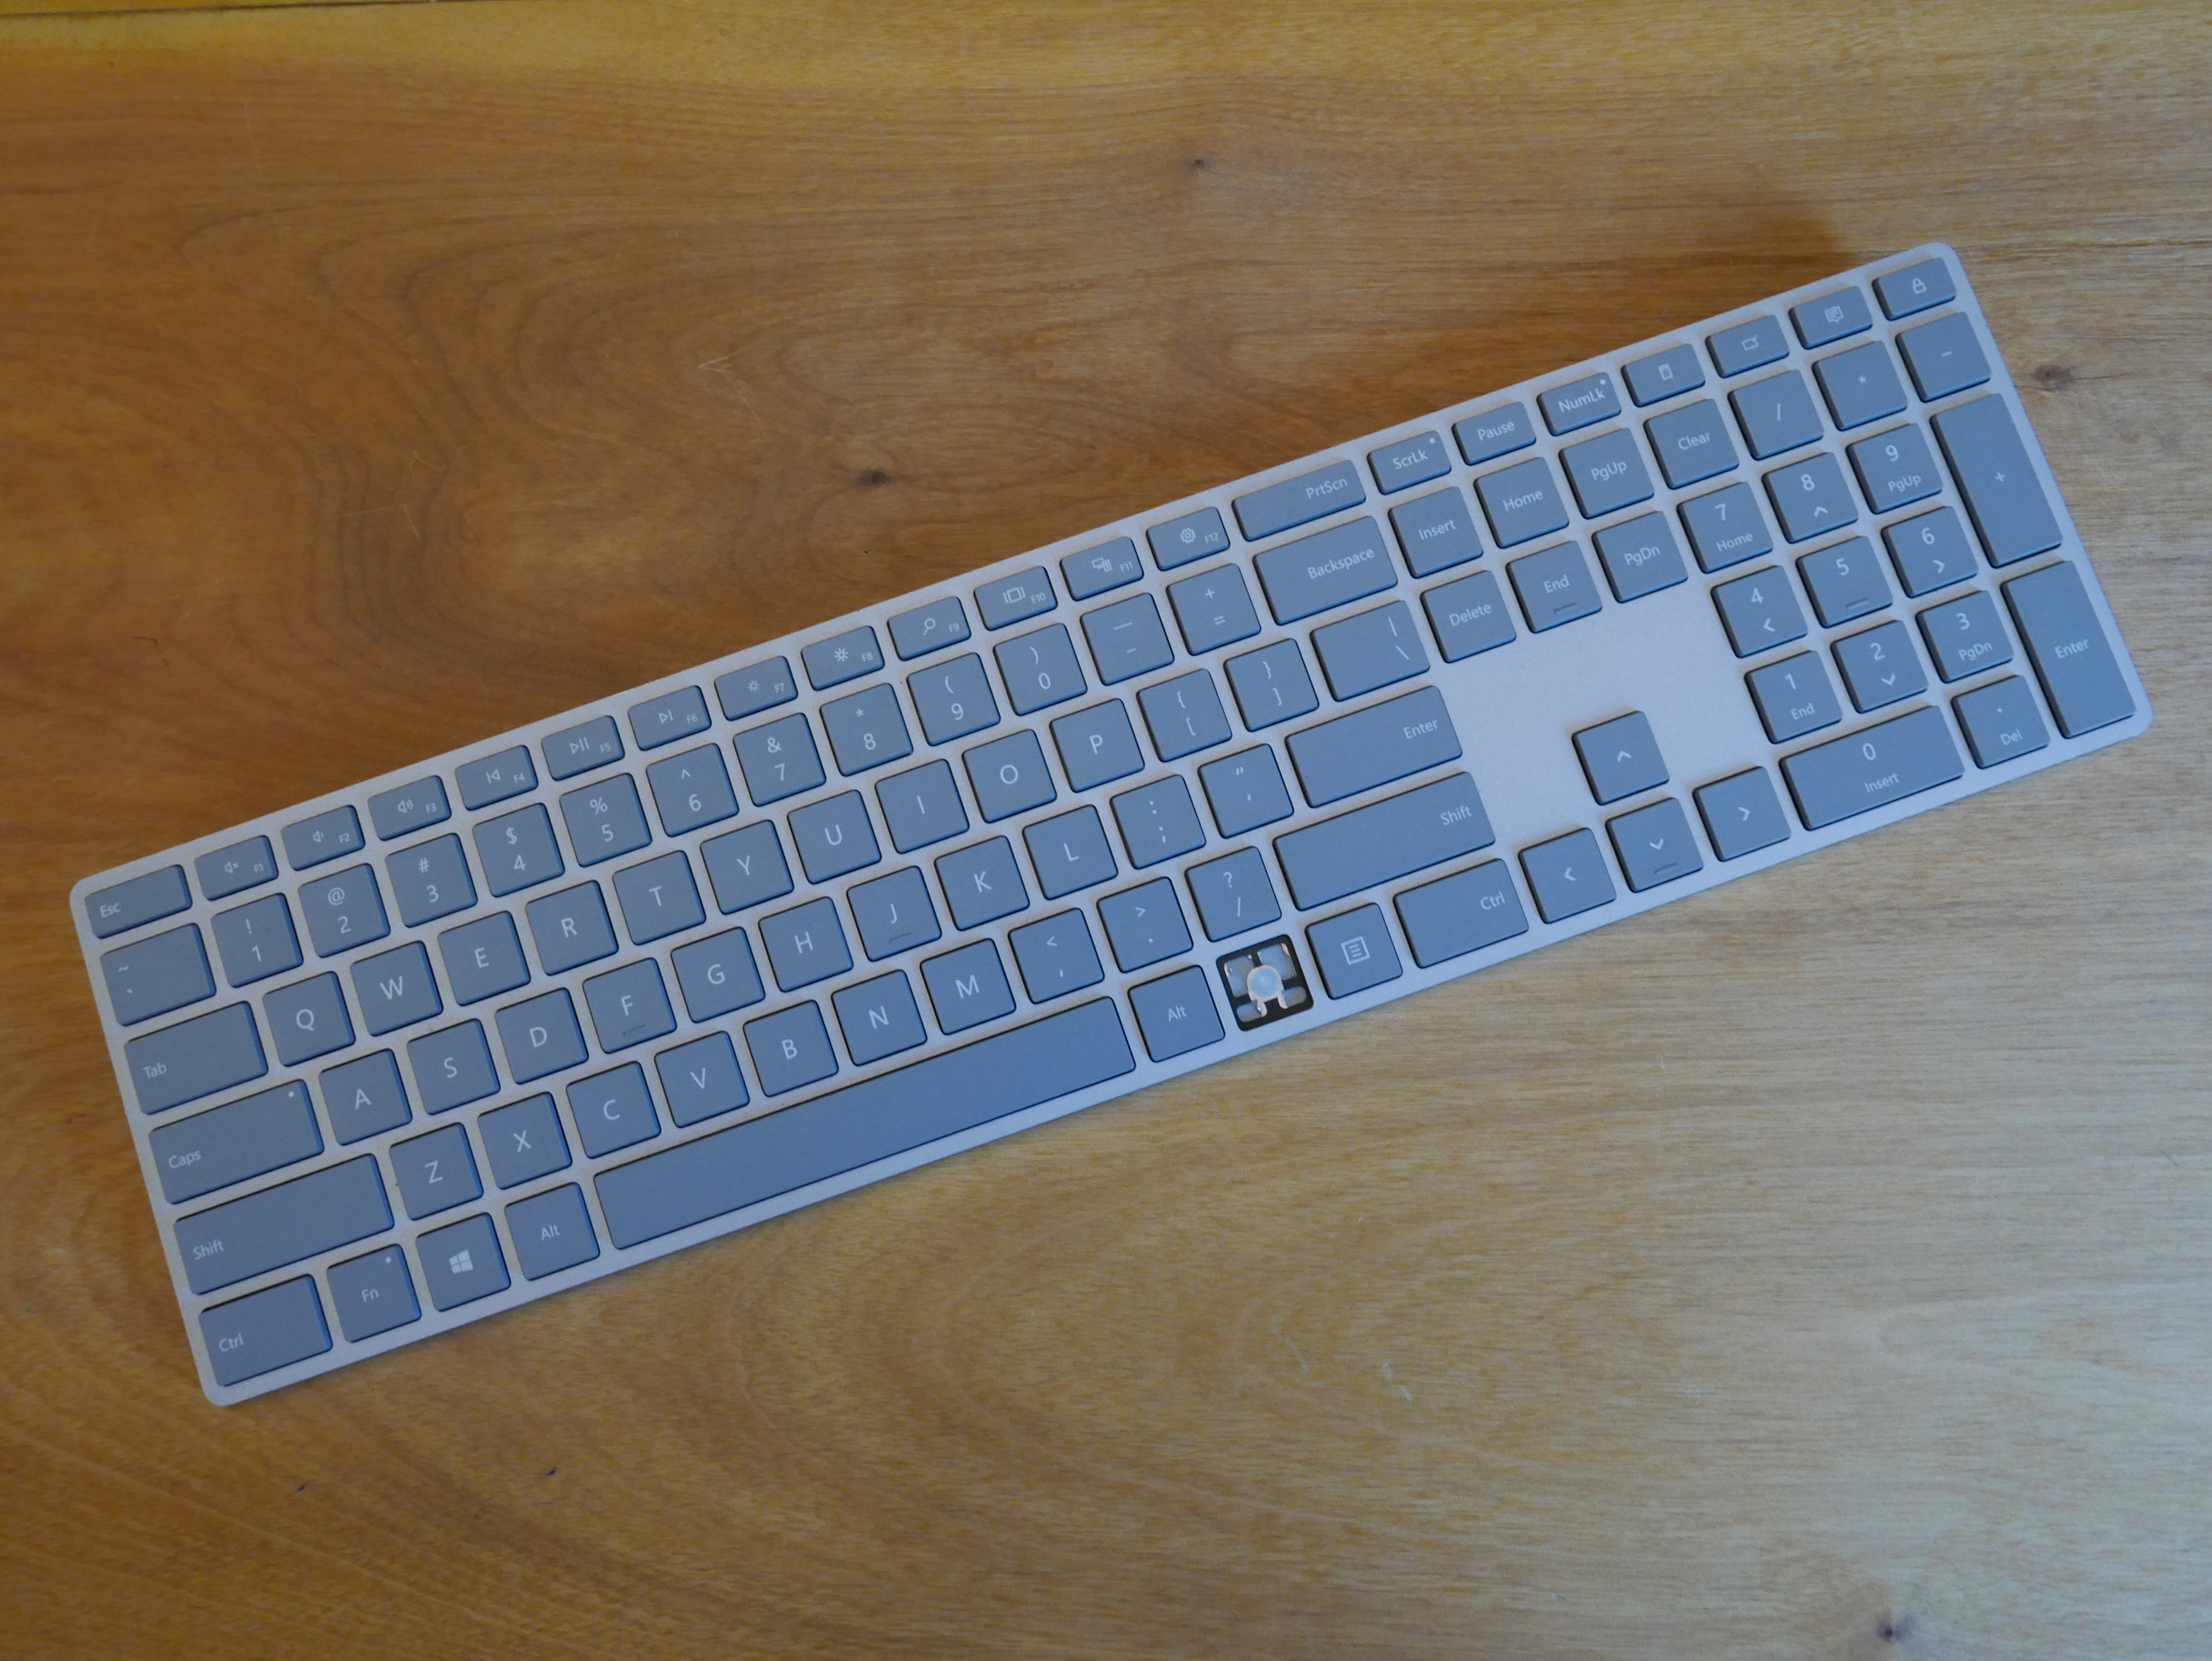
Microsoft Surface Keyboard Modification
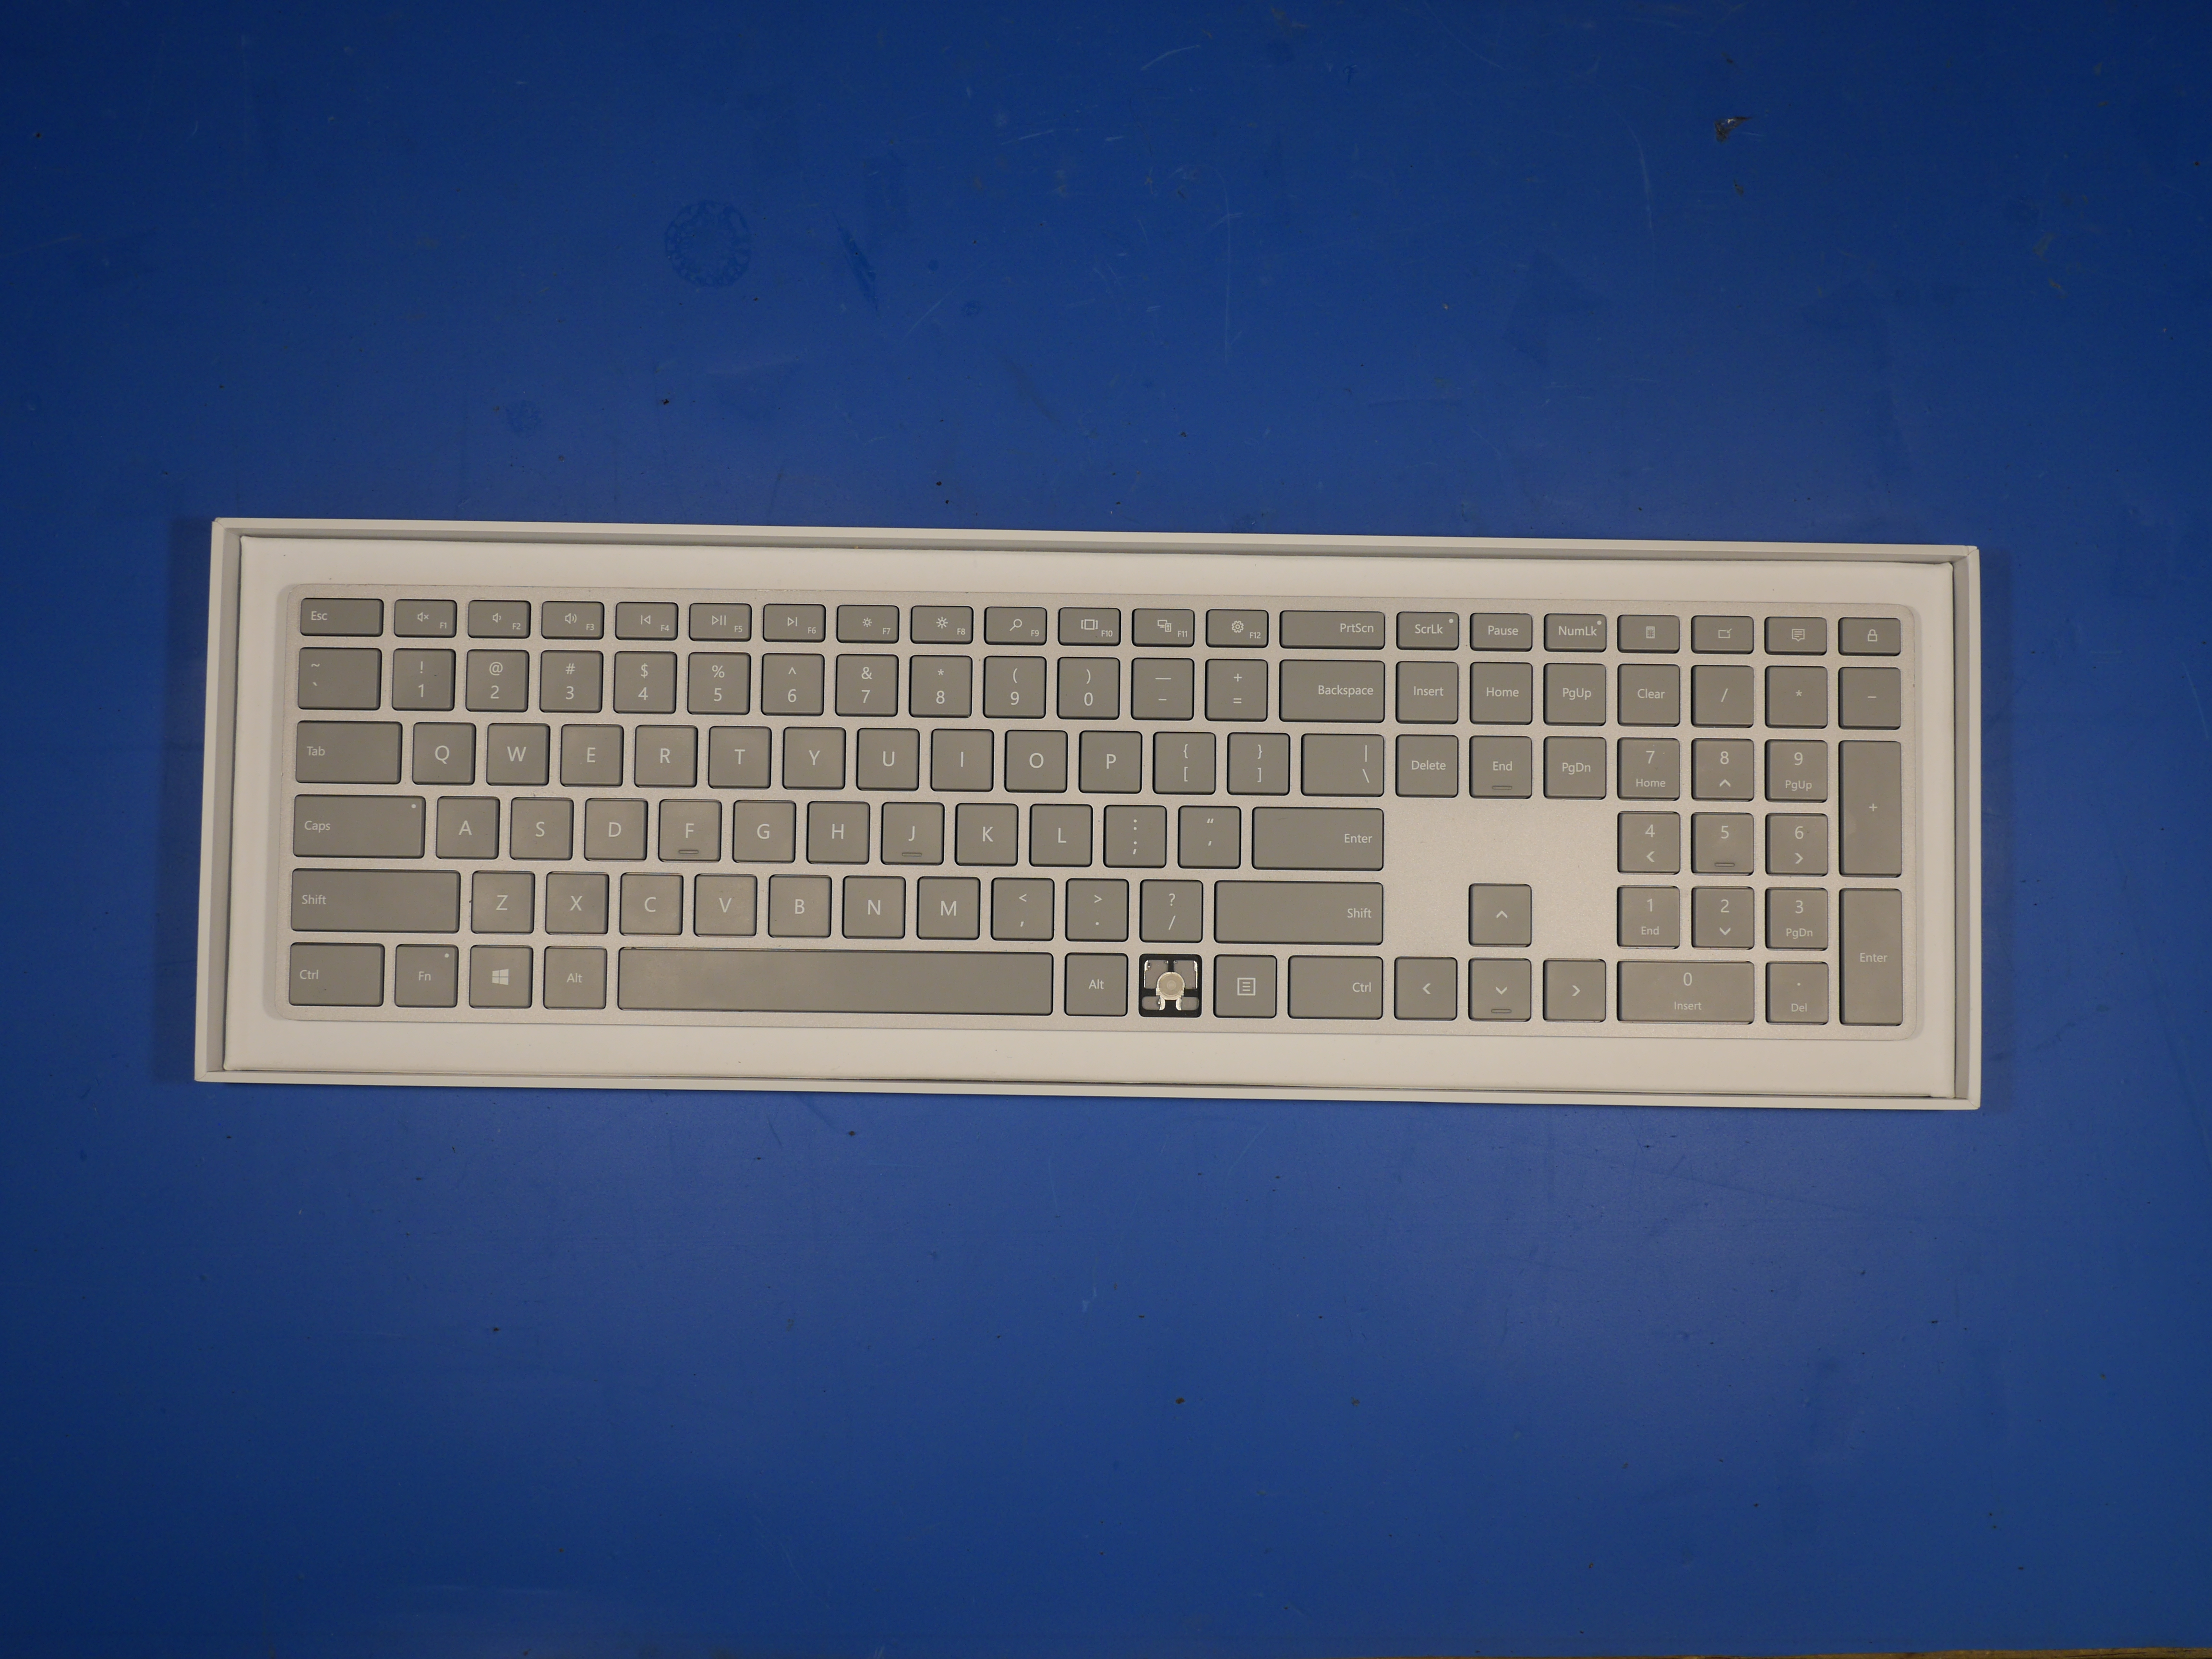
The surface keyboard is one of Microsoft's attempts at bringing a laptop-style keyboard to the desktop space. Originally introduced alongside the Surface Studio, this keyboard has been equally championed and hated by various technology reviewers. A fan of laptop-style keyboards myself, I really enjoyed my time spent on the surface keyboard when trying out the Surface Studio locally.
My ideal desktop keyboard would feature laptop-style chiclet keys with a moderate amount of travel, a backlight, a wired USB plug and a dedicated volume knob. Currently, none of those four features are found in any one keyboard. The Das Keyboard 4 Ultimate gets close, but none of their keyboards feature backlighting or island-style keys. There are various Logitech keyboards that come close, but Logitech doesn't believe volume knobs are useful unless you are a twitch streamer. Unfortunately, It seems that no one else shares my eccentric typing requirements and I need to hack together my own keyboard to satisfy my demands.
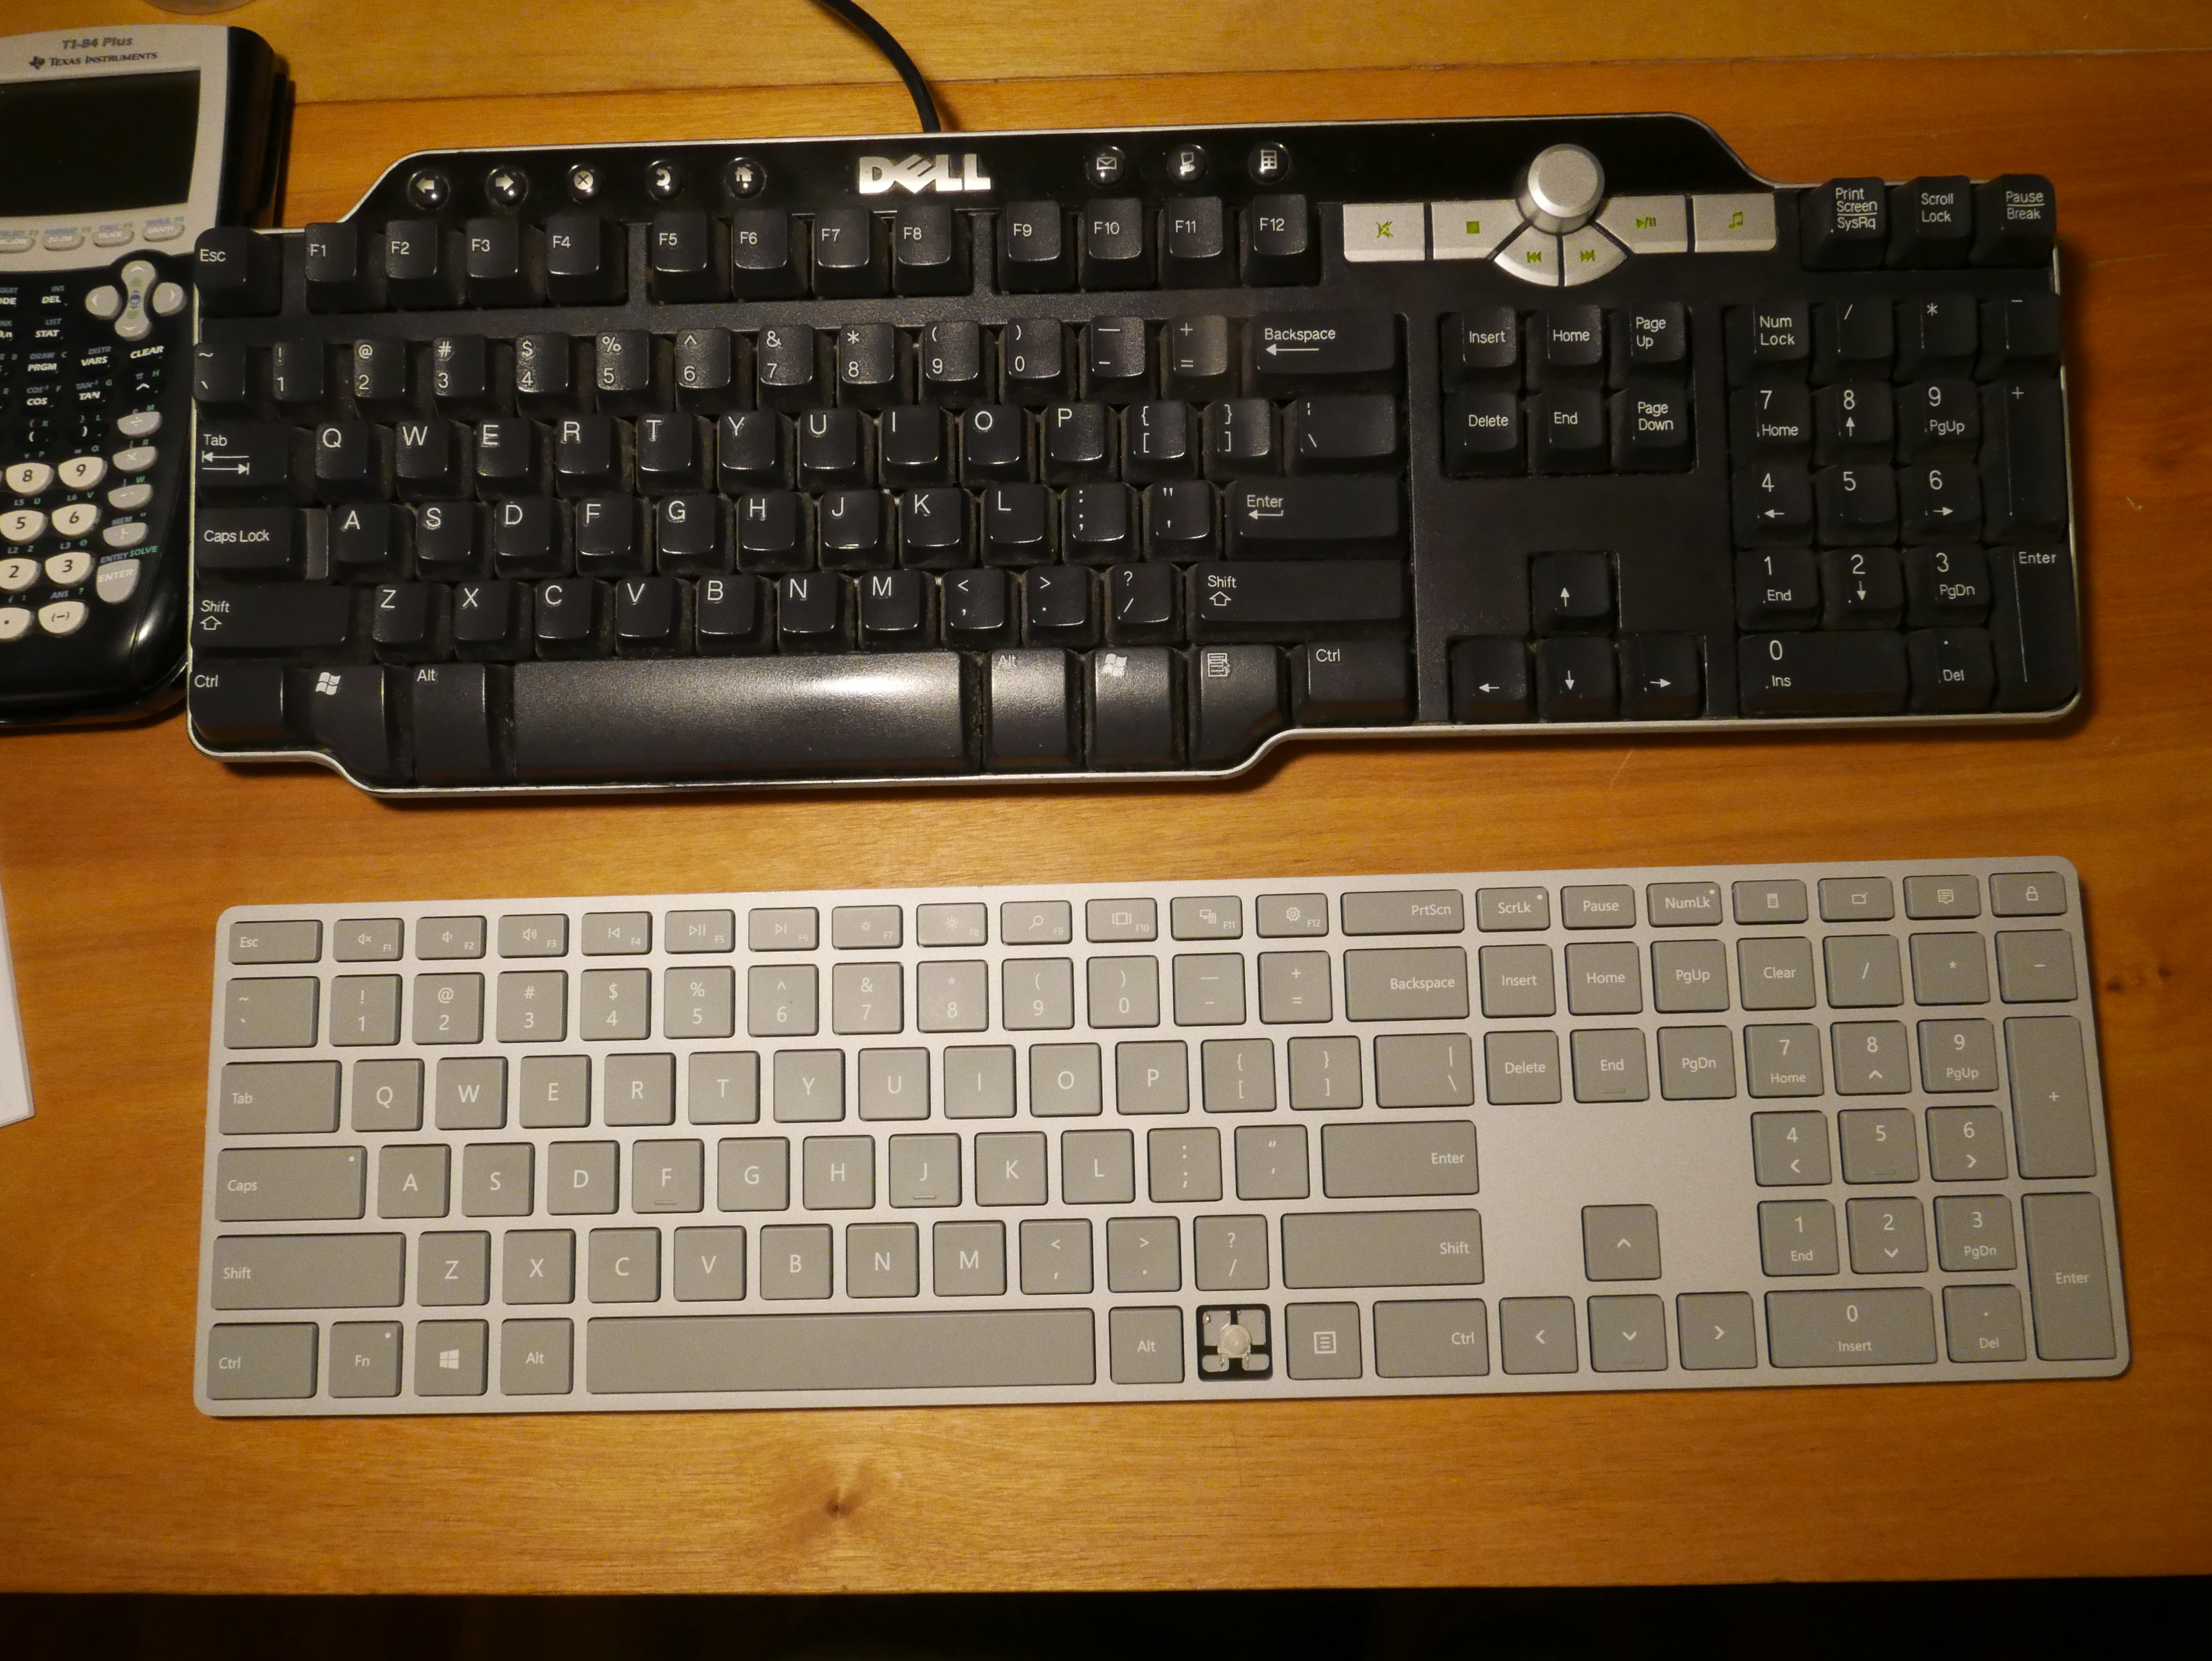
What was I using previously? Well, I have been in a state of typing compromise for the past few years and use a traditional dell multimedia keyboard with volume knob. Yes, the knob means that much. Lately, the Dell keyboard has made me want to revert to writing with chalk and slate, as keys go unregistered and it skips ctrl presses rendering copy + paste functions entirely unreliable. The plastic side walls that surround keys have worn to a point where a key can get stuck at an oblique angle and not register the keystroke. There is a certain point where you can't put up with such nonsense anymore and require a suitable replacement. I decided to just hack the Surface Studio keyboard into something more personal and use an external surface dial for audio purposes.
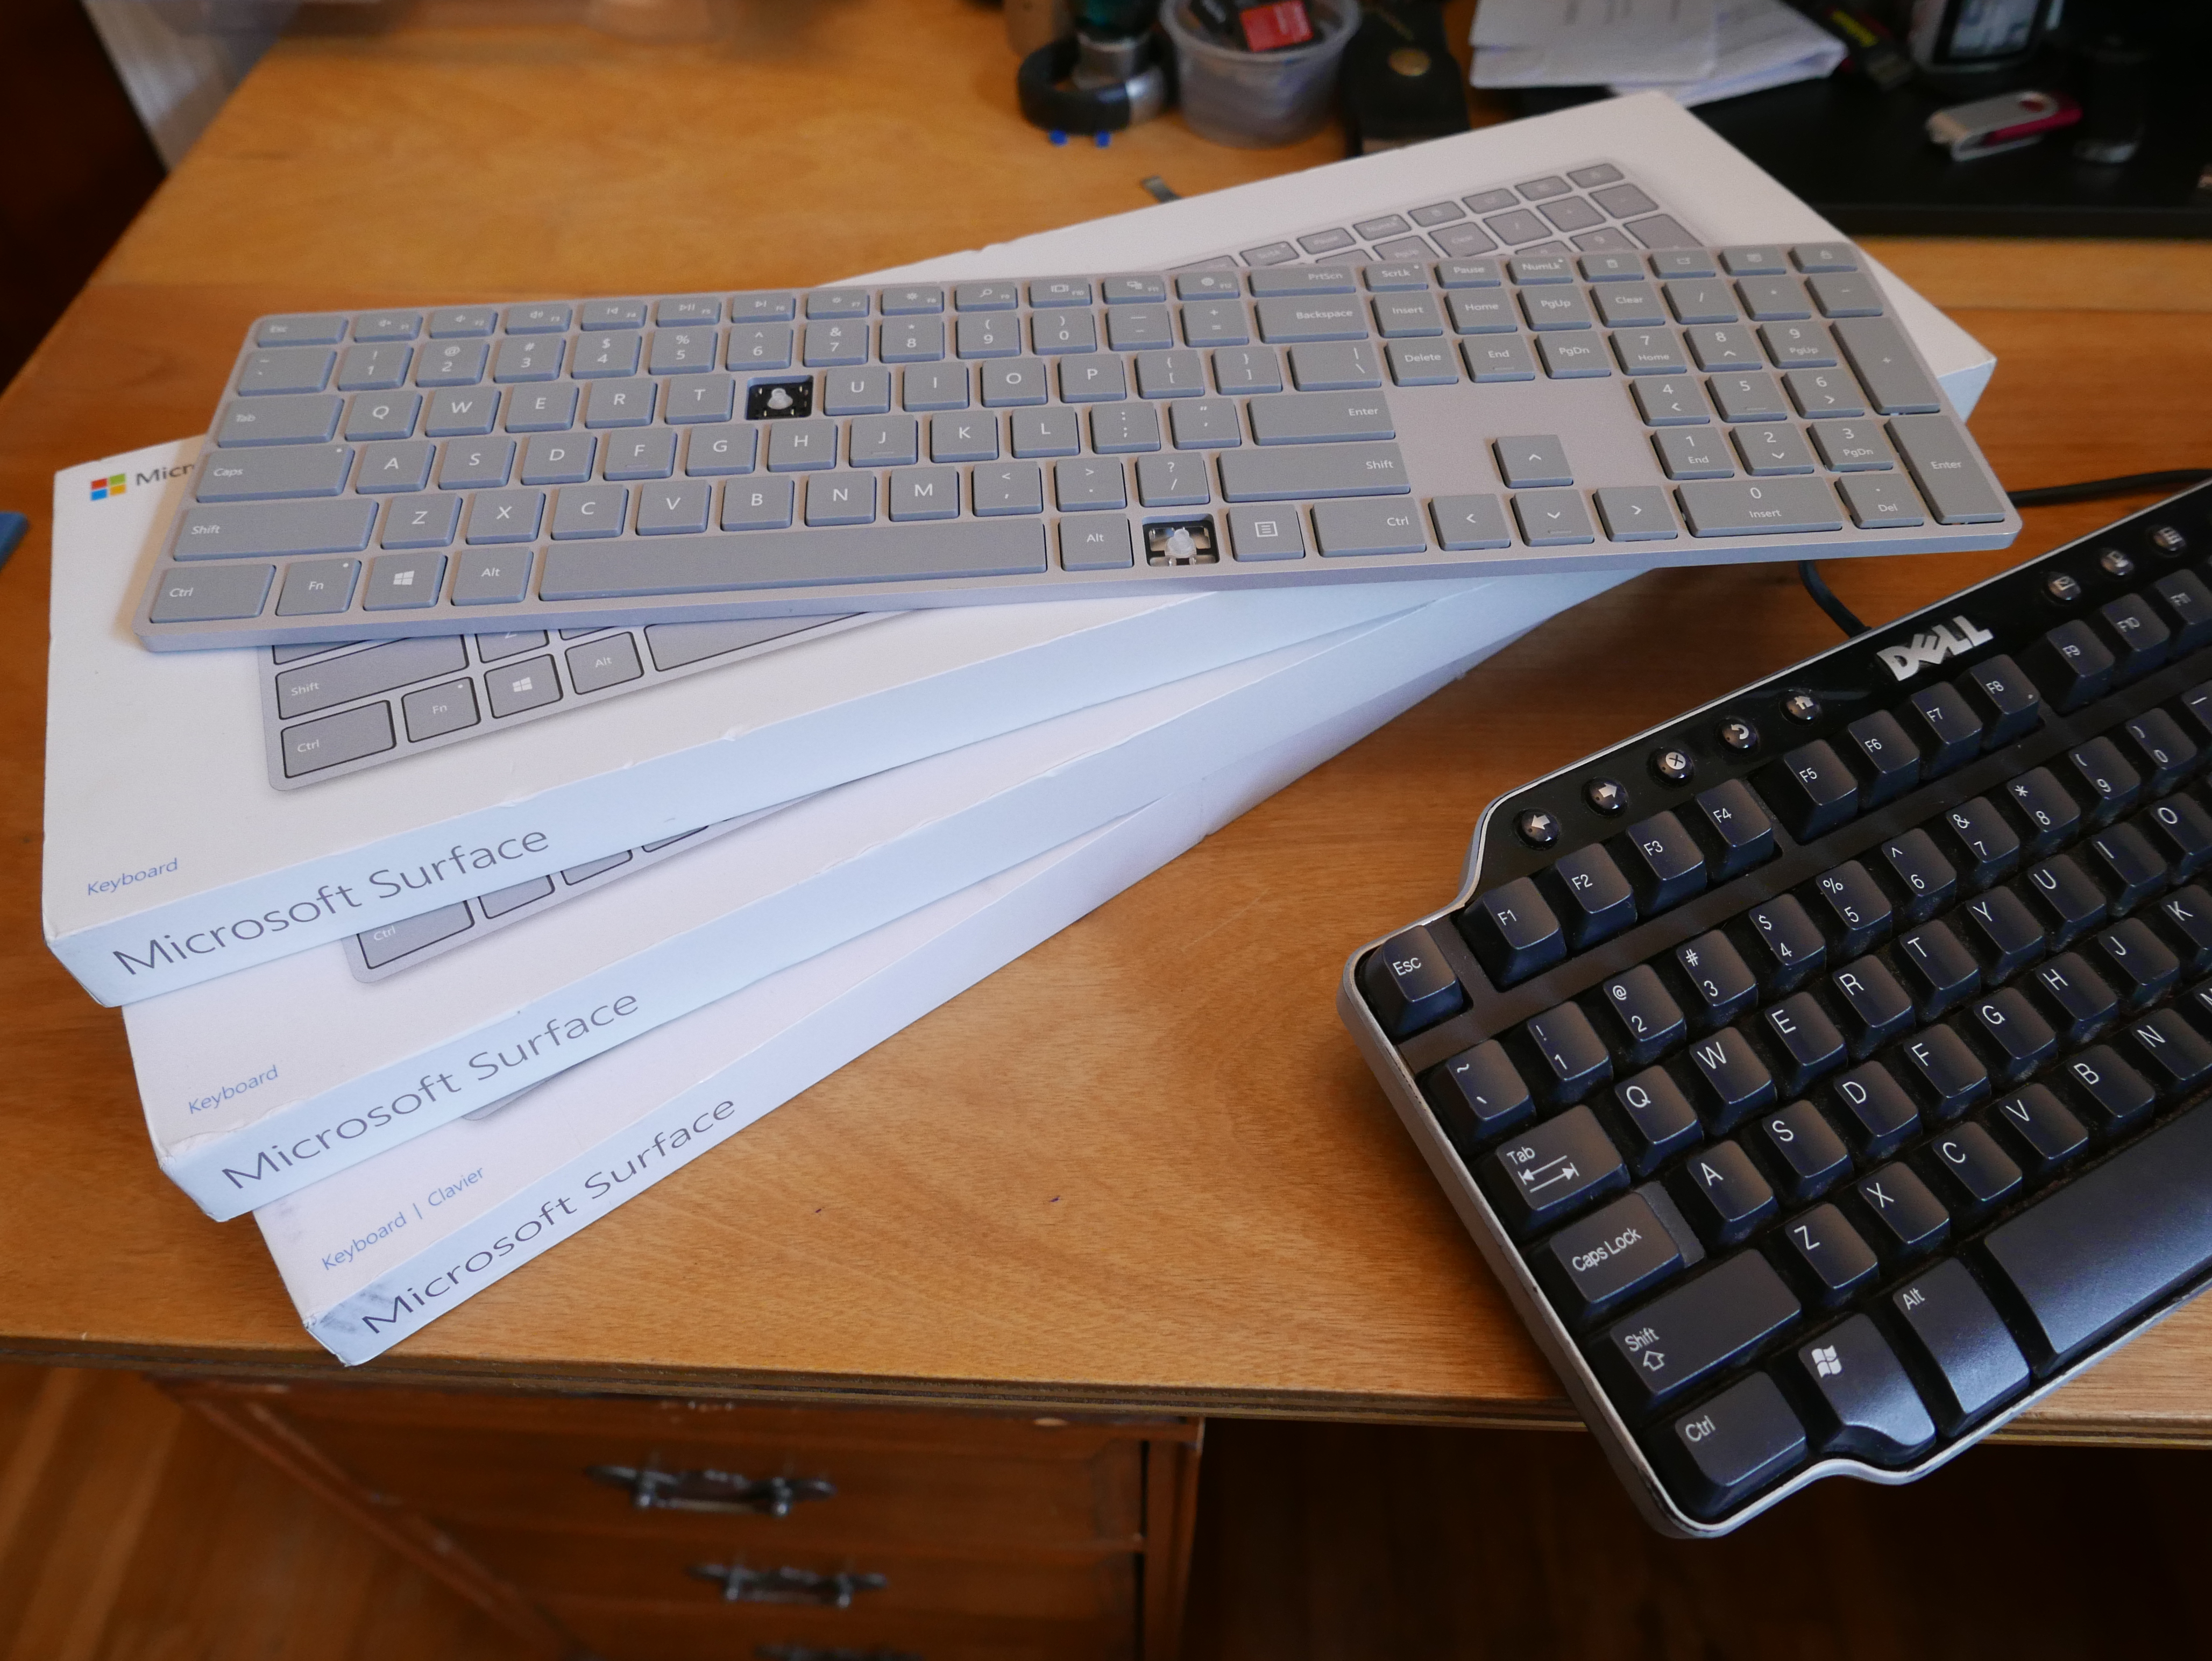
How does one go about hacking electronics? Well, you need a lot of copies. Ahh, I just went a little overboard I guess. Depending on how successful this project turns out, I may make a few more custom keyboards for personal use.
First the hard part: tearing apart the Surface Studio Keyboard without killing it. My full keyboard teardown is documented on iFixit as well! Check it out!

Before I tear apart a product, I like to take the time to analyze the exterior construction and overall build of the item. This gives me a better idea of how the product was assembled and mass produced. The best way to do this is by looking for seams or imperfections in the build construction. Does the part bow or flex when a small stress is applied? Are there any large gaps in the build? Are there any obvious stickers covering fasteners? This is how I pictured the keyboard to be constructed in my head as an assembly in Solidworks. I had a feeling that it was one gigantic glued and snapped together assembly, but I needed to verify that first.
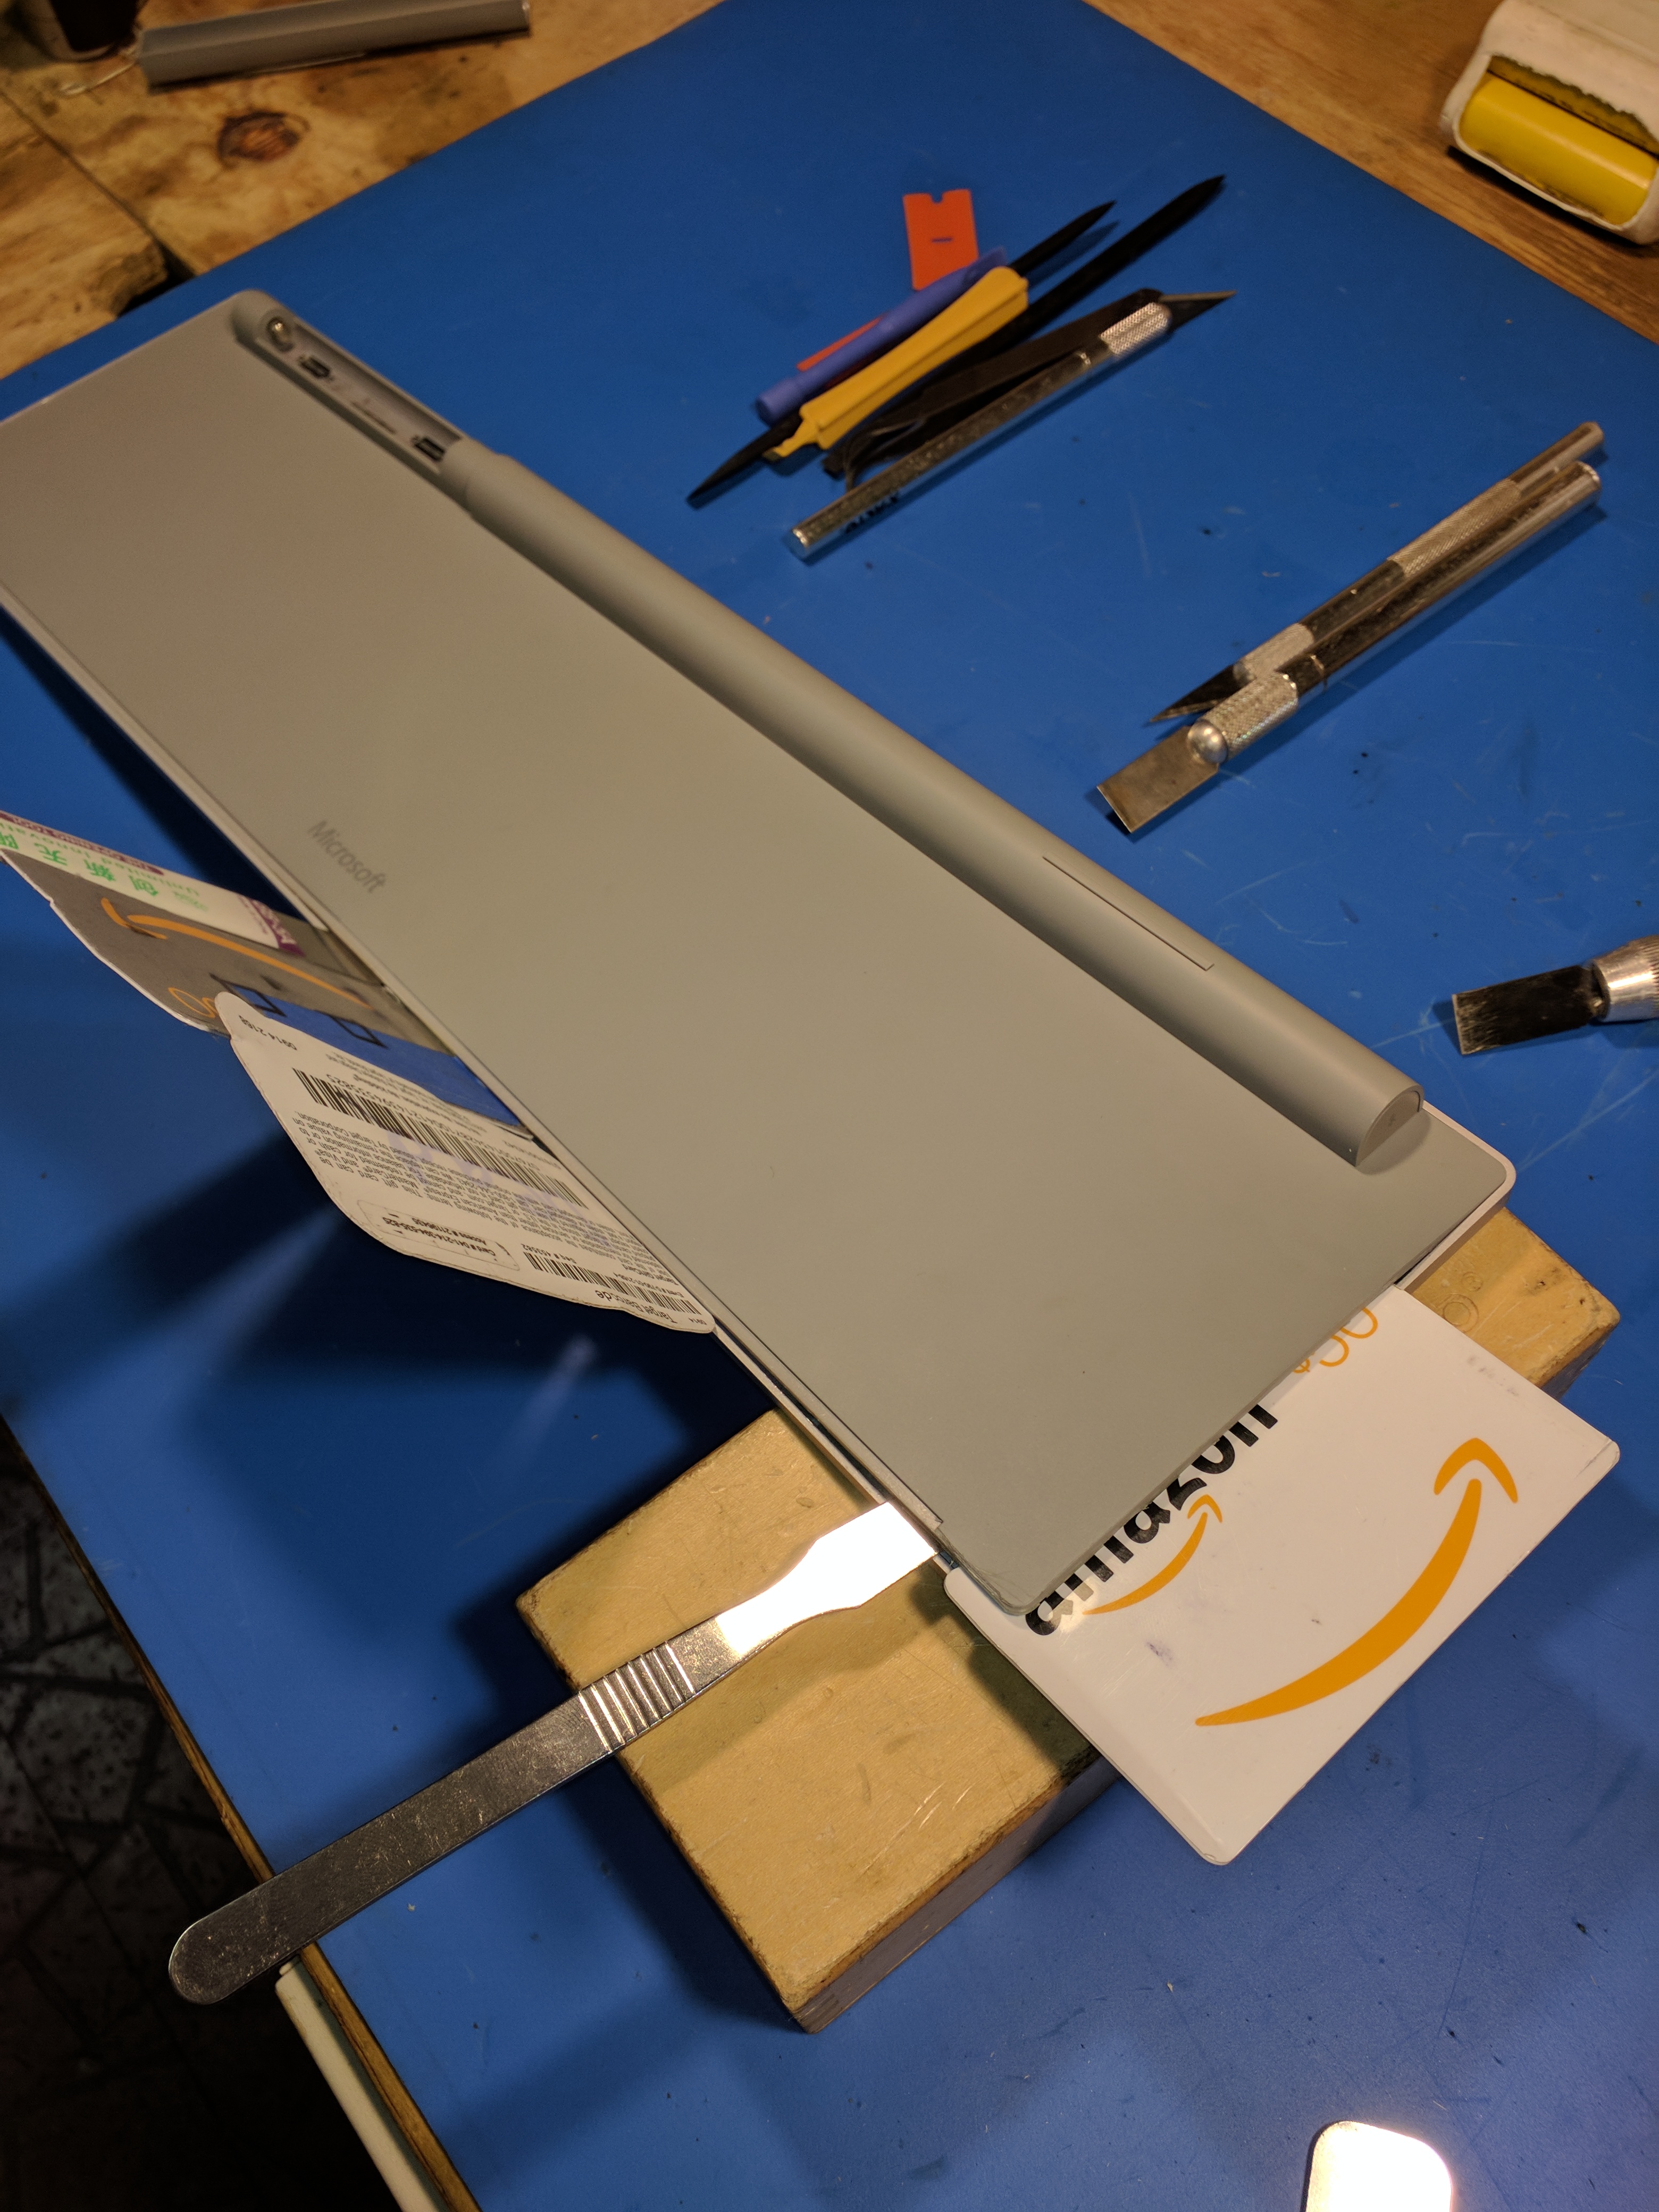
As you could have guessed, getting inside this keyboard was quite a chore. With a barrage of tools, some mat space and a stockpile of patience, the keyboard finally gave way - but it did not go down without a fight.
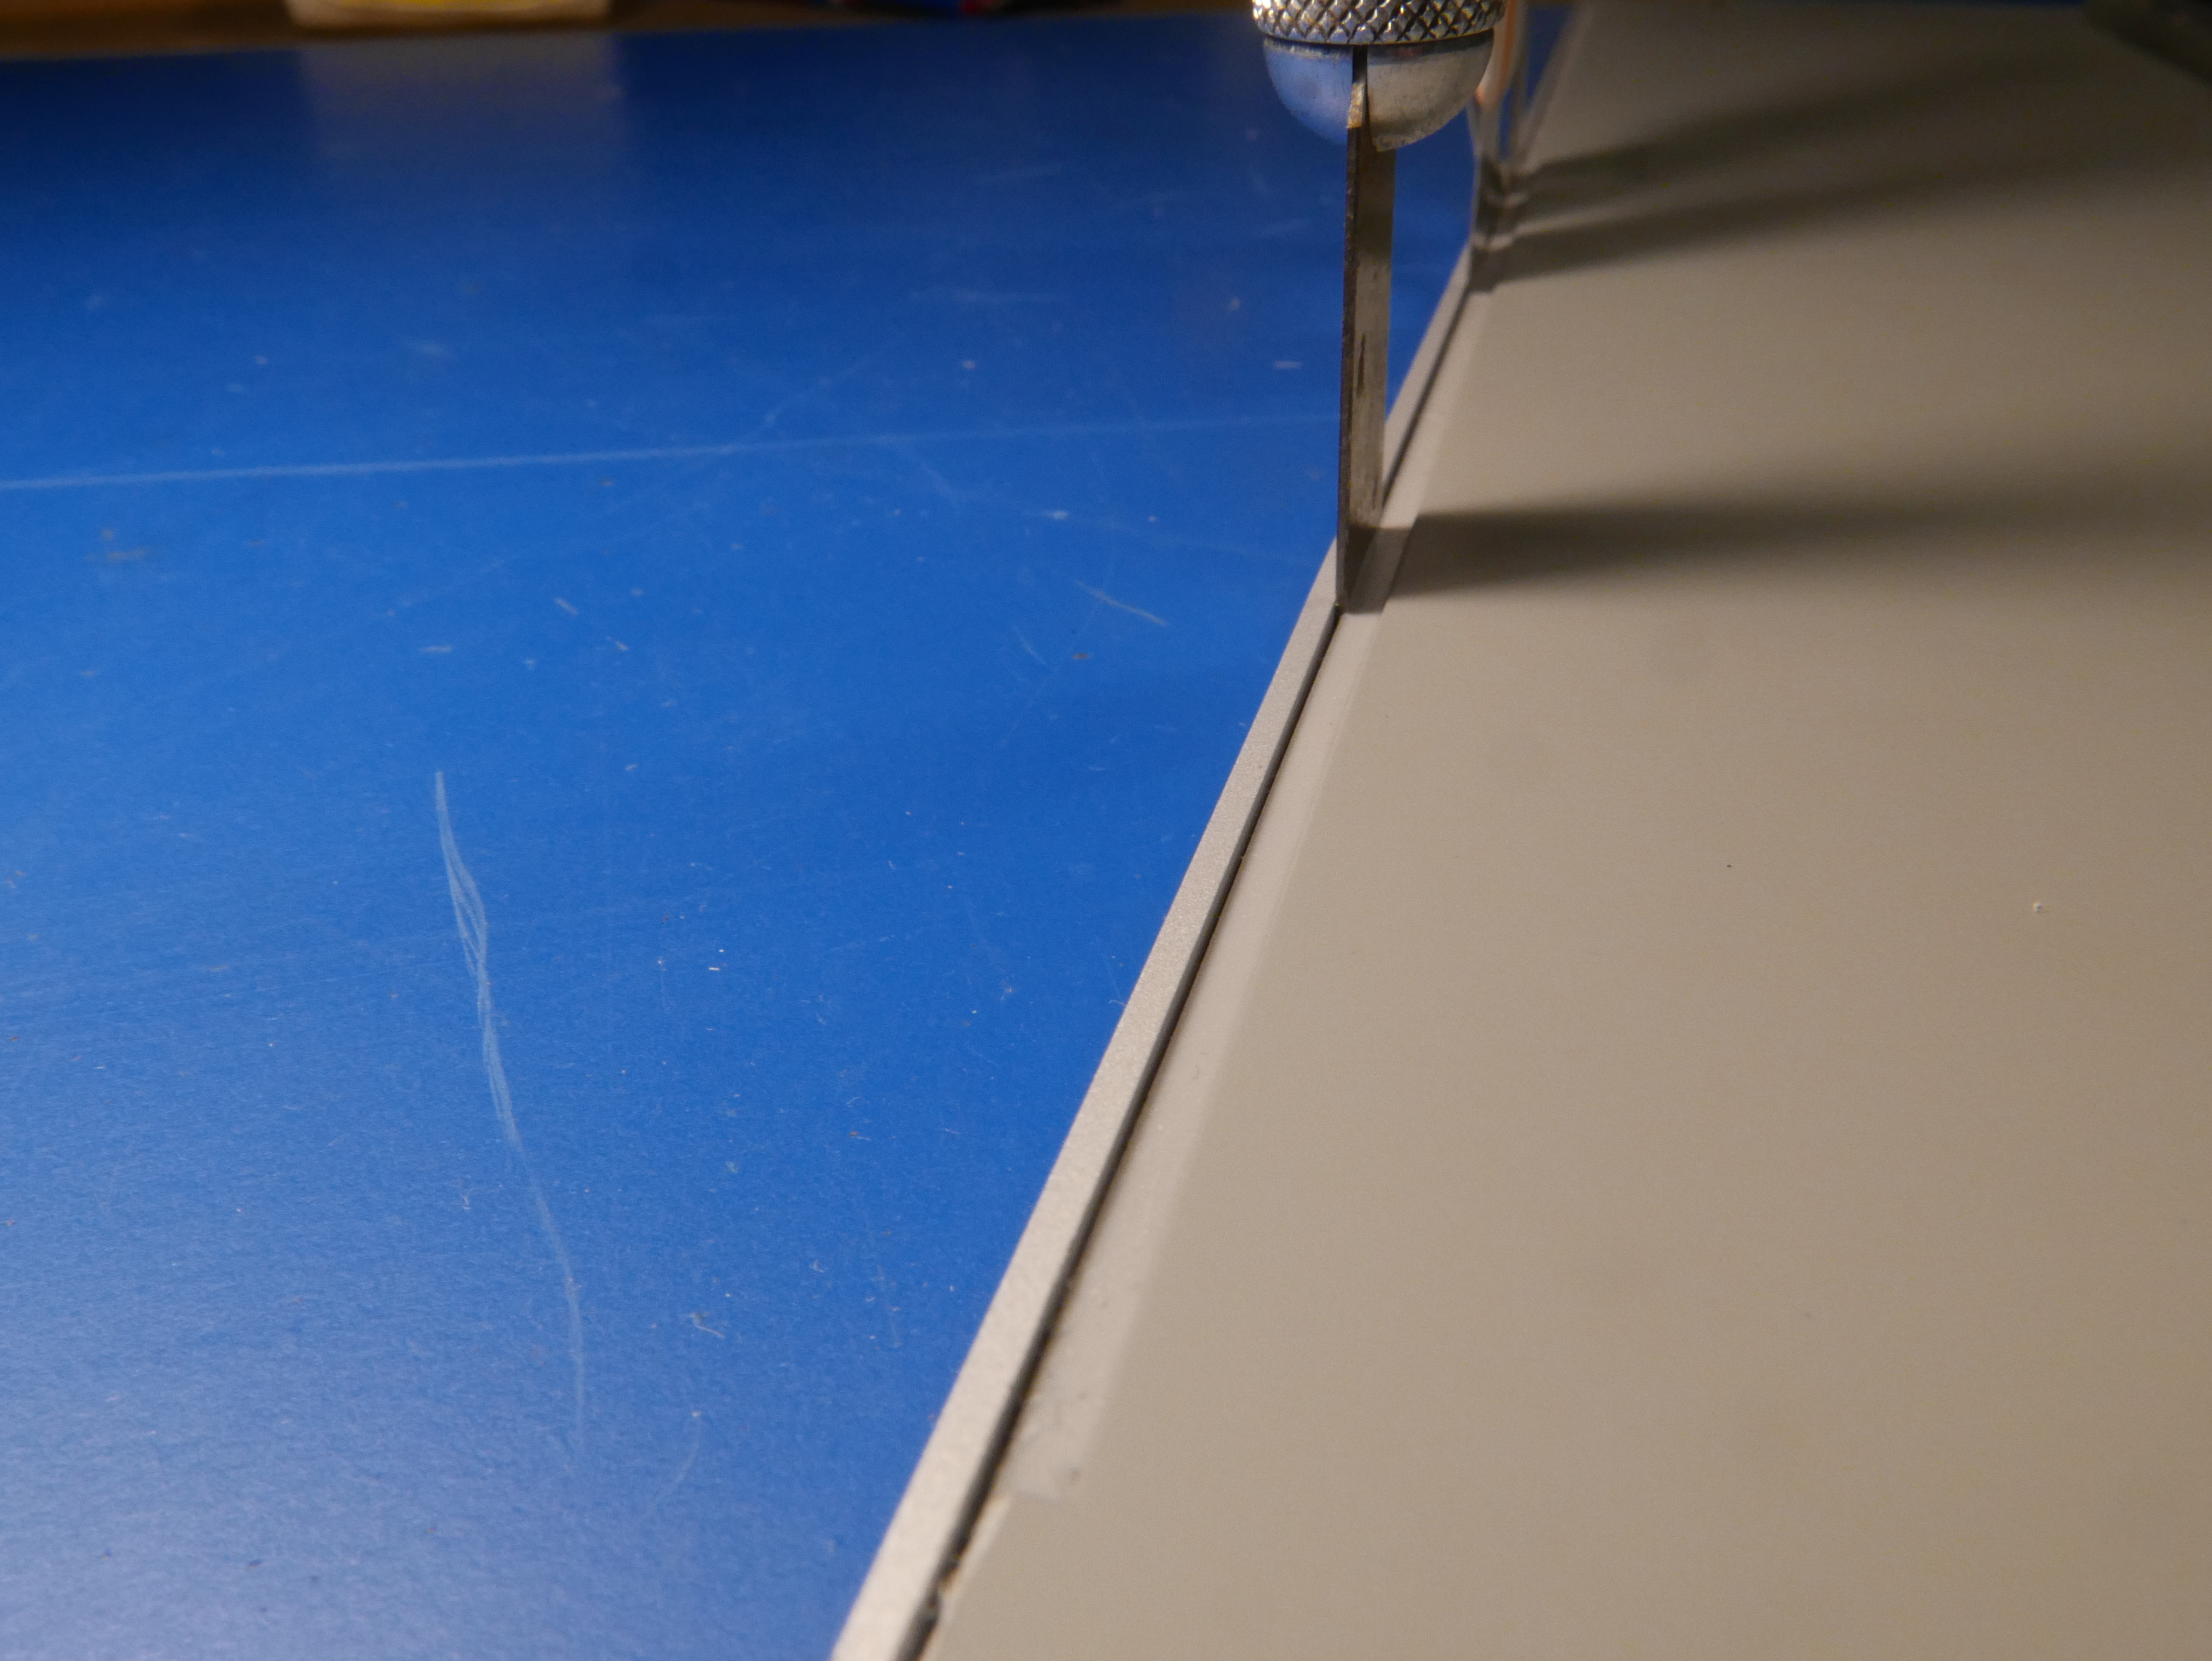
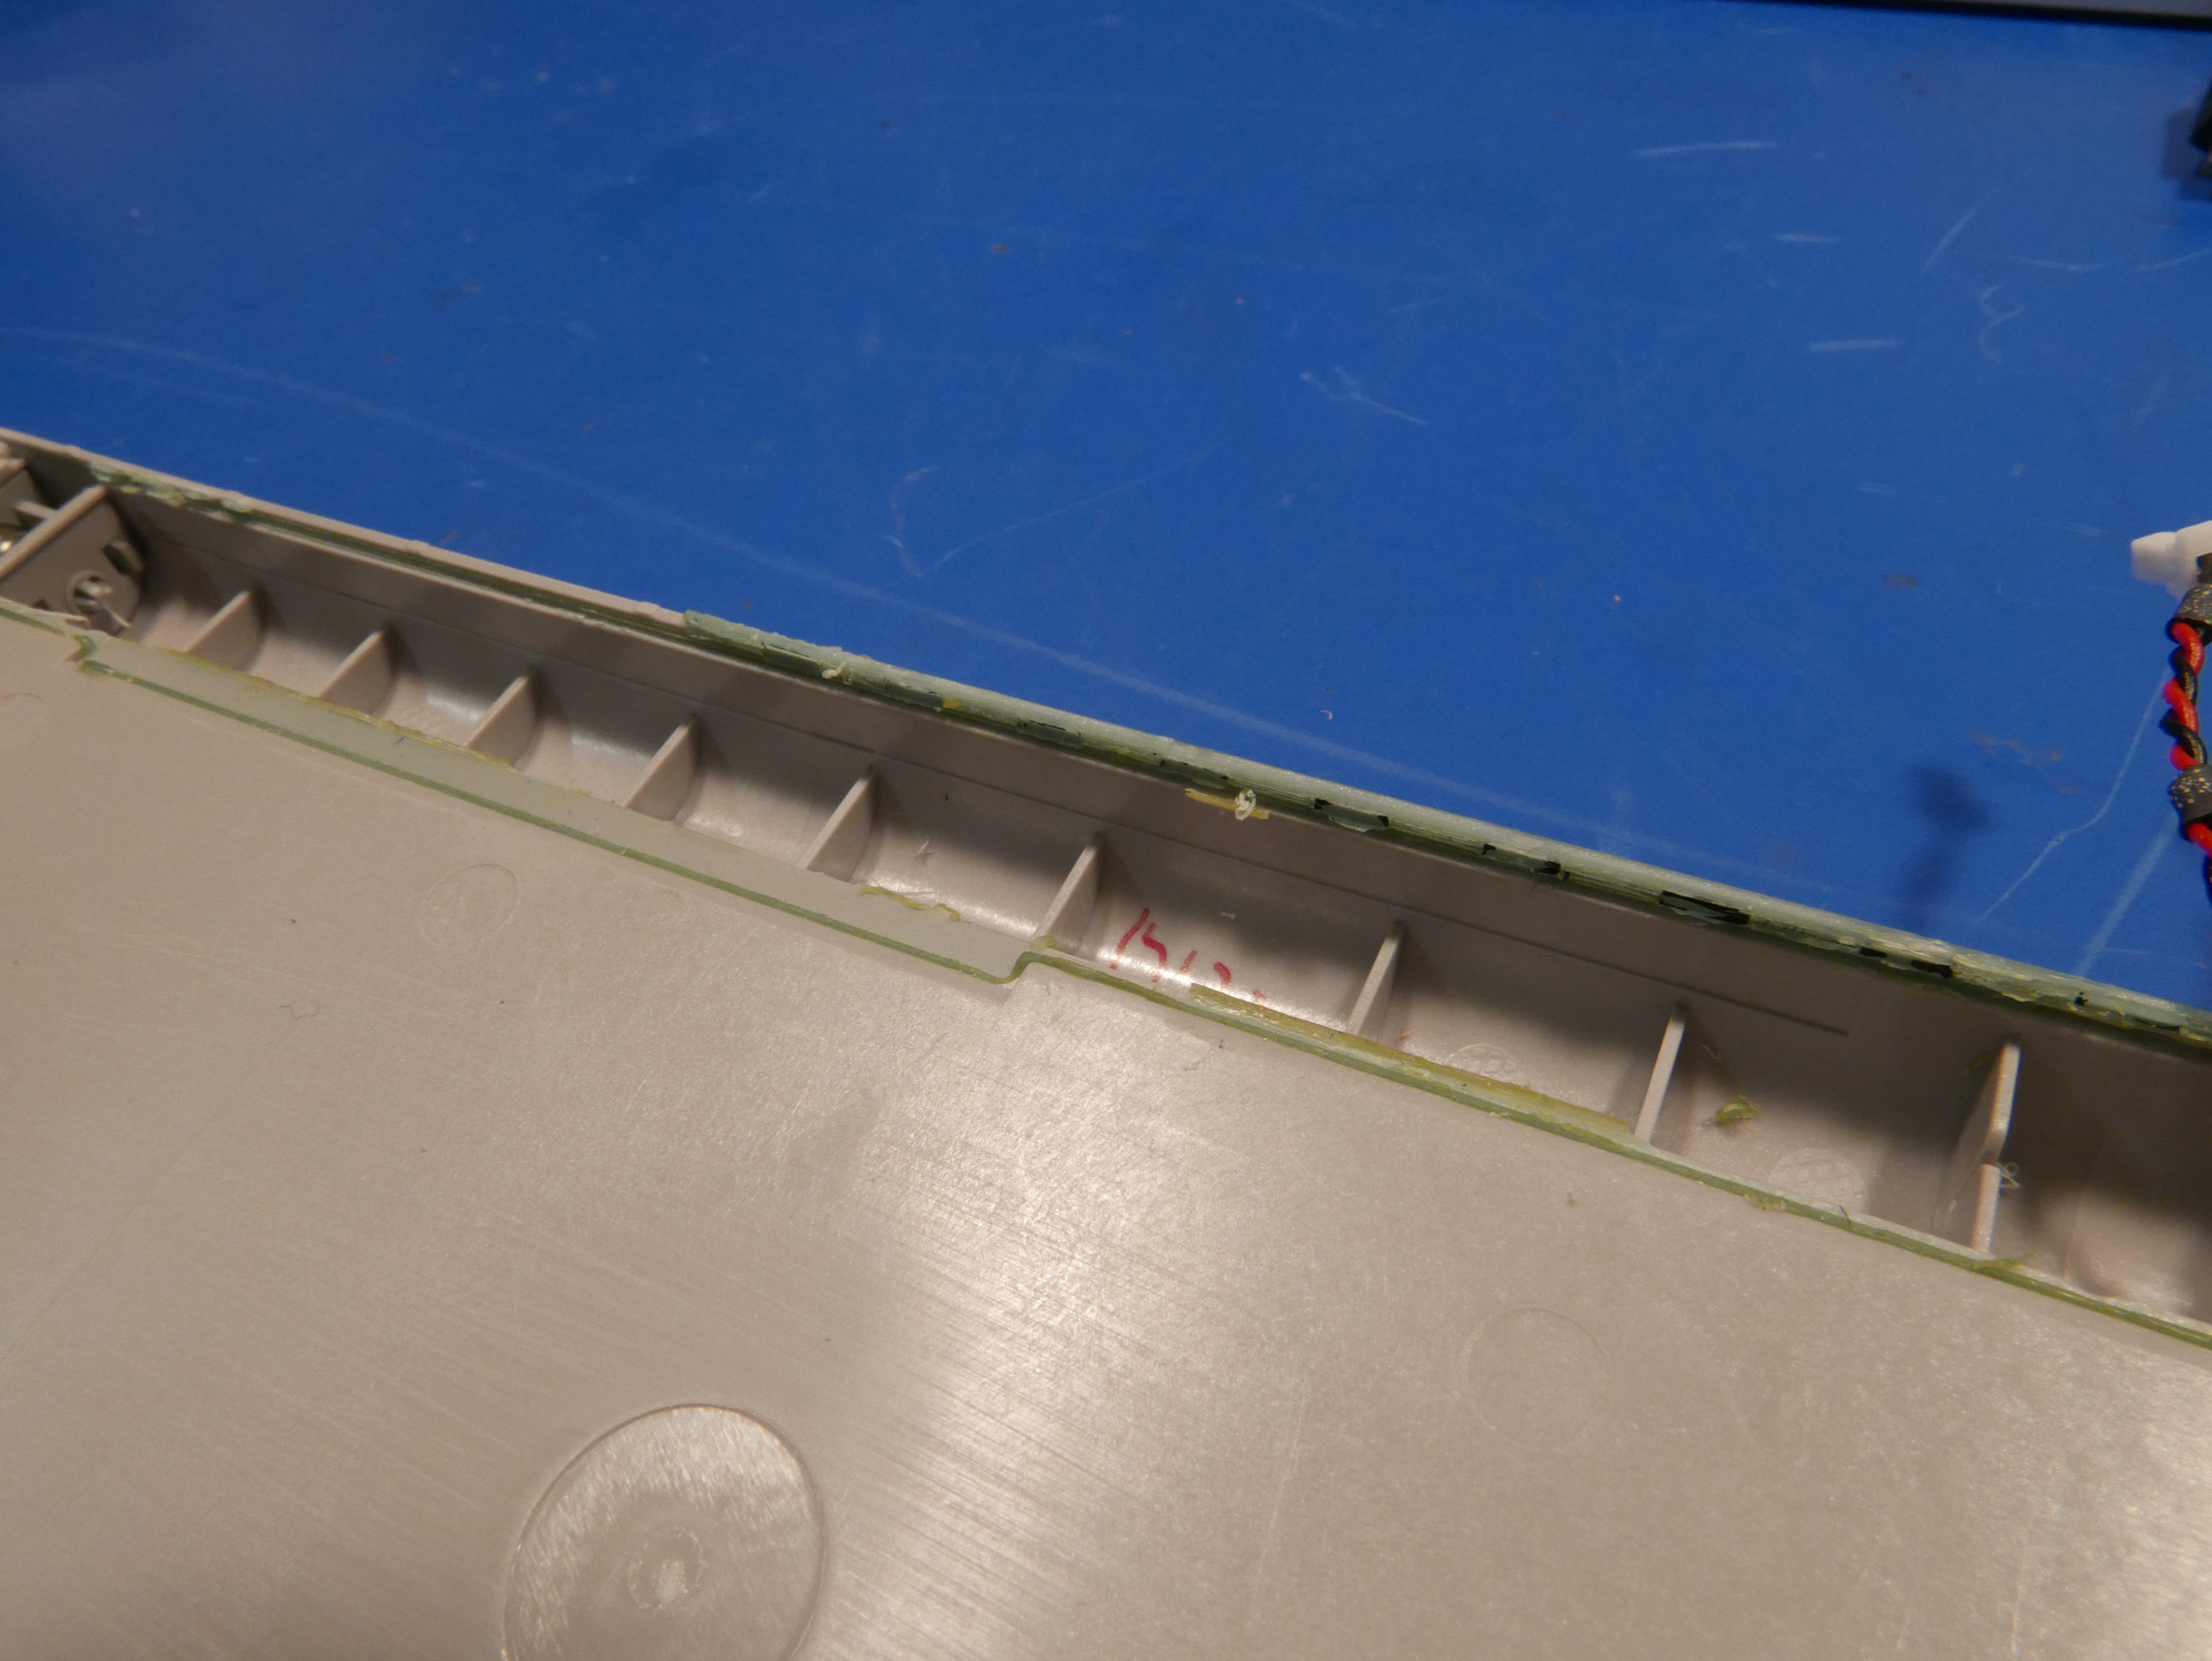
Surprisingly, this keyboard has some of the finest attention to detail I have seen. The gaps in assembly were almost non-existent. The gap between the aluminum shell and plastic rear plate was so tight I had to use an X-ACTO knife with square-headed No. 18 Blade to widen the gap enough to slide in my metal spudger. I have never had to widen a gap in manufacture with an X-ACTO knife before, especially to accommodate an extremely thin spring steel metal spudger.

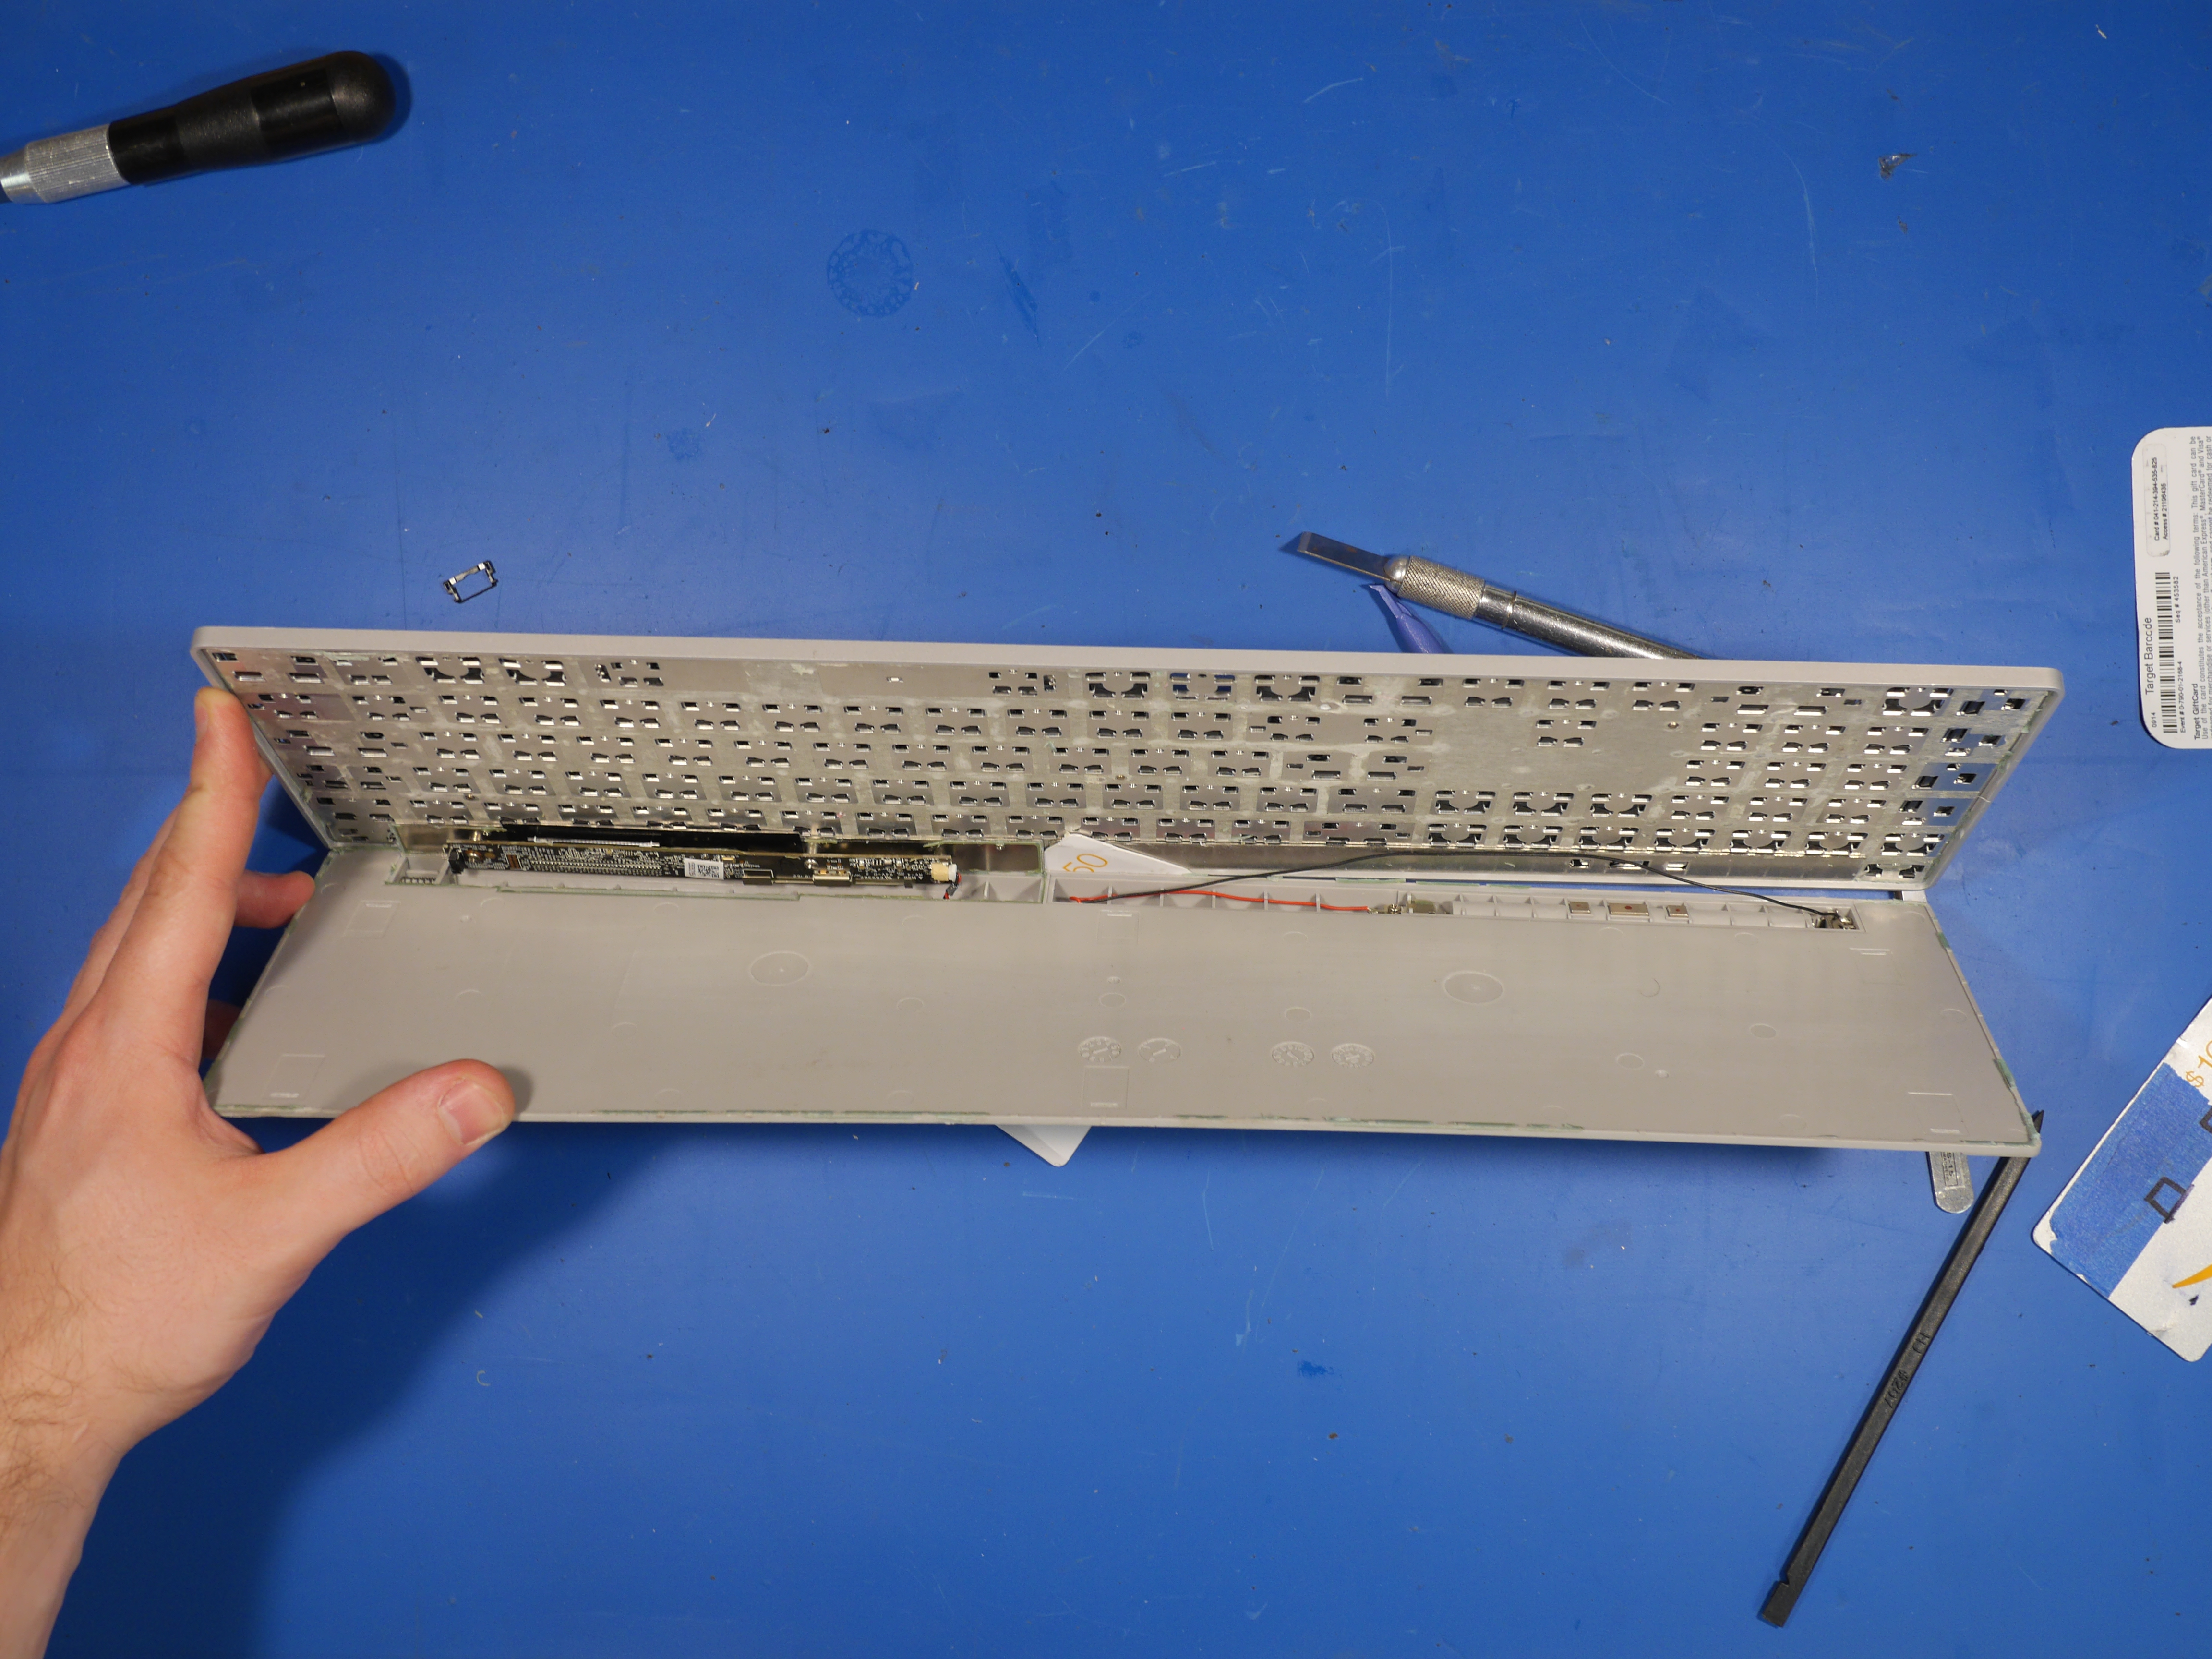
With a few rounds of heat, prying with various tools and some giftcards, two halves of the keyboard finally emerged from the seemingly solid body.
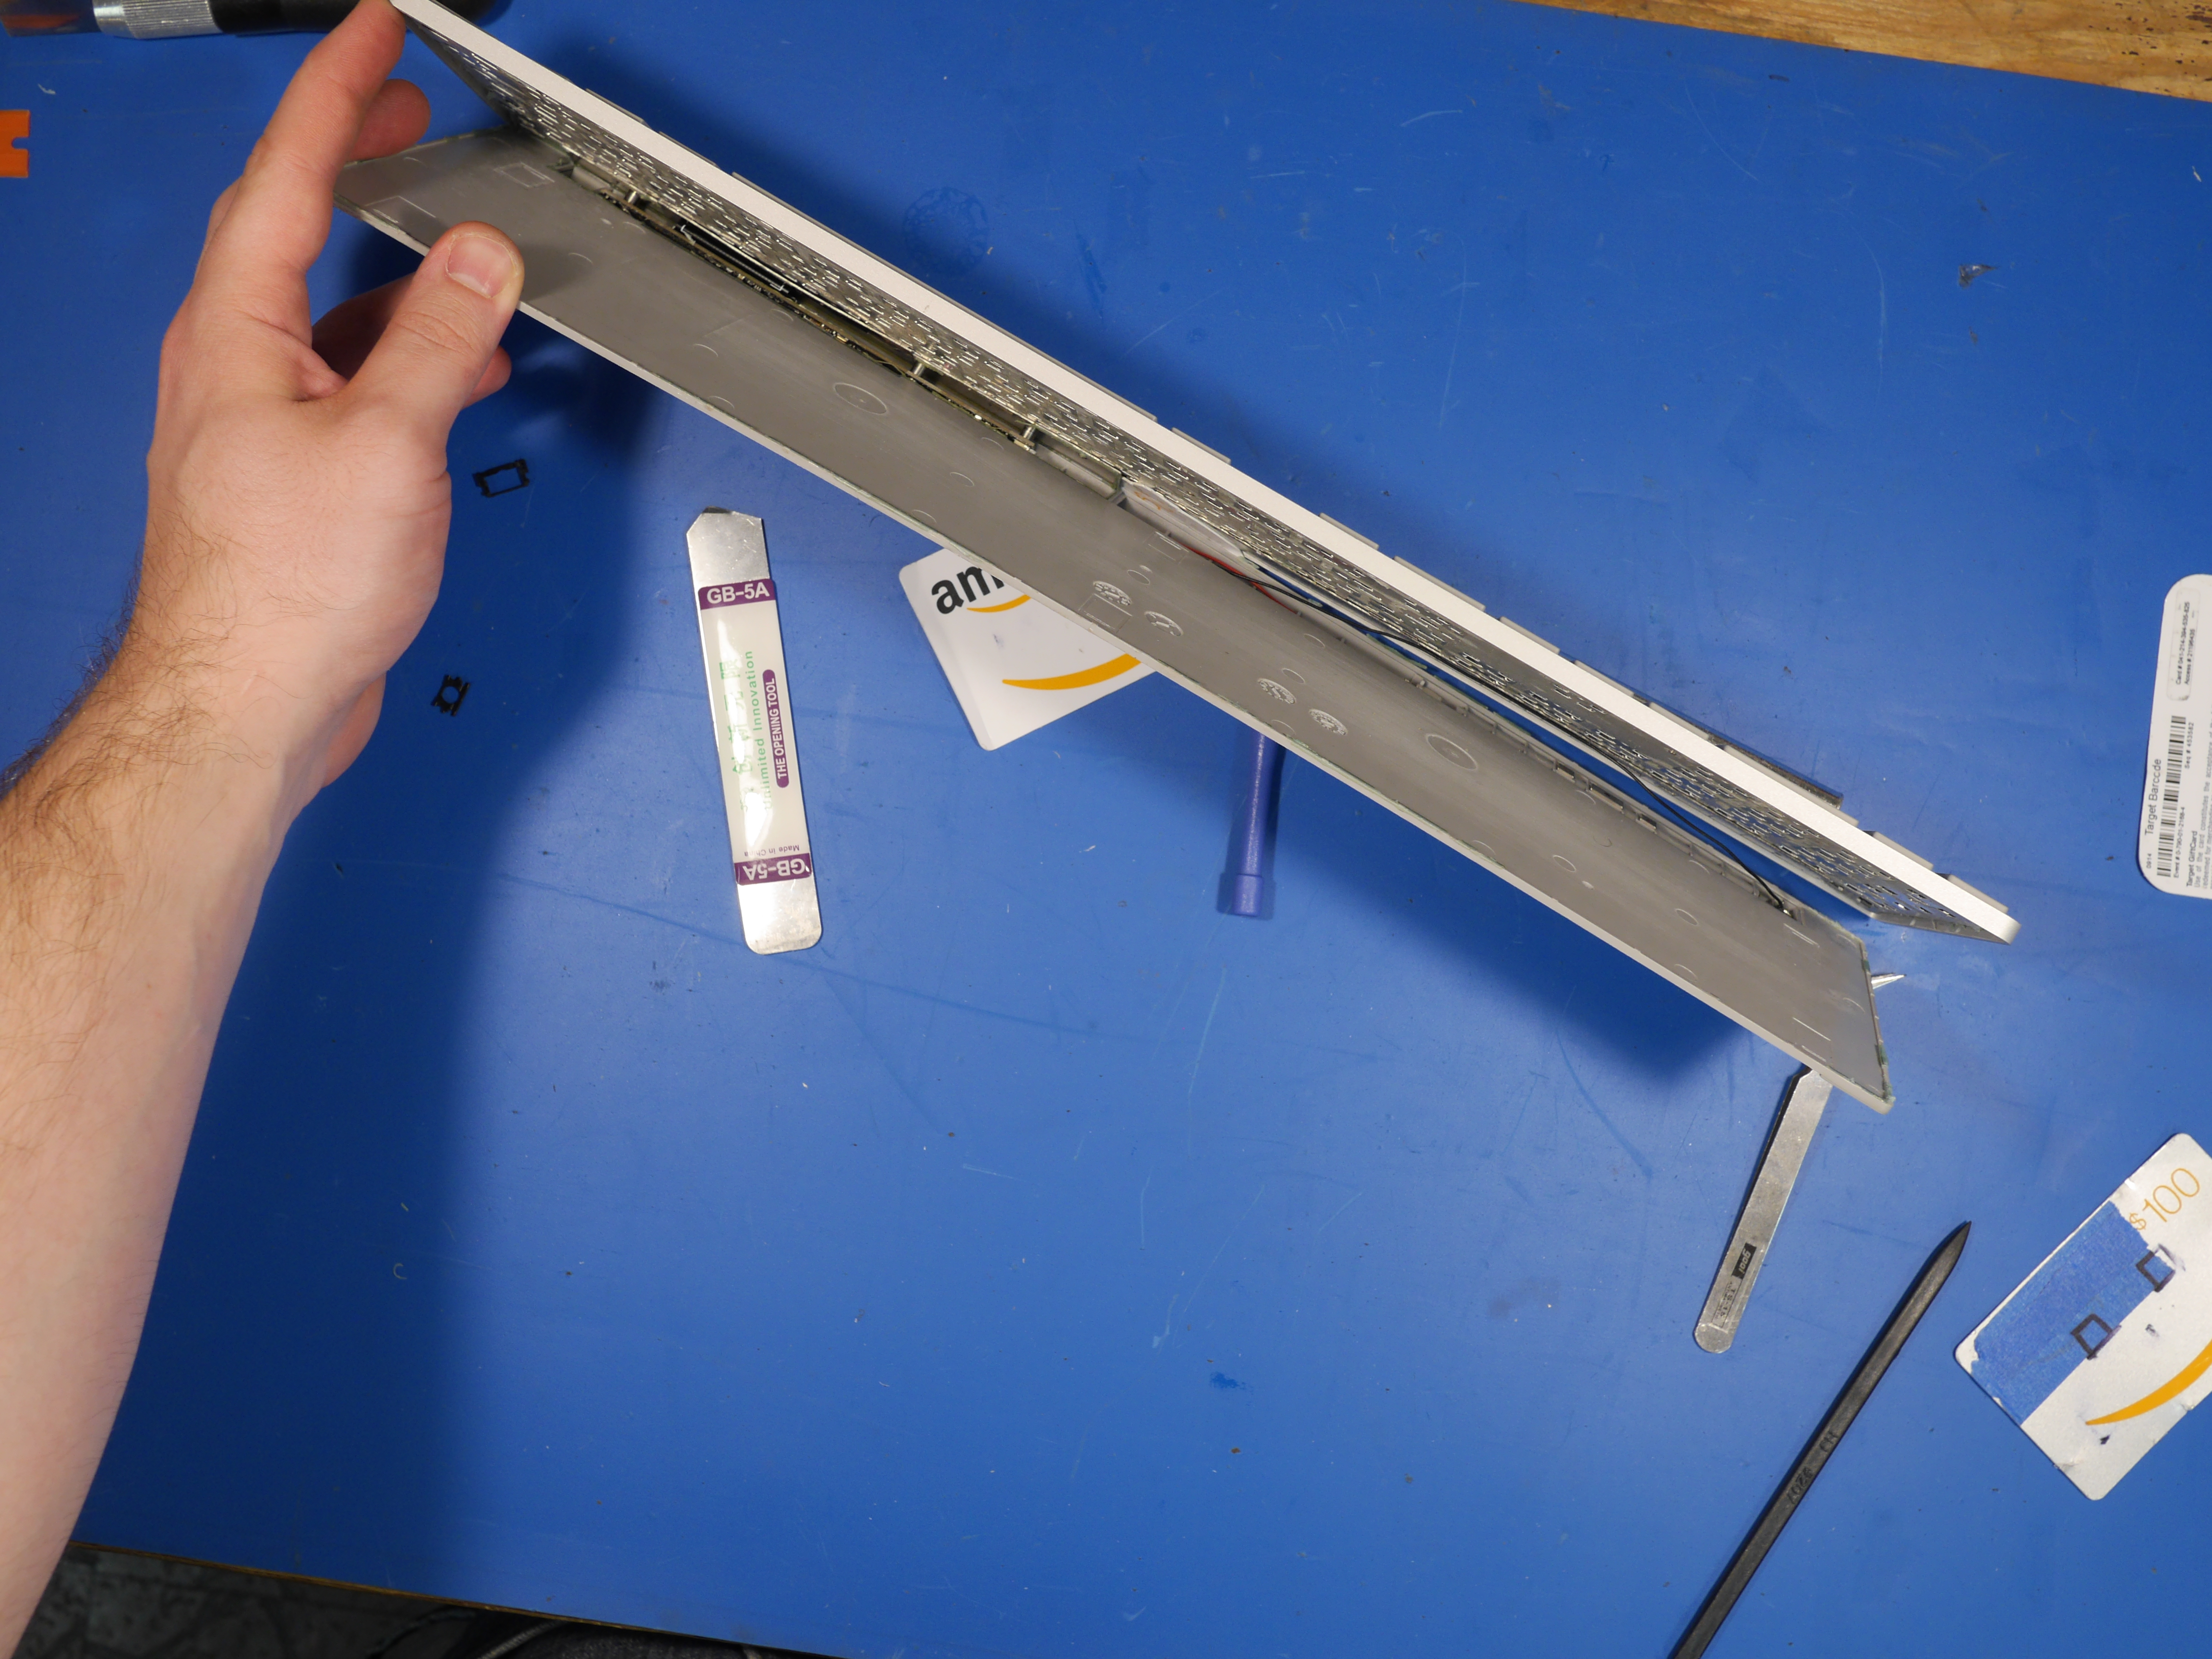
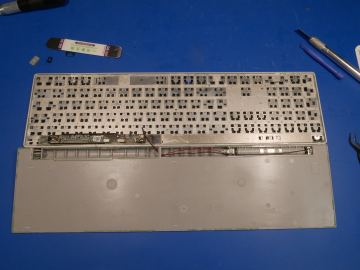
The halves begin separating and finally reveal the sparse innards that make up this keyboard. There's still remnants of that irritating green adhesive used to seal the edges, but the war is over.
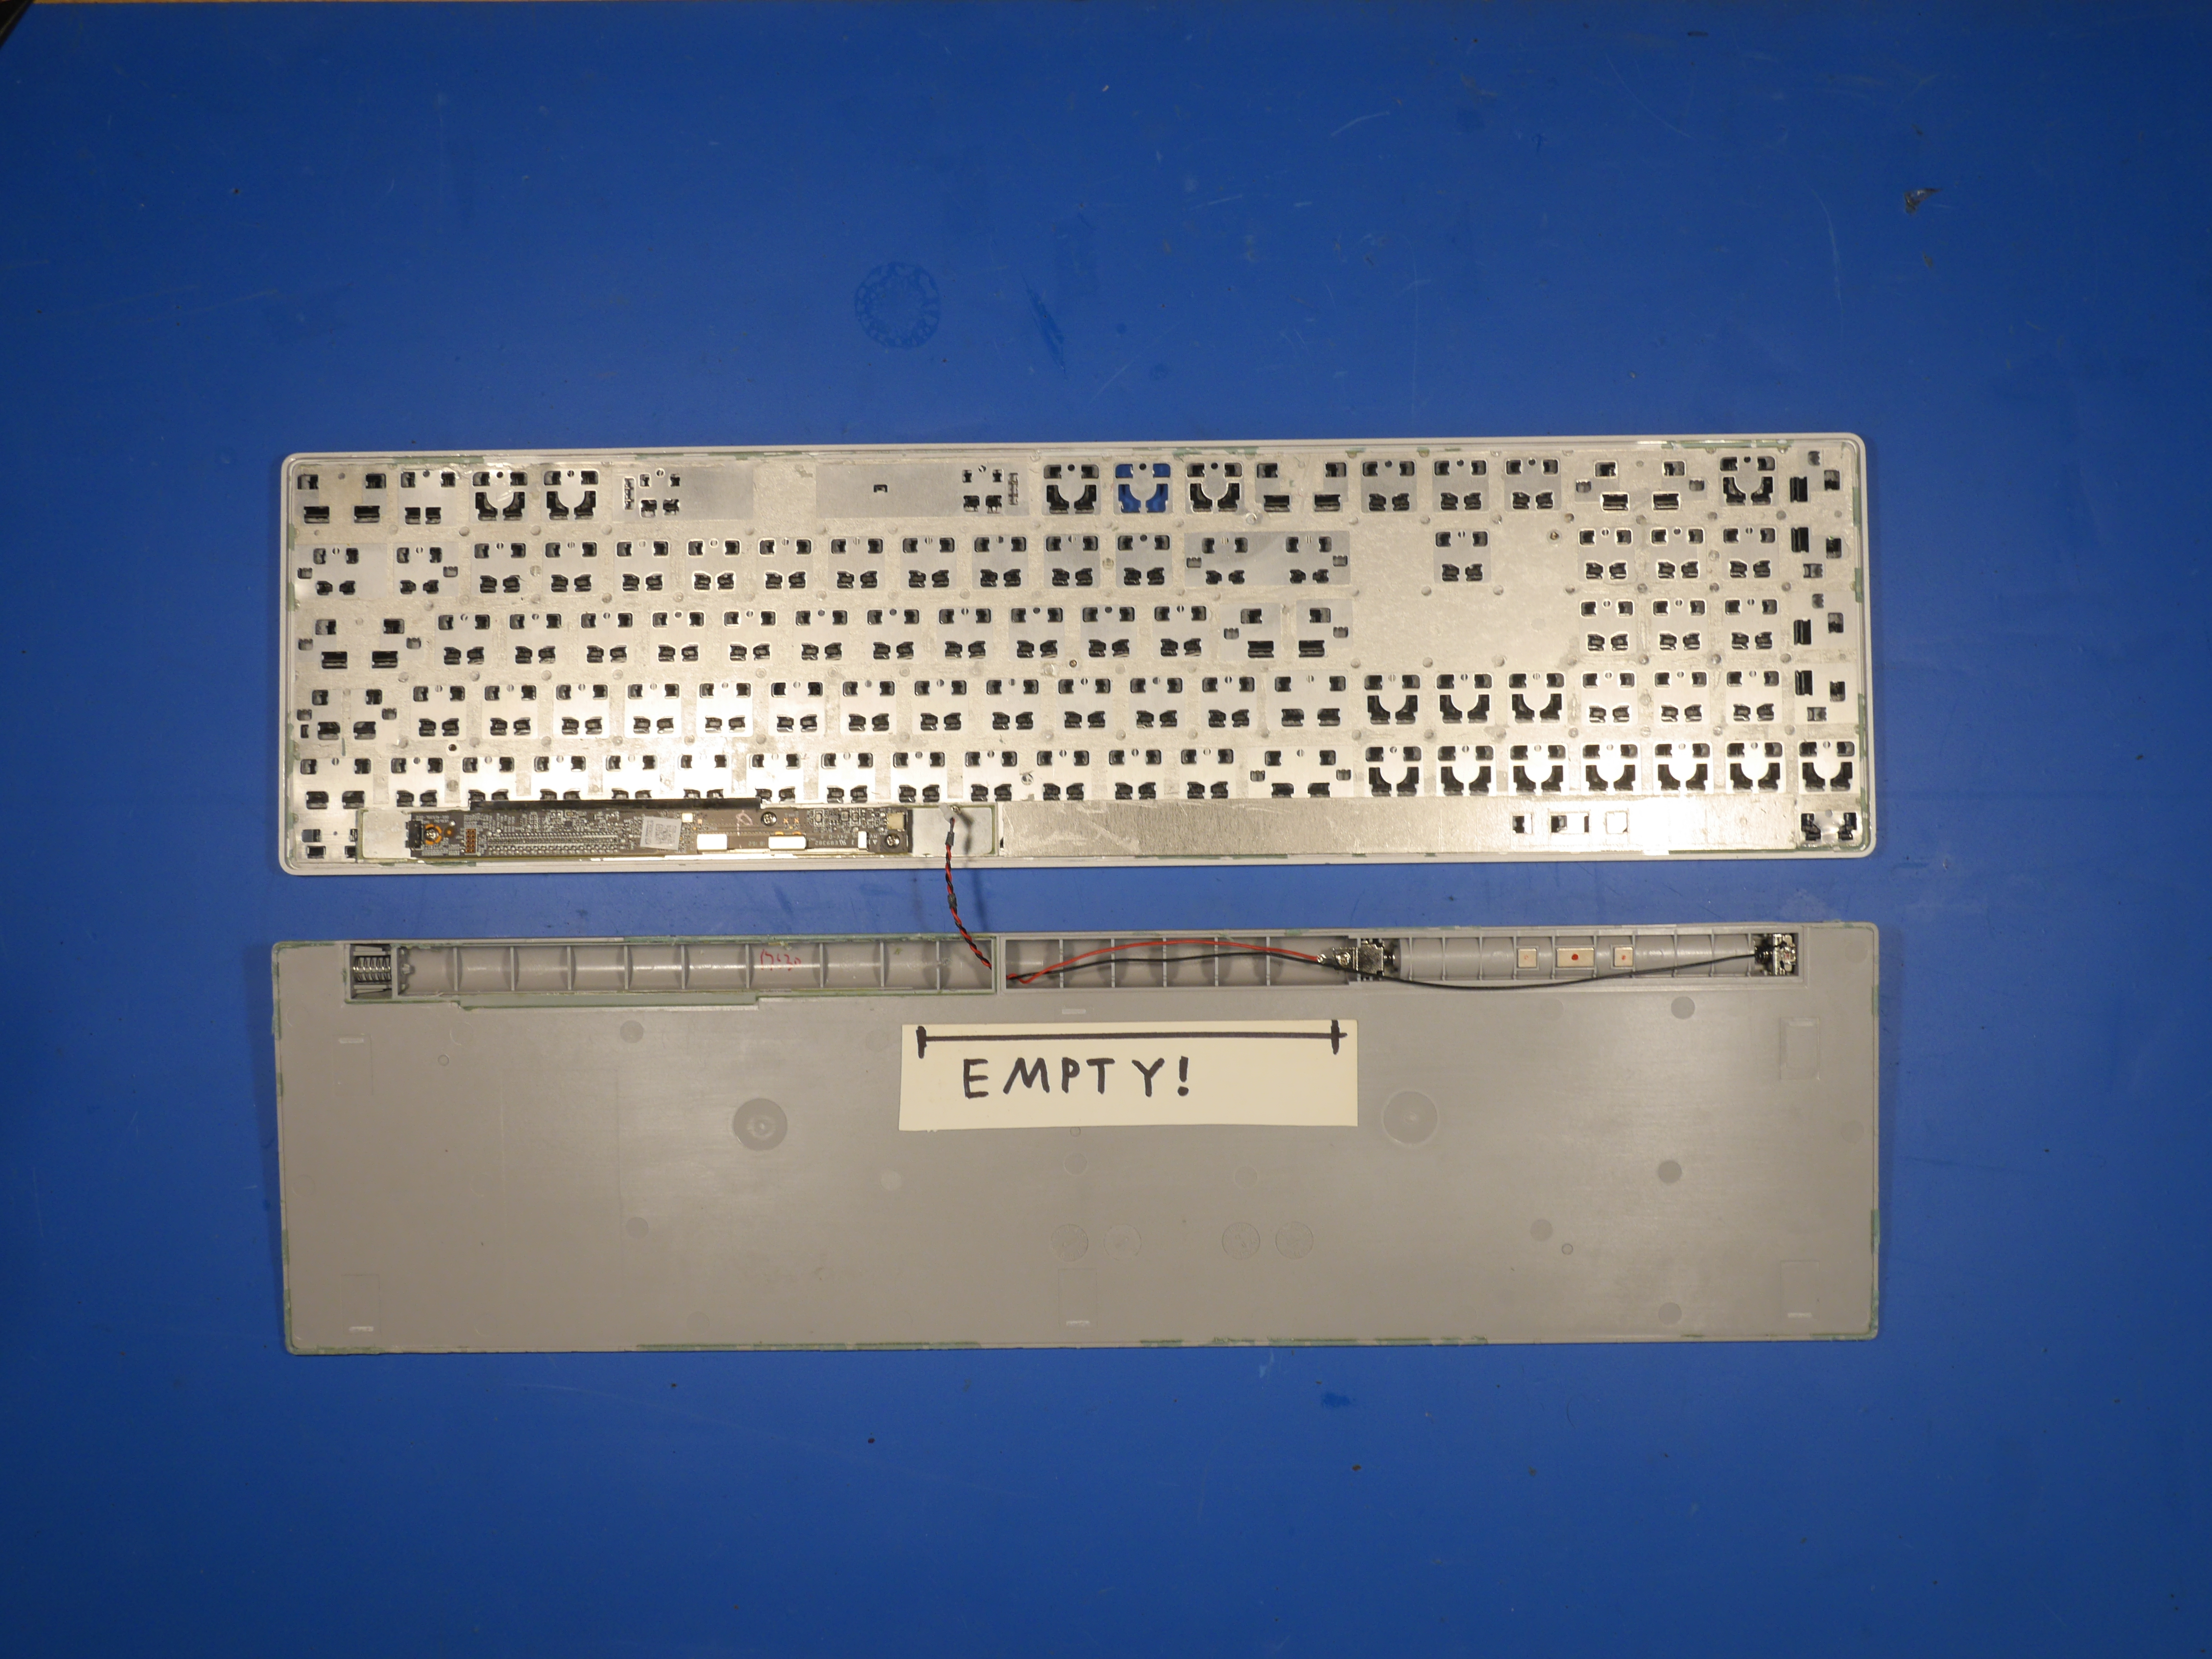
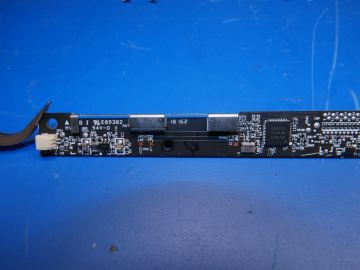
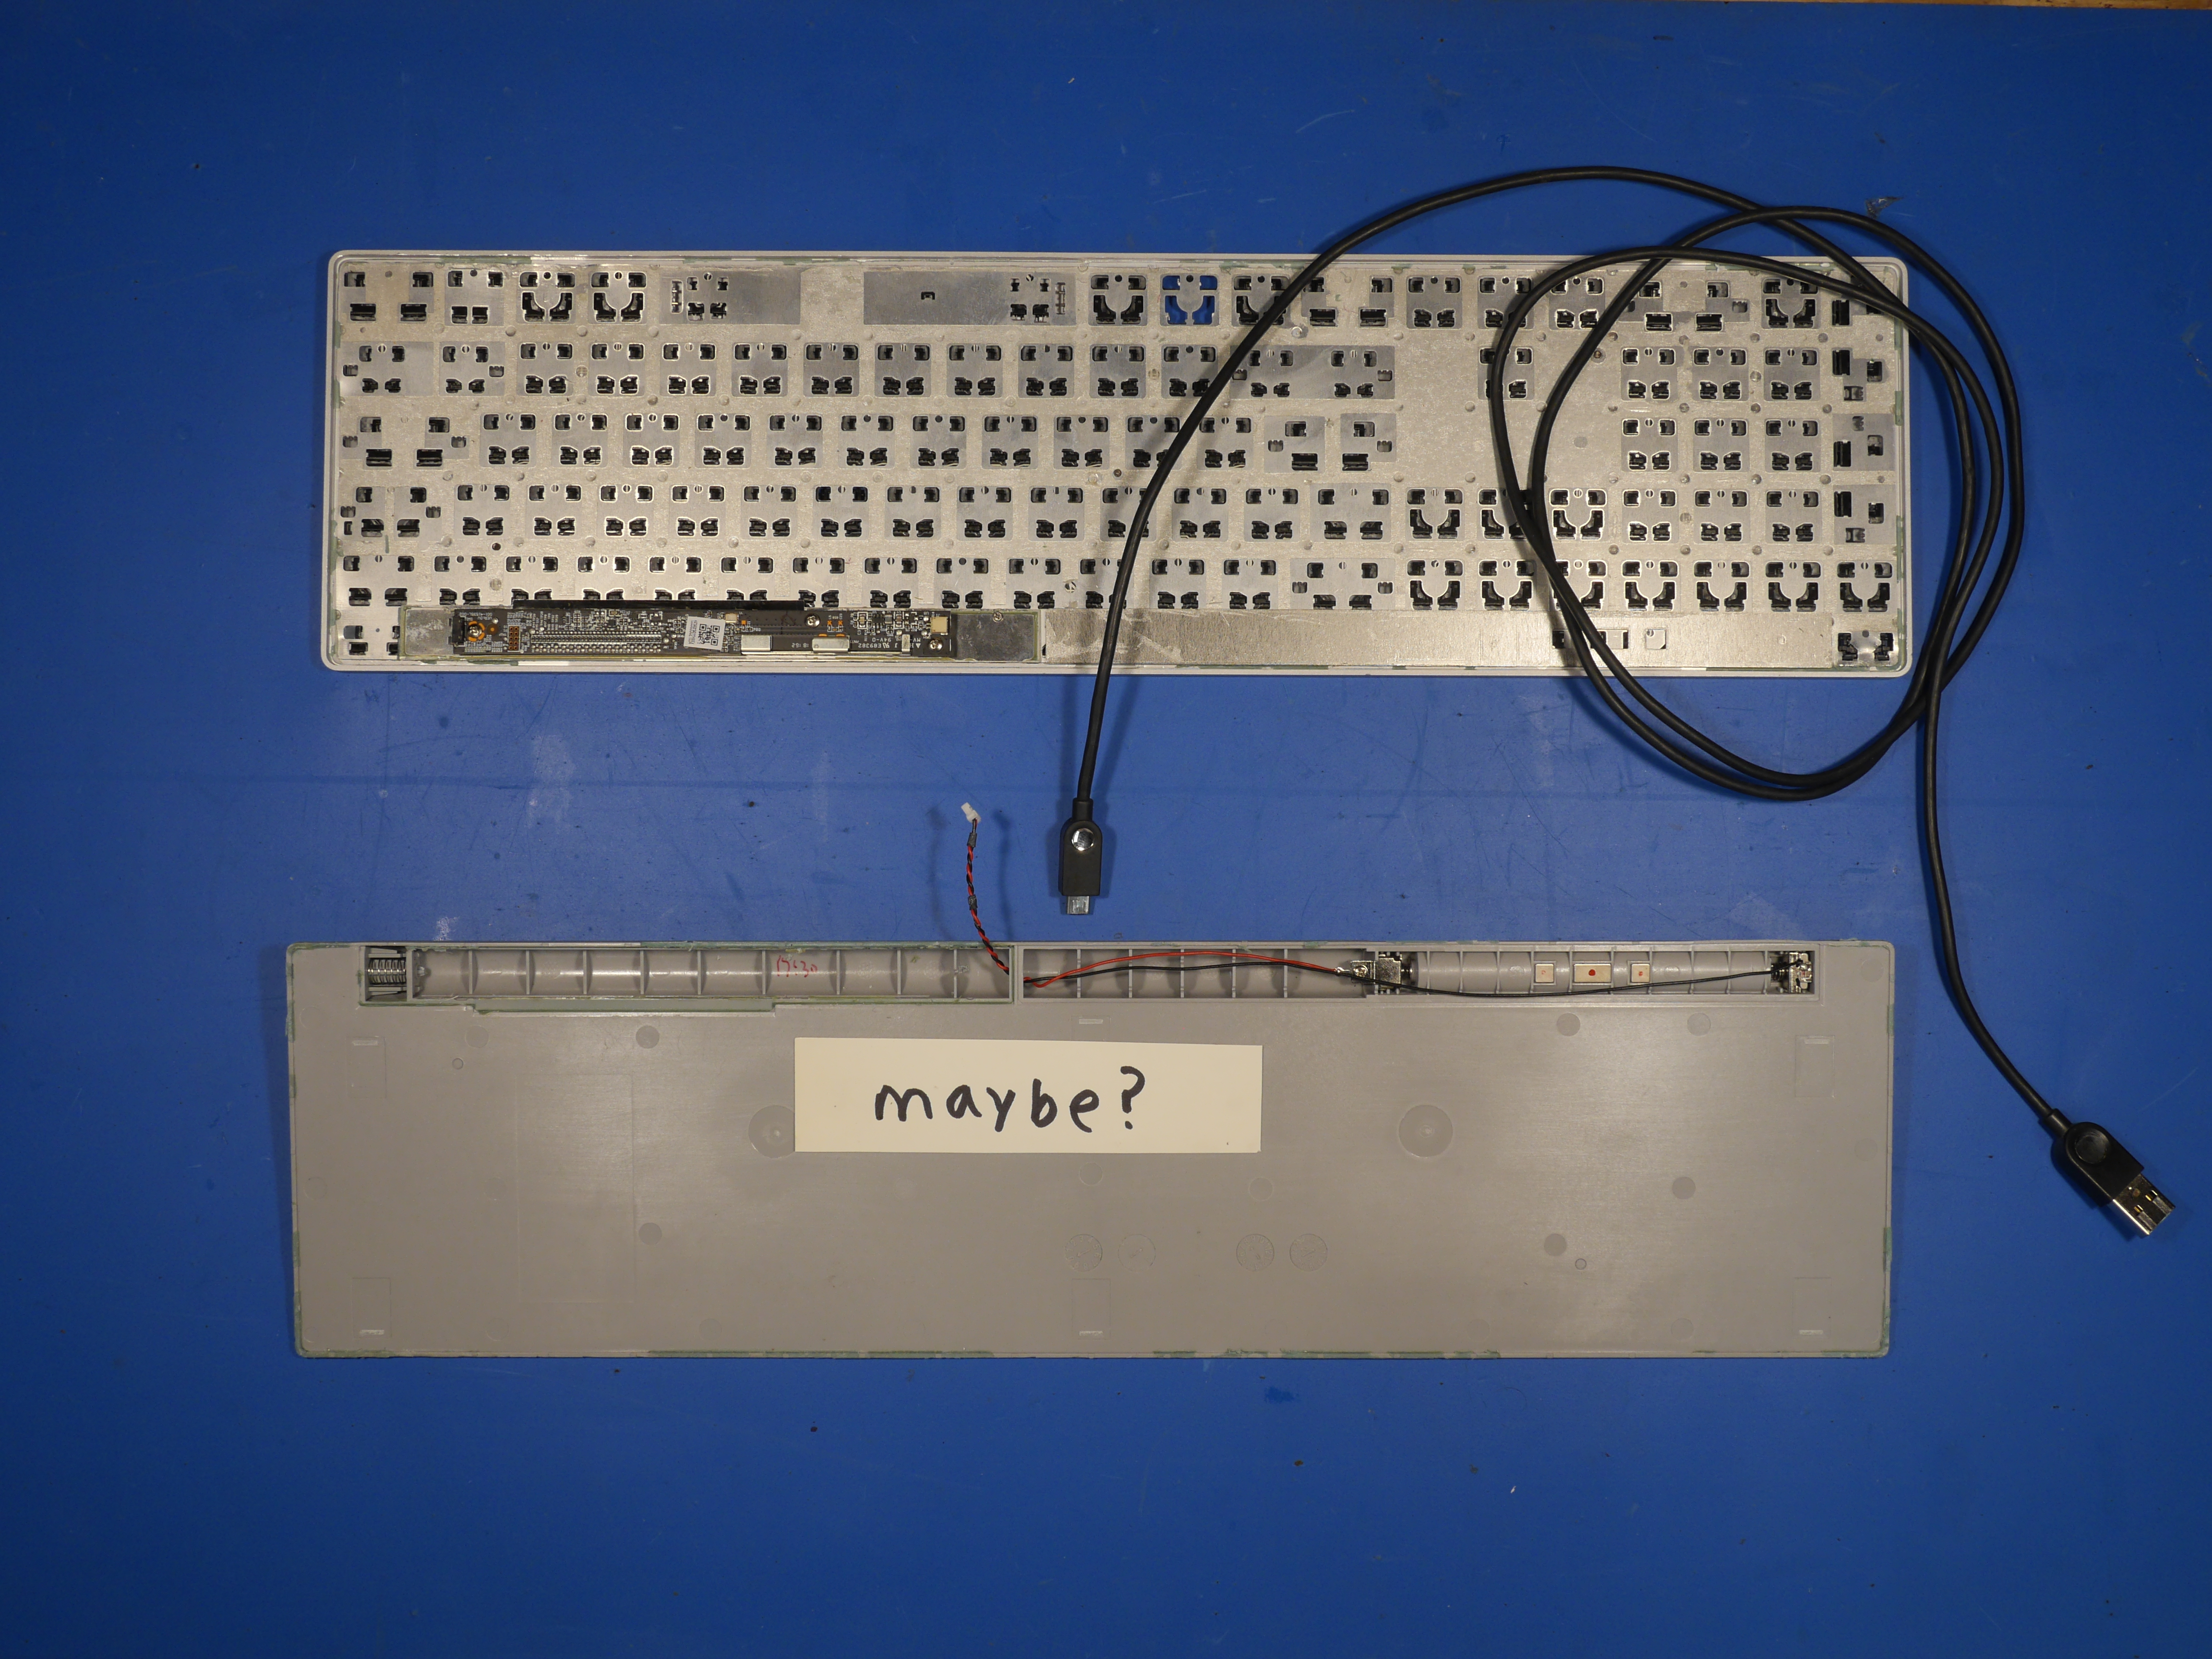
On to the goods. Since I wanted to add a direct USB connection and bypass Bluetooth, I was most interested in the PCB. However, I was shocked by how little circuitry I found in the "bump" of the keyboard. I anticipated a PCB that ran the full length or some odd obstruction that would prevent further hacking. Nope. Plenty of room for modifications. Sweet.
On the PCB side of town, I was definitely expecting the board to be more complex or be larger in size with a bunch of un-populated pads. However, their layout makes functional sense. It's a small 12mm x 170mm PCB that uses few components and is easy to mass produce and panelize.
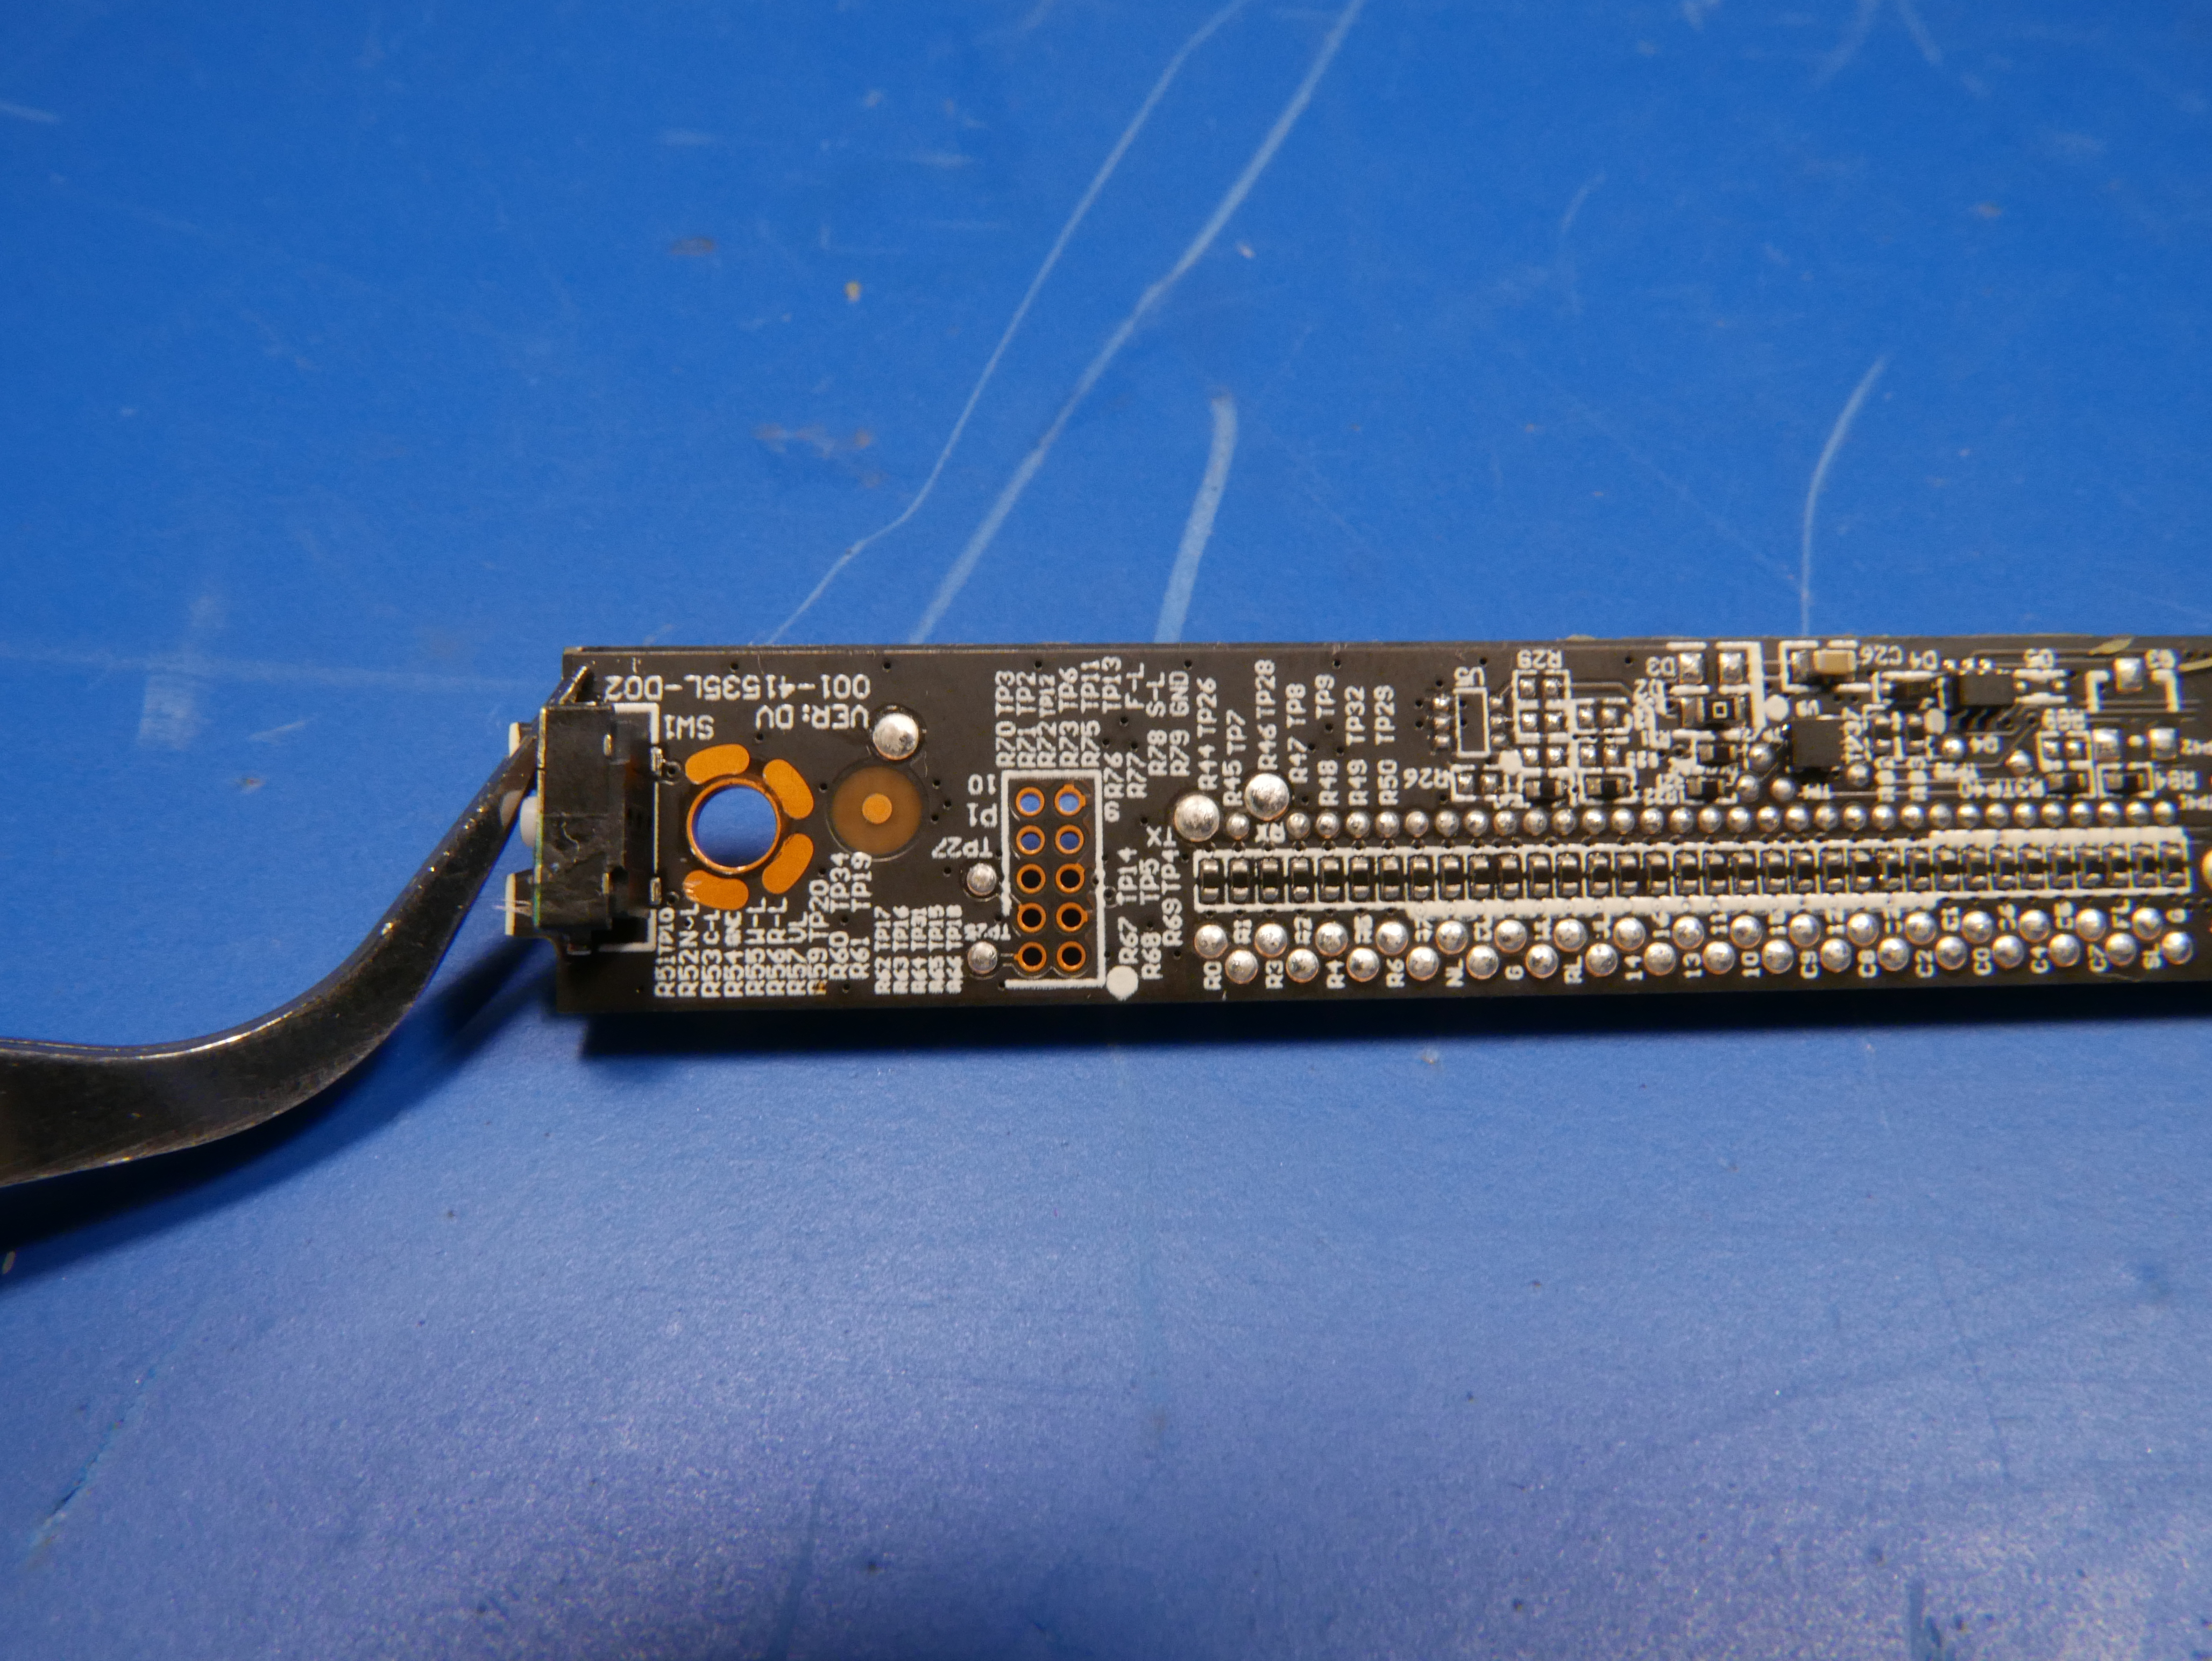
With some further analysis, it looks like there may be a simple shortcut to bypassing the Bluetooth portion of the board. There is a 10 pin 5x2 1.0mm pitch grid of un-populated pins which are of top priority on my list of things to probe. With the introduction of the Microsoft Modern Keyboard it is extremely likely that Microsoft spun one board and just utilized that 10 pin portion for their "newly designed" micro USB port.
Seeing how Microsoft intentionally left space in the bottom of the keyboard for the future port and used transparent keys, it is very likely that they designed this keyboard with several iterations in mind, and that they would just slowly introduce new versions with very minimal work on their end. Talk about intentional obsolescence. Wow.
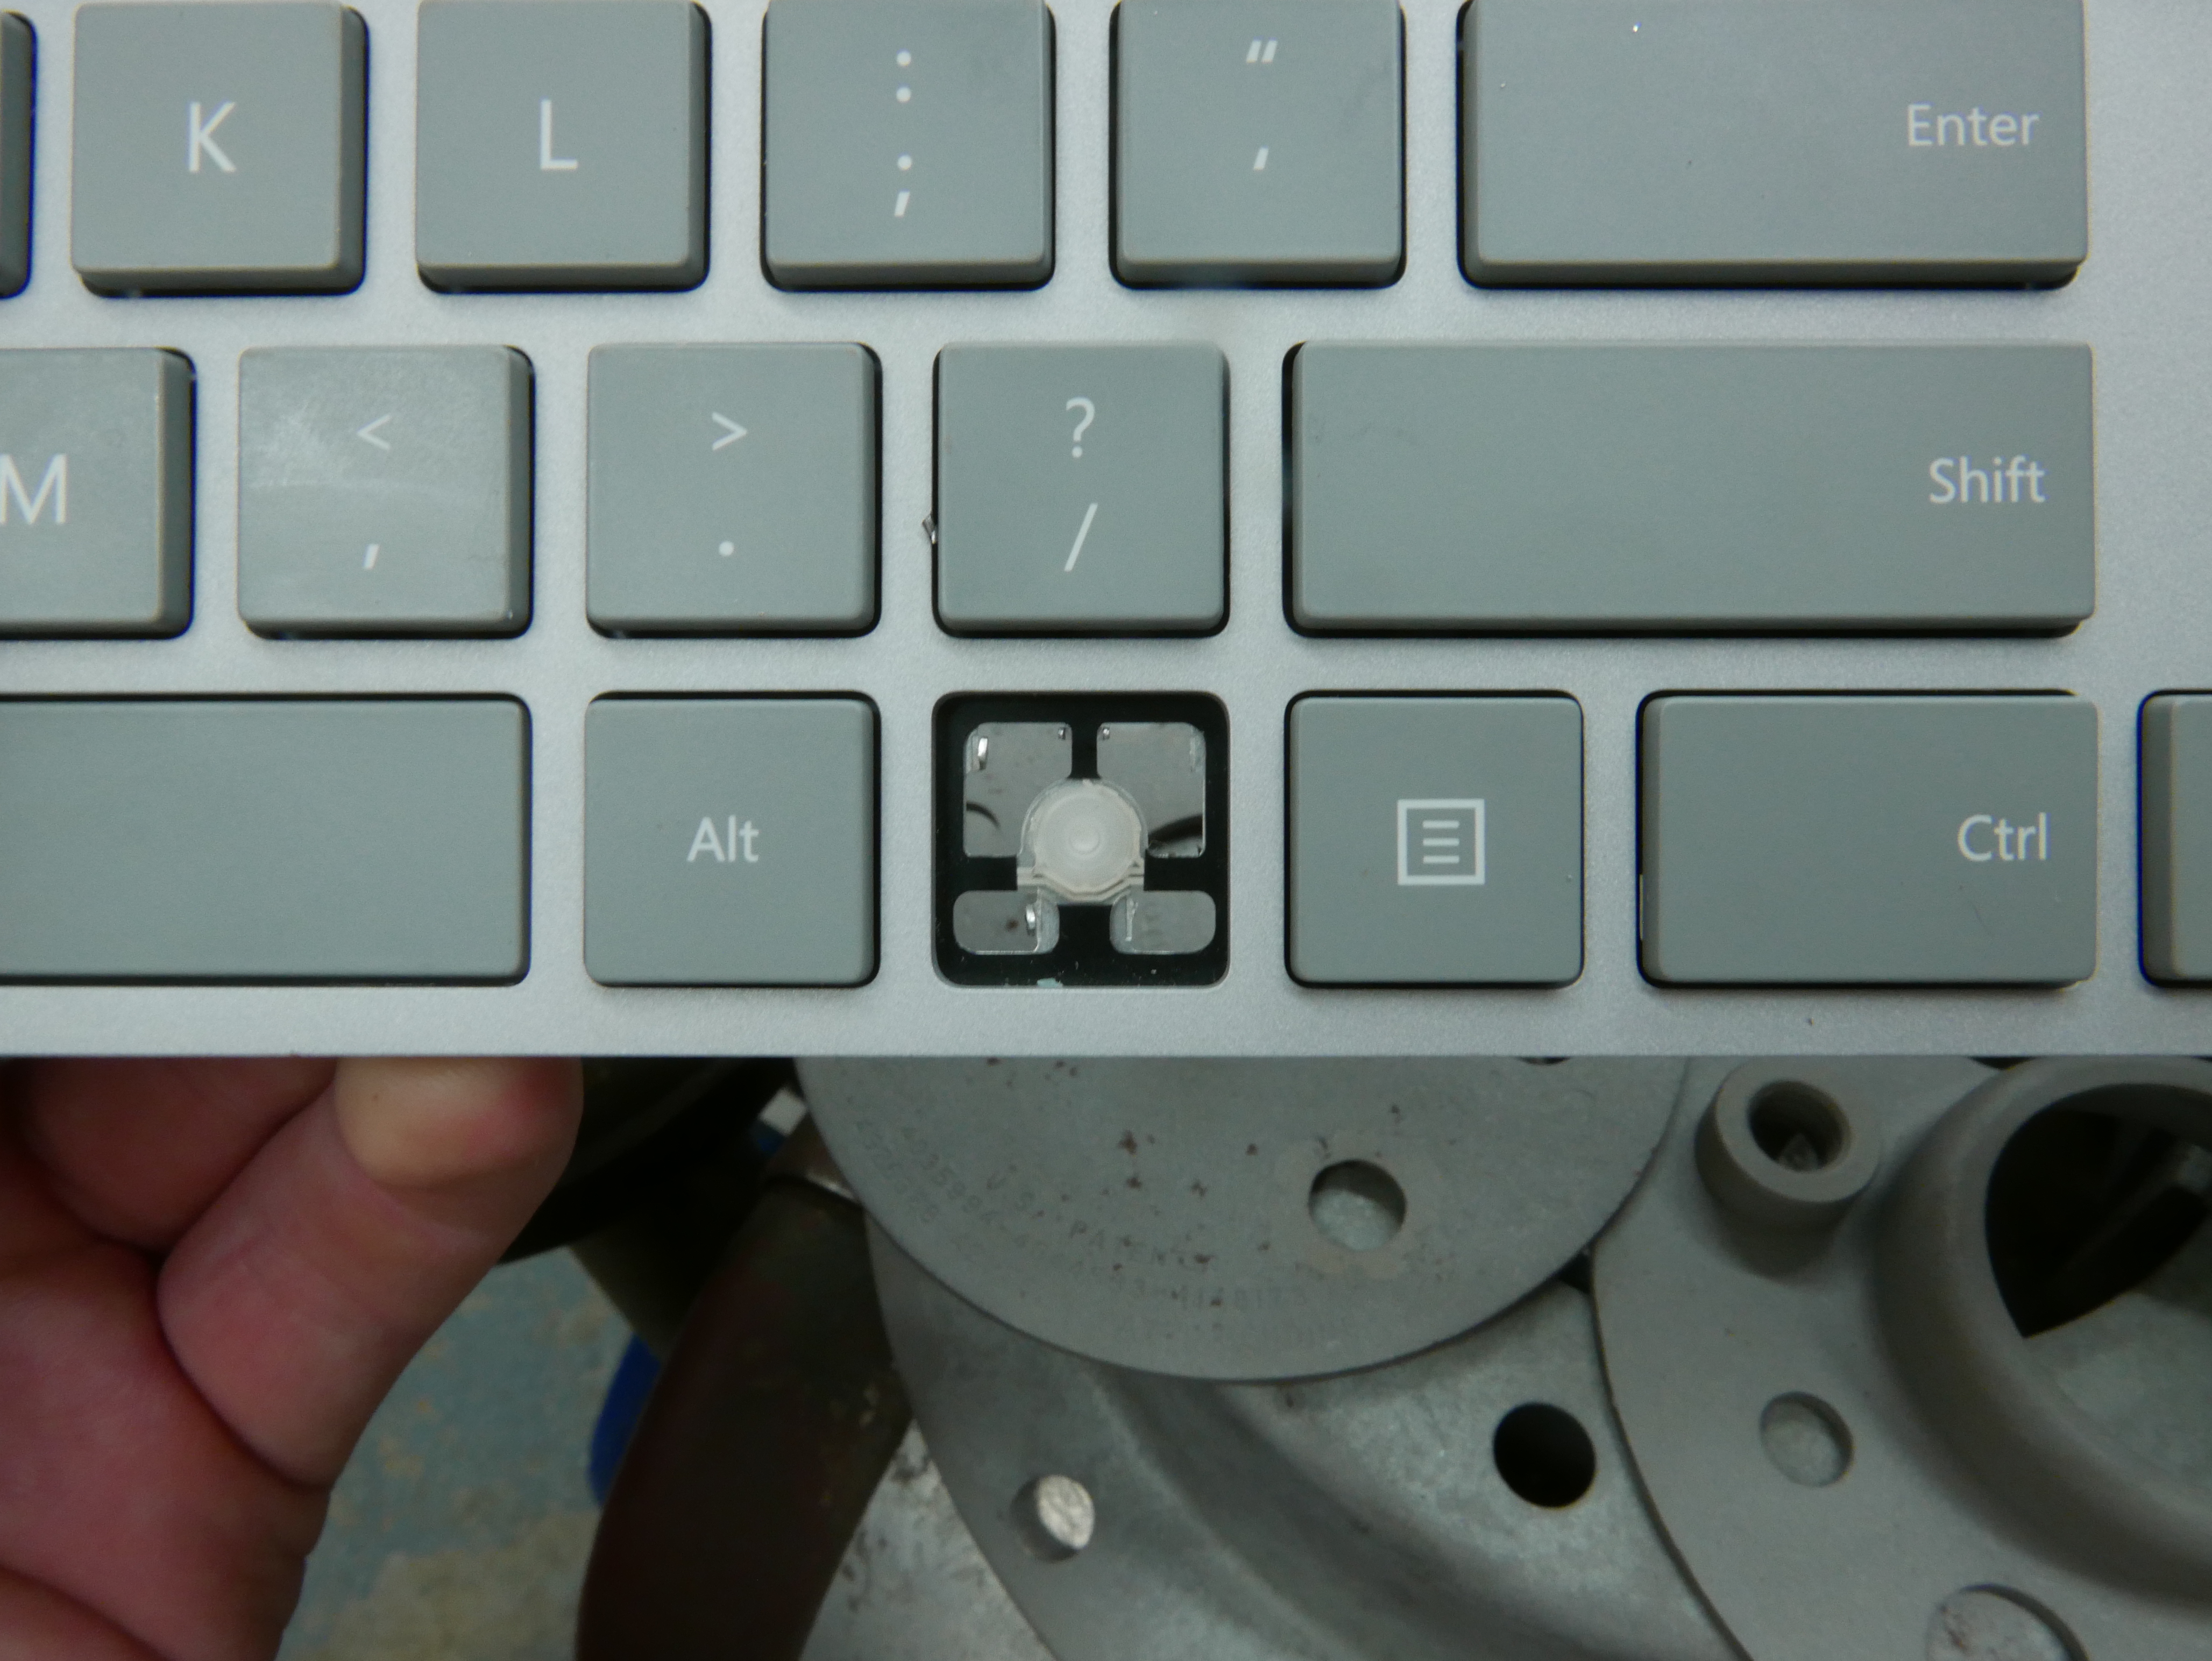
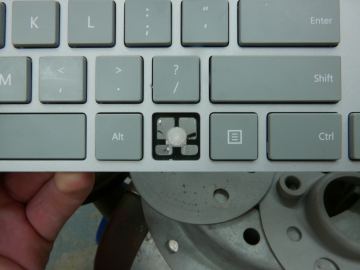
On to the hacking. Ideally, I would like to add a wired connection and a backlight to this keyboard. Since the key typeface is transparent, and the flex PCB is transparent, and the rubber dome pads are transparent, it is almost a crime to not add a backlight at this step, so I decided to drill into the back face of the key mounting bracket. Since the windows key latching tabs are broken and I am missing the key, I decided to start there.
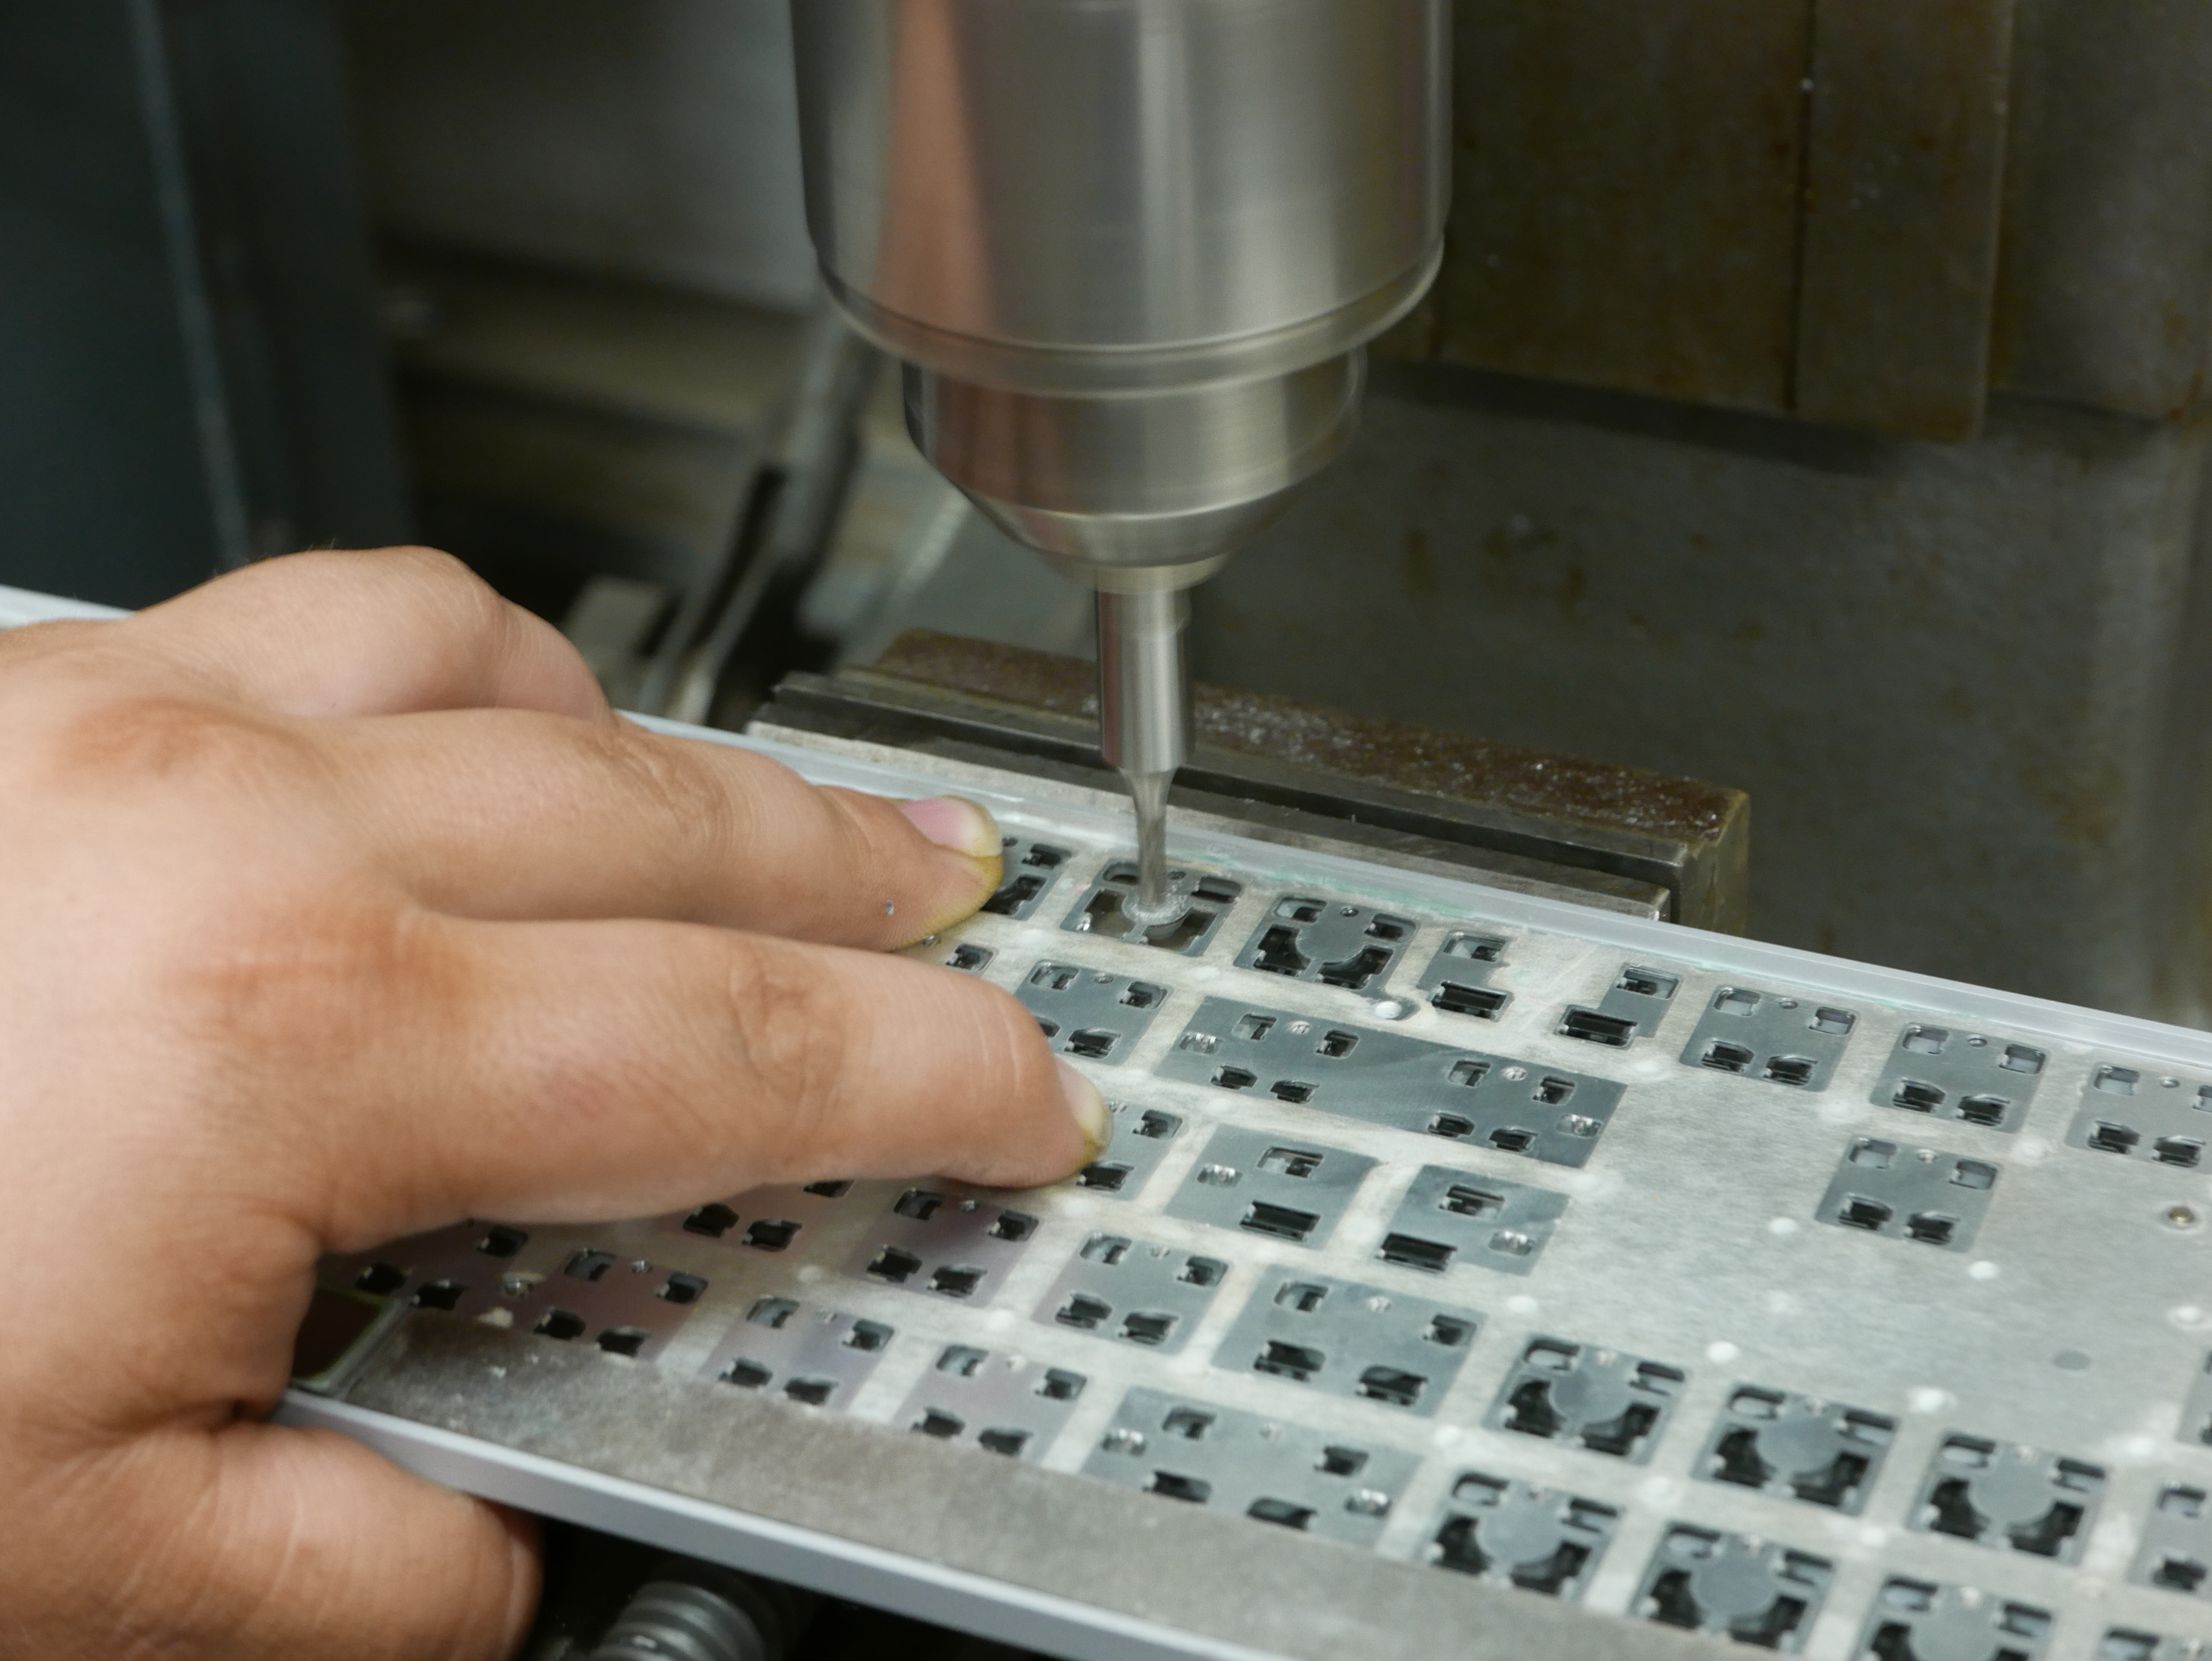
The aluminum thickness under each key is only about 25 Thousandths of an inch, and the transparent flex circuit board is about 5 thousandths of an inch, so the chances of drilling through the flex circuit board are very high. The fact that I am using a jig borer that has a quill with a lot of runout, chances are not looking too good for survival.

With some stroke of luck, I was able to drill through the aluminum and not tear apart the extremely thin flex PCB. The big question remaining is whether the keyboard still works after the drilling process.

The resulting hole in the back of the keyboard. See that white off center dot inside the hole? That's the backside of the key contact on the flex PCB. Now any light source from behind the keys should shine through the key and light up the transparent typeface.
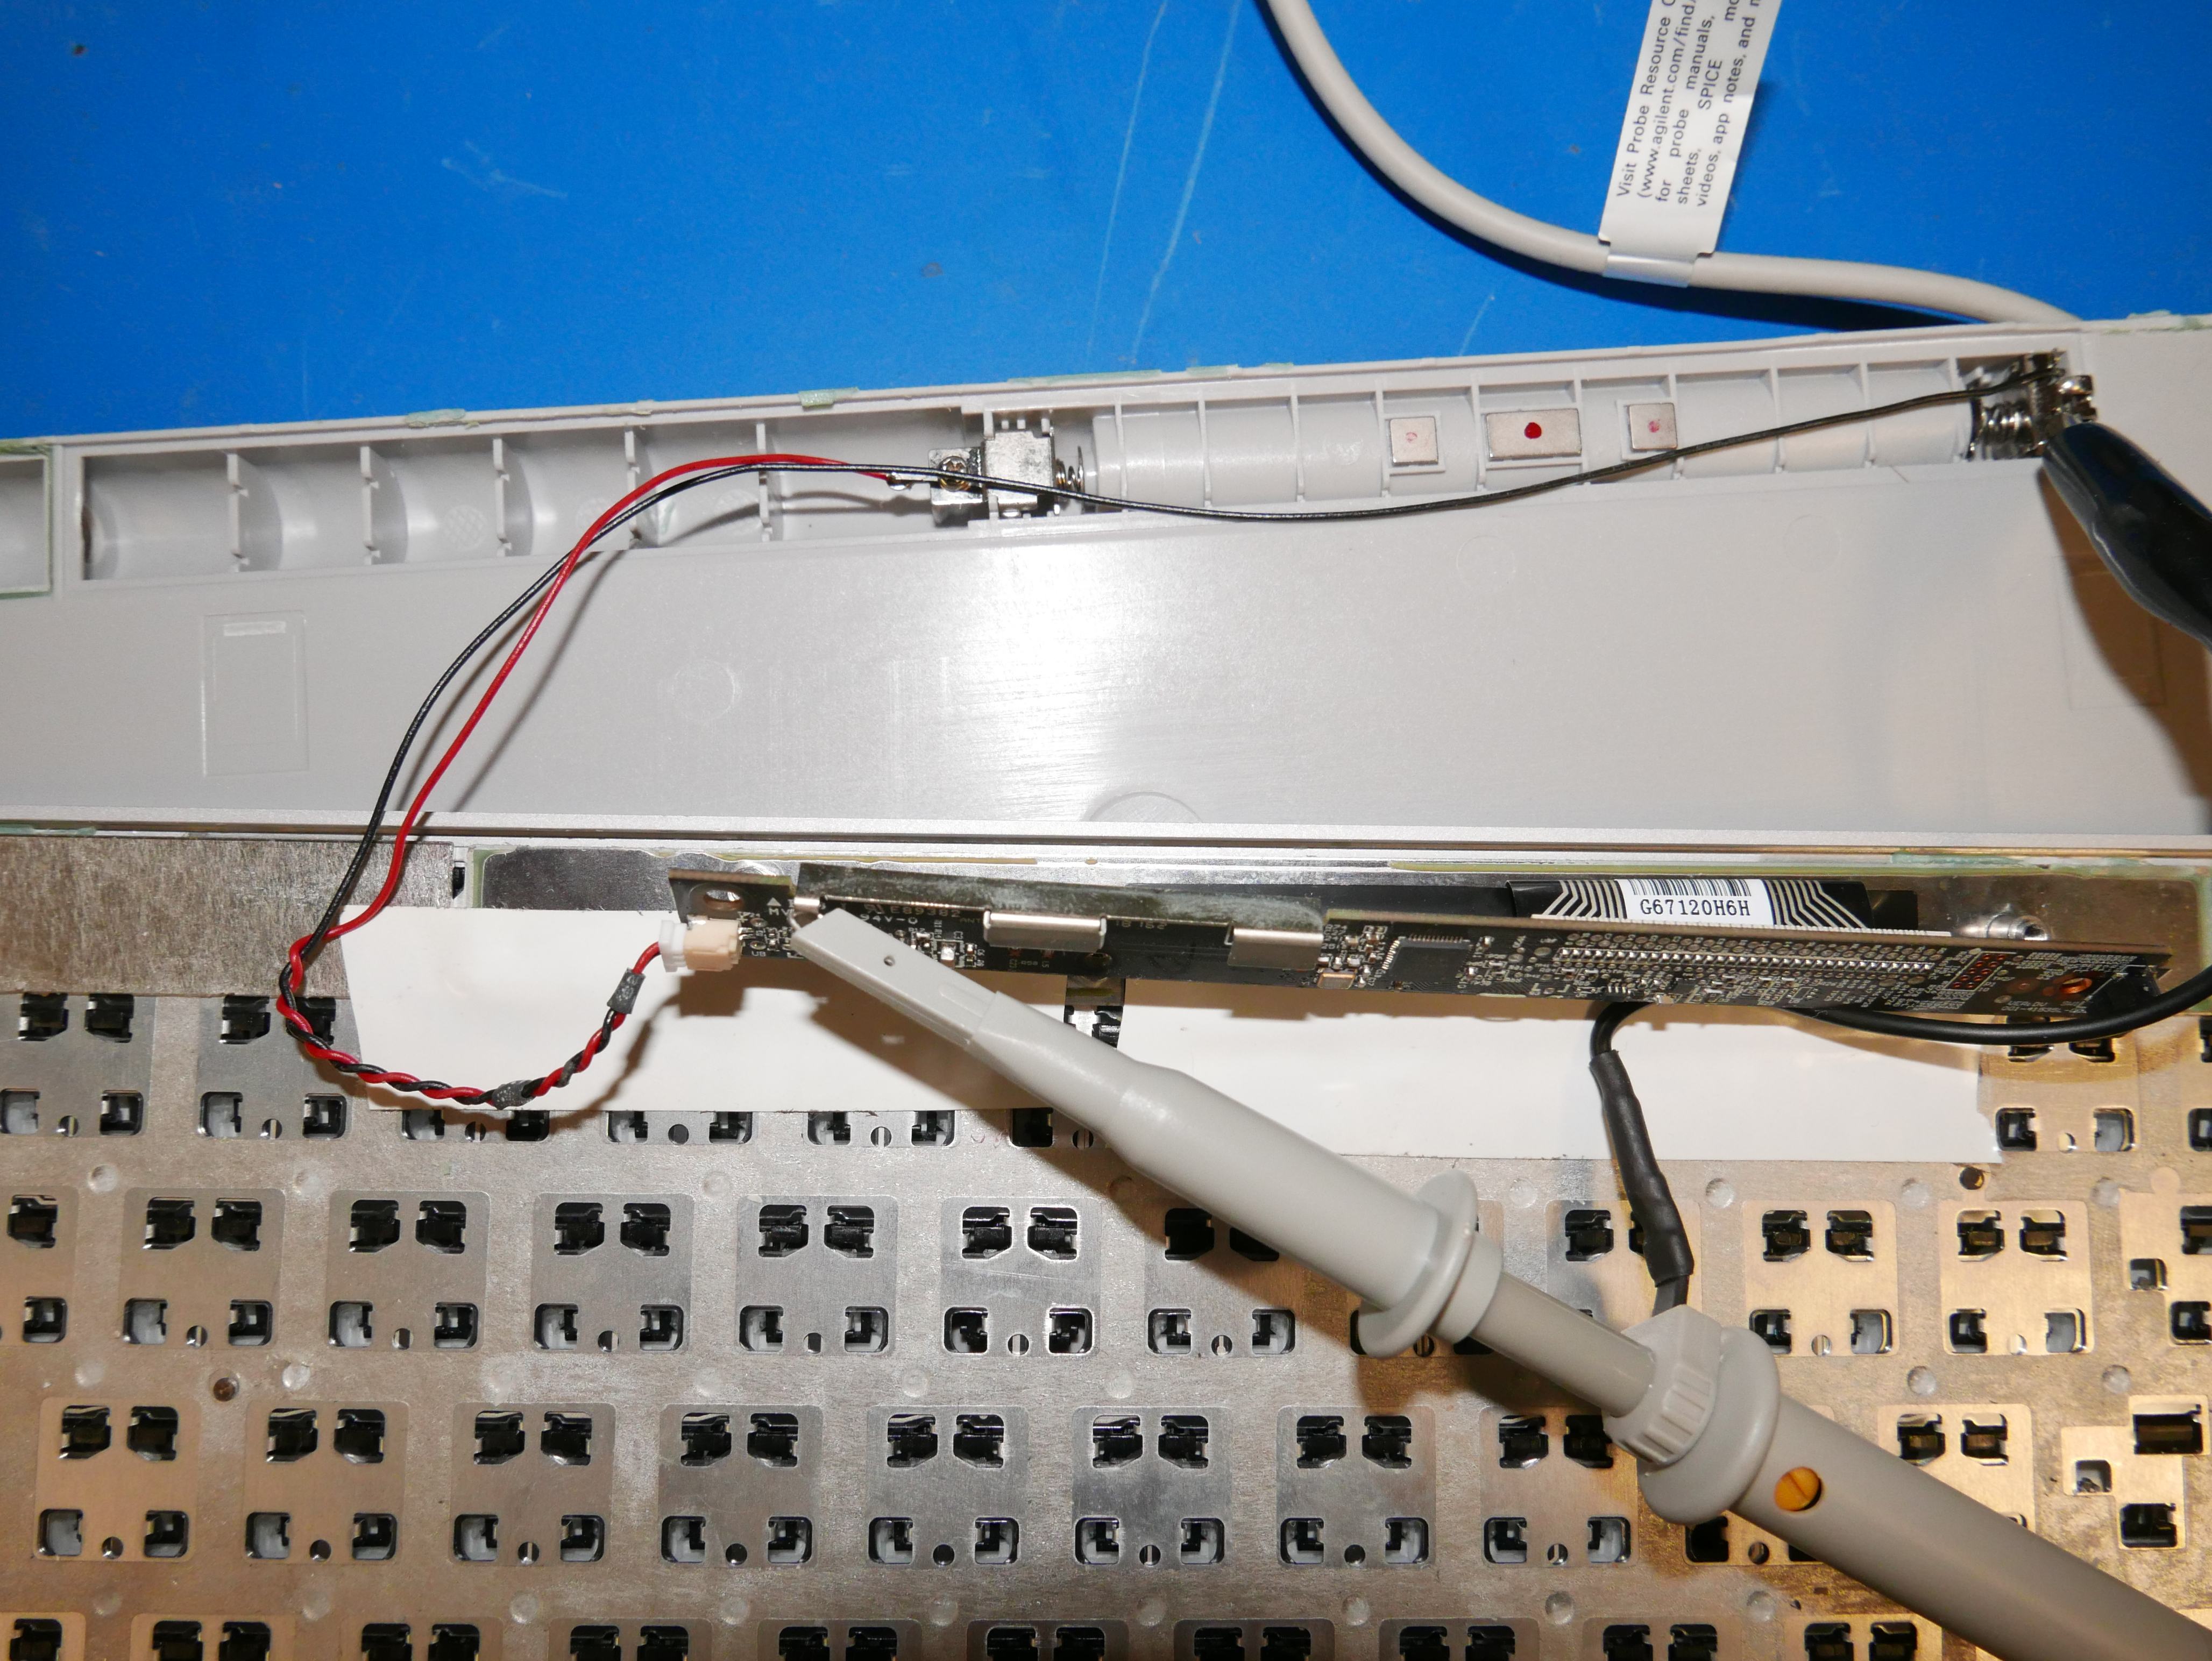
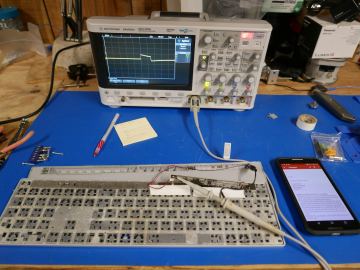
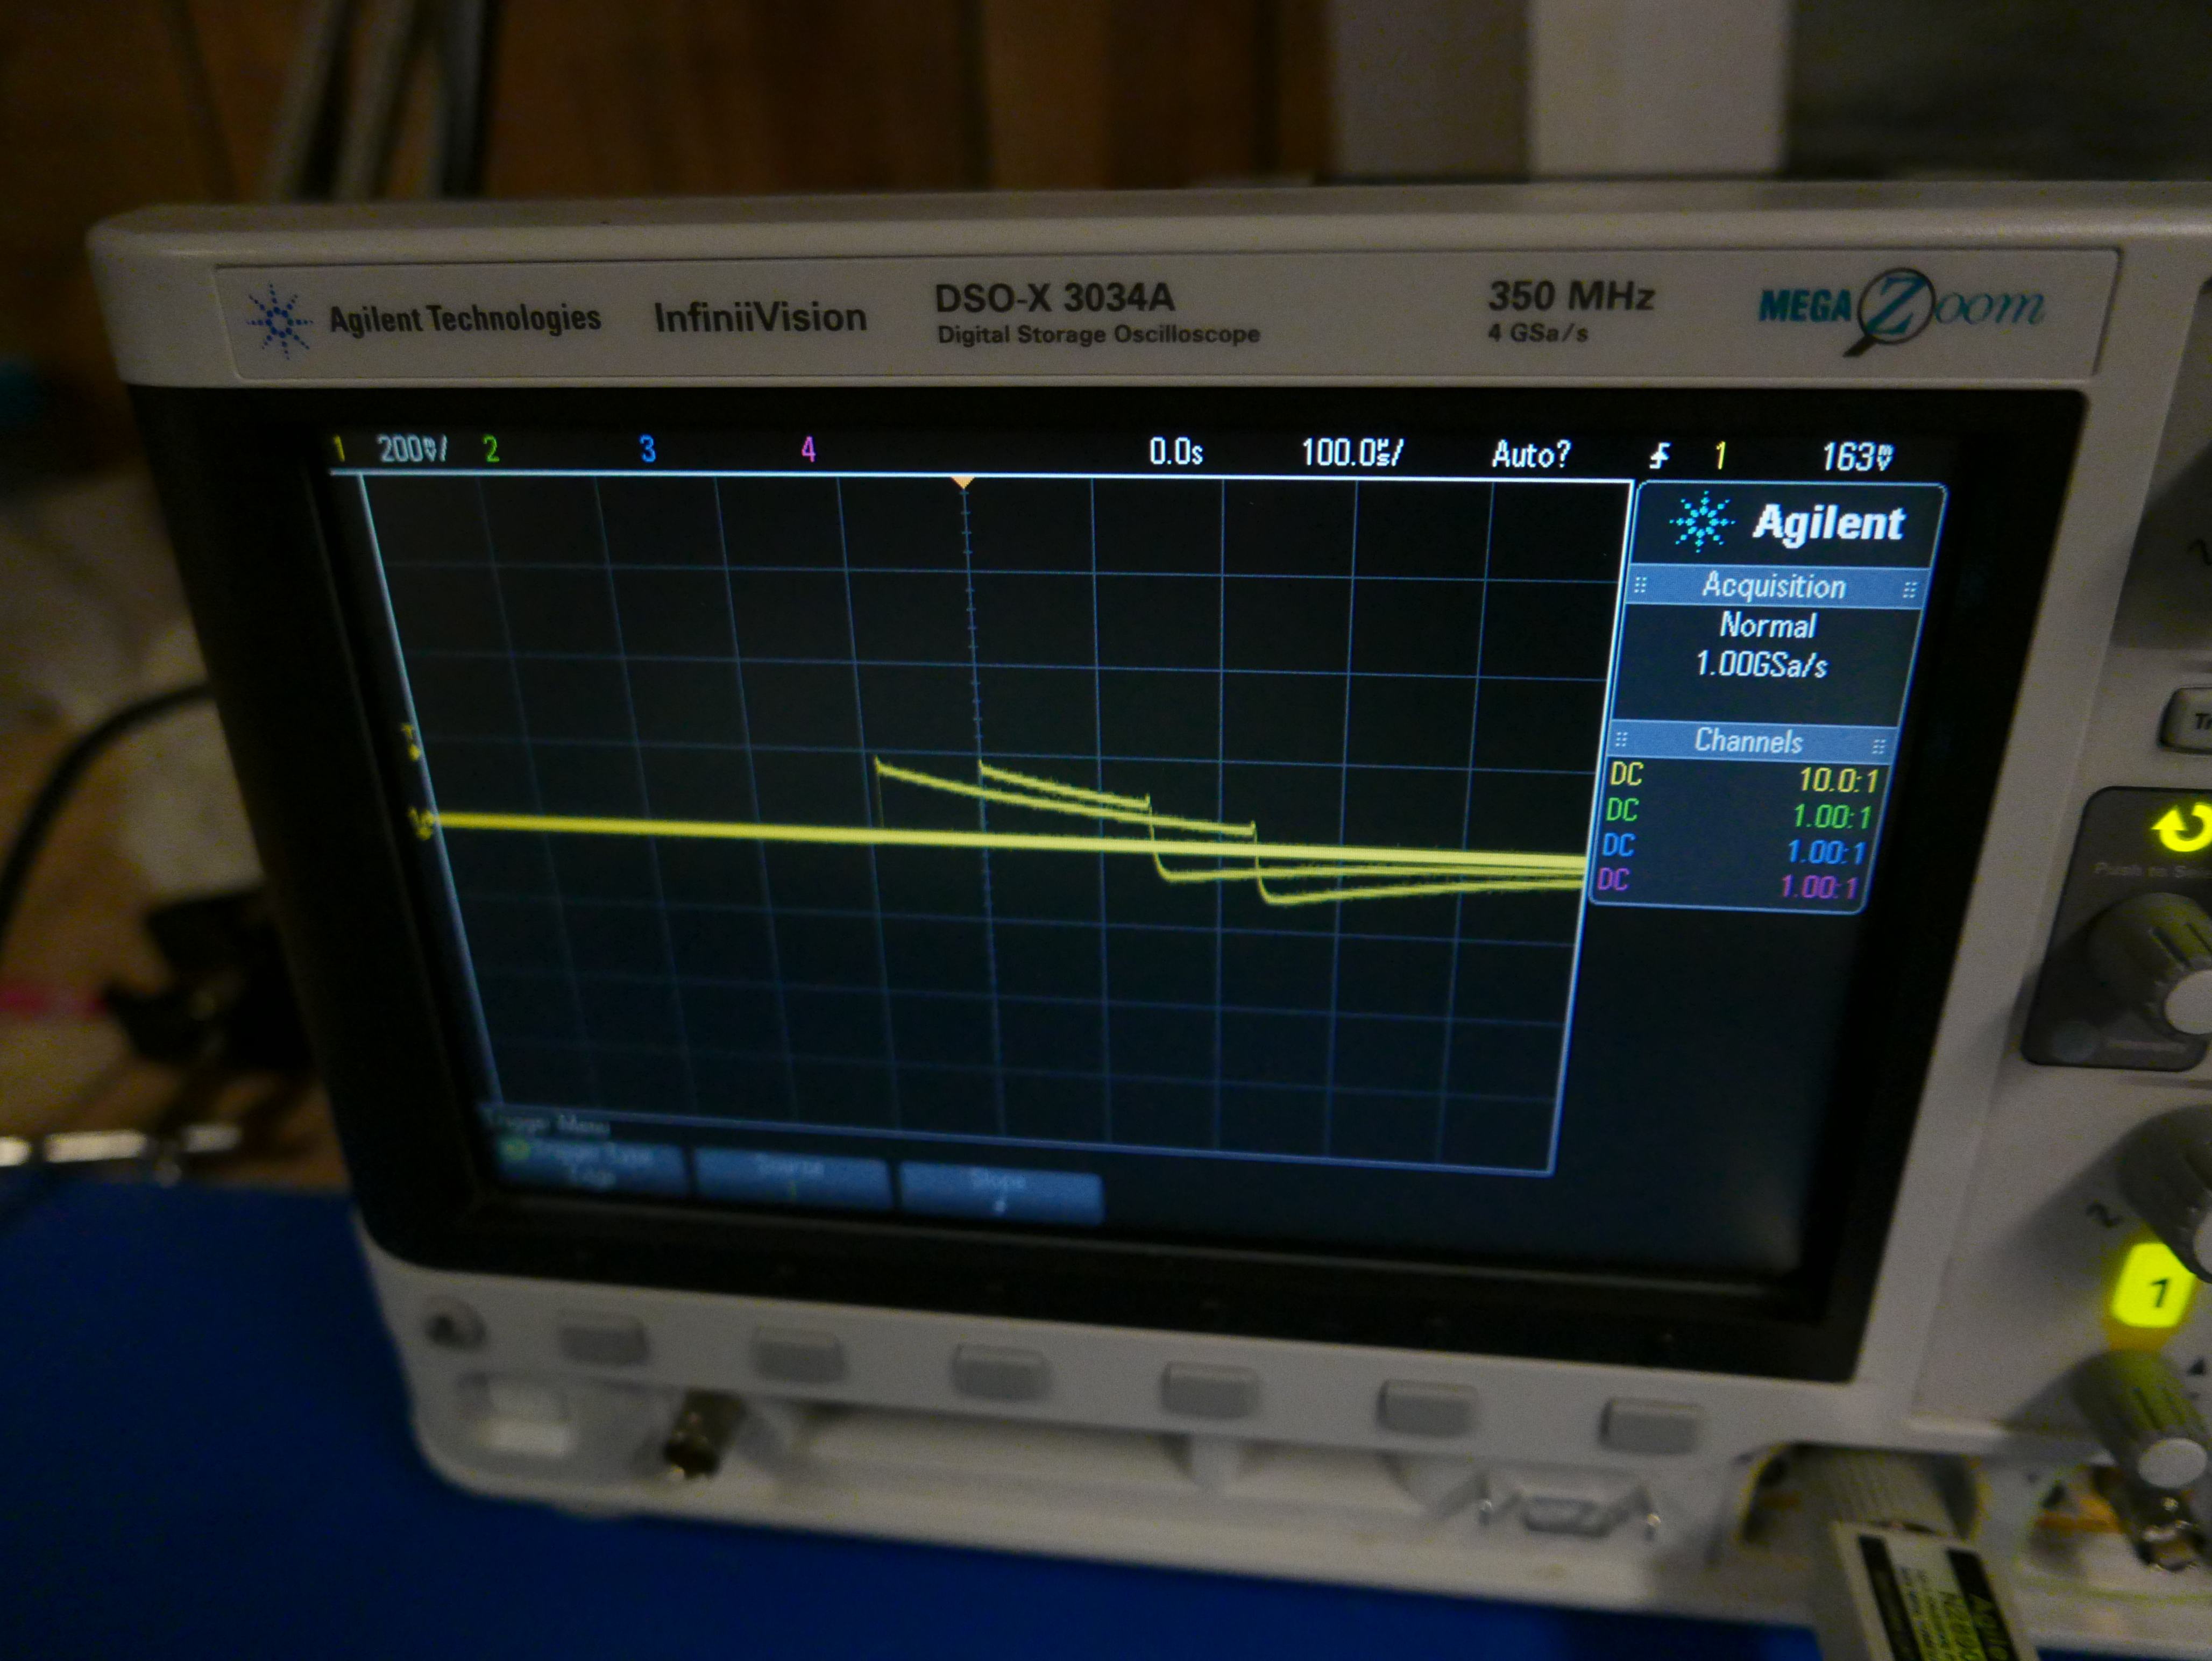
My biggest concern was if the keyboard still worked after the drilling. I installed the AAAs in the keyboard and hooked up the Bluetooth antenna to channel one of my Oscilloscope. Before I did any significant analysis, I wanted to make sure the Bluetooth chip was still signaling, so I simply probed the antenna to make sure packets were still being sent.

I was able to capture the keyboard outputting a consistent pairing packet, so the keyboard is still kicking.
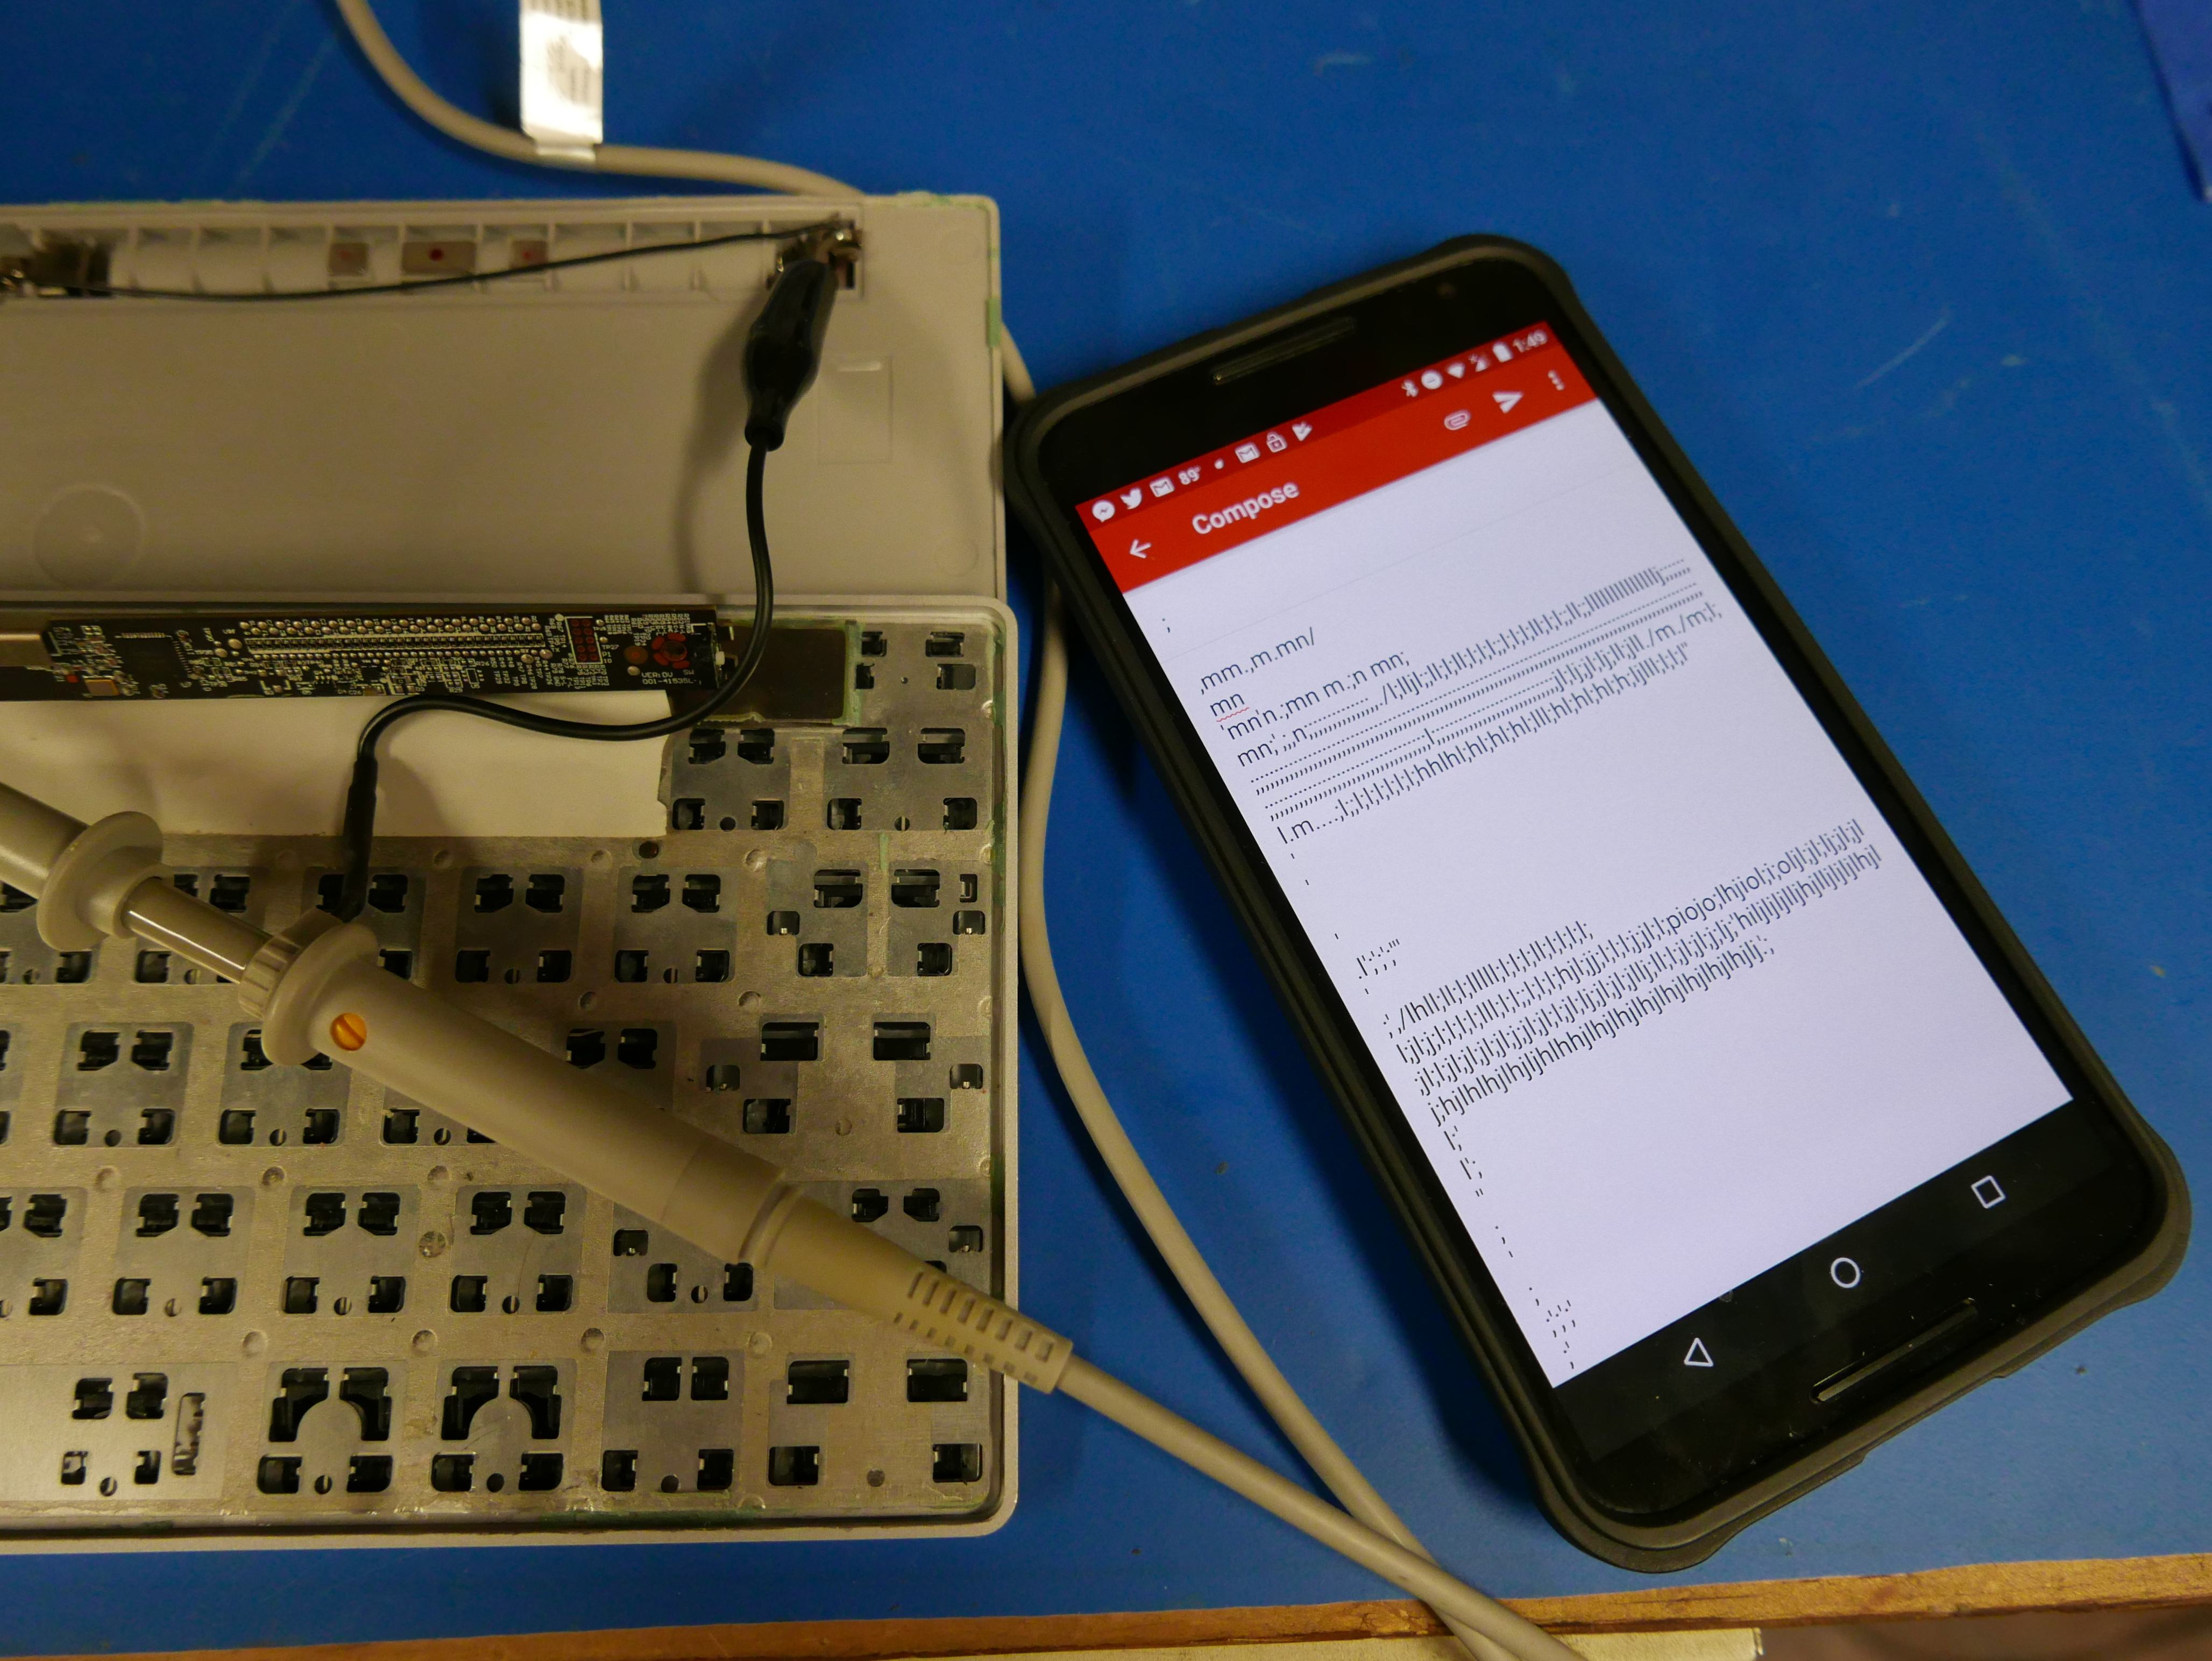
It took about 6 times to pair with my android phone, which isn't normal (it usually pairs on the first time). I found out that the #5 key, the k key and the #0,2,5 key on the numpad stopped working. So any Bluetooth pairing code involving a #5 simply would not work.
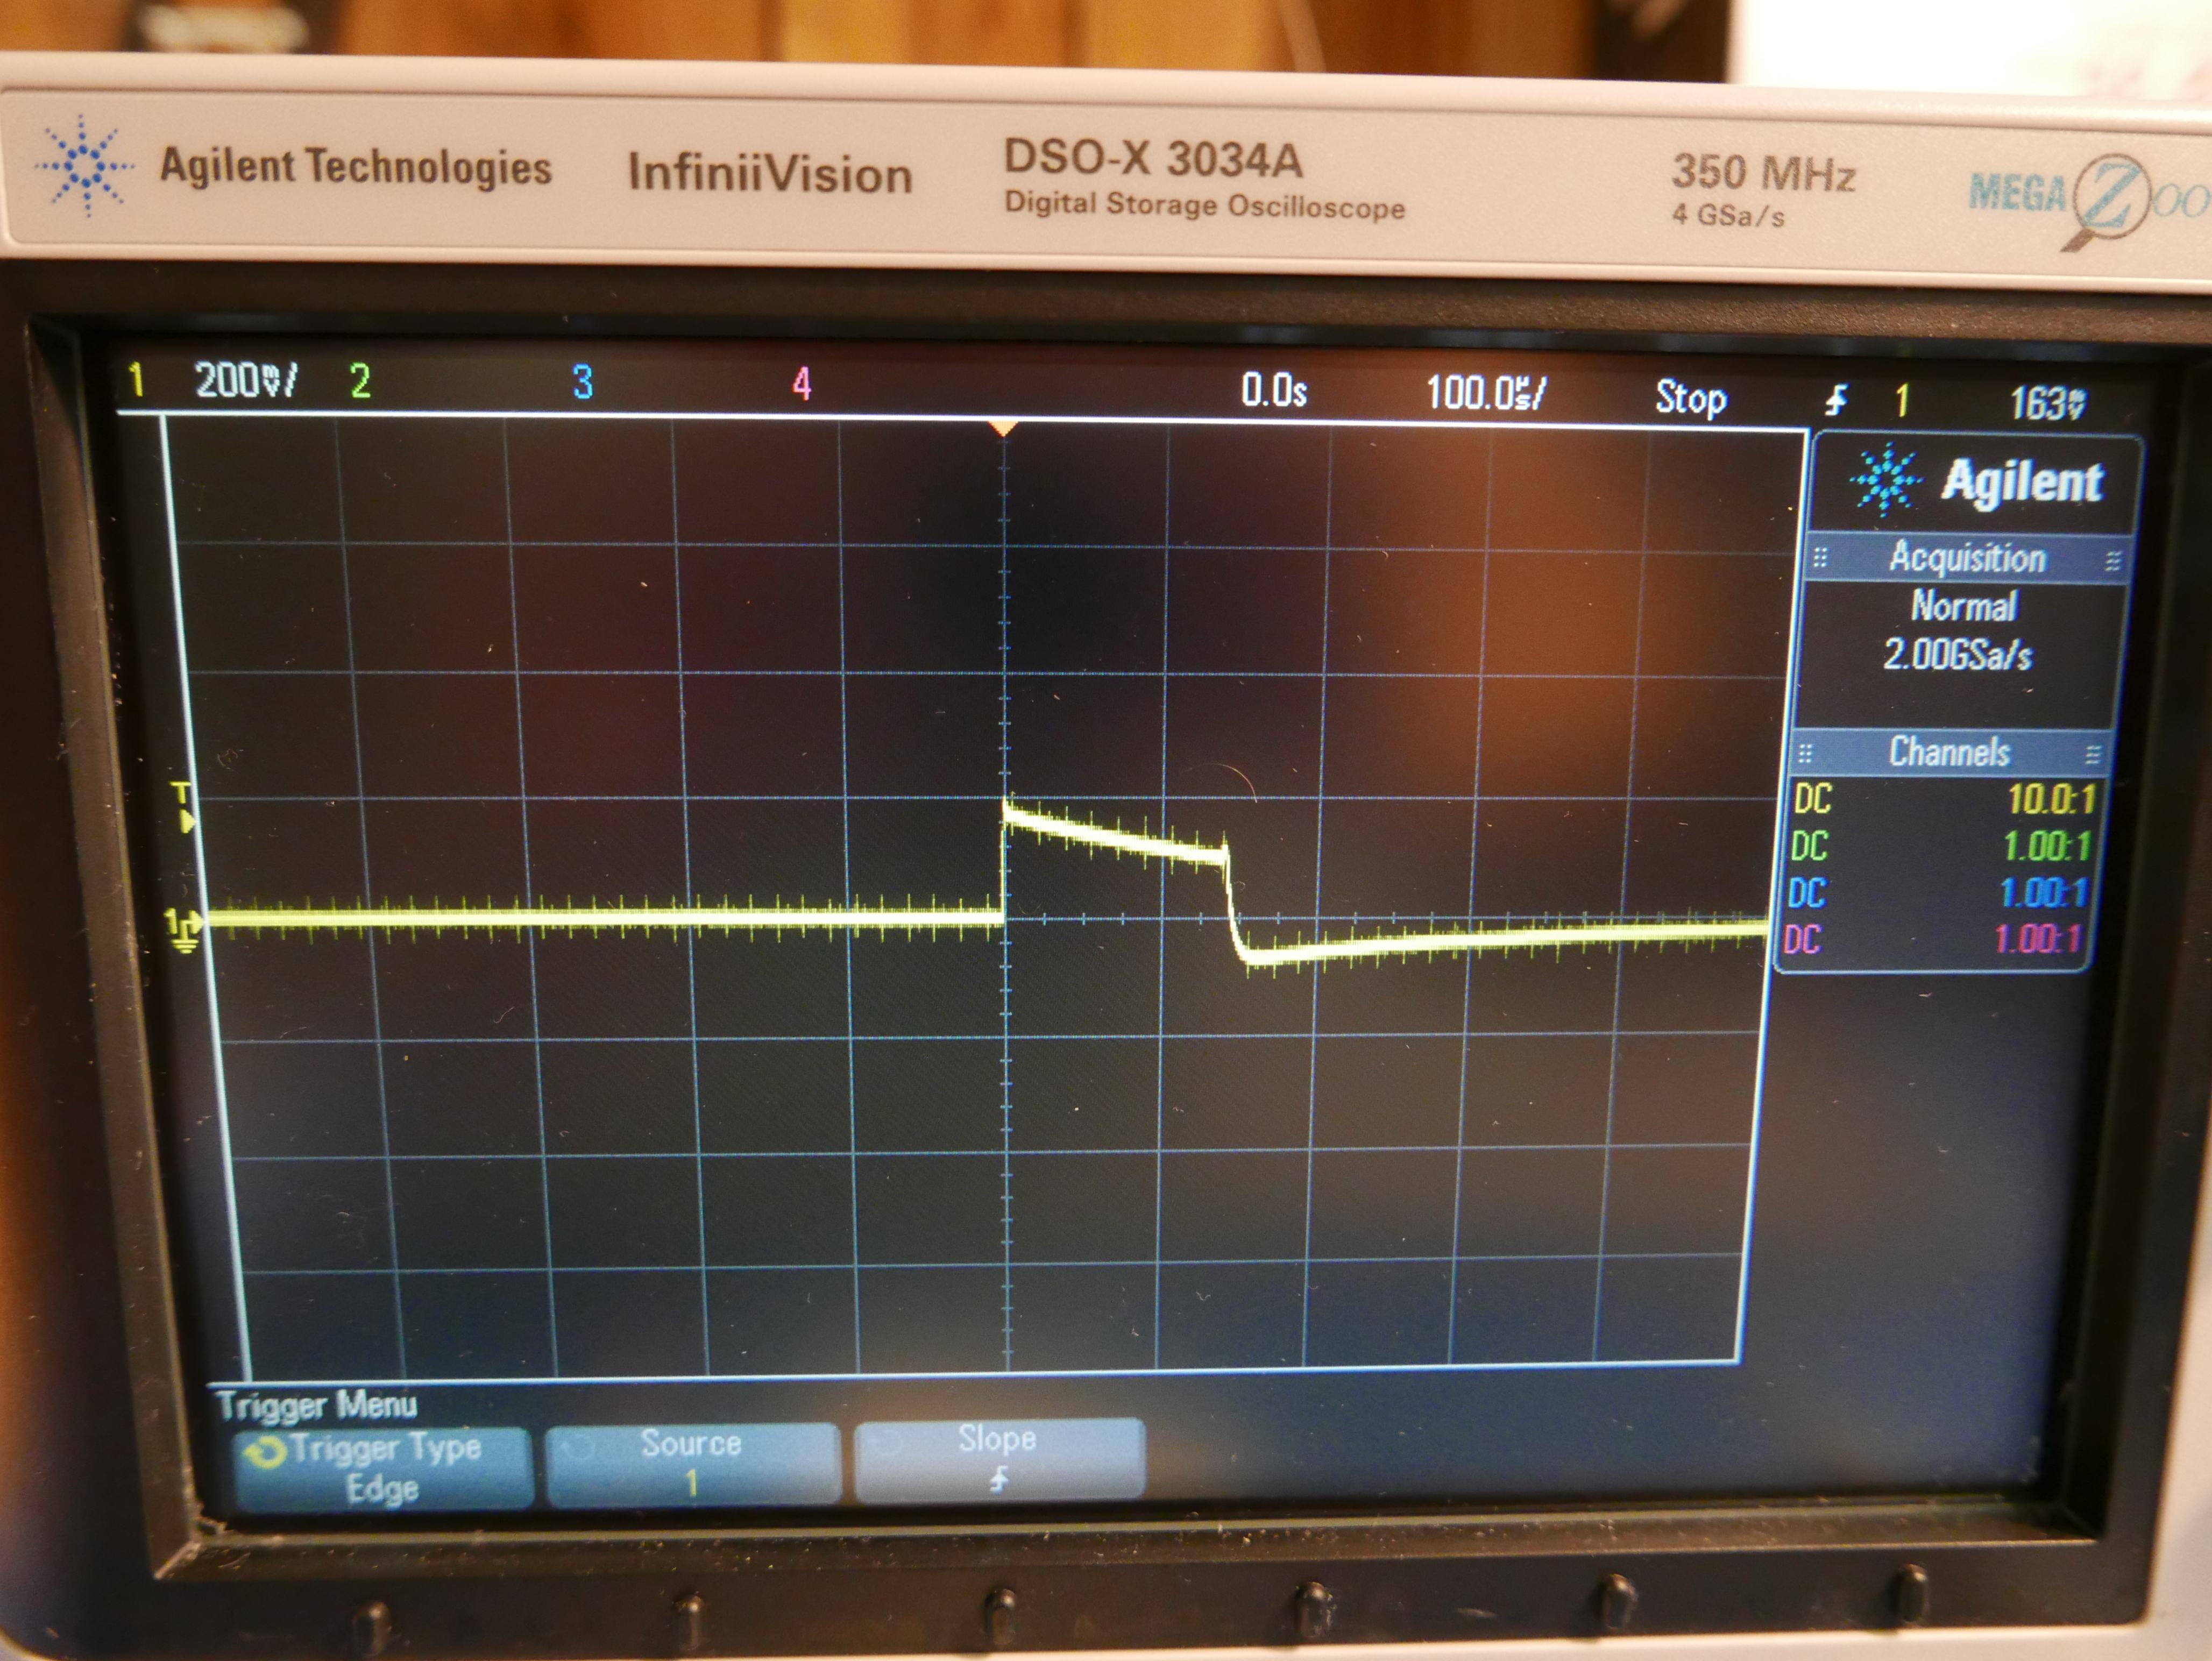
I left the antenna connected to channel one in while fiddling with the keys and checking which ones worked. I was able to pick up changes in the output Bluetooth waveform when I pressed a lot of keyboard keys at once and the key presses correlated to additional square-wave pulses indicating that additional packets being sent on the output waveform. This is nothing precise, it is just a good sign that the keyboard is still working.
I needed some additional light for a photo, and I totally forgot that the LEDs I use could impact the measured signal. Here's some noise from the 100w a19 Philips LEDs I use in my desktop lamps. All of those tiny spikes go away when I shut off the lamps.
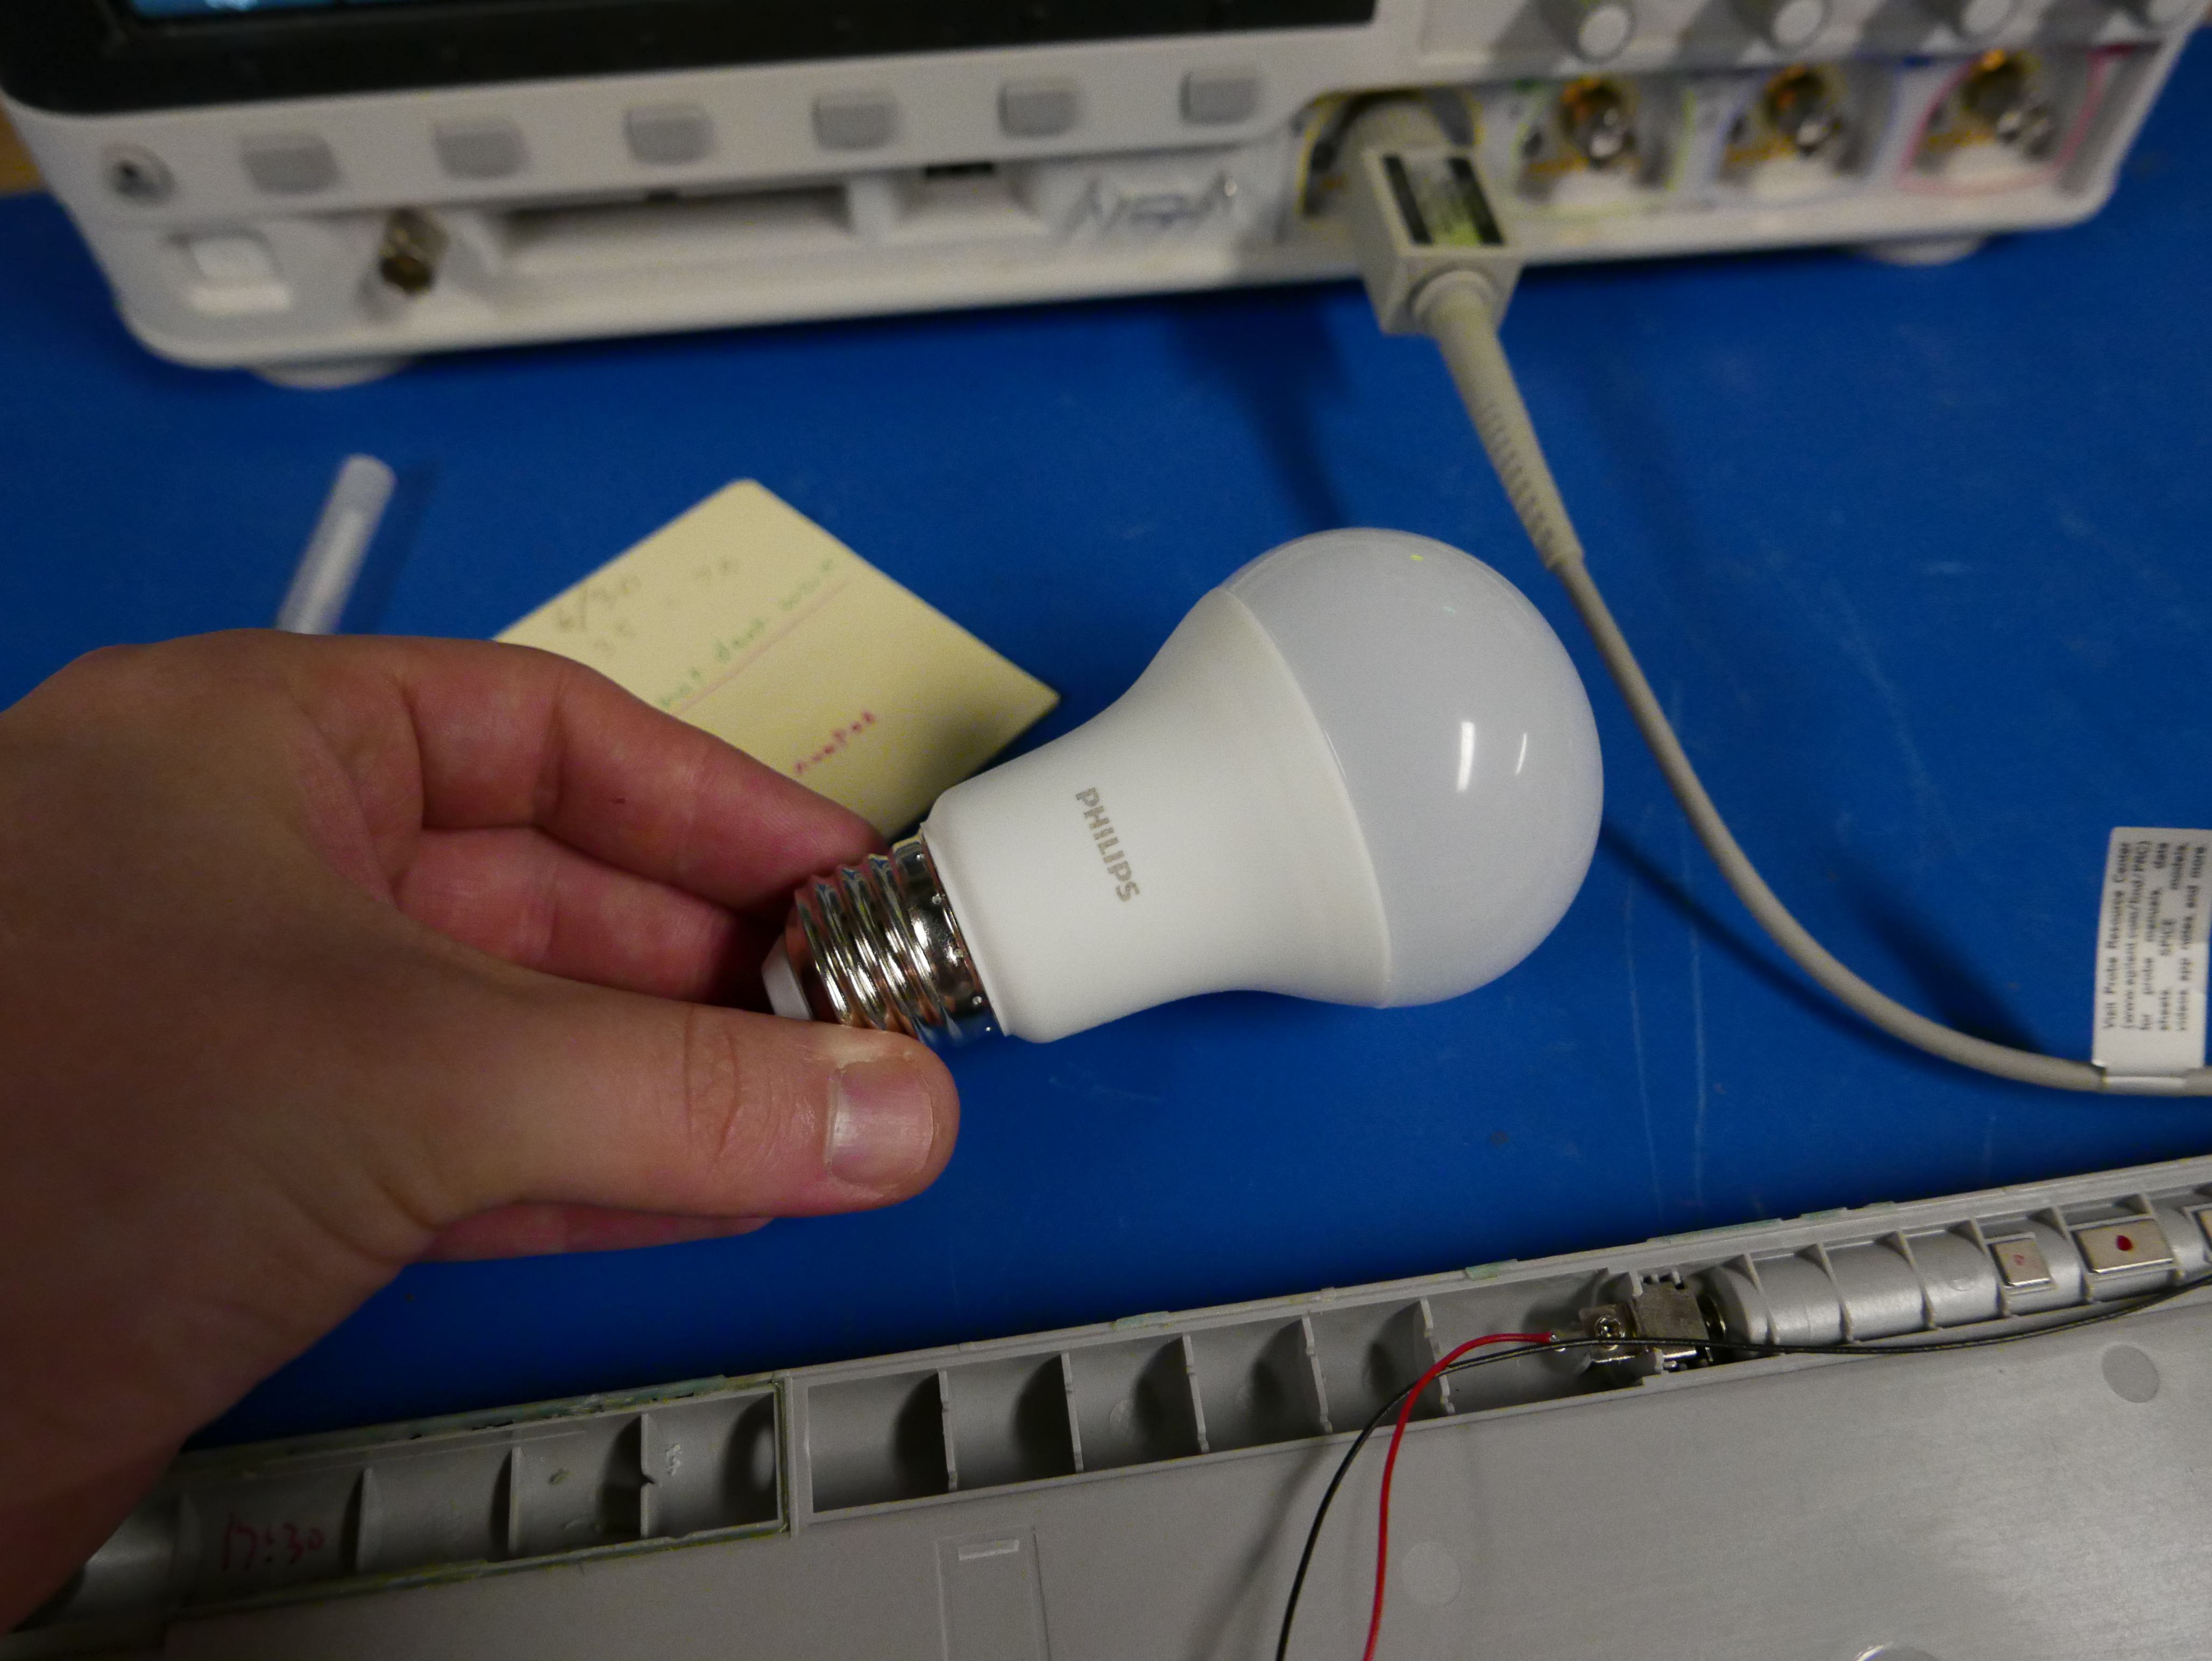
I remember these particular Philips bulbs being a bit noisy from a teardown and analysis by electronupdate so this is not incredibly surprising. I just totally forgot.
I drilled out the windows key, since it was the key with the broken mounts, and unfortunately I don't think there is a way to verify the function of the windows key within android. I am looking into android key mapping, so maybe I can see if I can change the function of the key so I can verify that it still works. There is a good chance that all the prying and pulling involved in the teardown process impacted the function of the keys that stopped working.
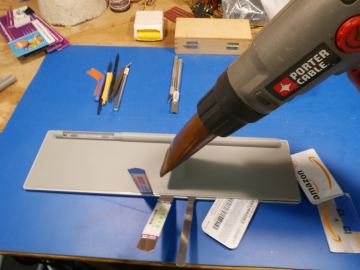
Want more? Here's a behind the scenes look at my workspace and some of the images that did not make the cut to be included in the write-up: